Lab 01 - Explore OpenShift Cluster
We will begin with a quick tour of the lab environment. This lab consists of a multi-node OpenShift cluster which has been deployed exclusively for you.
This is a sandbox environment. Feel free to explore and experiment.
Red Hat OpenShift Container Platform Configuration Review
Let’s start by getting the nodes in our current cluster. Open the tab to access the bastion.
oc get nodesThis cluster has 3 control-plane nodes and 3 worker nodes.
We can check the OpenShift version we are running with the
following command. Look for the line that reads Server Version
oc versionWe can check the status of the cluster by running:
oc cluster-infoPortworx Configuration Review
Portworx Enterprise is already installed and running on this cluster. We will investigate the configuration in the next section.
What does Portworx need to be installed?
-
Drives: Each node has the
/dev/nvme1n1drive available for our use. -
Key Value Database (KVDB): Such as ETCD. We will be using the Portworx built-in KVDB instead of deploying our own.
-
Specification: Portworx is defined by a spec file, and we will create the Portworx cluster using the spec URL.
To see the running Portworx pods:
oc get pods -o wide -n portworx -l name=portworxLet’s check the installation logs. This will check the last 50 lines of the log.
oc -n portworx logs --tail=50 $(oc get pods -l name=portworx -n portworx -o jsonpath='{.items[0].metadata.name}') -c portworxAdd PXCTL Alias
Portworx ships with a pxctl command line tool that allows users to manage Portworx resources across the cluster.
To make it easier to run pxctl commands, we will add an alias to the
shell.
First, create an alias.
alias pxctl="oc -n portworx exec $(oc get pods -l name=portworx -n portworx -o jsonpath='{.items[0].metadata.name}') -c portworx -it -- /opt/pwx/bin/pxctl"Next, echo the alias to the .bashrc file so it gets loaded automatically if you relogin to the terminal.
echo 'alias pxctl="oc -n portworx exec $(oc get pods -l name=portworx -n portworx -o jsonpath='{.items[0].metadata.name}') -c portworx -it -- /opt/pwx/bin/pxctl"' >> ~/.bashrcTake a moment to review the Portworx configuration by running the following command:
pxctl statusNotice that our Portworx cluster is running on 3 nodes by findind the line that reads Total Nodes
OpenShift Web Console
Next, let’s take a quick look at the OpenShift Web console.
| You will need to copy/paste the url into a new tab in your browser. |
-
Web Console URL:
{openshift_console_url} -
Username:
{openshift_cluster_admin_username} -
Password:
{openshift_cluster_admin_password}
Once logged in, navigate to Operators/Installed Operators. Change your Project to portworx. You should see Portworx Enterprise installed with a status of Succeeded.
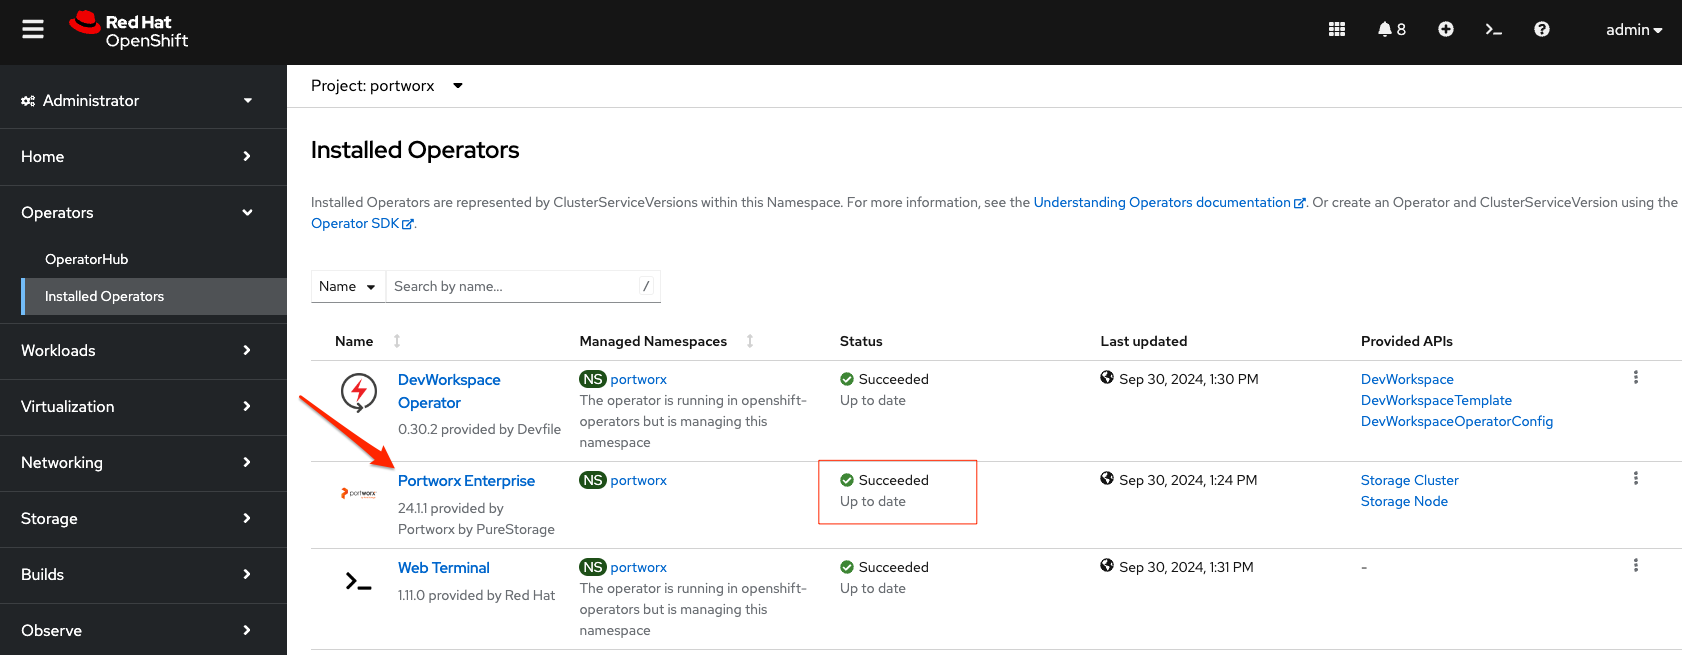
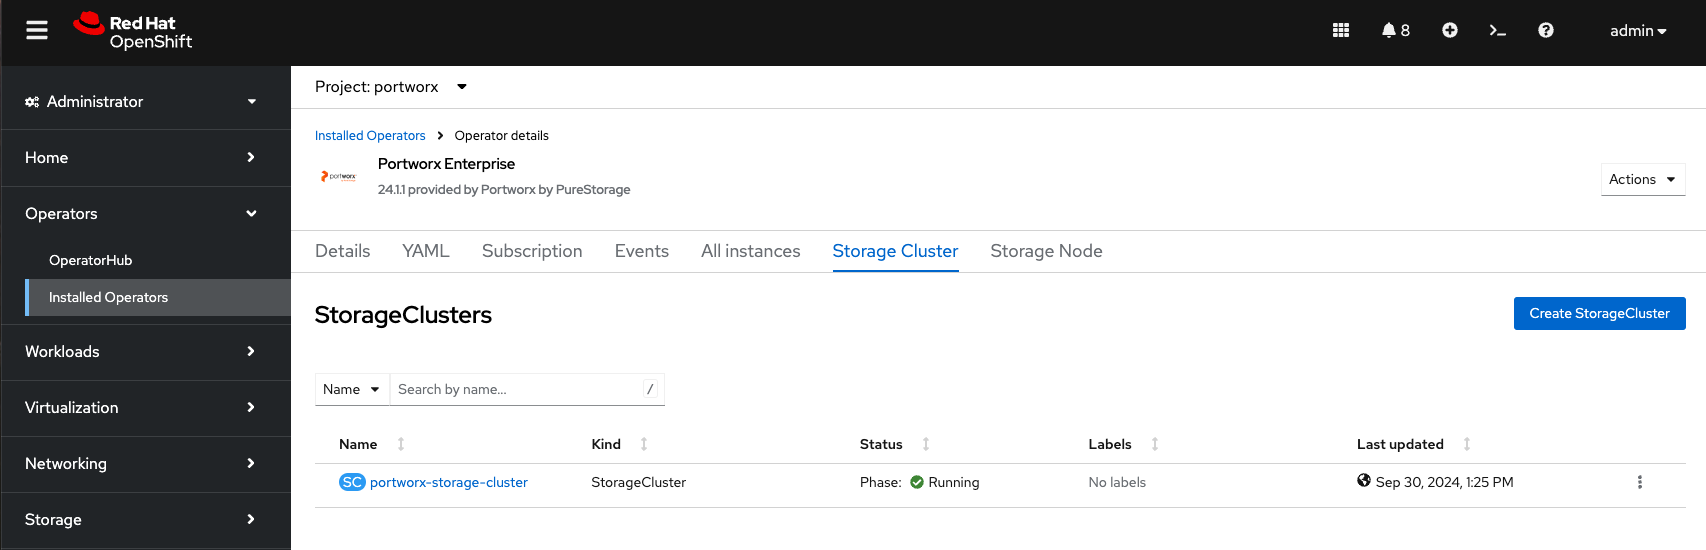
Click on the Portworx Enterprise operator and then click Storage Cluster.
portworx-storage-cluster should be in the Running phase.