Getting Connected
In this activity, you will connect to your workshop environment and set up a workbench for the lab exercises.
Login to OpenShift AI
Username: user-abc123
Password: %password%
Once logged in, you’ll be greeted with the OpenShift AI dashboard.
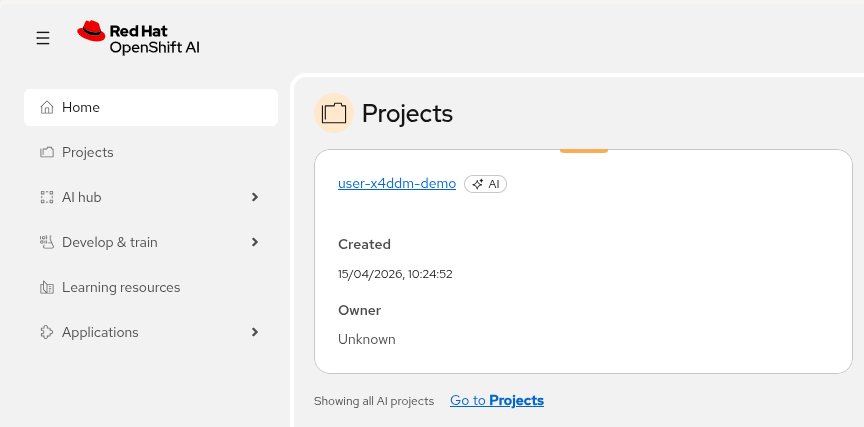
Go to your project
-
A project in OpenShift AI represents an OpenShift namespace. Use the empty
user-abc123-demo project that has been created for you.
Create a workbench
-
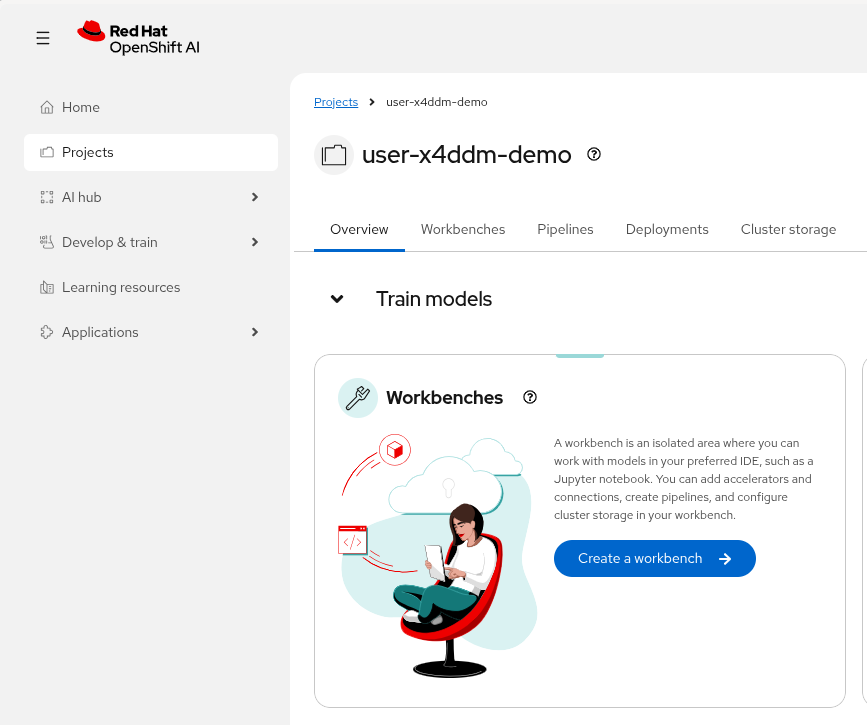
Click Create a workbench on the project Overview page.
-
Enter the following details into the Create workbench form:
-
Name: lab
-
Image Selection: Jupyter | Minimal | CPU | Python
Leave all other settings as defaults.
-
-
Click Create workbench
OpenShift AI creates and starts the workbench. Wait for the status to change to Running.
Open the workbench
-
Click lab to open JupyterLab.
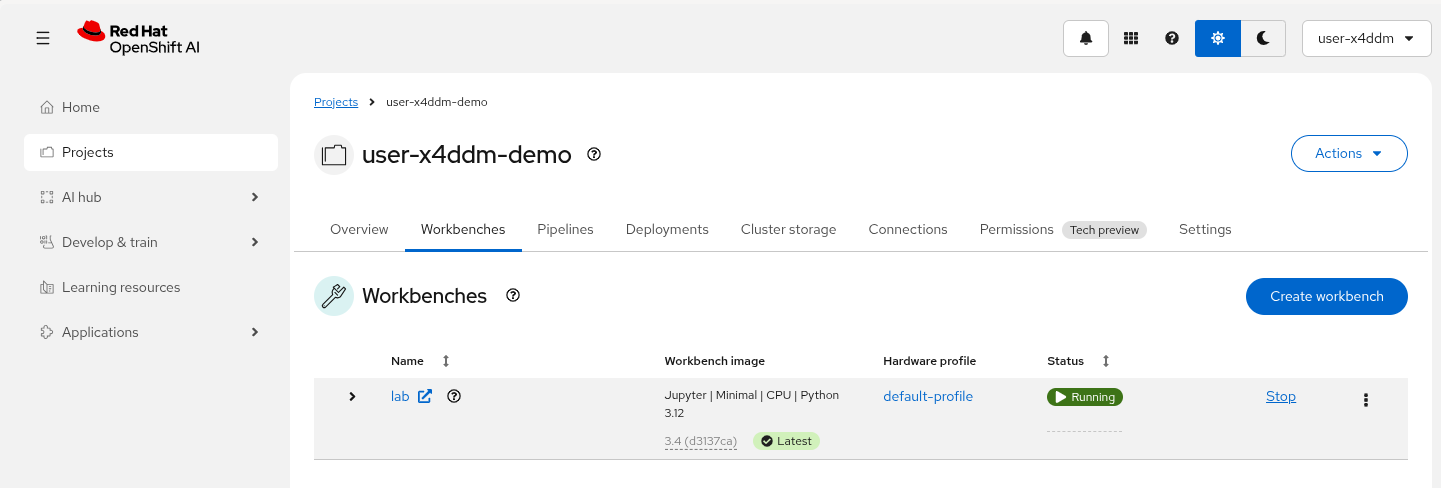
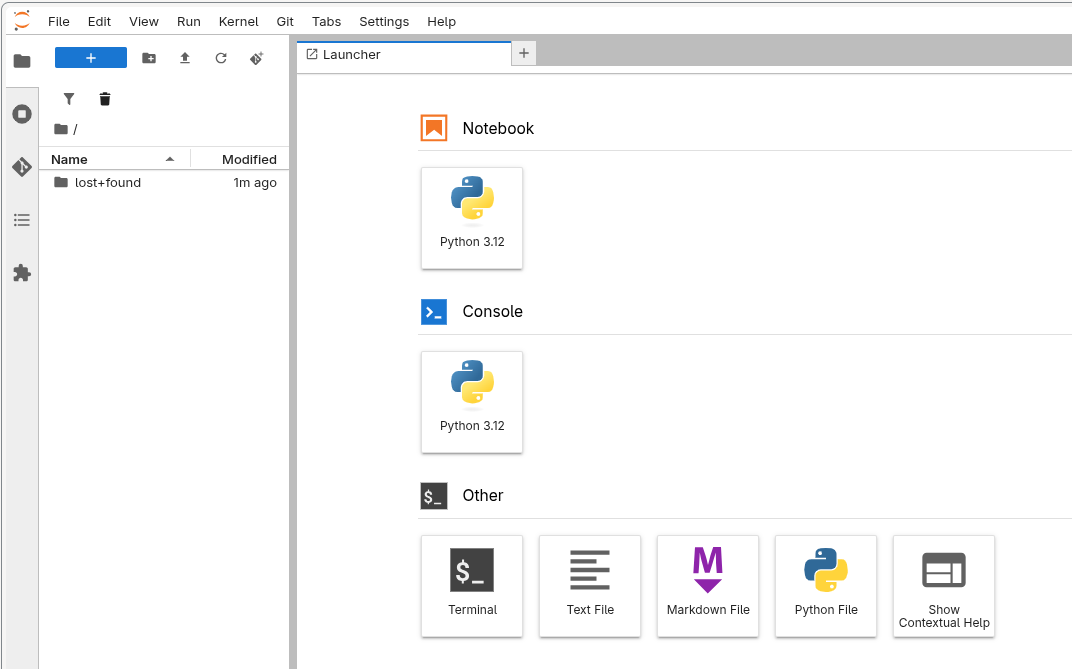
JupyterLab will launch in the browser in a separate tab.
| Keep these instructions visible while working in JupyterLab by splitting your screen, using the split view function in your browser or switching between browser tabs as you go. |
Open a terminal
For the workshop exercises you will use a terminal inside JupyterLab.
-
In JupyterLab, click File > New > Terminal
-
Verify Python is available:
python --versionYou should see
Python 3.12.x. -
Verify
pipandcurlare available:pip --version && curl --version | head -1 -
Update the pip config to use the latest version of the packages:
pip config set global.index-url https://console.redhat.com/api/pypi/public-rhai/rhoai/3.4/cpu-ubi9/simple/ -
Login from the command line using the credentials provided for the workshop:
oc login https://api.cluster.example.com:6443 -u user-abc123 -p %password%
You are now ready to begin the workshop modules.