Create a New Virtual Machine
Scenario - Persistent Storage Volume Provisioning and Availability for Virtual Machines
In this scenario, we will learn about how to provision a virtual machine on OpenShift Virtualization with Purestorage.
Reminder: Accessing the Red Hat OpenShift Console
To connect to the console, click on the OpenShift Console tab above.
IMPORTANT: The
OpenShift Consoletab will open in a new browser window.
We can then log in with the following credentials:
Username: kubeadmin Password: kubeadmin_password
Step 1 - Deploy a Virtual Machine
Start by logging in to the OpenShift console with the information above.
Task 1: Create a new VM
Navigate to the virtualzation > overview menu
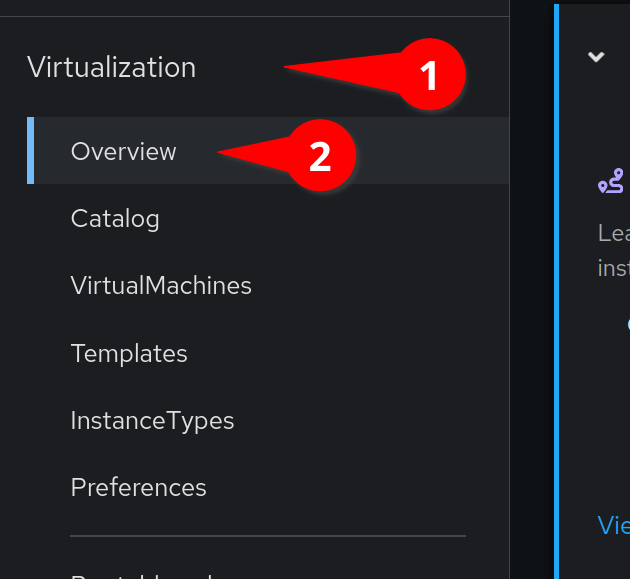
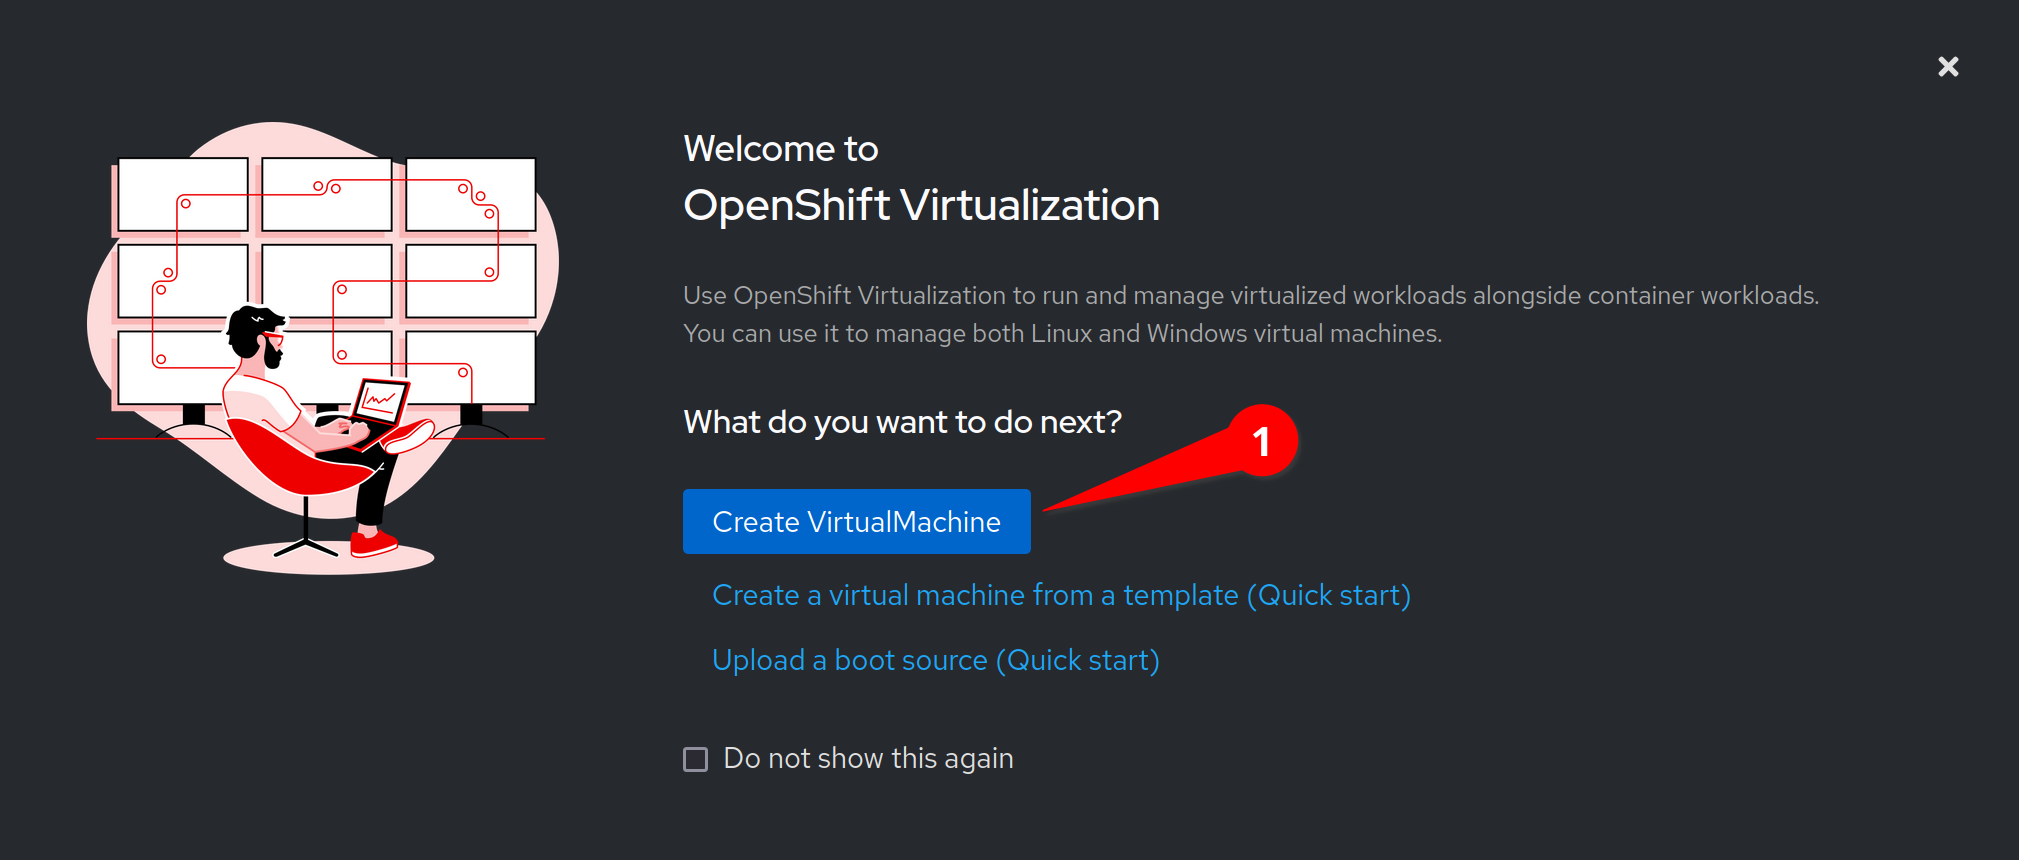
Click the Create Virtual Machine button
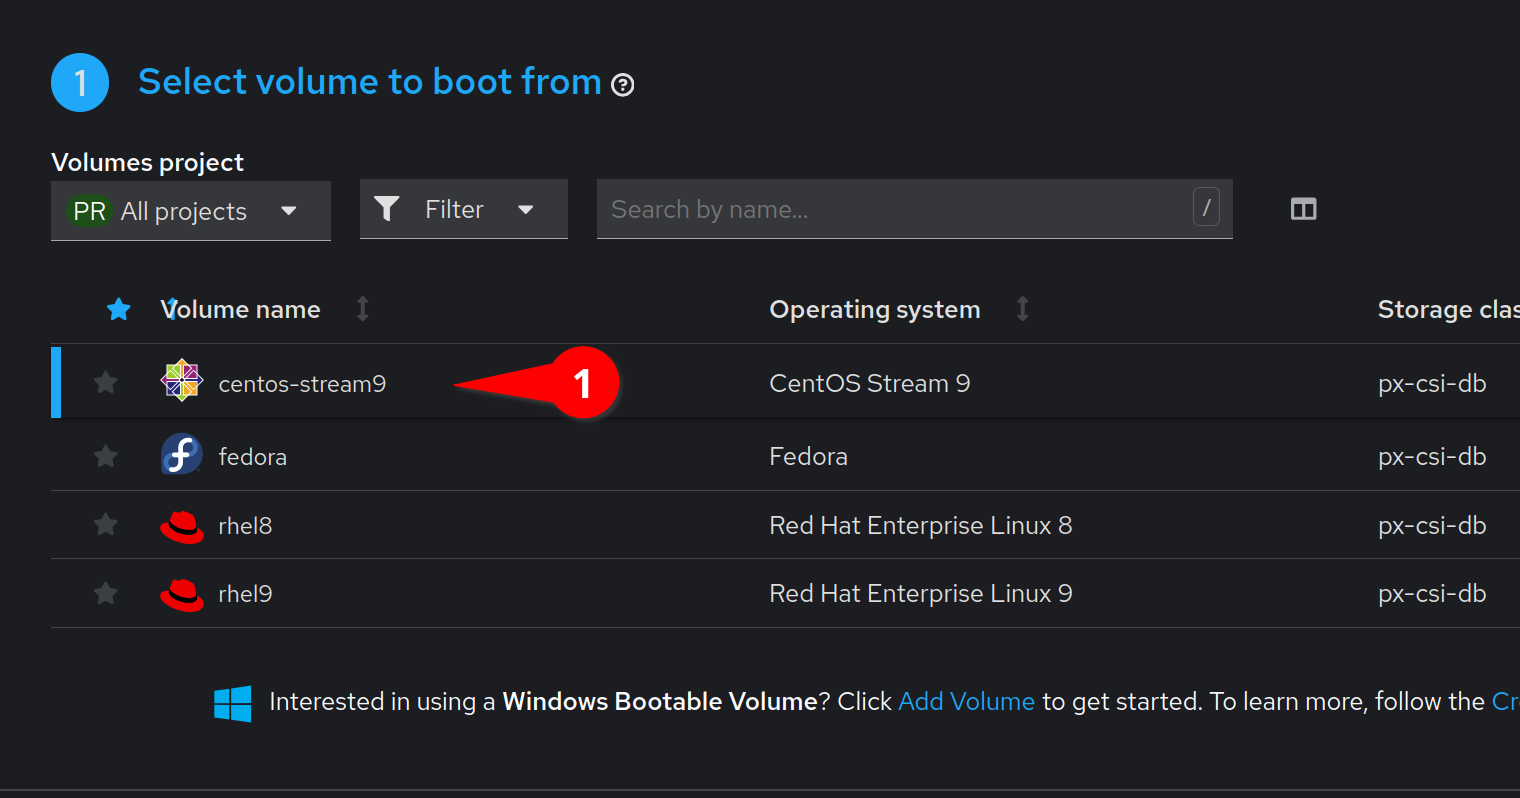
Select the Centos Stream image. We can also use the default instance type.
Verify that our StorageClass is set to px-csi-db and click Create VirtualMachine
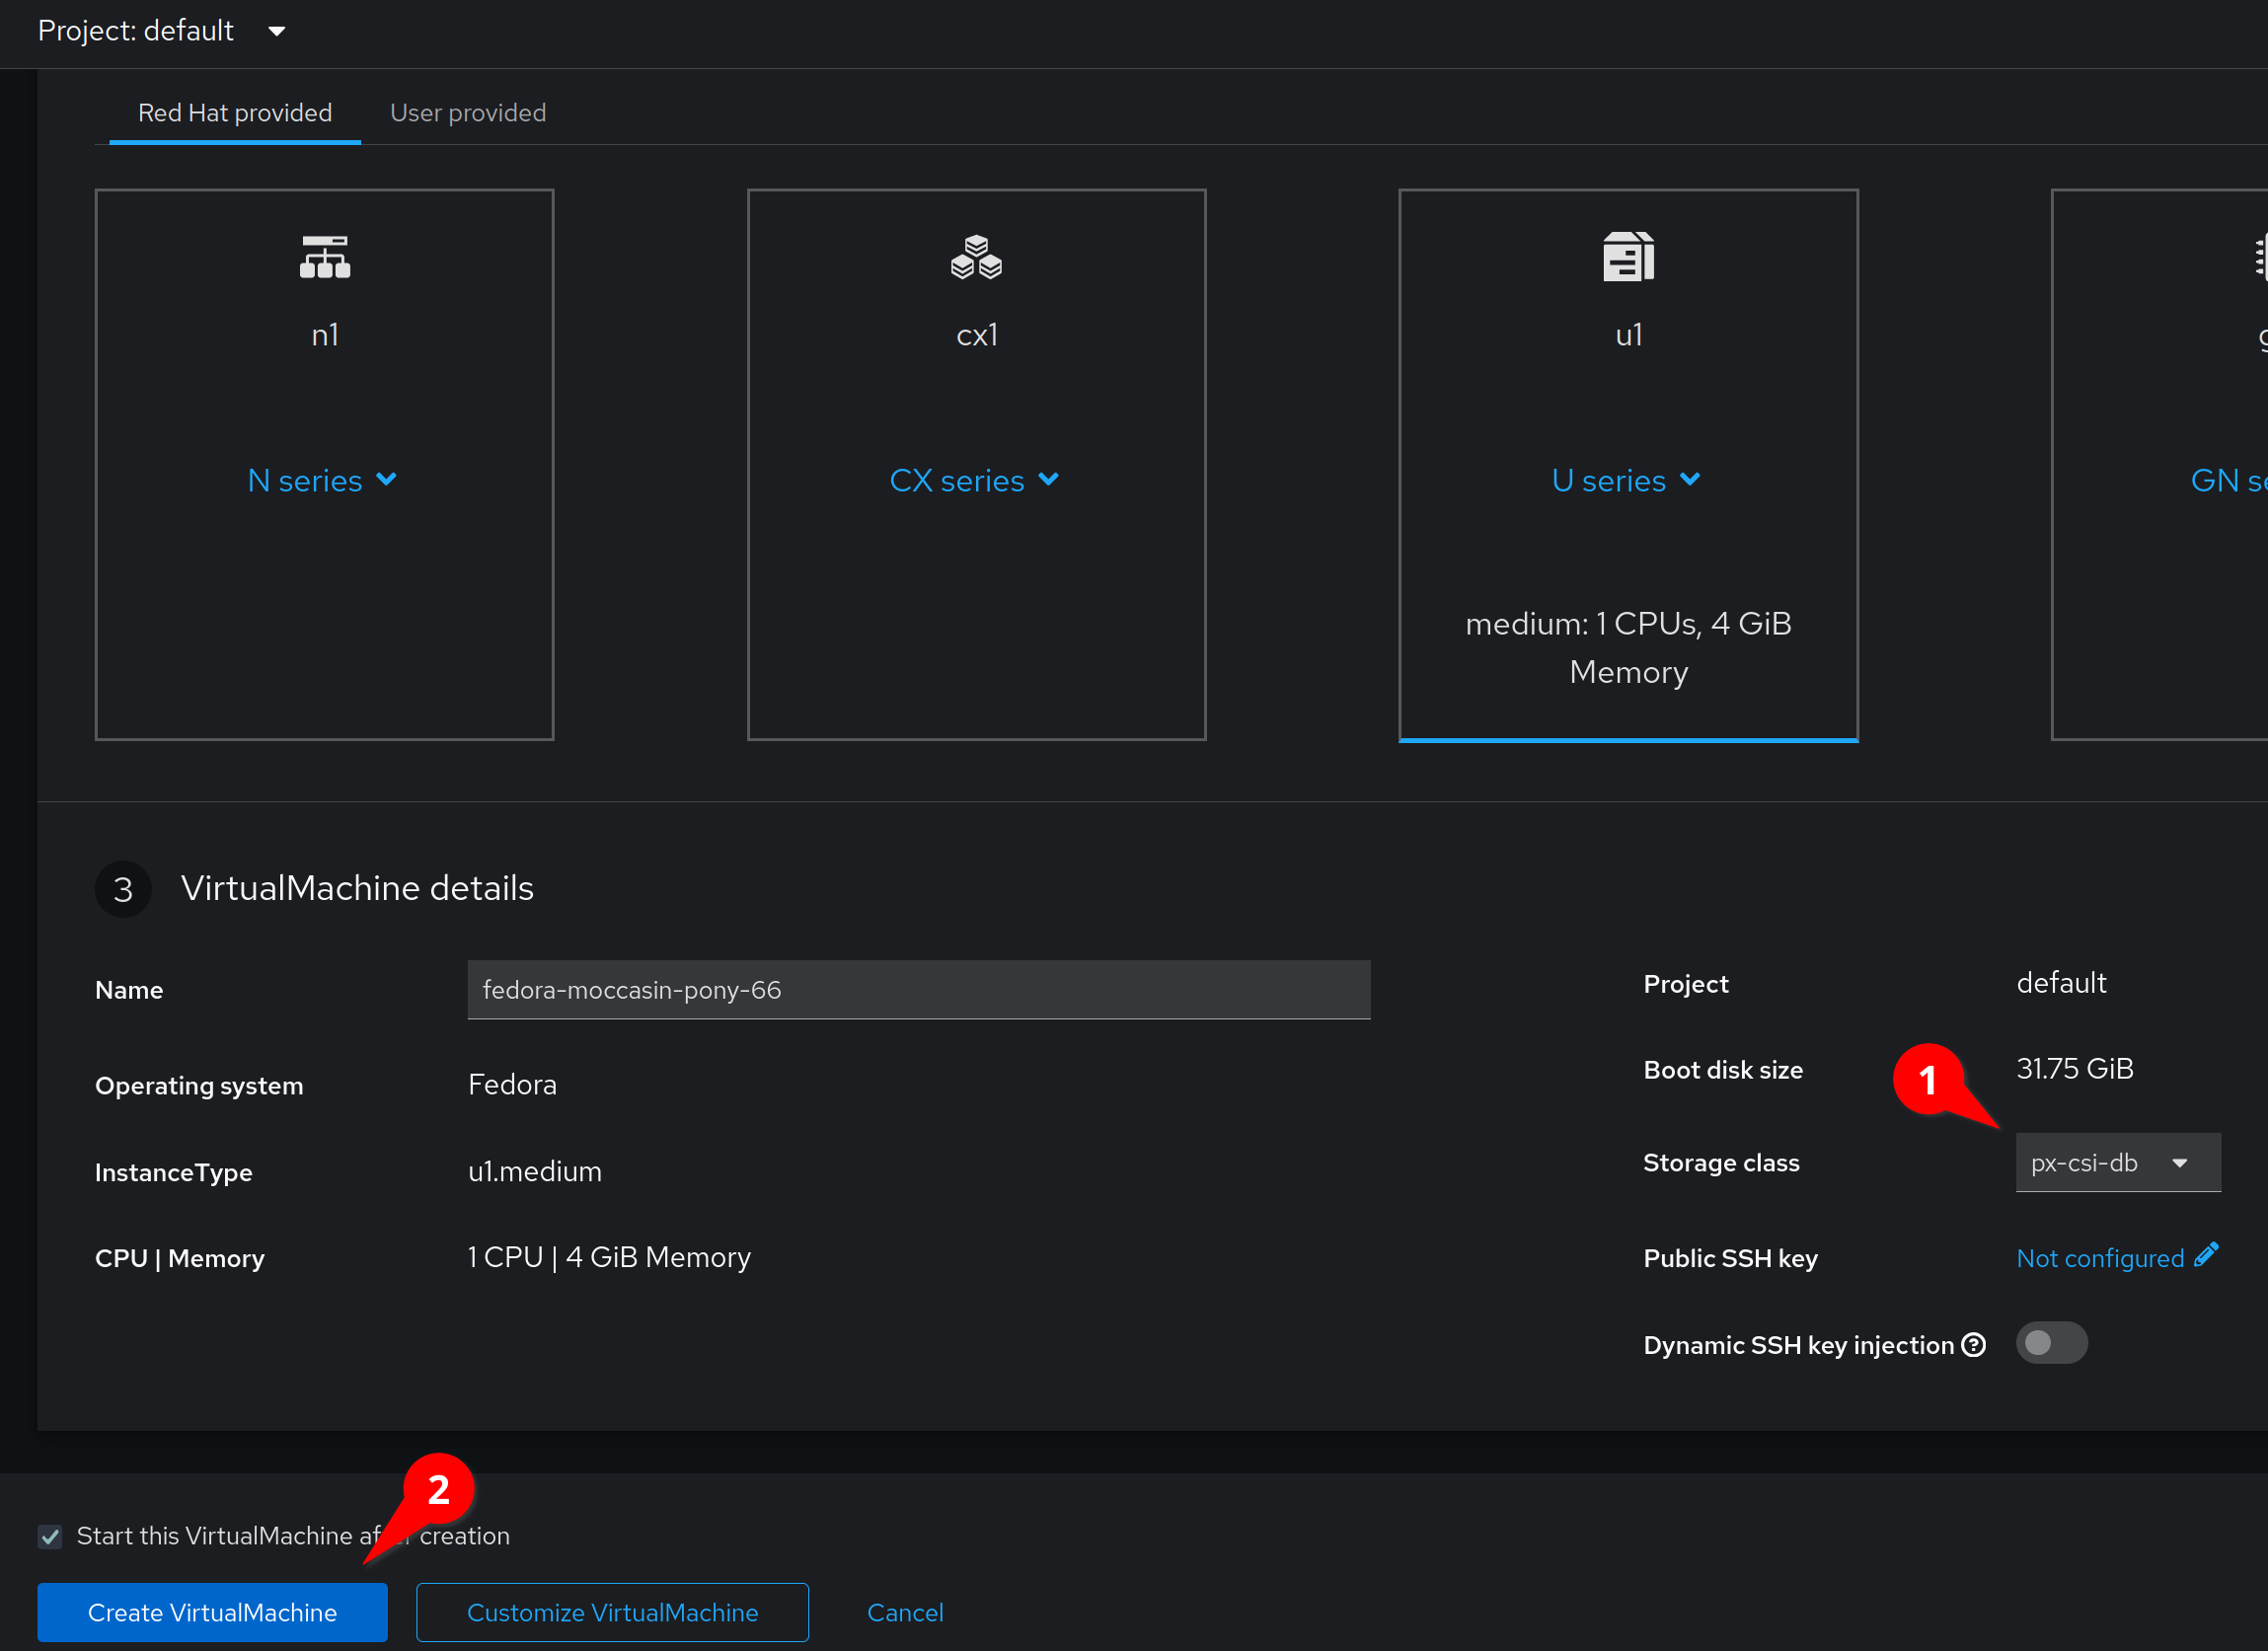
This will automatically start the virtual machine after a short provisioning process.
IMPORTANT: It can take a couple of minutes for our VM to boot the first time
Explore the tabs for this virtual machine. We can view metrics, configure snapshots, and even view the YAML configuration to make automating easy.

IMPORTANT: The Virtual Machine name will be different in your environment
Step 2 - Test Live Migrations
In order for live migrations to be supported, OpenShift VirtualMachines need to use a PVC with a ReadWriteMany access mode. We can verify this by running:
oc get pvcTask 1: Live Migrate a VM
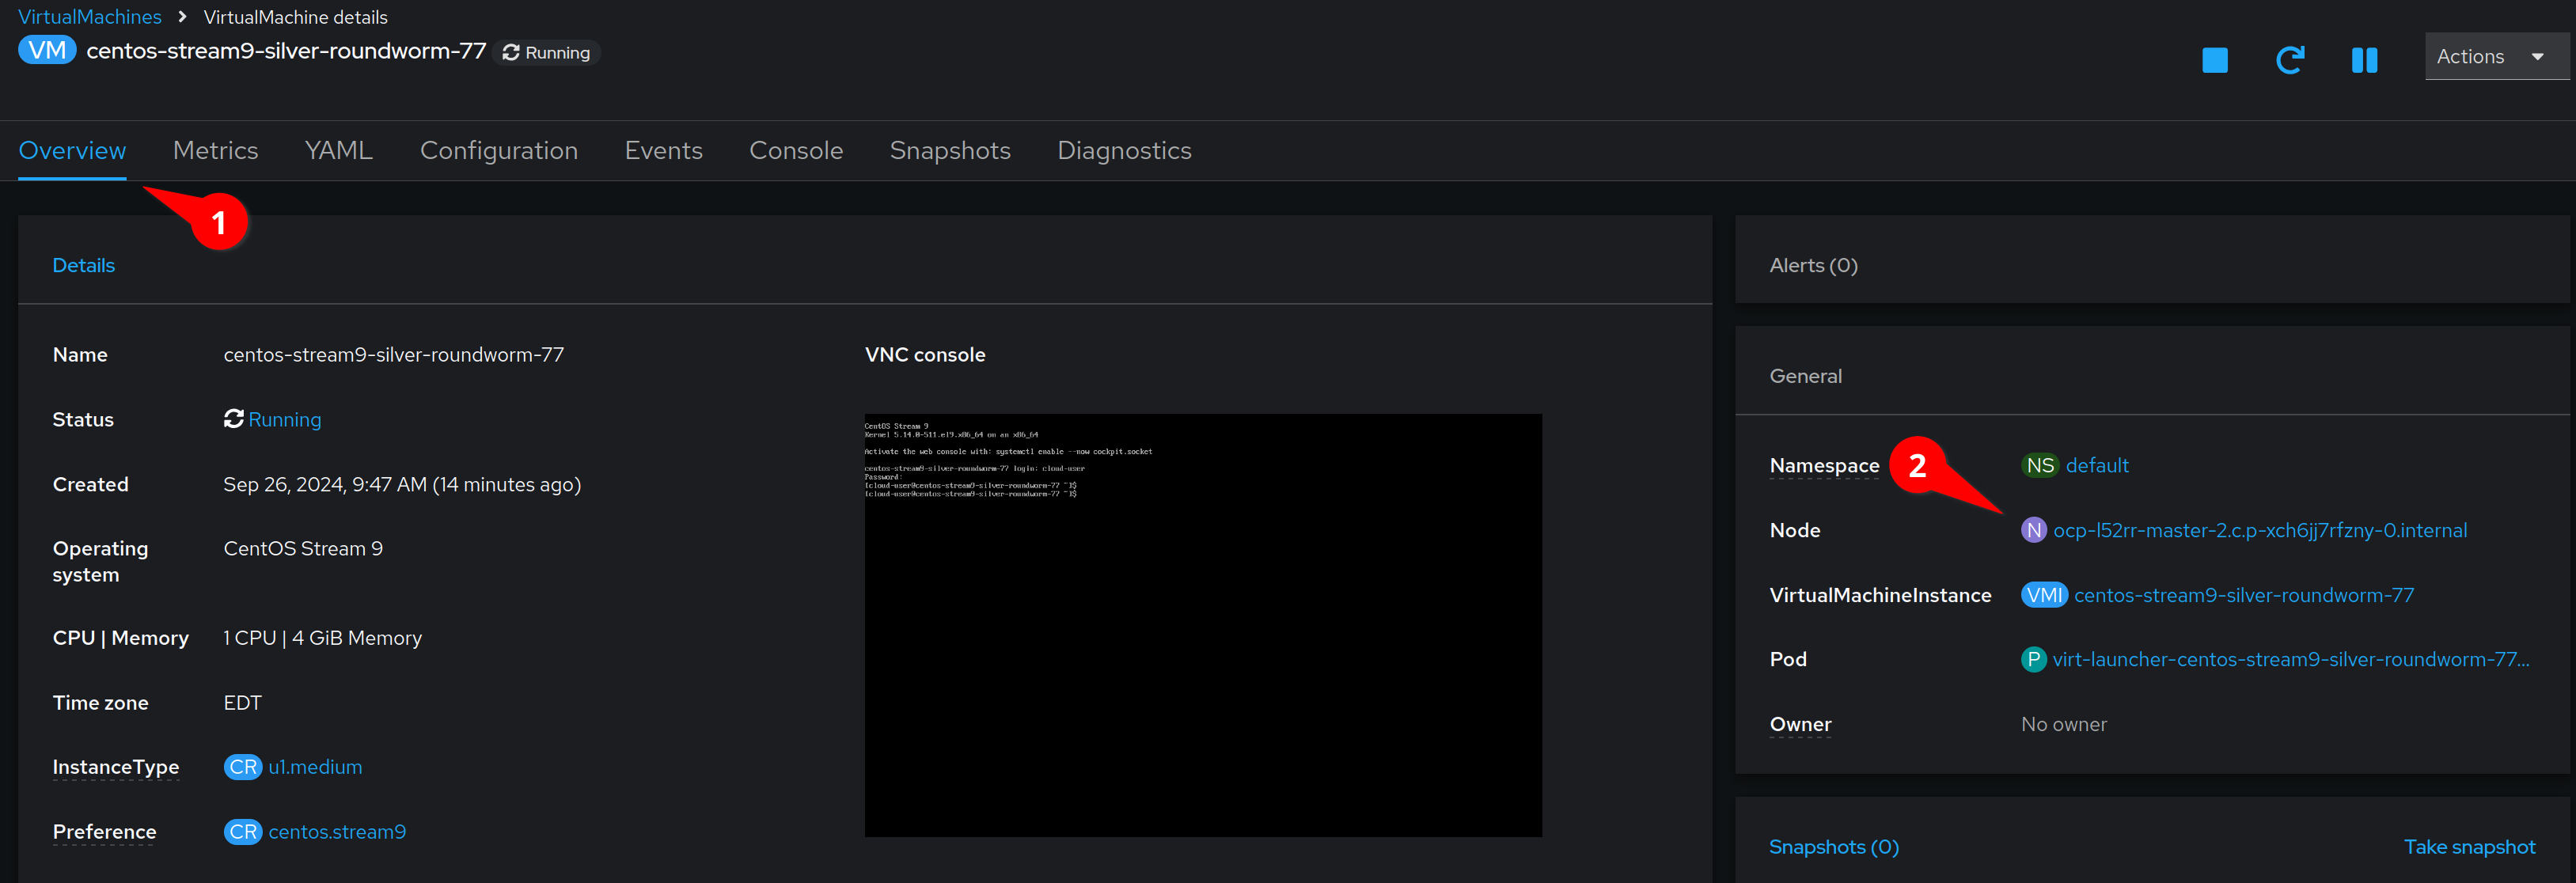
Back in the OpenShift Console, click on the Overview tab and take note of the node that our VM is running on.
We can now migrate the VM to a new node by selecting the Actions menu, and then clicking Migrate
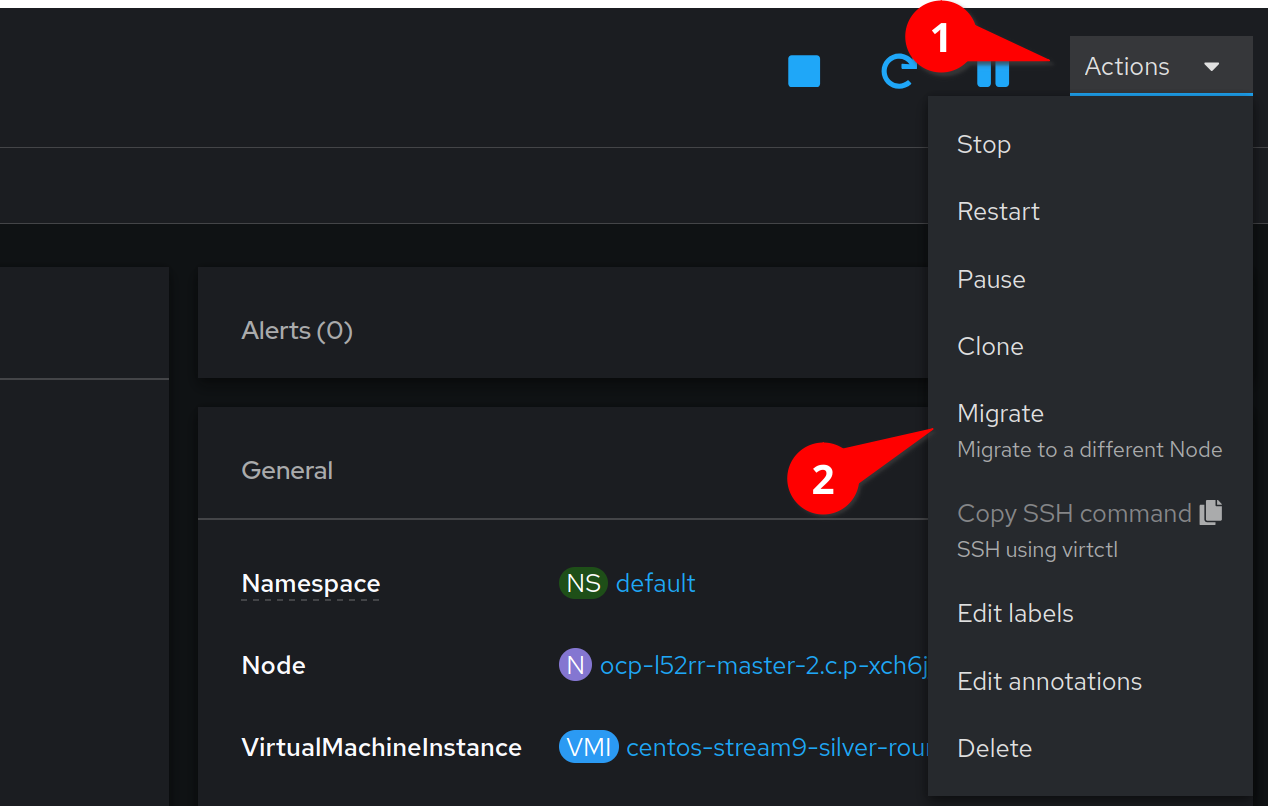
After a few moments the interface will update with the new node.
It is important to understand that in OpenShift Virtualization, VirtualMachines run inside pods. This migration spawned a new pod, on the destination node, and then live migrated the VM to that pod.
We can view the running pods by executing:
oc get podsNotice that one of our pods is in the Completed state, this is because our virtual machine process is no longer in that pod!
We can view the running VMs by typing:
oc get vmsClick Check to move on to the next challenge