Building out the basics for config as code
Task 1 - Setting up the project
-
In this lab, you will be creating configuration files in order to set a state on the Ansible Automation Platform. This requires several prerequisites.
-
Open up the terminal in the window on the right by going to the menu, use the Terminal > New Terminal
-
In the terminal, install the collections and containers.podman using
ansible-galaxycommand. Make sure the versions are correct and you are running command from the path/home/lab-user/casc_lab/.cd /home/lab-user/casc_lab/ansible-galaxy collection install infra.ee_utilities:4.0.0 infra.aap_configuration:3.1.0 containers.podman:1.16.3 community.general:10.4.0 ansible.hub:1.0.0 ansible.platform:2.5.20250213 ansible.controller:4.6.8 -
Further documentation for those who are interested to learn more see:
Task 2 - Creating Variable Files
In the next few steps pay attention to the folder paths and make sure to put the files in the correct folders you can either use vscode editor or the ssh terminal to do the below changes
-
Set the
variablesto be used in the collections for use. These include hosts, usernames, and other variables that are reused in each role. -
The variables are defined in the file
/home/lab-user/casc_lab/group_vars/all/auth.yml.group_vars/all/auth.yml
With the following content:
aap_username: "{{ student_account }}"
aap_password: "{{ aap_password }}"
aap_validate_certs: false
aap_request_timeout: 60

ee_pull_collections_from_hub: false
aap_service_account_username: aap_service_account

ee_registry_username: "{{ aap_username }} "
ee_registry_password: "{{ aap_password }}"
ee_registry_dest: "{{ aap_hostname }}/config"

ee_base_registry: "{{ aap_hostname }}"
ee_base_registry_username: "{{ aap_username }}"
ee_base_registry_password: "{{ aap_password }}"
ee_validate_certs: false-
Further documentation are provided below for those who are interested to learn more:
Task 3 - Creating our inventory file
-
Create your inventory file
inventory.yml, copy the content below to the file.--- all: children: automationcontroller: hosts: control: ansible_host: "{{ aap_hostname | regex_replace('^https://', '') }}" execution: hosts: localhost: ansible_connection: local ...These are hostnames and should not have 'https://', otherwise things will fail -
Further documentation are provided below for those who are interested to learn more:
Task 4 - Create our Vault
-
A
vault.ymlhas been prepoulated, please review this as it provides a source for most of the passwords and secrets used in the lab. -
Your username should be: {ssh_username}
-
Your password should be: devops
---
aap_password: ### Insert Password here
aap_service_account_password: ### Insert Password here
student_account: ### Insert Username here
vault_pass: cascLB2193
...
The easiest way to do this is have all passwords be the provided password. For good configuration as code we recommend retrieving passwords from secure systems secret management systems (such as Hashicorp Vault). -
Create a
.passwordfile and put a password in it. This is the password vault uses to encrypt secrets.cat <<EOF > .password cascLB2193 EOFWe do not recommend using .password files outside of lab environment This process is just to simplify/speed up the lab. -
The
ansible.cfgfile points to the.passwordfile. This has been preopulated, but please review the ansible.cfg file to see how this lab is connected to hub and uses the password file.[defaults] vault_password_file=.passwordEncrypt vault with the password in the .password file
ansible-vault encrypt vault.yml -
Further documentation are provided below for those who are interested to learn more:
Task 5 - Create organizations
-
Create a file
group_vars/all/organizations.yml--- aap_organizations: - name: config_as_code ... -
Further documentation are provided below for those who are interested to learn more:
Task 6 - Create a Team
-
Create a file
group_vars/all/teams.yml--- aap_teams: - name: config as code team description: config as code team organization: config_as_code ... -
Further documentation are provided below for those who are interested to learn more:
Task 7 - Create a local service account user
-
Create a file
/home/lab-user/casc_lab/group_vars/all/users.ymlwith the below information:--- aap_user_accounts: - username: "{{ aap_service_account_username }}" password: "{{ aap_service_account_password }}" is_superuser: true state: "present" ... -
Further documentation are provided below for those who are interested to learn more:
Task 8 - Create Collection Repositories and Remotes
-
Create a file
group_vars/all/hub_repositories.ymlto create the list of community repositories and their remote counterpart.--- hub_collection_remotes: - name: community-infra url: 'https://galaxy.ansible.com/' sync_dependencies: false requirements: - name: infra.ee_utilities version: '>=4.0.0' - name: infra.aap_utilities version: '>=2.5.2' - name: containers.podman version: '>=1.13.0' - name: community.general version: '>=10.4.0' - name: infra.aap_configuration version: '>=3.1.0' hub_collection_repositories: - name: community-infra-repo description: description of community-infra repository pulp_labels: pipeline: approved distribution: state: present remote: community-infra hub_configuration_collection_repository_sync_async_delay: 5 hub_configuration_collection_repository_sync_async_retries: 150 ... -
Further documentation are provided below for those who are interested to learn more:
Task 9 - Create a playbook to apply the configuration
-
The next step is to create the
/home/lab-user/casc_lab/playbooks/aap_config.ymlplaybook. This playbook will execute theaap_configurationdispatch role, applying the provided configurations in the necessary order.--- - name: Playbook to configure ansible controller post installation hosts: all gather_facts: false vars_files: - ../vault.yml connection: local tasks: - name: Call dispatch role ansible.builtin.include_role: name: infra.aap_configuration.dispatch ... -
Further documentation are provided below for those who are interested to learn more:
Task 10 - Check your paths
-
Here’s the desired layout for your folders from the
/home/lab-user/casc_lab. Please examine the file organization to confirm that each file resides in its correct location within this structure. Run thetreecommand to verify.. ├── ansible.cfg ├── group_vars │ └── all │ ├── auth.yml │ ├── hub_repositories.yml │ ├── organizations.yml │ ├── teams.yml │ └── users.yml ├── inventory.yml ├── playbooks │ └── aap_config.yml └── vault.yml 3 directories, 9 files
Task 11 - Put the playbook into action
-
The next step is to run this playbook, this kicks off the initial setup for everything we’ve just created for the Ansible Automation Platform.
ansible-playbook playbooks/aap_config.yml -i inventory.yml -l execution -
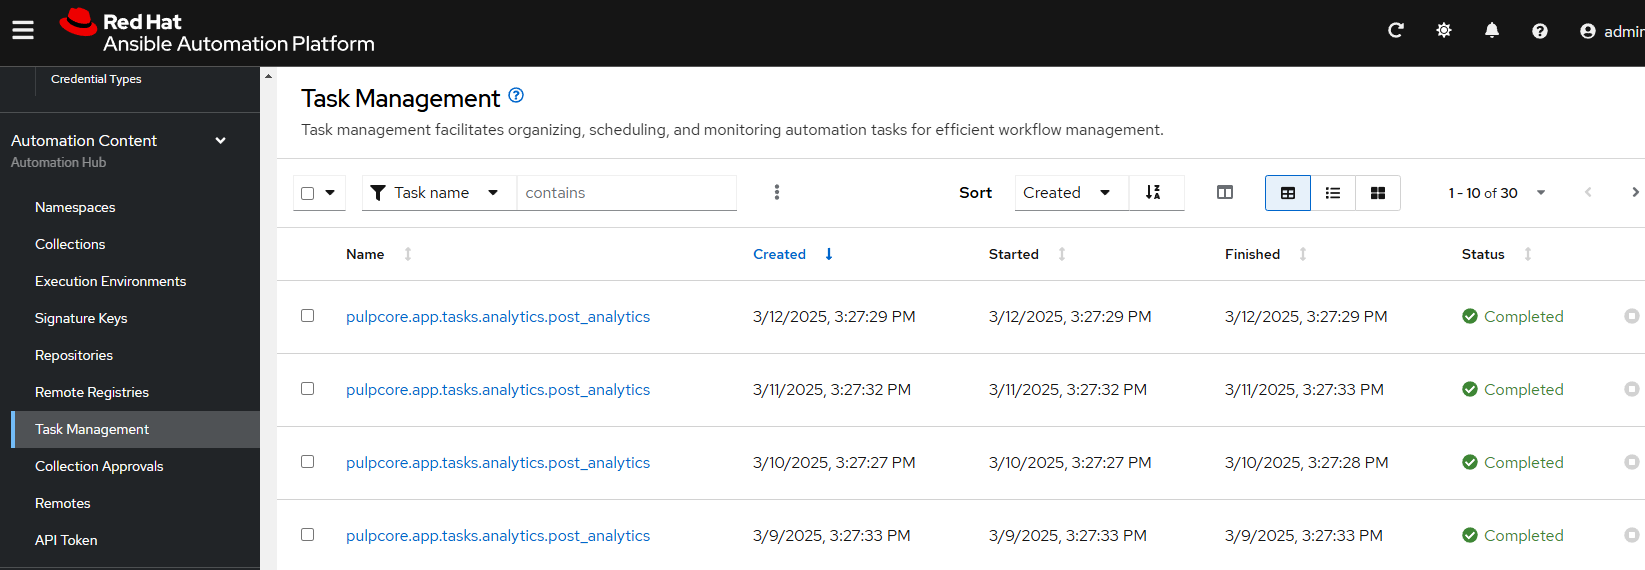
While the playbook is running you can go to the Automation Hub tab and peak at the Task Management to see the repository syncing process
Task 12 - Validate configuration was applied
-
Navigate to the AAP console and login with the provided passwords (You will find the link to the console on the start page of this lab)
Check that the following objects have been correctly created on AAP and are aligned with the instructions above
-
Org
-
Repository
-
User
-
Team