Workshop Conclusion: What’s Next?
A summary of the Ansible development tools you’ve learned and resources for continuing your learning journey.
Congratulations! 🎉
You have successfully completed the "Intro to creating automation with the new Ansible Development Tools" workshop!
Join the Ansible Forum
Scan the QR code below to sign up to the Ansible Forum if you haven’t yet, if you already have scan anyway and you might get a Badge for completing the workshop if you approach your instructor with your username!
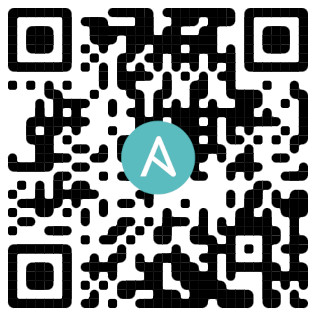
After logging in to the Ansible Forum, introduce yourself in this topic and feel free to mention that you just completed the Ansible Developer Tools lab!
|
Check the "Next Steps" section below to learn how to get the Ansible development tools installed on your own workstation or laptop! |
Review of learned concepts
You have reached the end of the Introduction to Ansible development tools workshop. In this lab, you learned about and used some of the most important tools available to Ansible developers:
-
The Ansible extension for VS Code for a rich editing experience.
-
ansible-creatorto scaffold new collections and content. -
adt(Ansible development tools) for a unified command-line tools management. -
ade(Ansible development environment) for managing collection dependencies. -
ansible-lintfor checking playbooks against best practices. -
ansible-navigatorfor a powerful terminal-based user interface to run and test your execution environments. -
Ansible Molecule for robustly testing your collections.
Call to action: Run ansible-dev-tools on your own workstation!
If you would like to get all of these tools running on your own Windows, macOS, or Linux machine, check out the following interactive guide. It will walk you through setting up a VS Code Dev Container, which is a great way to get a consistent and isolated development environment in any OS.
|
Don’t forget to share your feedback on this lab! Press the Next button at the bottom of the lab interface to leave a review once you’ve claimed your badge. |