Lab Guide: Introspection and System Backups
v0.0.1
A guide to using Ansible Automation Platform for read-only introspection and automating system backups for both Linux and Windows. ---
1. Scenario: Introspection
Welcome to the team! Starting with automation can be daunting, but a great way to begin is with tasks that are read-only. This "introspection" use case allows you to safely gather information and build confidence before automating higher-risk changes.
First, log into the Ansible Automation Platform instance using the credentials below.
Username |
|
Password |
|
Note |
|
Repo |
2. Backing Up Linux File Systems
A common task for Linux servers is backing up their storage. Ansible can drive multiple snapshot and backup mechanisms, whether your servers are on a public cloud, in a private virtual environment, or on bare metal.
-
Check for existing backups.
In the lab’s
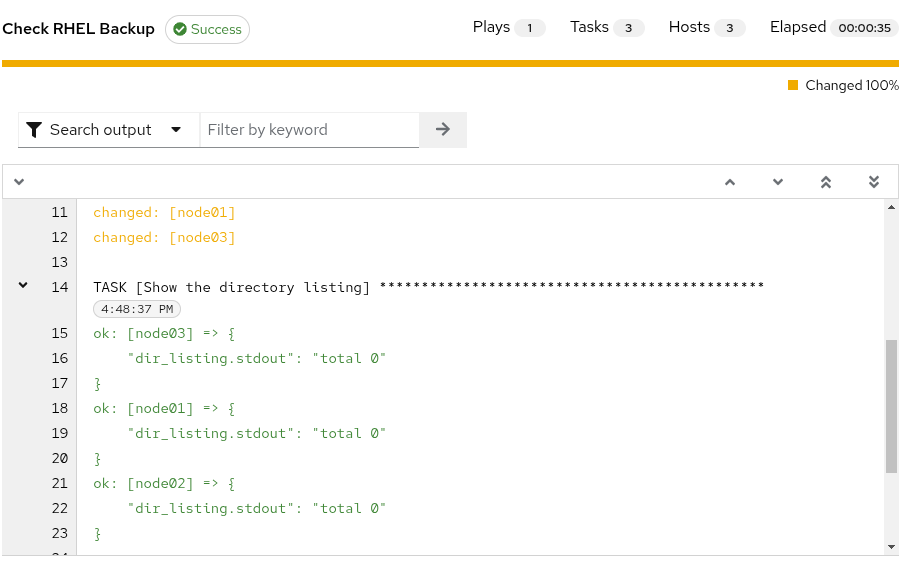
aaptab, log in and navigate to the menu in the top-left. Go to Automation Execution → Templates and launch the Check RHEL Backup job template by clicking the launch icon (🚀).The job output will show that no backups are currently available.
-
Create a backup of the RHEL servers.
Navigate back to Automation Execution → Templates and launch the Server Backup - XFS/RHEL job template. This will create XFS dumps of the file systems on your three RHEL nodes.
This backup job will take approximately 6-7 minutes to complete. You can proceed with other tasks and check back on its progress later. 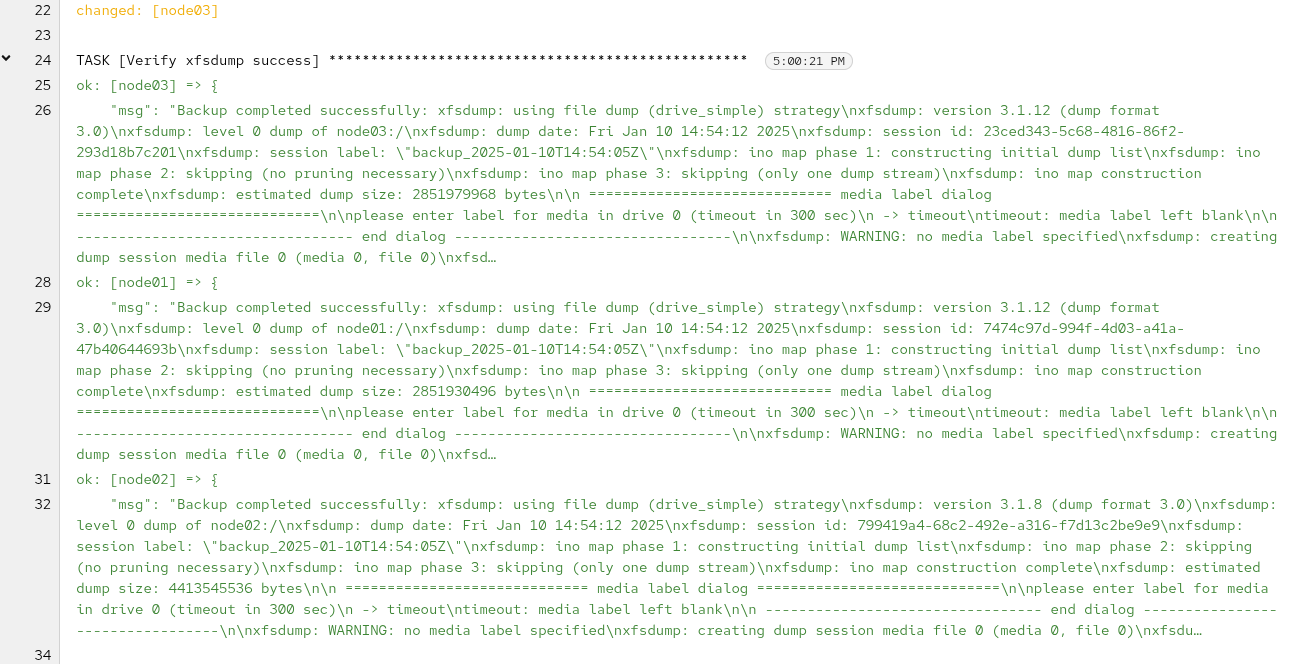
-
Verify the new backups.
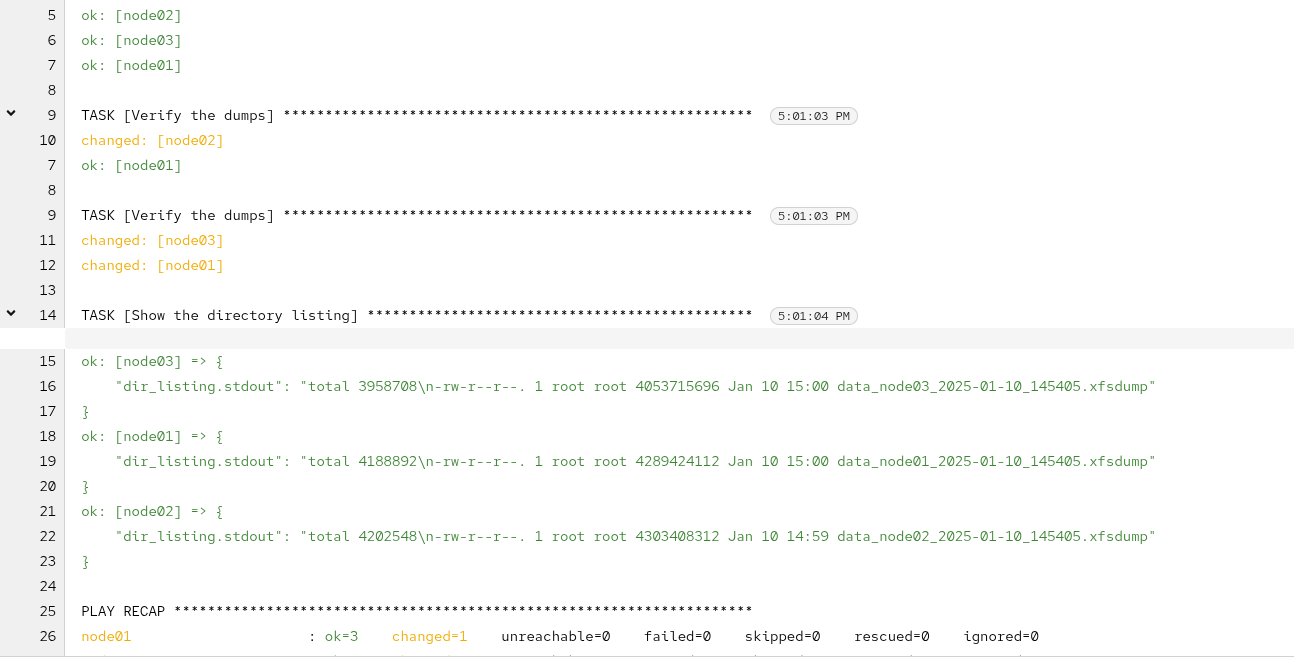
Once the backup job has completed successfully, launch the Check RHEL Backup template again. This time, the output will confirm that the backups were created successfully.
3. Creating Snapshots for Windows Systems
Now that your RHEL systems are backed up, let’s address the Windows systems. Windows has a built-in Volume Shadow Copy Service (VSS) that is excellent for creating snapshots, especially for active databases, without locking or interrupting files.
-
Create a VSS snapshot.
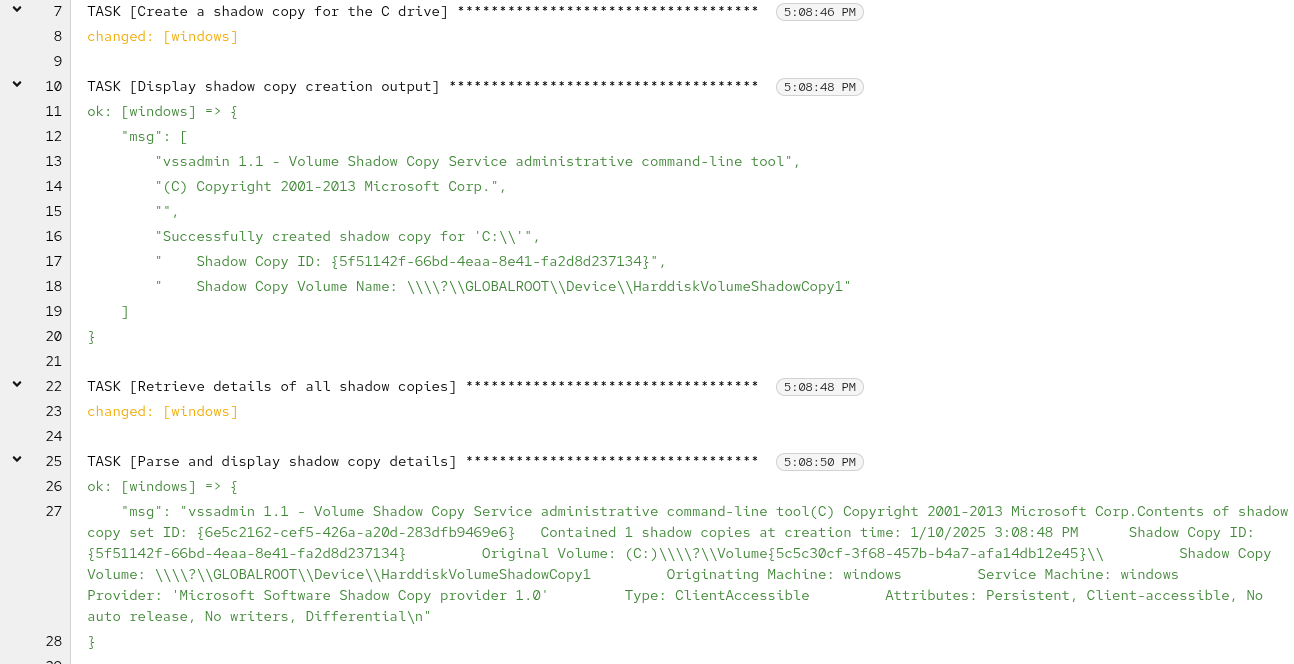
Navigate to Automation Execution → Templates and launch the Server Backup - VSS/Windows job template.
-
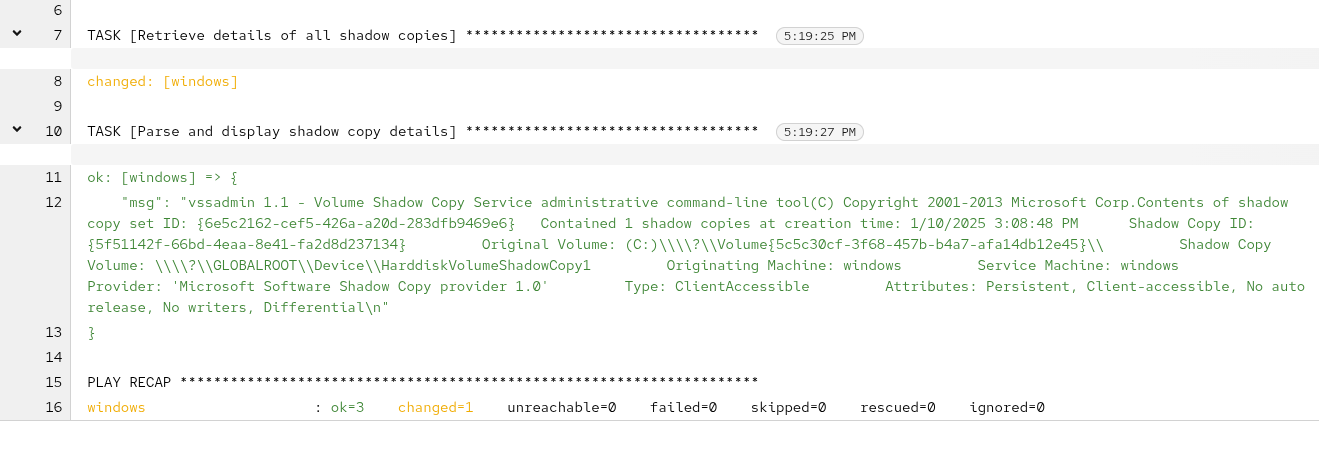
Confirm the VSS snapshot.
Once completed, navigate back to Automation Execution → Templates and run the Check Windows Backups job template.
The output will confirm that the VSS snapshot was created successfully.
-
Schedule recurring snapshots.
To run these snapshots automatically, you can create a schedule. Navigate to Automation Execution → Templates and click on the name of the Server Backup - VSS/Windows template.
Go to the Schedules tab and click Create schedule.
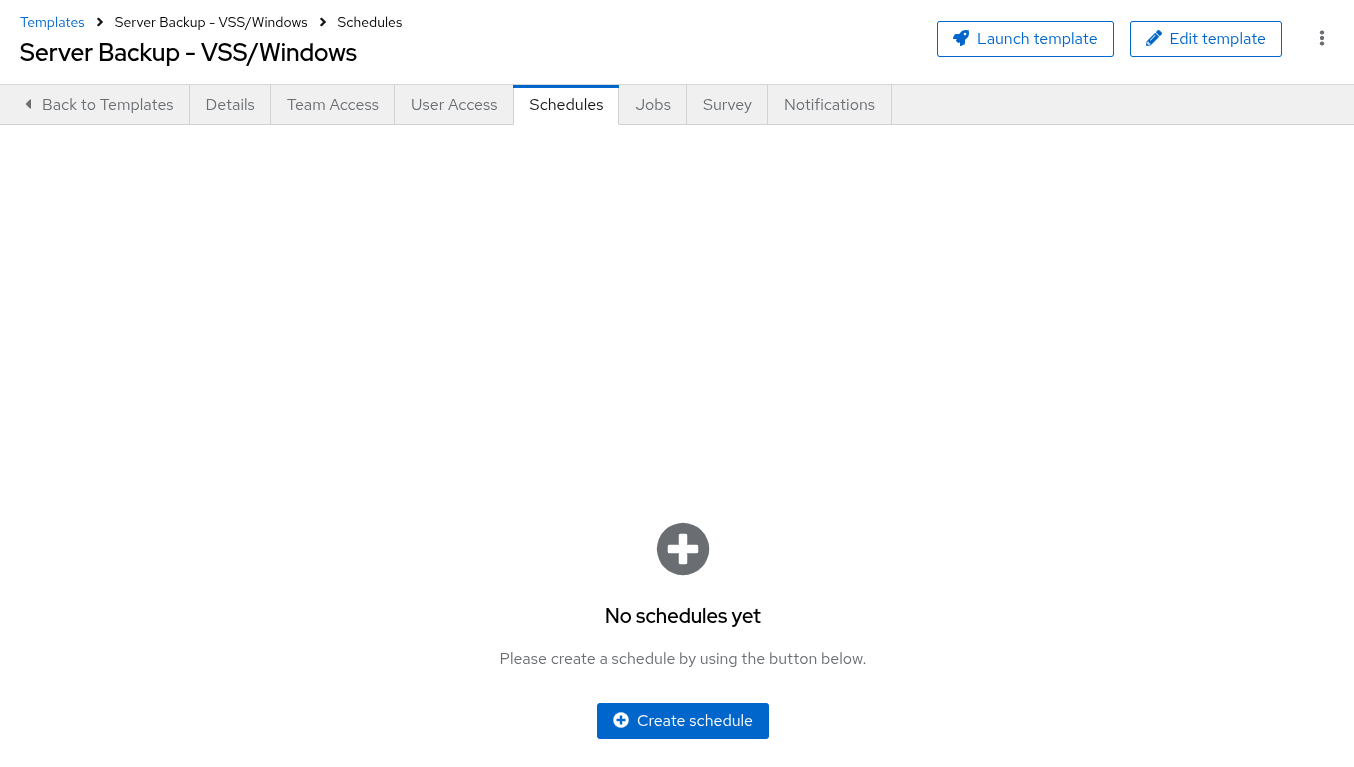
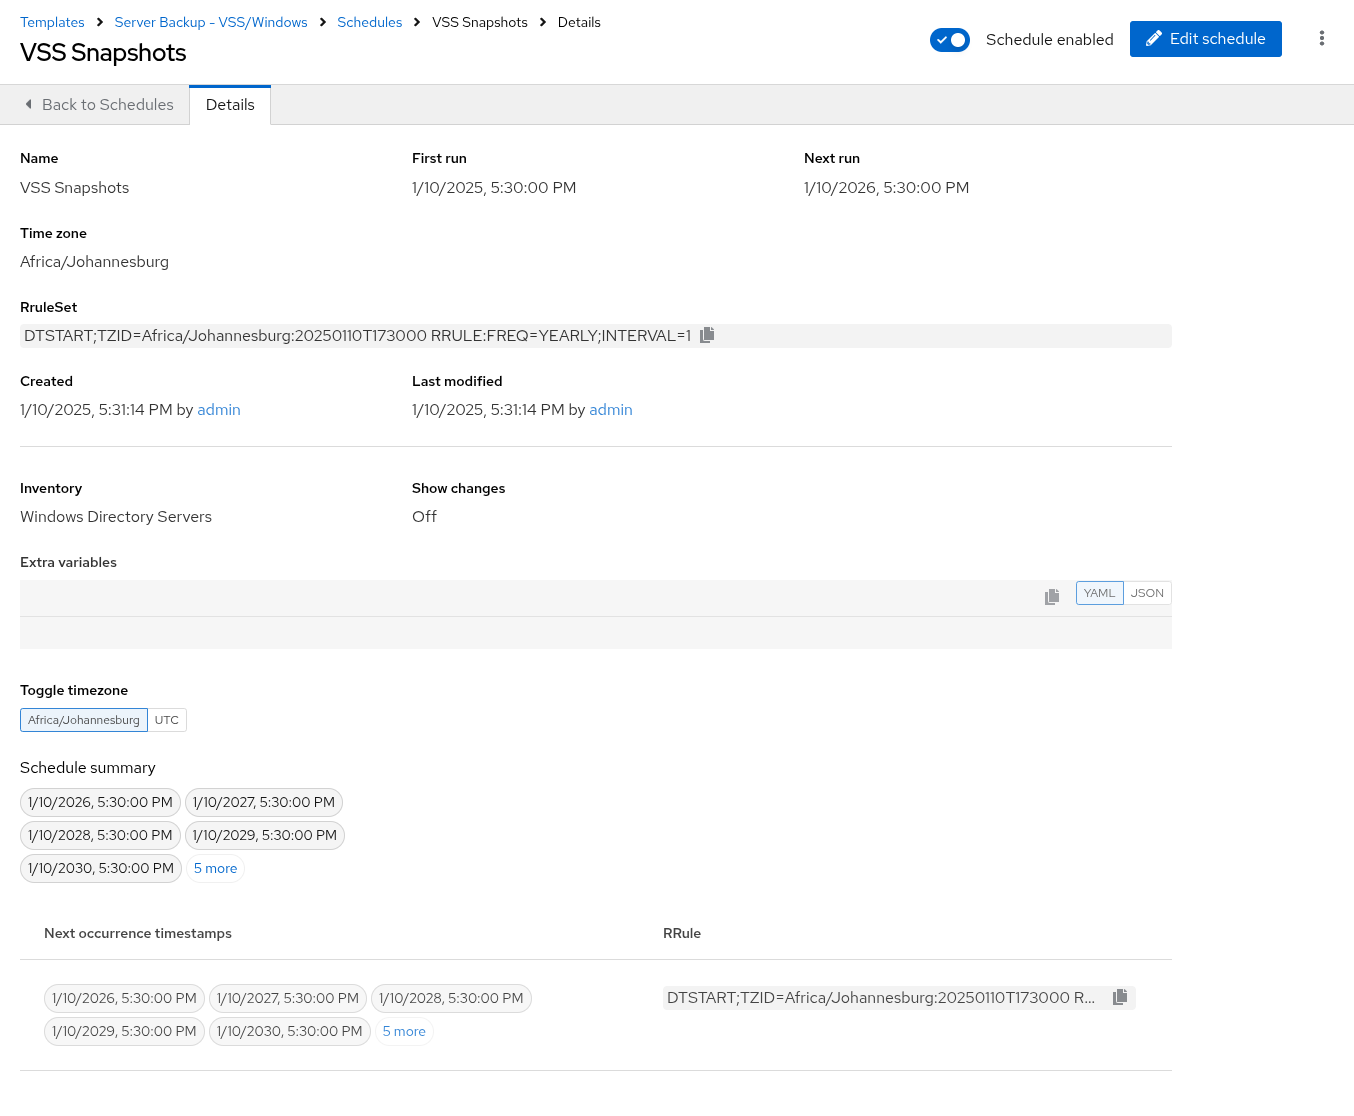
Configure the schedule with the following details:
-
Schedule Name:
2 Min Snappy -
Description:
Automated VSS SnapsClick Next to proceed to the Define Rules step.
-
Frequency:
Minutely -
Interval:
2.Click Save Rule, then click Next through the Exceptions pane and click Finish to save the schedule. Your snapshots will now run automatically every two minutes.
-
4. Appendix: Code Snippets for Review
If you’re interested, here are some key code snippets from the XFS backup playbook.
tasks:

- name: Check if xfsdump is installed
  ansible.builtin.yum:
    name: xfsdump
    state: present
  when: ansible_facts.os_family == "RedHat"

- name: Ensure the backup directory exists
  ansible.builtin.file:
    path: "{{ backup_file | dirname }}"
    state: directory
    mode: '0755'

- name: Perform xfsdump backup
  ansible.builtin.command:
    cmd: >
      xfsdump -l 0 -L {{ backup_label }}
      -f {{ backup_file }} {{ xfs_mount_point }}
  register: backup_result
  ignore_errors: no

- name: Verify xfsdump success
  ansible.builtin.debug:
    msg: "Backup completed successfully: {{ backup_result.stdout }}"
5. Troubleshooting
If you have encountered an issue or have noticed something not quite right, please open an issue on GitHub.