Standardized Environment Deployment with Ansible
Lab Guide - Scenario 02: Standardized Consistency
1. Introduction
Ready to dive into real automation? You’ve been tasked with configuring a new environment for multiple teams using standardized, consistent deployments. This scenario demonstrates how Ansible Automation Platform enables different technology teams to collaborate effectively by using pre-built playbooks and templates.
By leveraging workflow templates, job templates, and secure credential management, you’ll deploy and configure everything consistently across your infrastructure, minimizing manual intervention and ensuring accuracy.
1.1. Learning Objectives
By the end of this lab, you will be able to:
-
Create and execute workflow templates that orchestrate multiple job templates
-
Implement secure credential management using Ansible Vault
-
Deploy standardized configurations across Windows and Linux environments
-
Manage infrastructure as code through automated inventory management
3. Exercise 1: Baseline Configuration and Applications
3.1. Understanding the Request
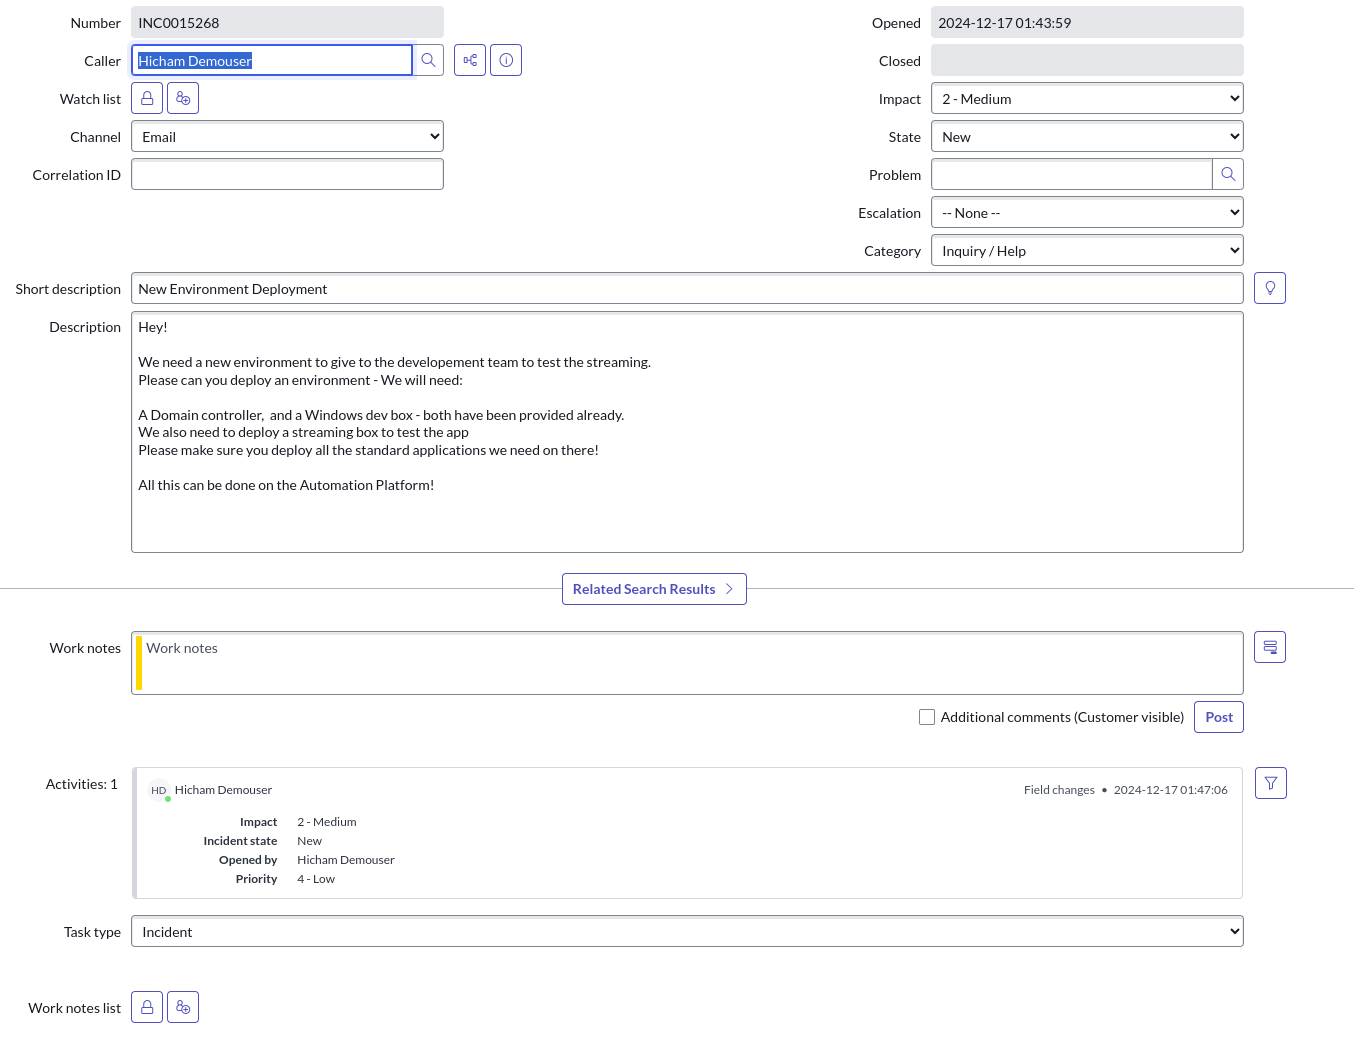
You’ve received a support ticket requesting configuration updates for two Windows servers in the UAT (User Acceptance Testing) environment. The requirements include:
-
Deploy a standard set of applications
-
Apply specific registry changes for environment compliance
-
Disable automatic updates to ensure stability
-
Prevent unintended changes during testing phases
To address this request efficiently, you’ll create a workflow template that combines multiple job templates into a logical, repeatable process.
3.2. Step 1: Create a Workflow Template
-
Navigate to Automation Execution → Templates
-
Click Create template
-
Select Create workflow job template
Workflow Configuration:
| Field | Value |
|---|---|
Name |
Windows Apps and Settings |
Organization |
Default |
Description |
Required Applications and Settings |
Inventory |
Windows Servers |
-
Click Create workflow template
This will open the Workflow Visualizer where you’ll design your automation workflow.
3.3. Step 2: Add the First Workflow Step
-
In the Workflow Visualizer, click Add Step
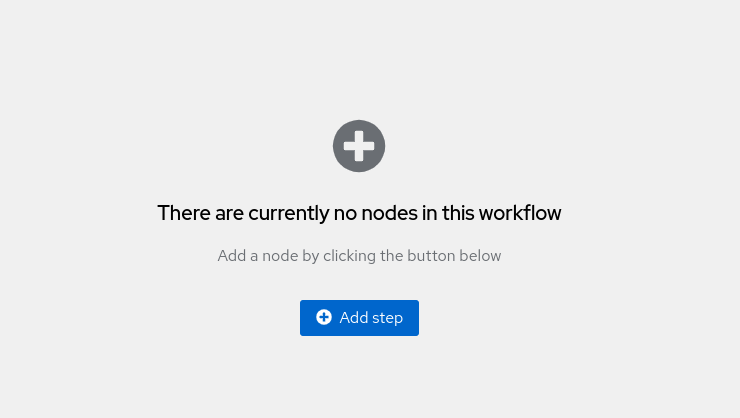
First Step Configuration:
| Field | Value |
|---|---|
Node Type |
Job Template |
Job Template |
Windows Registry keys |
Convergence |
Any |
-
Click Next and Finish
3.4. Step 3: Add the Second Workflow Step
-
Select the ... menu on your first step
-
Click Add step and link
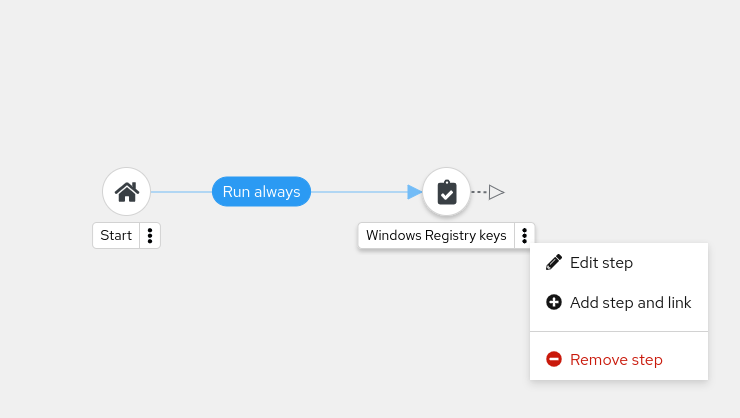
Second Step Configuration:
| Field | Value |
|---|---|
Node Type |
Job Template |
Job Template |
Windows Server Applications |
Status |
Always run |
Convergence |
Any |
-
Click Next and Finish
-
Select Save to save the workflow
3.5. Step 4: Execute the Workflow
-
Navigate to Automation Execution → Templates
-
Select the Windows Apps and Settings workflow
-
Click Launch template
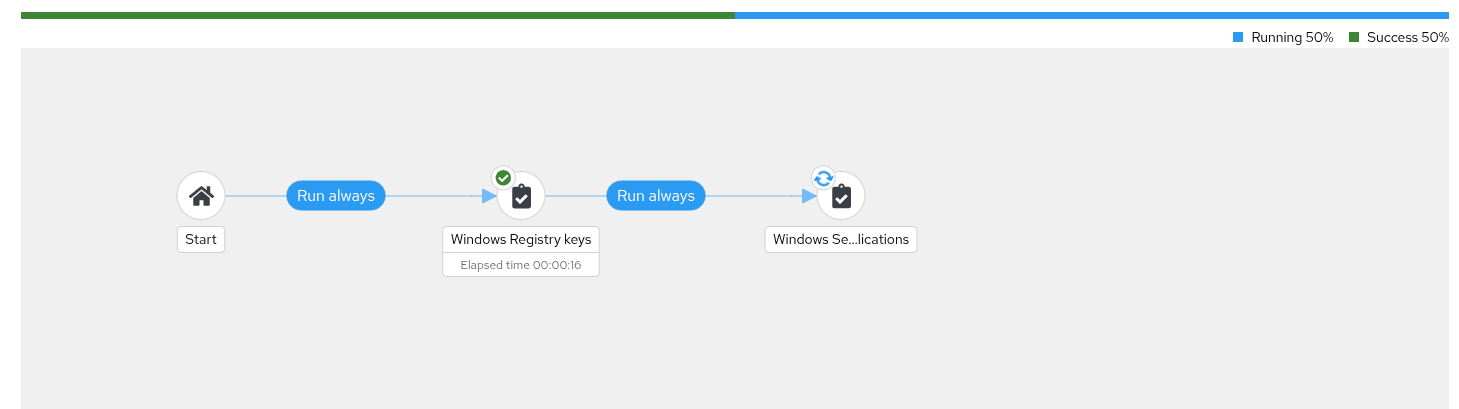
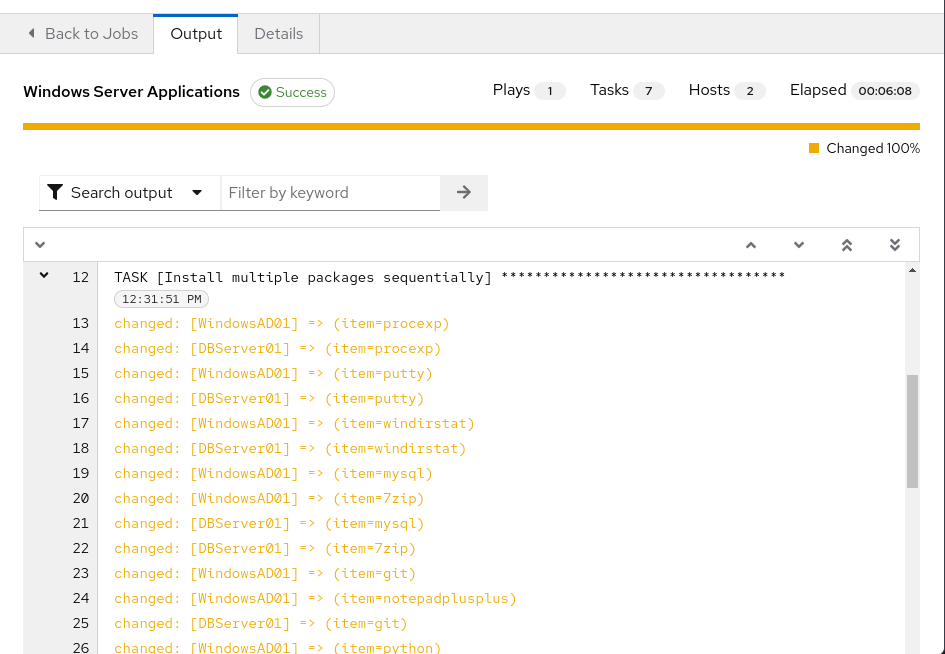
Monitor the workflow execution in the output. You’ll observe how the workflow orchestrates multiple job templates:
-
First: Windows Registry keys configuration (completes with green checkmark)
-
Then: Windows Server Applications installation (blue spinning arrows while running)
|
The complete workflow takes approximately 3-4 minutes. Both Windows servers will be configured with necessary registry changes and applications required by development teams. |
4. Exercise 2: Domain Controller Configuration
4.1. Understanding the New Request
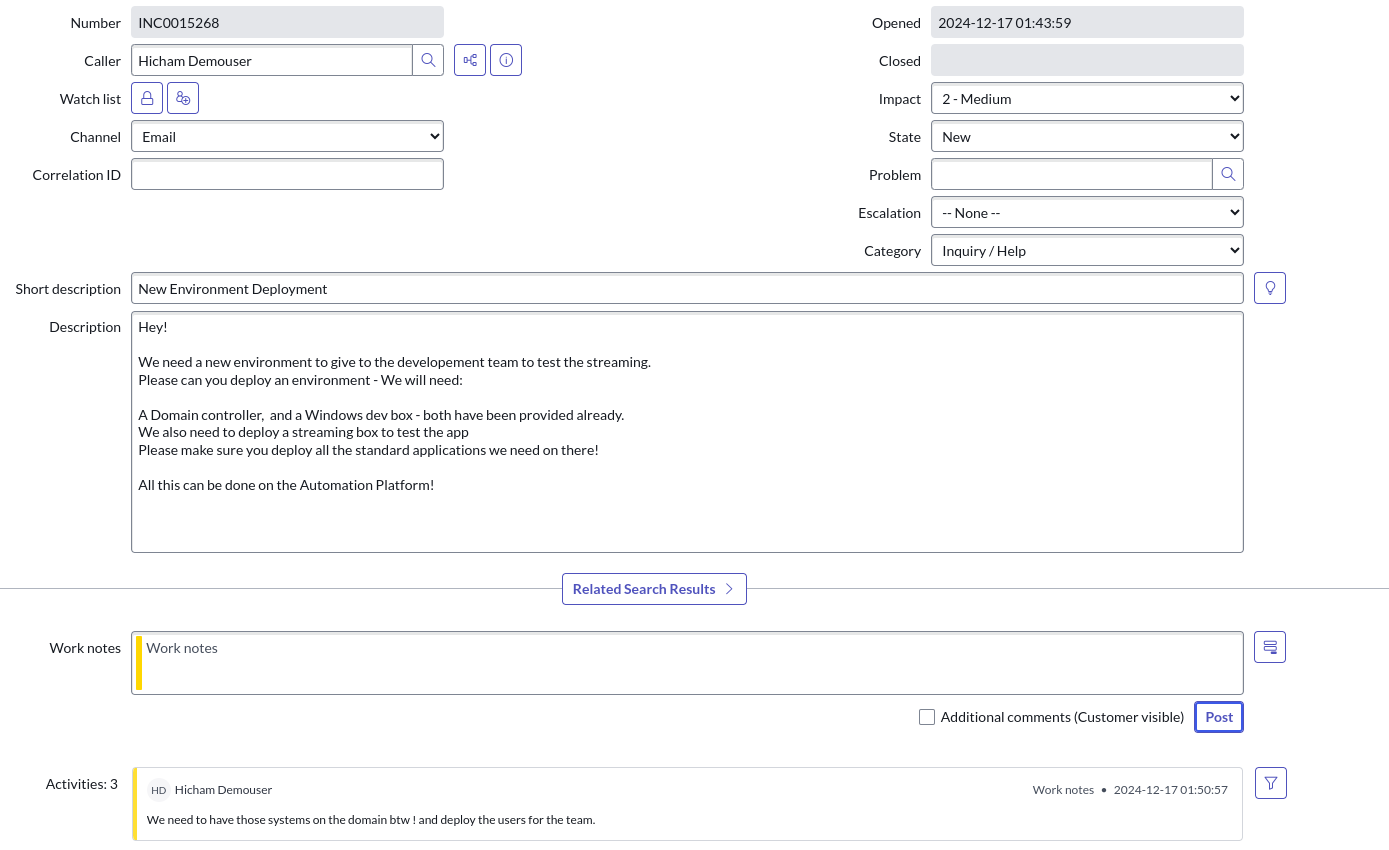
A new infrastructure request has arrived from the operations team:
-
Configure one Windows server as a domain controller
-
Prepare another server for database services
-
Ensure compliance with organizational policies
Your Windows SMEs have provided job templates to deploy this environment consistently.
4.2. Step 1: Verify Current Server State
-
Navigate to the Windows tab
-
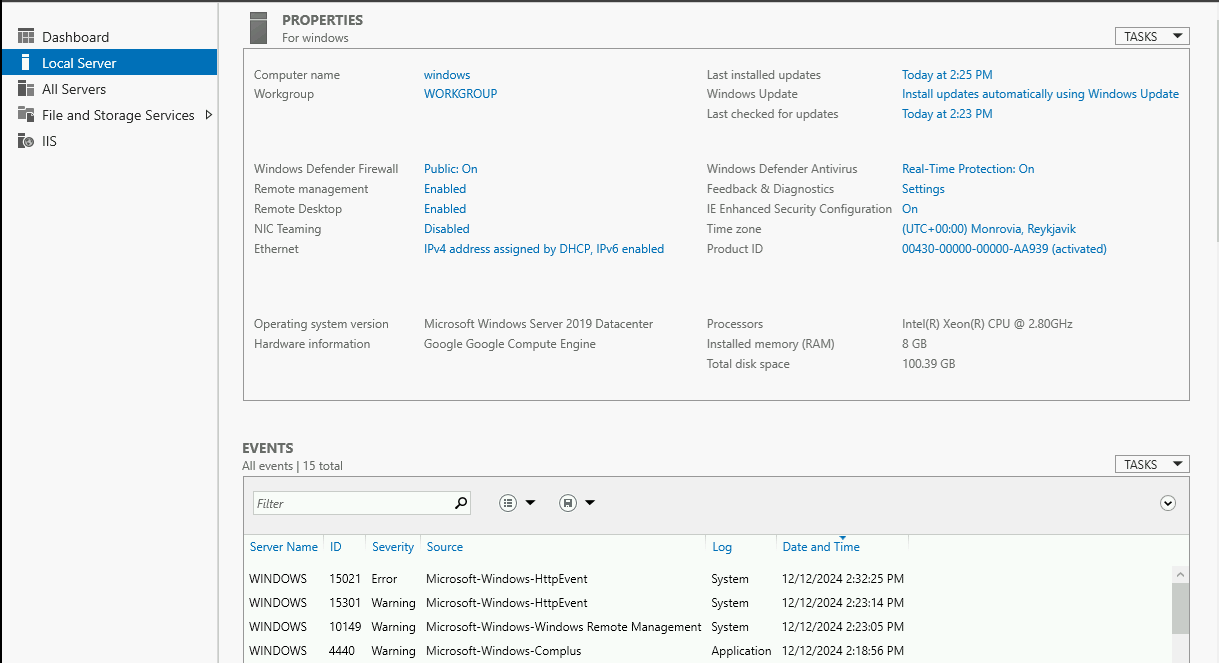
Click the Start/Windows button and open Server Manager
-
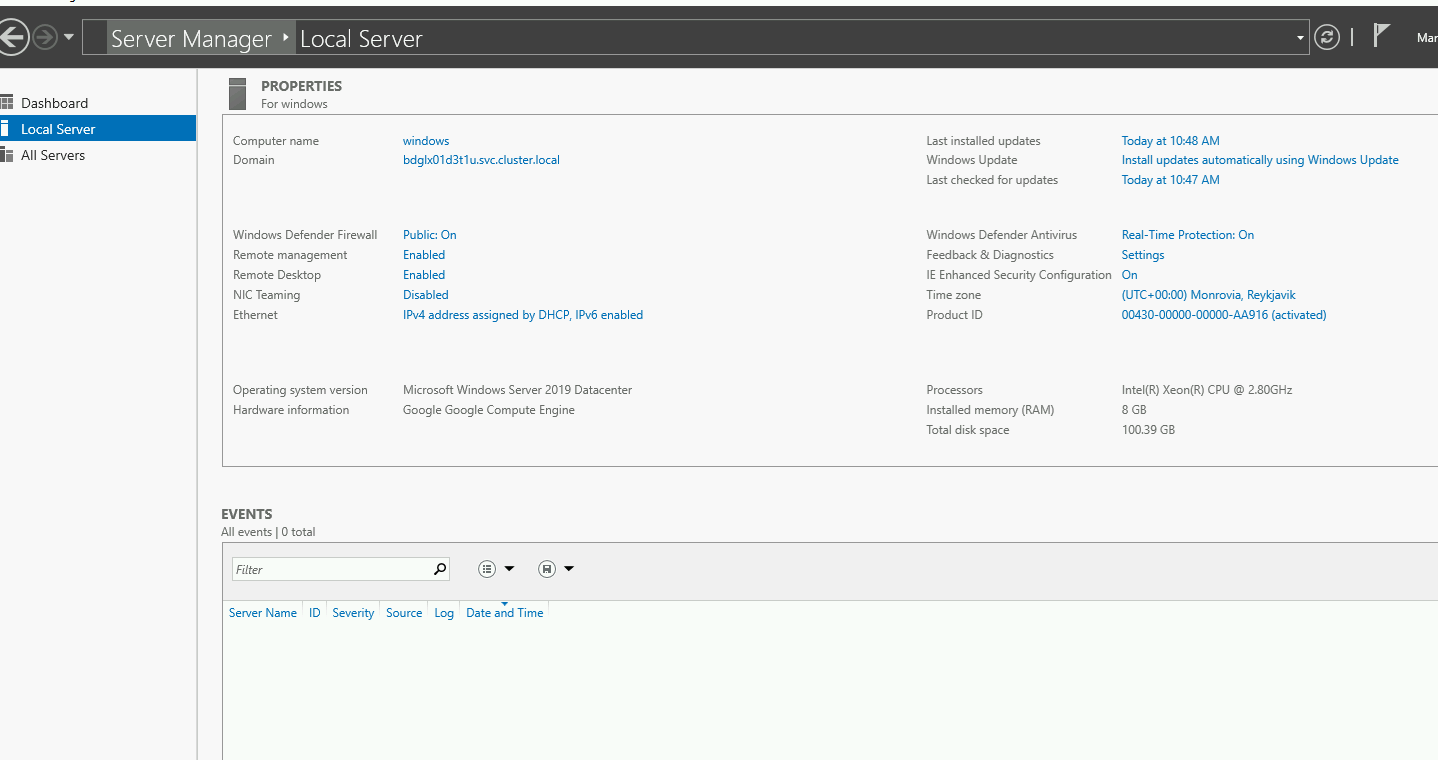
Select Local Server
-
Verify the server is currently part of the default WORKGROUP with limited services
4.3. Step 2: Configure Secure Credentials
-
Navigate to your AAP tab
-
Go to Automation Execution → Templates
-
Edit the Windows Domain Controller template
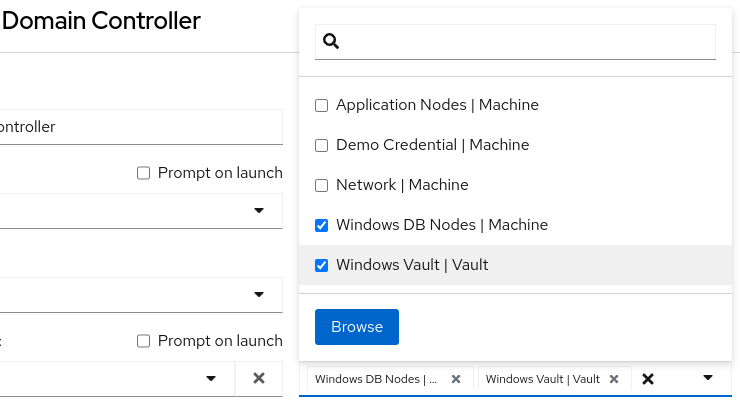
Your Windows team has provided an Ansible Vault for secure credential storage. This ensures Active Directory credentials remain encrypted and protected.
Adding Vault Credentials:
-
Click Edit template
-
In the Credentials section, add the Windows Vault credential
-
Save the job template
|
Ansible Vault credentials ensure sensitive information remains encrypted and secure. You don’t have direct access to the credentials, maintaining security best practices. |
4.4. Step 3: Deploy Active Directory
-
Launch the job template using Launch template
-
Monitor the output as each task executes
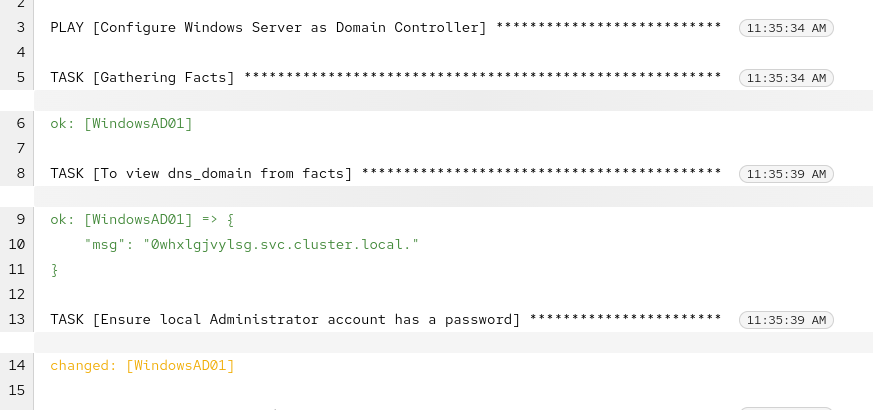
The template will display the domain/forest information generated by the environment. Record this domain detail for future reference.
|
This process takes several minutes to deploy Active Directory and reboot the system. After reboot, default Group Policies will also be applied. |
5. Exercise 3: RHEL Server Deployment
5.1. Expanding Infrastructure
With Active Directory configured and Windows servers deployed, the next step involves deploying a RHEL system for streaming applications. Your standardized build templates will streamline this process.
|
This exercise simulates provisioning tasks. In production environments, you would customize instance configurations to meet specific requirements. |
5.2. Step 1: Review Current Inventory
-
Navigate to Automation Execution → Infrastructure → Inventories
-
Examine existing inventories:
-
Network environments
-
Windows environments
-
Video Platform Inventory (currently contains only a loadbalancer group)
-
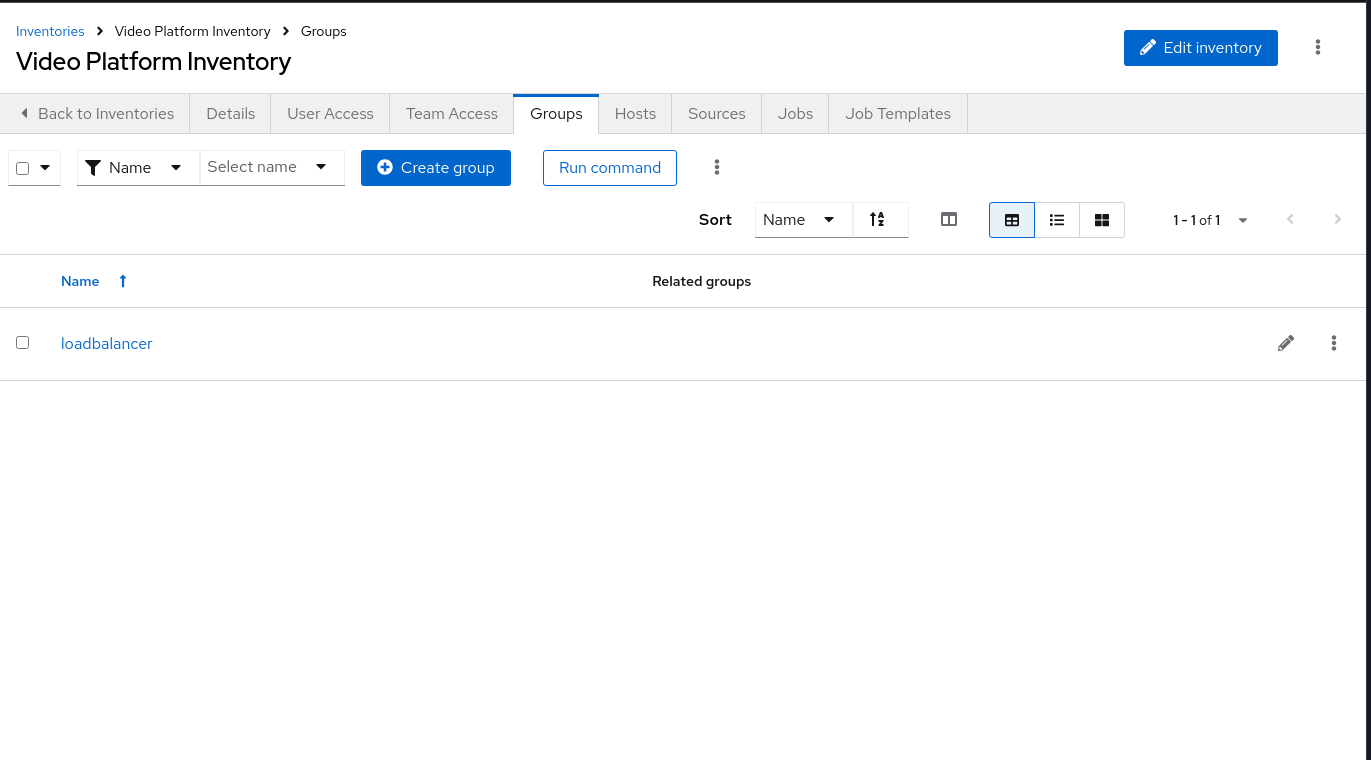
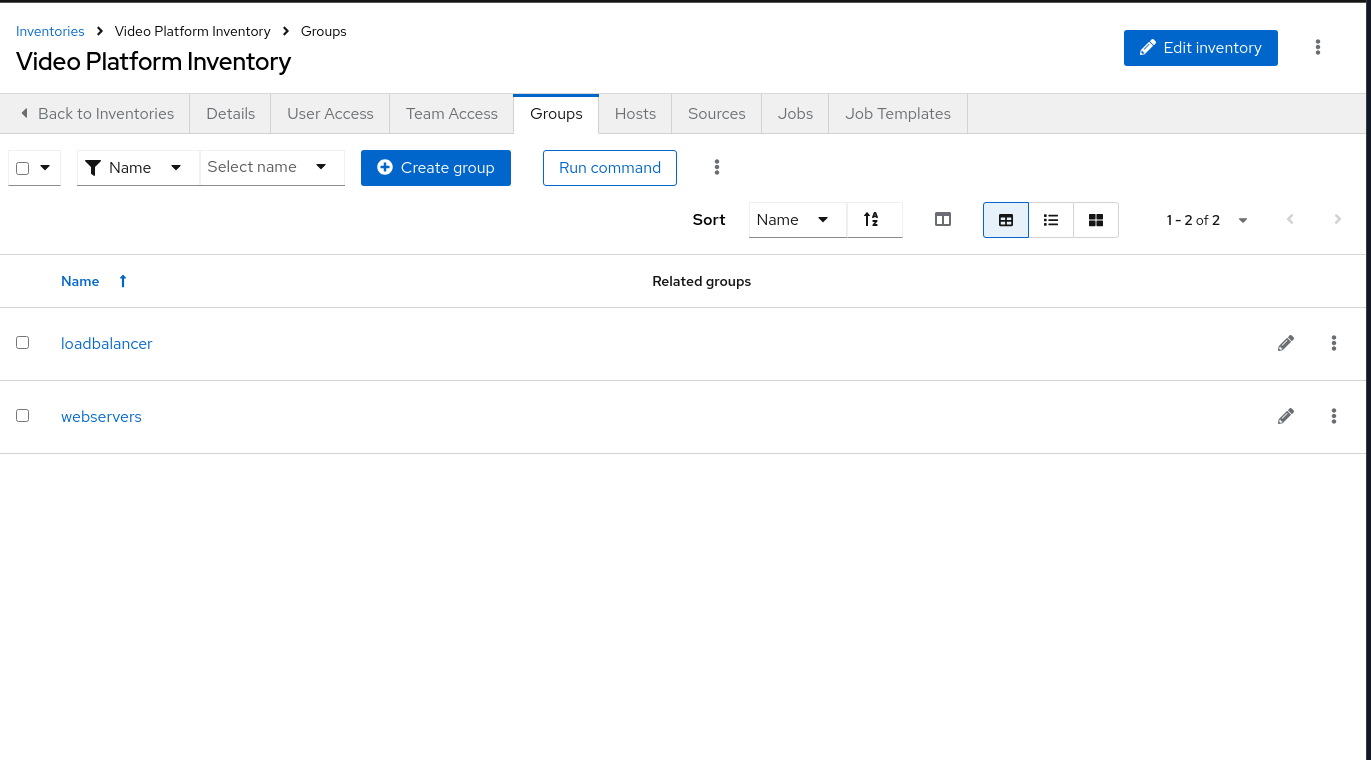
You need to deploy a RHEL system and configure a webservers group for future use.
5.3. Step 2: Deploy New Node
-
Navigate to Automation Execution → Templates
-
Launch the Deploy Node template
-
When prompted for the node name, enter:
node01 -
Submit the job
|
In this simulated environment, we use configuration as code to build inventory. With inventory plugins, you could synchronize against an inventory source. |
6. Code Reference
6.1. Windows Application Installation with Chocolatey
Here’s the automation code for installing standardized Windows applications:
tasks:
  - name: Ensure Chocolatey is installed
    win_chocolatey:
      name: chocolatey
      state: present

  - name: Install multiple packages sequentially
    win_chocolatey:
      name: '{{ item }}'
      state: present
    loop:
      - procexp
      - windirstat
      - 7zip
      - git
      - python

  - name: Check python version
    ansible.windows.win_command: python --version
    register: check_python_version

  - name: Show python version
    ansible.builtin.debug:
      msg: Python Version is {{ check_python_version.stdout_lines[0] }}
6.2. Domain Controller Promotion
Here’s the code for promoting Windows servers to domain controllers:
tasks:
  - name: Ensure local Administrator account has a password
    ansible.windows.win_user:
      name: "{{ username }}"
      password: "{{ user_password }}"

  - name: Promote system to a domain Controller
    microsoft.ad.domain:
      dns_domain_name: "{{ wins_domain }}"
      safe_mode_password: "{{ safe_password }}"
      domain_mode: Win2012R2
      forest_mode: Win2012R2
      reboot: true

  - name: Firewall rule to allow RDP on TCP port 5986
    win_firewall_rule:
      name: WinRM
      localport: 5986
      action: allow
      direction: in
      protocol: tcp
      profiles: domain,private,public
      state: present
      enabled: yes