Web Application Deployment and Load Balancing with Ansible
Introduction
Excellent progress! You’ve reached the final phase of your environment deployment. With your infrastructure, domain services, and user accounts configured, it’s time to deploy the actual application that will serve your development teams.
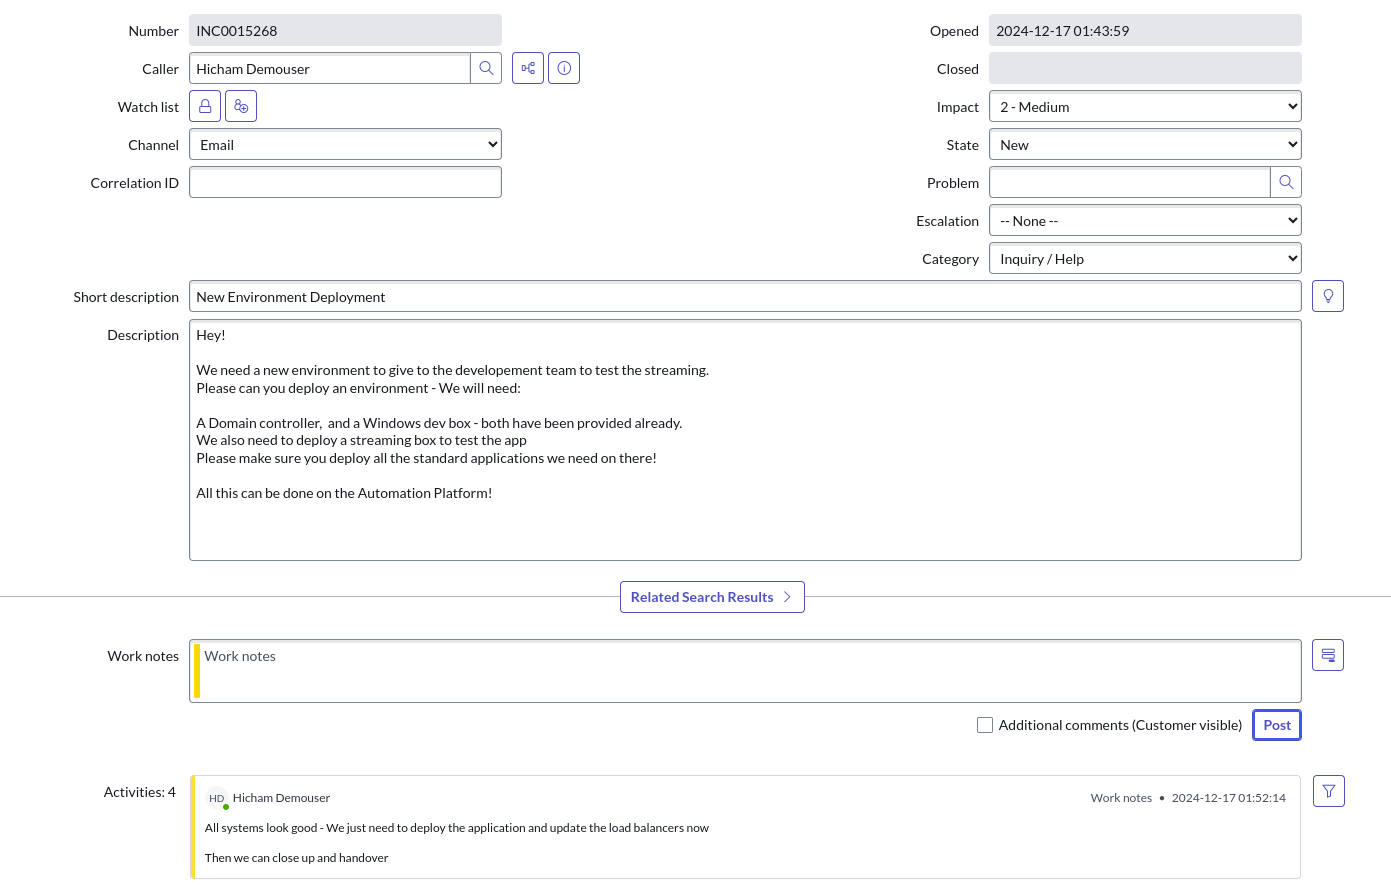
This exercise demonstrates how Ansible can orchestrate complex, multi-tier application deployments across hybrid infrastructure while ensuring high availability through load balancing.
Learning Objectives
By the end of this lab, you will be able to:
-
Deploy web applications across both Windows and RHEL platforms using platform-specific configurations
-
Configure load balancing with HAProxy for high availability and traffic distribution
-
Implement service discovery and dynamic server configuration
-
Orchestrate complete application stacks from infrastructure to application deployment
Lab Environment Setup
Your DNS domain for this lab is: [[ Instruqt-Var key="DOMAIN" hostname="control" ]]
|
This lab represents the final phase of your environment deployment, building upon all previously configured infrastructure including domain services, user accounts, and server deployments. |
Exercise 1: Multi-Platform Web Application Deployment
You’ll deploy the same web application across both Windows and RHEL platforms, demonstrating Ansible’s ability to manage heterogeneous environments with consistent results.
Step 1: Deploy Windows Web Application
First, let’s deploy the web application on your Windows server using IIS:
-
Navigate to your AAP tab and login
-
Go to Automation Execution → Templates
-
Launch the Windows Deploy WebApp template
This automation will:
-
Configure IIS web server on Windows
-
Deploy application files and dependencies
-
Configure proper security and access permissions
-
Start necessary Windows services
Step 2: Verify Windows Deployment
Once the template completes:
-
Navigate to the webapp-windows tab
-
View the deployed web application

The application should be running successfully on IIS with proper Windows-specific configuration.
Step 3: Deploy RHEL Web Application
Now deploy the same application on your RHEL server using Apache:
-
Navigate to Automation Execution → Templates
-
Launch the RHEL Deploy WebApp template
This automation will:
-
Configure Apache web server on RHEL
-
Clone application source code from repository
-
Deploy and configure application files
-
Start Apache services with proper configuration
Step 4: Verify RHEL Deployment
Once the template completes:
-
Navigate to the webapp-rhel tab
-
View the deployed web application

|
Both deployments use the same source application but with platform-specific configurations, demonstrating Ansible’s ability to abstract deployment complexity while maintaining consistency. |
Exercise 2: Load Balancer Configuration
With both application servers deployed, you need to configure load balancing to distribute traffic and provide high availability.
Step 1: Verify Current Load Balancer State
-
Navigate to the loadbalancer tab
-
Refresh the page

As expected, there’s nothing configured yet - the load balancer needs to be told about your application servers.
Step 2: Configure Load Balancer with RHEL Server
-
Navigate to Automation Execution → Templates
-
Launch the Configure Loadbalancer template
-
When prompted for hostname, provide:
node01.{dns_domain}
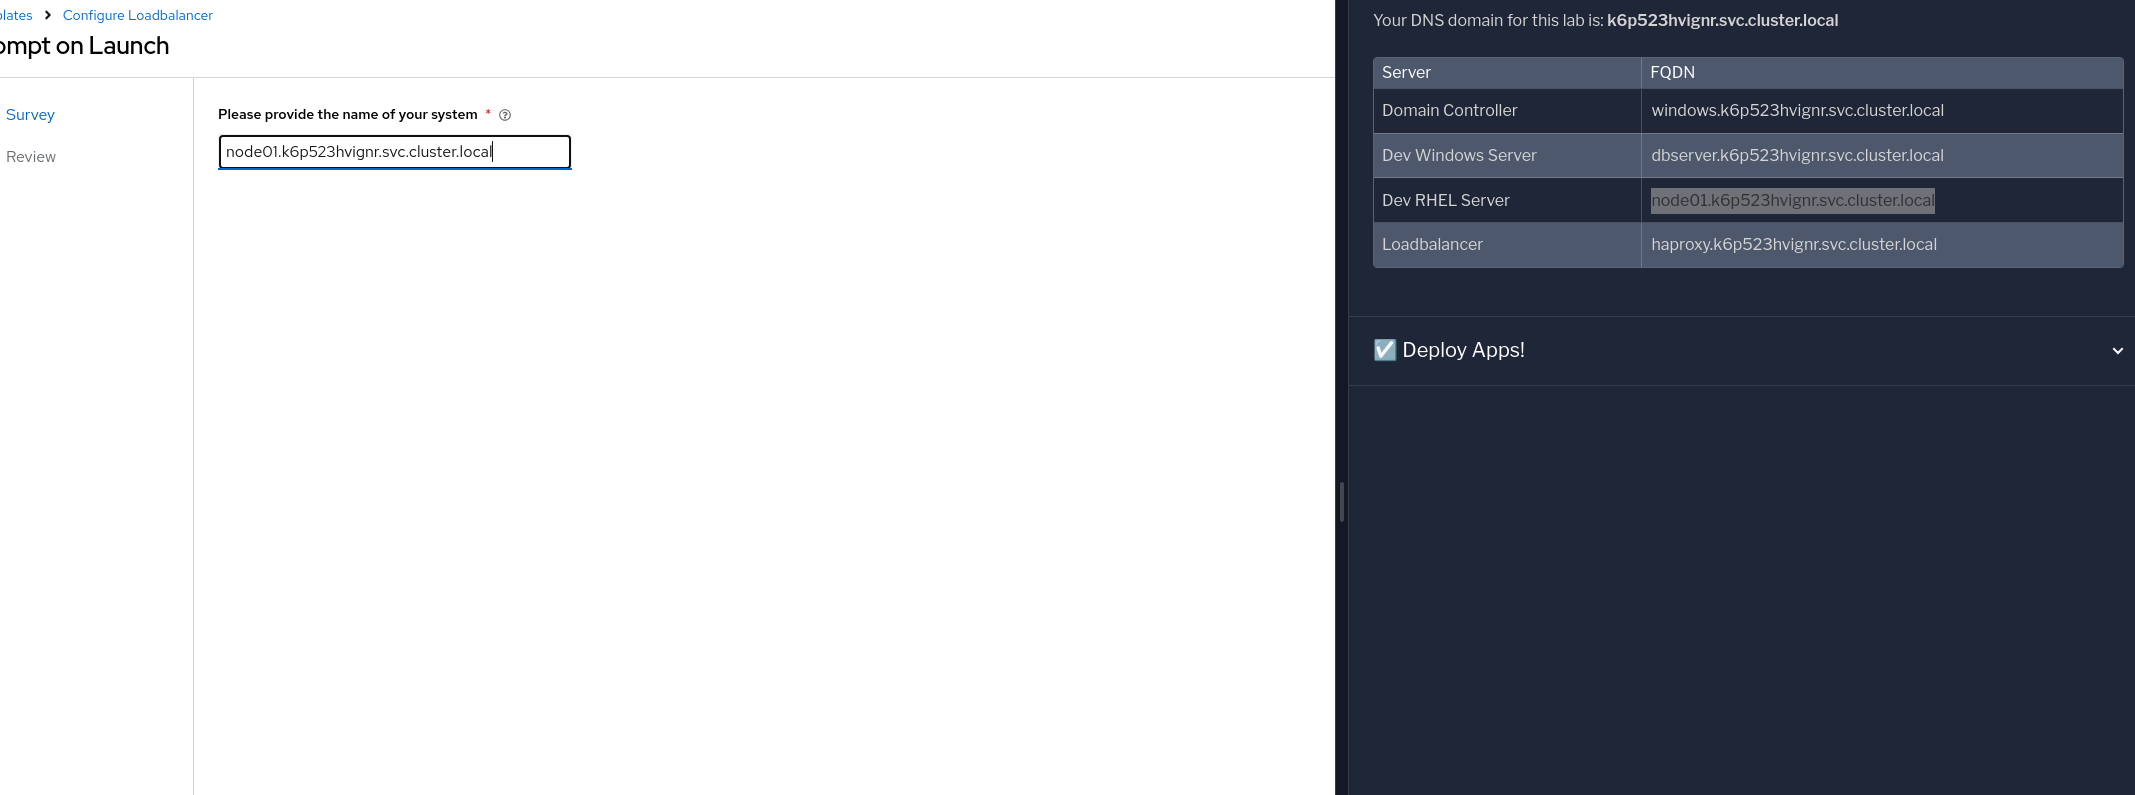
This will configure HAProxy to include your RHEL server in the load balancing pool.
Step 3: Add Windows Server to Load Balancer
-
Re-run the Configure Loadbalancer template
-
When prompted for hostname, provide:
dbserver.{dns_domain}
The load balancer will now distribute traffic between both your Windows and RHEL application servers.
Step 4: Test Complete Application Stack
Before final testing:
-
Verify each individual application server is responding correctly
-
Check the webapp-windows tab for Windows server availability
-
Check the webapp-rhel tab for RHEL server availability
-
Navigate to the loadbalancer tab to test load-balanced access
The load balancer will now rotate traffic between your two application servers, providing redundancy and distributing the load.
|
The environment is now ready for handover to your development teams! They have a fully redundant, load-balanced web application running across hybrid infrastructure. |
Code Reference
HAProxy Load Balancer Configuration
Here’s the automation code for configuring HAProxy load balancing:
tasks:
  - name: Resolve DNS server hostname to IP
    set_fact:
      host_ip: "{{ lookup('dig', host) }}"

  - name: Add static hosts to load balancer
    ansible.builtin.lineinfile:
      path: /etc/haproxy/haproxy.cfg
      line: "server static-{{ host}} {{ host_ip }}:80 check"
      insertafter: '^## STATIC CONFIG ANSIBLE'
      state: present

  - name: Add webapp hosts to load balancer
    ansible.builtin.lineinfile:
      path: /etc/haproxy/haproxy.cfg
      line: "server webapp-{{ host }} {{ host_ip }}:80 check"
      insertafter: '^## APP CONFIG ANSIBLE'
      state: present
    notify:
      - restart haproxy

handlers:
  - name: restart haproxy
    service:
      name: haproxy
      state: restarted
RHEL Web Application Deployment
Here’s the code for deploying web applications on RHEL systems:
tasks:
- name: clone a git repo
ansible.builtin.git:
repo: https://github.com/nmartins0611/aap25-roadshow-content.git
dest: /tmp/repo
- name: copy all files from one directory to another
ansible.builtin.copy:
src: /tmp/repo/lab-resources/
dest: /var/www/html
remote_src: true
- name: Tag the page
ansible.builtin.lineinfile:
path: /var/www/html/index.html
line: "This is running on the RHEL Host"
insertafter: "<p>© 2024 TMM - Where comedy lives. All rights reserved.</p>"
- name: Start httpd service
ansible.builtin.service:
name: httpd
state: started