Ansible Automation Platform
With everything built and working on the command line, let’s move our workload into Ansible Automation Platform (AAP).
Configuring Ansible Automation Platform
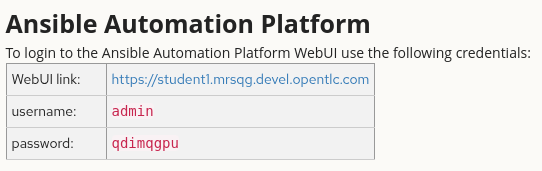
Back in Exercise 1.1 we had two links from the student workbench assignment, one for VS Code and another for Ansible Automation Platform. Now we will click the Ansible Automation Platform link and login with the information listed under the link.
You are looking for something that looks like this (you own information will be different):
Once logged in, in the left side navigation, expand Automation Execution and click on Templates. Click on the blue Create template button and choose Create job template.
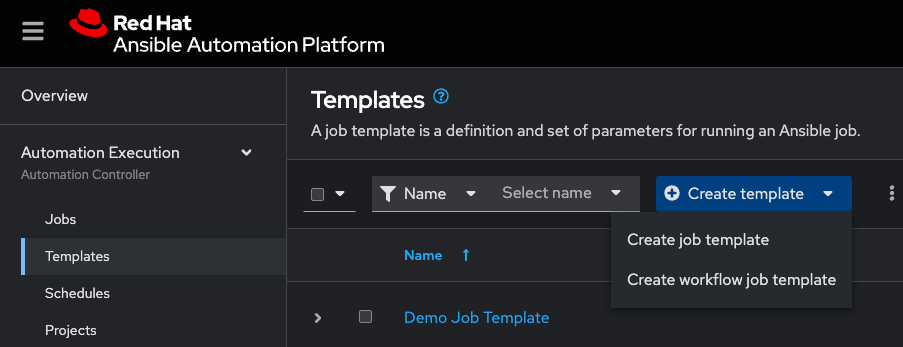
| If you don’t have a navigation bar as seen in the screenshot, it may be hidden due to limited screen space. You can click on the 3 lines in the upper left corner to access it. |
Fill out the form with the information below:
Name |
Router configuration |
Inventory |
Workshop Inventory |
Project |
Cisco Telemetry |
Playbook |
playbooks/configure_ios_routing.yml |
Execution environment |
Lab EE |
Credentials |
Workshop Credential | Machine |
Extra variables |
Check |
| Pay close attention to the capitalization of the Job Template name. It needs to match the value in the table exactly. |
When this information is entered, click the Create job template button at the bottom of the screen.
At the top of the next screen that appears, click on the Launch template button.

You’ll be prompted for variables (if not, double check your template has the right box checked). Don’t enter anything and just click Next, then Finish.
| It takes up to a minute for the playbook to start running. This is because you will be waiting for the Execution Environment image to pull, since this is a new AAP environment. |
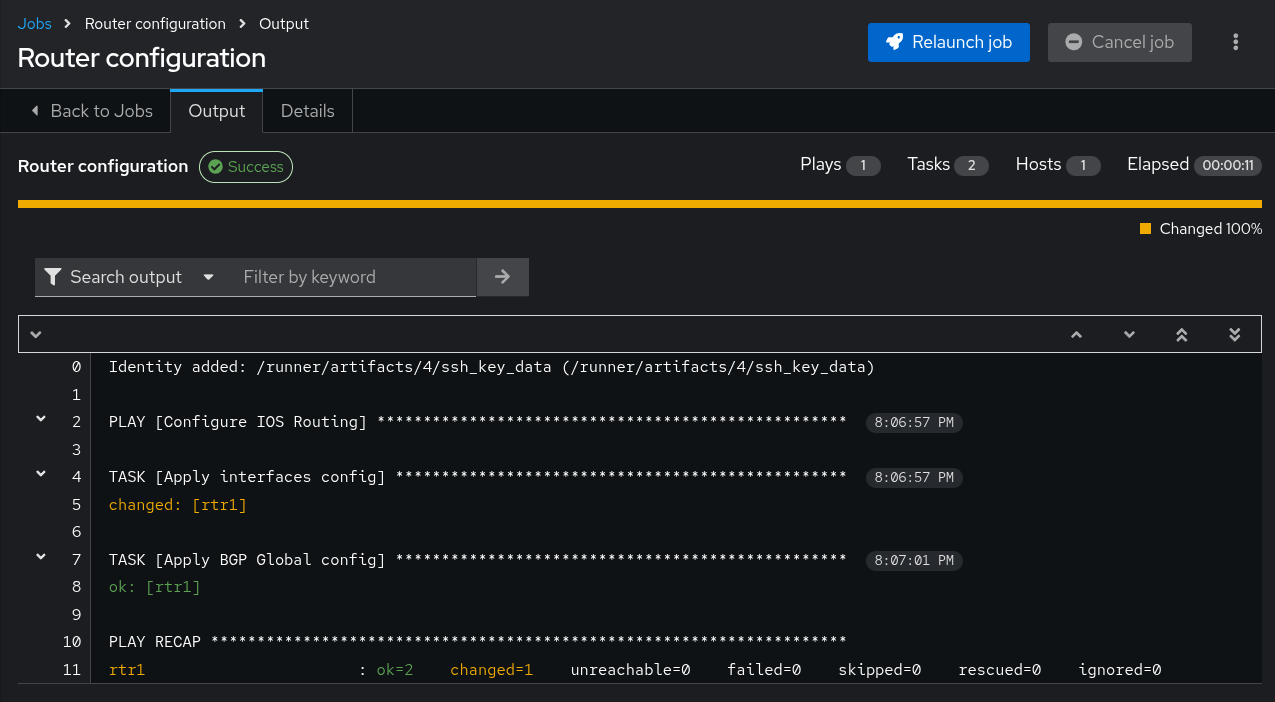
When the playbook runs, it should look just like the other times we ran this same playbook on the command line. It should still come back with all ok task outputs. The difference now is that we have access to enterprise features like role-based access control, automatic logging, push-button execution, and API-based job launches, among others.
Configuring Event-Driven Ansible Controller
Now that we have the AAP equivalent of our ansible-navigator command on the command line, we need to work on building the AAP equivalent of the ansible-rulebook command we were running in Exercise 4.2.
In the left side navigation, expand Automation Decisions, and click on Rulebook Activations. You shouldn’t have any activations yet, so click on the blue Create rulebook activation button.
Similar to what you did for the Job Template, fill out the form with the information below:
Name |
Interface status |
Organization |
Default |
Project |
Cisco Telemetry |
Rulebook |
interface_status_aap.yml |
Credential |
Automation Controller |
Decision environment |
Lab DE |
Everything else can be left empty or default. Click the Create rulebook activation button at the bottom of the screen.
Two things to highlight here:
-
The rulebook
interface_status_aap.ymlis the same as the rulebookinterface_status_cli.ymlthat you ran earlier on the command line with one key difference: The action is to kick off a Job Template (the one you just made). This is the reason why you need theAutomation Controllercredential. -
We are using a Decision Environment, which is like an Execution Environment, but for use with Event-Driven Ansible.
| As before, with the new environment, you’ll need to wait for it to pull the Decision Environment image. This can take up to a minute. |
You can proceed when you see Activation status change to Running.
At the top of the screen, click on the History tab, then click on the 1 - Interface status link. Here is where we can see the ansible-rulebook log and verify that everything came up with no errors.
As before, we want to break the router config to see it get fixed. Switch back to your VS Code tab and ssh to rtr1 to do so. The commands again are:
ssh rtr1configure terminal
interface Tunnel0
shutdown
end
show ip interface briefSwitch back to your AAP tab. In the left side navigation, under Automation Decisions, click on Rule Audit. Depending on how quick you were, you’ll either already see an entry on this page, or one will appear shortly.
Once available, click on Re-apply config when interface not up (which is the name of the rule in the rulebook).
On the page that appears, click on the Events tab. There should be one entry for ansible.eda.kafka. Click on it. The event details pop up, and we can see that we have the same data available to us as we did in Exercise 4.1. Click the Close button.
Click on the Actions tab. We can see a single entry run_job_template. Instead of clicking the link, in the left side navigation, click on Automation Execution > Jobs. You should see a second instance of "Router configuration" appear in the list with a very recent timestamp. Click on it to observe that the "Apply interfaces config" task reports changed just as it did before on the CLI.
Switch back to your VS Code tab, where your SSH session to rtr1 should still be active. Verify that the interface came back up.
show ip interface briefYou now have AAP running the same Event-Driven workload as we developed on the command line.
Exit your SSH session before moving on.
exit