Model Development with InstructLab: Taxonomy Customization & Synthetic Data Generation
Let’s apply what we’ve learned in order to curate initial seed training data to fine-tune a model for 404 Airlines! Effective taxonomy curation is foundational to achieving optimal results when using InstructLab. As mentioned before, the taxonomy serves as the model’s data organization and source of truth, impacting the synthetic data generation pipeline and subsequent fine‑tuning processes. When carefully curating a Question & Answer (qna.yaml) file for our taxonomy, you’ll typically go through a few steps and should know these guidelines:
-
Domain Identification: Define your domain and keep taxonomy content within scope, e.g., airline policy (knowledge) or customer service tone & procedures (skill)
-
Seed Data Preparation (
qna.yaml): Use explicit context snippets verbatim from source documents, paired with diverse Q&A examples. -
Data Diversity: Reflect different content types—definitions, procedures, tables—to generate robust synthetic data.
-
Token Management: Keep context + Q&A near ~750 tokens (~550 words) to avoid input limits.
Curating Our Unique Airline Seed Data with InstructLab
In this workshop, we’ll fine‑tune a model specifically for 404 Airlines to cover the following domain and topic areas:
| Operational Procedures | Customer Service Guidelines | Safety and Compliance |
|---|---|---|
Check‑in policies |
Ticketing policies |
Aviation safety protocols |
Boarding procedures |
Baggage rules |
Regulatory compliance documentation |
Emergency response guides |
Cancellation & refund procedures |
Incident reporting processes |
Thus, we’ll seperate each topic into a unique qna.yaml to cover the domain and teach the model specific intuition/knowledge about the topic areas for it to respond better in situations of check-in, customer service policy, and compliance. Let’s take a look at the basic components that these files require as seed data for the model curation.
Preparing Seed Data (qna.yaml) for Model Tuning
As a requirement, each seed data entry file includes question & answer pairs that are used to guide the model’s intuition, and be used for more synthetic data generation to expand our model training dataset. Let’s take a look a what an example looks like:
version: 3
domain: astronomy
created_by: juliadenham
seed_examples:
  - context: |
      **Phoenix** is a minor [constellation](constellation "wikilink") in the
      [southern sky](southern_sky "wikilink"). Named after the mythical
      [phoenix](Phoenix_(mythology) "wikilink"), it was first depicted on a
      celestial atlas by [Johann Bayer](Johann_Bayer "wikilink") in his 1603
      *[Uranometria](Uranometria "wikilink")*. The French explorer and
      astronomer [Nicolas Louis de
      Lacaille](Nicolas_Louis_de_Lacaille "wikilink") charted the brighter
      stars and gave their [Bayer designations](Bayer_designation "wikilink")
      in 1756. The constellation stretches from roughly −39 degrees to −57 degrees
      [declination](declination "wikilink"), and from 23.5h to 2.5h of [right
      ascension](right_ascension "wikilink"). The constellations Phoenix,
      [Grus](Grus_(constellation) "wikilink"),
      [Pavo](Pavo_(constellation) "wikilink") and [Tucana](Tucana "wikilink"),
      are known as the Southern Birds.
    questions_and_answers:
      - question: |
          What is the Phoenix constellation?
        answer: |
          Phoenix is a minor constellation in the southern sky.
      - question: |
          Who charted the Phoenix constellation?
        answer: |
          The French explorer and astronomer Nicolas Louis de Lacaille charted its brighter stars in 1756.
      - question: |
          When was Phoenix first depicted on a celestial atlas?
        answer: |
          It first appeared in Johann Bayer’s 1603 *Uranometria*.
      - question: |
          What are the declination and right ascension ranges of Phoenix?
        answer: |
          It spans roughly −39° to −57° declination and 23.5h to 2.5h right ascension.
      - question: |
          Which nearby constellations form the “Southern Birds” along with Phoenix?
        answer: |
          Grus, Pavo, and Tucana.
document_outline: |
  Information about the Phoenix Constellation including its discovery, boundaries, and relation to nearby constellations.
document:
  repo: https://github.com/juliadenham/Summit_knowledge
  commit: 0a1f2672b9b90582e6115333e3ed62fd628f1c0f
  patterns:
- phoenix_constellation.md-
version: The version of the qna.yaml file, this is the format of the file used for SDG. The value must be the number 3 for this workshop. -
created_by: Your GitHub username. -
domain: Specify the category of the knowledge. -
seed_examples: A collection of key/value entries.-
context: A chunk of information from the knowledge document. Each qna.yaml needs five context blocks and has a maximum word count of 500 words. -
questions_and_answers: The parameter that holds your questions and answers-
question: Specify a question for the model. Each qna.yaml file needs at least three question and answer pairs per context chunk with a maximum word count of 250 words. -
answer: Specify the desired answer from the model. Each qna.yaml file needs at least three question and answer pairs per context chunk with a maximum word count of 250 words.
-
-
-
document_outline: Describe an overview of the document your submitting. -
document: The source of your knowledge contribution.-
repo: The URL to your repository that holds your knowledge markdown files. -
commit: The SHA of the commit in your repository with your knowledge markdown files. -
patterns: A list of glob patterns specifying the markdown files in your repository. Any glob pattern that starts with *, such as *.md, must be quoted due to YAML rules. For example, *.md.
-
To be concise, here we’re abbreviating the questions_and_answers section to only show a few examples. In practice, you’ll need to provide five context blocks, each with at least three question and answer pairs. This ensures the model has a rich set of examples to learn from.
|
While adding to the taxonomy, it’s also important to include sources to the contribution you are providing. This is important for providing transparency and traceability to the model, and as an example, we’d typically include an attribution.txt file in the same directory as the qna.yaml file. This file should include the following:
Title of work: Phoenix (constellation)
Link to work: https://en.wikipedia.org/wiki/Phoenix_(constellation)
Revision: https://en.wikipedia.org/w/index.php?title=Phoenix_(constellation)&oldid=1237187773
License of the work: CC-BY-SA-4.0
Creator names: Wikipedia Authors
Adding to the Taxonomy
Now that we’ve seen an example of how to format our seed data through question and answer pairs, let’s add our own knowledge to the taxonomy. We’ve prepared a few qna.yaml files for you to use as examples, but you’ll learn how to prepare this custom model taxonomy for 404 Airlines.
-
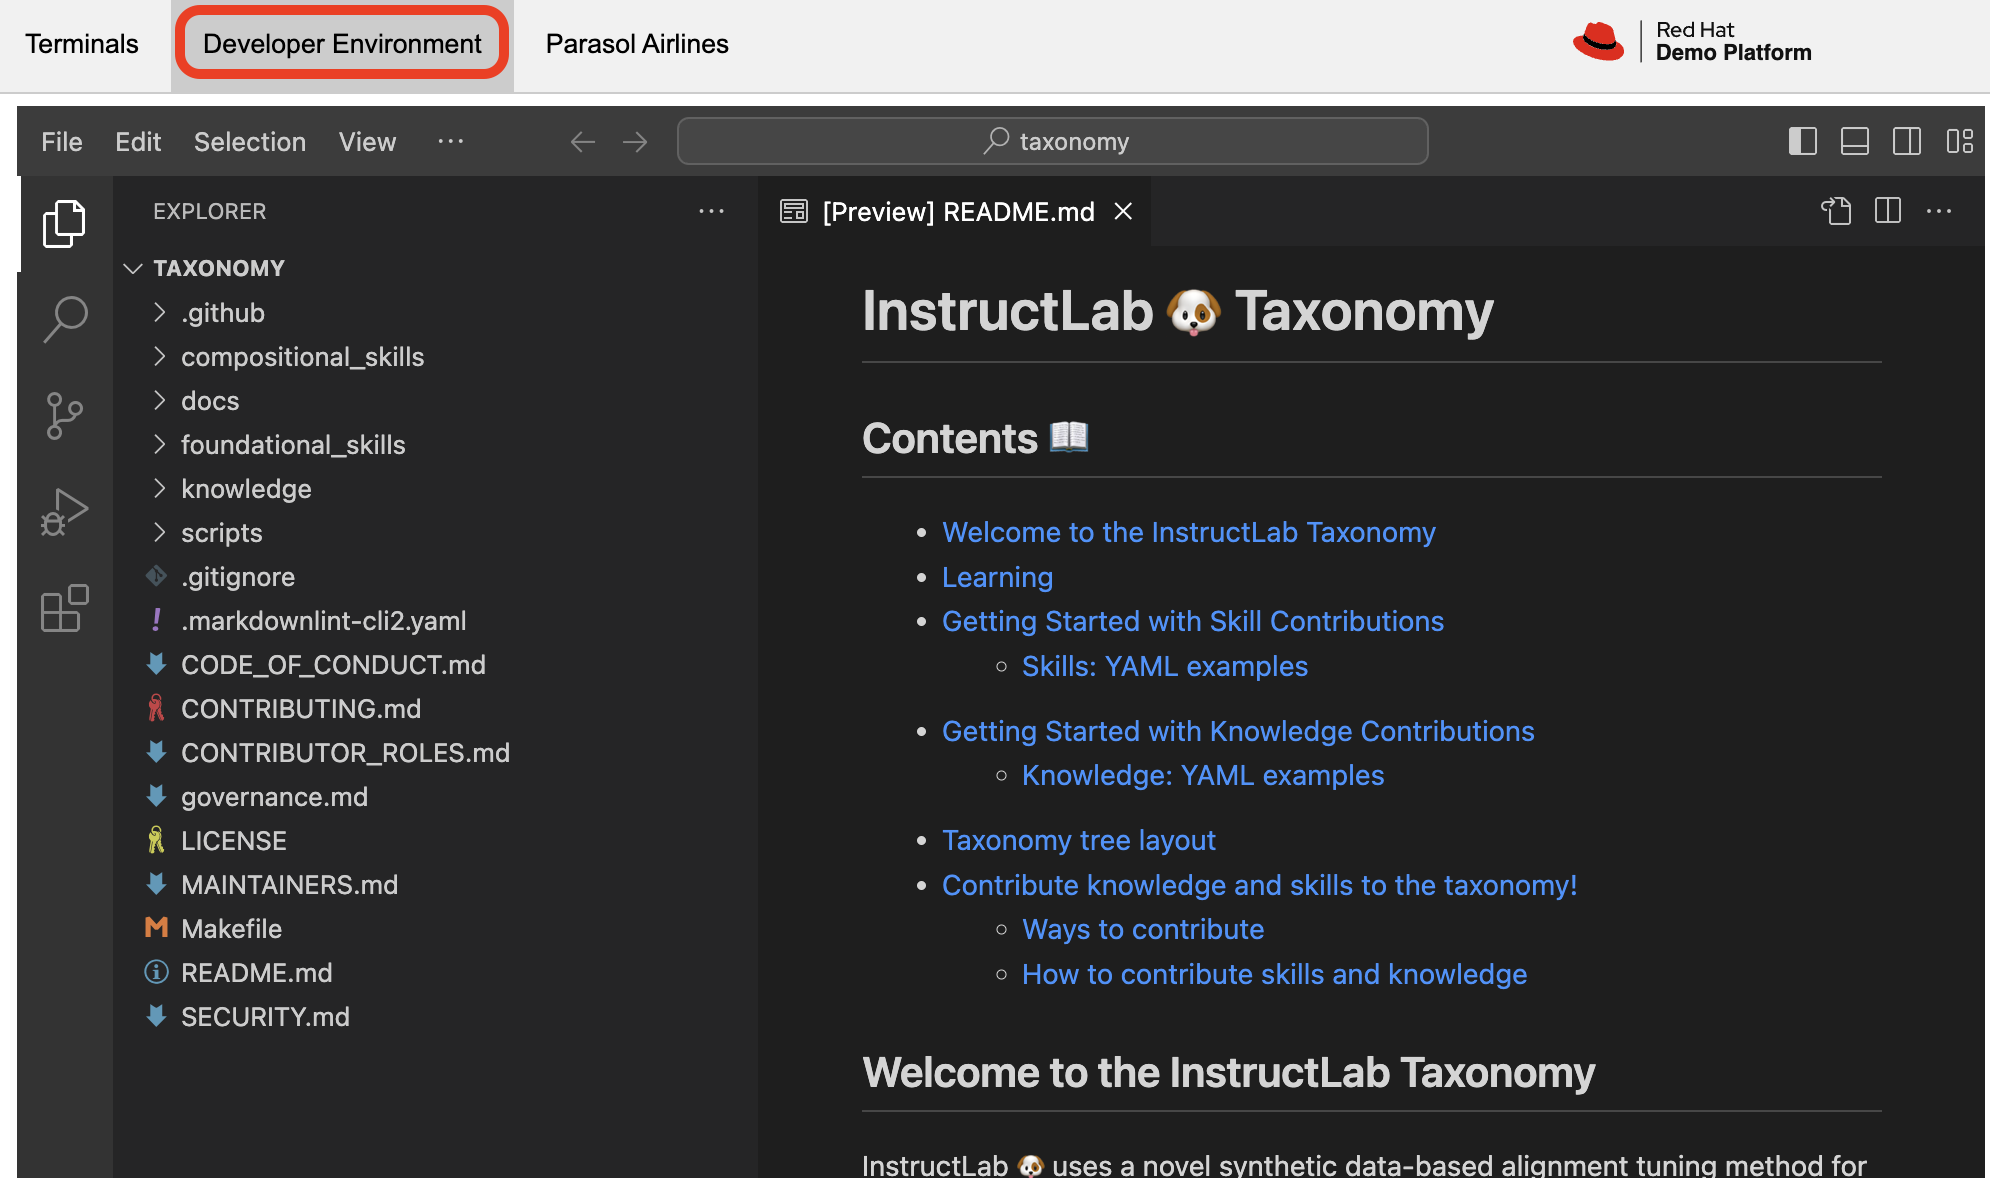
Head over to the Developer Environment panel, where you can find the
taxonomyrepository pre-cloned for you.
| You may be wondering why the taxonomy already contains folders! This is a template structure that stems from the upstream InstructLab project repository, but in the future you may choose to begin with a blank slate. The taxonomy structure is designed to be flexible, allowing you to add or remove folders as needed to address model capabilities. |
-
Instead of manually copying and pasting the
qna.yamlfiles, we’re going to a command to both create new subject matter folders and copy the files into them. Let’s return to either Terminal, and run the following command:
BASE="$HOME/.local/share/instructlab/taxonomy/knowledge/operations"
mkdir -p "$BASE"/{baggage,check-in,operational-procedure} && \
for d in baggage check-in operational-procedure; do \
  curl -sSfL \
    "https://raw.githubusercontent.com/rhai-code/404-airlines-taxonomy/main/knowledge/operations/$d/qna.yaml" \
    -o "$BASE/$d/qna.yaml"; \
done-
Fantastic! You can head back over to the Developer Environment panel and see our new
qna.yamlfiles have been copied into their respective folders. Let’s take some time to explore the contents of this seed data and learn how it’ll impact our custom model.
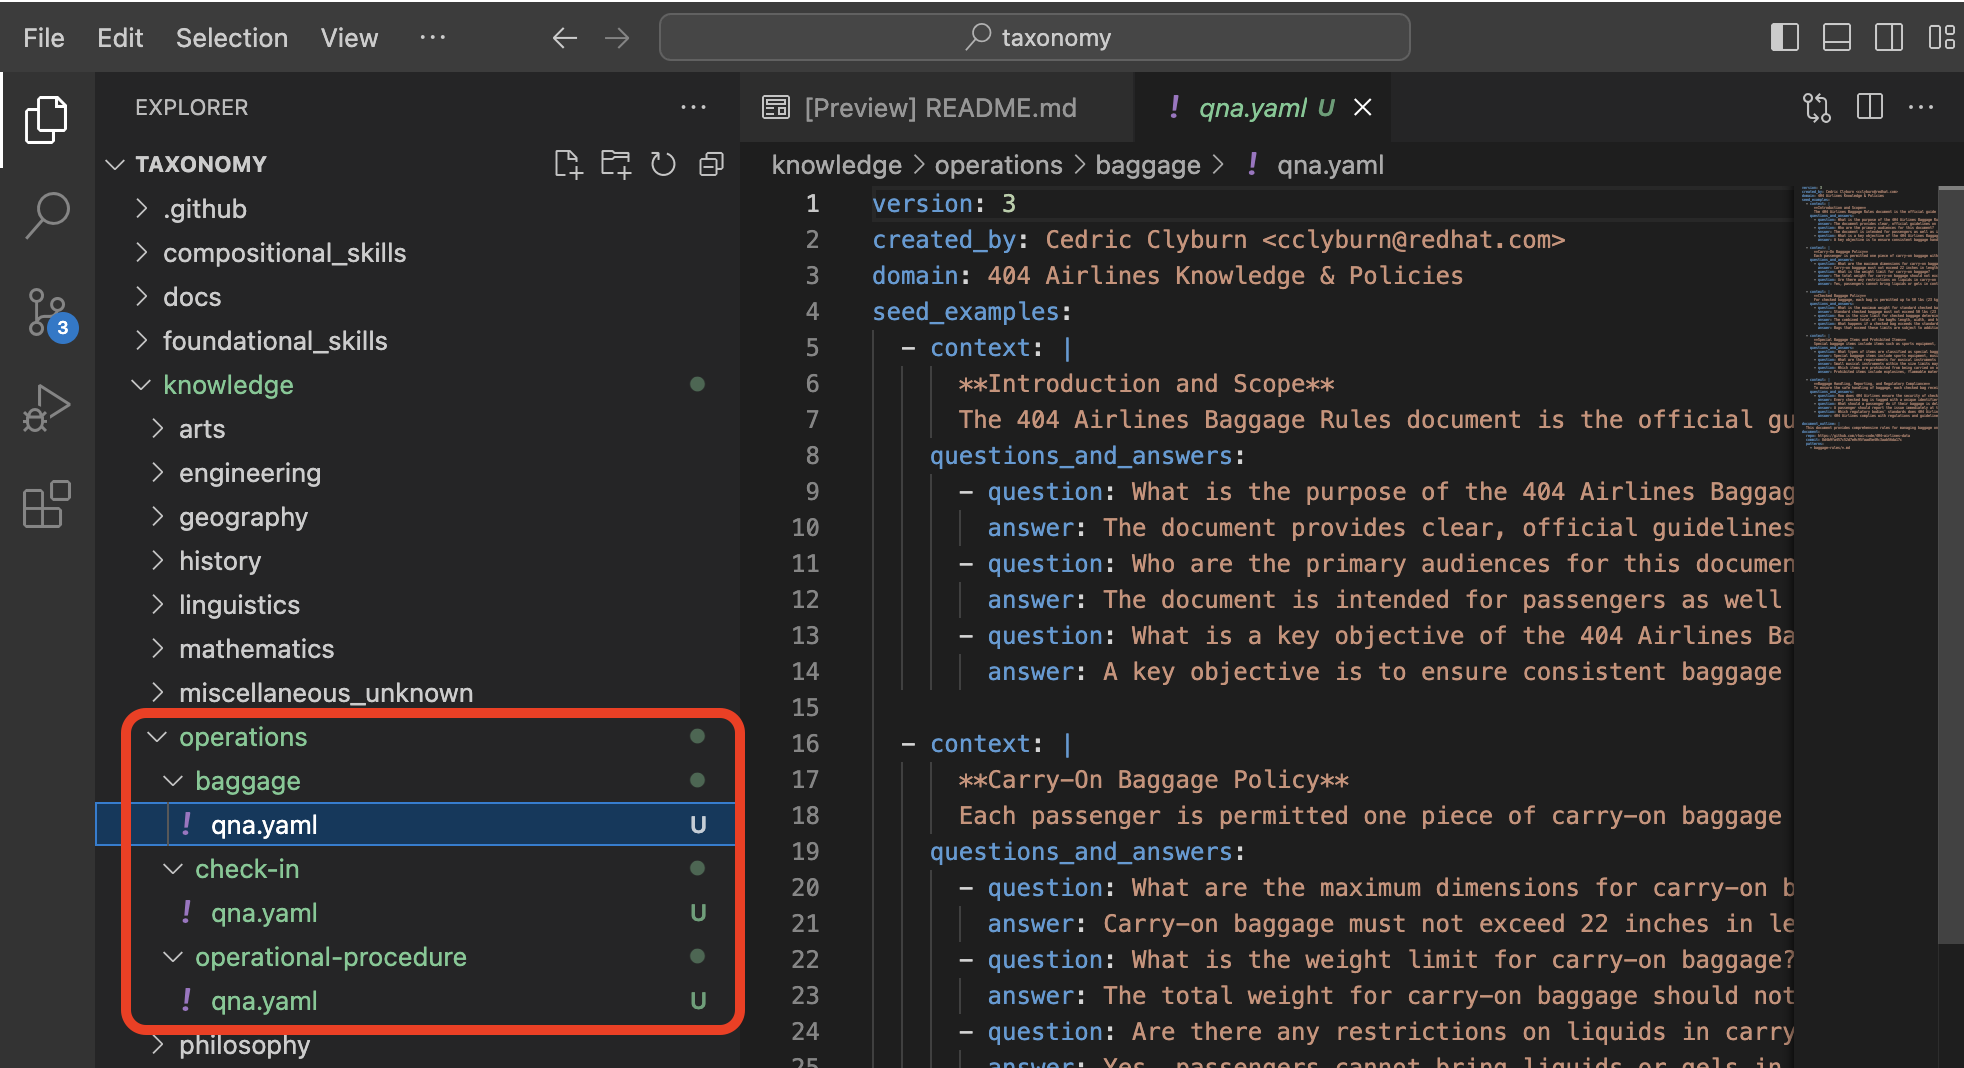
In addition to just providing context and question/answer pairs, you can also see the document_outline and document section of our qna.yaml file. This is how we ground our synthetic data generation to additional context and information (for example, in this 404‑airlines‑data repository), providing diversity and edge cases to the dataset we’ll be generating.
|
-
InstructLab also allows you to validate your taxonomy files before generating synthetic data. You can accomplish this by using the
ilab taxonomy diffcommand as shown below, in either Terminal:
ilab taxonomy diffknowledge/operations/operational‑procedure/qna.yaml
knowledge/operations/check‑in/qna.yaml
knowledge/operations/baggage/qna.yaml
Taxonomy in /home/developer/.local/share/instructlab/taxonomy is valid :)Let’s Generate Synthetic Data!
Okay, so far so good. Now, let’s move on to the AWESOME part. We are going to use our taxonomy, which contains our qna.yaml file, to have the LLM automatically generate more examples. The generate step can often take a while and is dependent on your hardware and the amount of synthetic data that you want to generate.
InstructLab will generate X number of additional questions and answers based on the samples provided. To give you an idea, it takes 7 minutes when running the default full synthetic data generation pipeline at a scale factor of 30. This can take around 15 minutes using Apple Silicon and depends on many factors. You could customize the scale factor or run a simple pipeline to take less time or if you have lesser hardware, but it is not recommended as it will not generate the optimal output.
However, for the purpose of this workshop we will only generate a small amount of additional samples to give you a sense of how it works.
| If needed, stop serving the Granite model by typing CTRL+C in the terminal within which it is running. |
-
We will now run the command (in the Upper Terminal) to generate the synthetic data. The Granite model will serve as the teacher model:
ilab data generate --model /home/developer/.cache/instructlab/models/granite-7b-lab-Q4_K_M.gguf --sdg-scale-factor 5 --pipeline simple --gpus 1After running this command, the magic begins!
You may see an AssertionError thrown before the SDG process begins. This does not impact the process so please continue without worry.
|
InstructLab is now synthetically generating data based on the seed data you provided in the qna.yaml file. You will see output on your screen indicating the data is being generated as shown below:
INFO 2024-10-21 02:01:23,450 instructlab.sdg.llmblock:51: LLM server supports batched inputs: False
INFO 2024-10-21 02:01:23,450 instructlab.sdg.pipeline:197: Running block: gen_knowledge
INFO 2024-10-21 02:01:23,450 instructlab.sdg.pipeline:198: Dataset({
    features: ['icl_document', 'document', 'document_outline', 'domain', 'icl_query_1', 'icl_query_2', 'icl_query_3', 'icl_response_1', 'icl_response_2', 'icl_response_3'],
    num_rows: 15
})
This will take several minutes to complete. Once the process completes and we have generated additional data, we can use the ilab model train command to incorporate this dataset with the model.
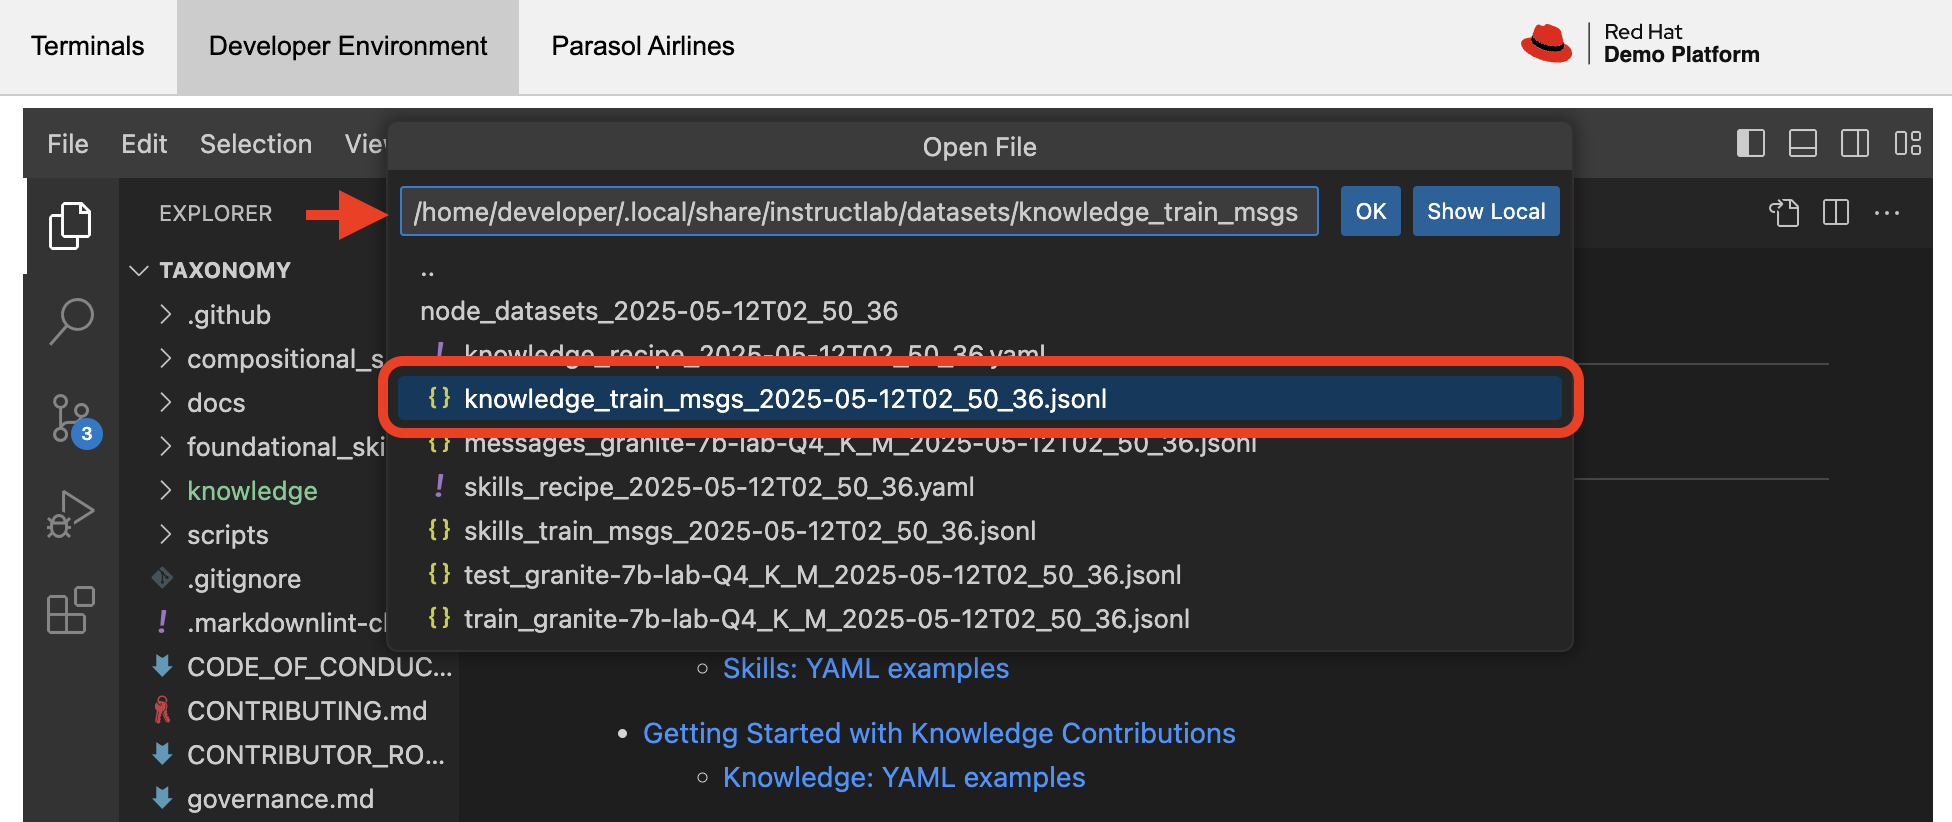
If you are curious to view the data generated, the SDG process creates a jsonl file located in the /home/developer/.local/share/instructlab/datasets directory named knowledge_train_msgs[TIMESTAMP].jsonl .JSONL files consist of multiple JSON objects, each on its own line.
|
-
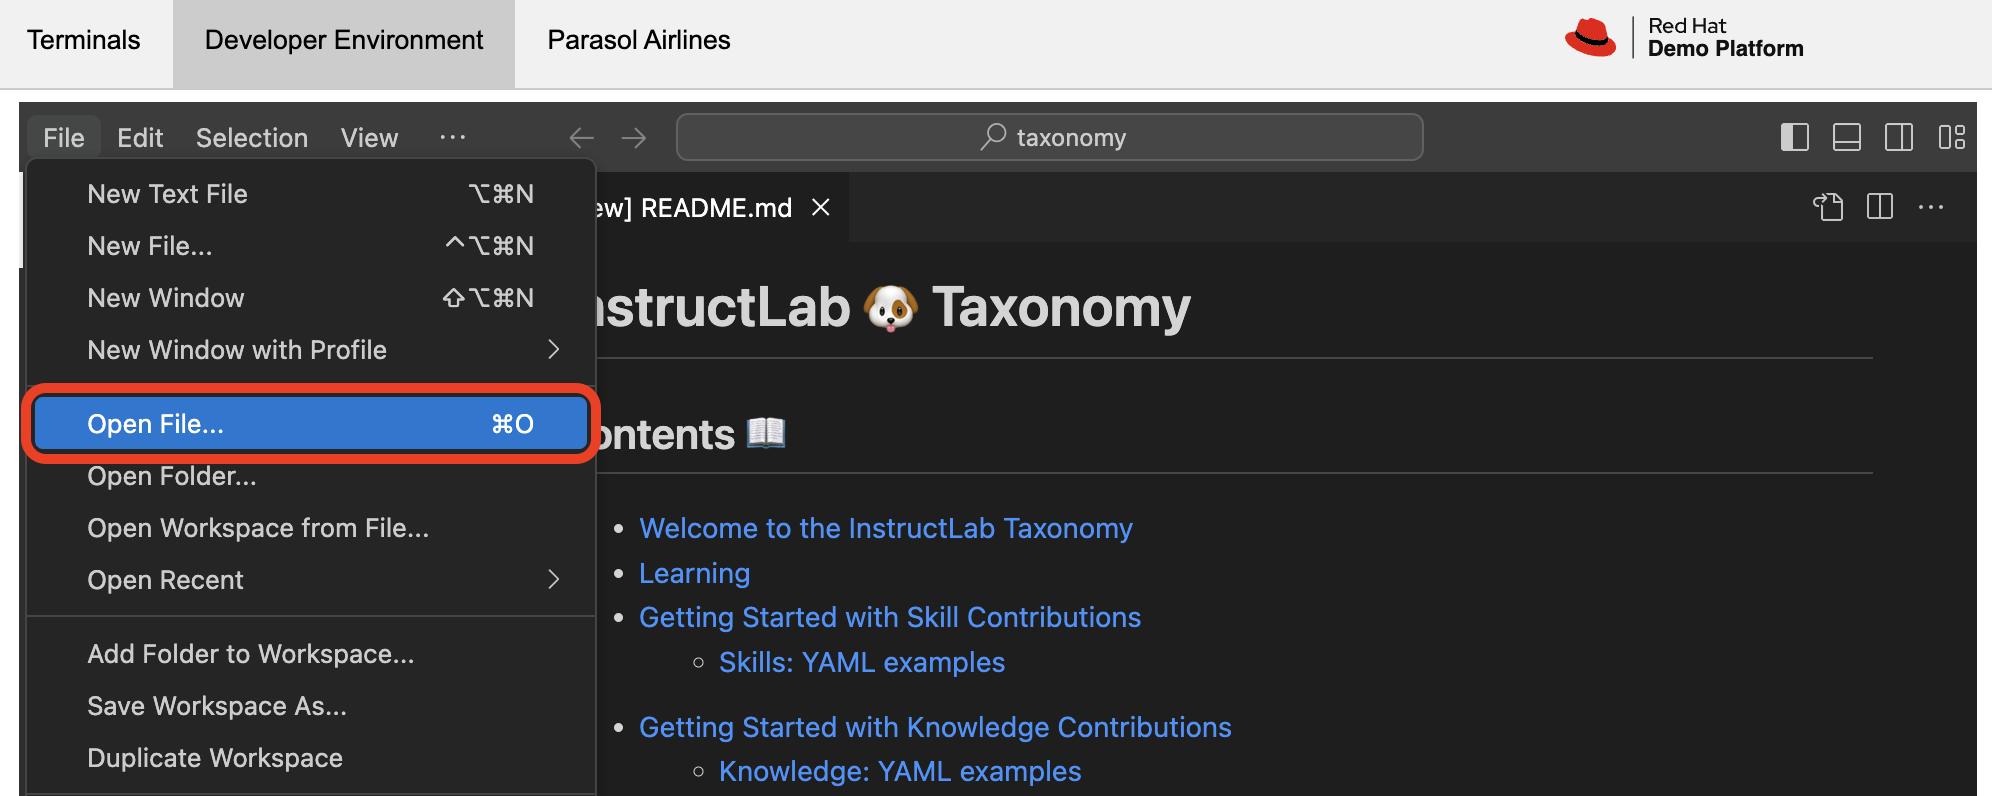
Feel free to explore this in the Developer Environment panel, where you can open the file and see the generated data. Navigate to File → Open File.
-
Then, enter the
/home/developer/.local/share/instructlab/datasets/knowledge_train_msgsdirectory in the file browser and select the most recent file. Select the file and double click to open it.
| Using a scale factor of 5 is generally not enough synthetic data to effectively impact the knowledge or skill of a model. However, due to time constraints of this workshop, the goal is to simply show you how this works using real commands. You would typically want to use a scale factor of 30 which is the default value to train the model effectively. |
This custom dataset, based and grounded on our enterprise data, would typically take a team of data scientists and AI/ML engineers quite some time to procure. InstructLab simplifies this process with synthetic data generation! Once the new data has been generated, the next step is to train the model with the updated knowledge. This is performed with the ilab model train command.
| Training using the newly generated data is a time and resource intensive task. Depending on the number of epochs desired, internet connection for safetensor downloading, and other factors, it can take many hours and is highly dependent on the hardware used. |
Fine-Tuning The Model With Our New Dataset
InstructLab implements a multiphase training process to incrementally improve model performance while maintaining stability and preventing catastrophic forgetting via a replay buffer. The synthetic data is applied in two main tuning phases:
-
Knowledge tuning – integrates new factual information through focused short- and long-response training.
-
Skills tuning – enhances application of that knowledge across diverse tasks and contexts, honing compositional abilities.
However, due to the time constraints of this workshop, we will not actually be training the model! This would require a full-scale synthetic data generation process and a training run that could take hour(s) depending on your usage of QLoRA (a lightweight fine-tuning method that makes training feasible on consumer-grade GPUs or CPUs) or Full Fine Tuning. You probably have somewhere else you need to be, so we are going to show you the end results without making you wait. Instead, we will be using a pre-trained model that has already been trained on the data we generated in the previous step, using a MacBook Pro with a M3 chip.
Testing the Model’s Responses
Now it’s time to interact with the model and see what it learned As mentioned, we have provided a model that has already been through this process in your demo system.
-
First, if you have any processes running in either terminal window, type CTRL+C to exit. In order to serve the newly trained model you can now run the following in the upper command window:
ilab model serve --model-path /home/developer/.cache/instructlab/models/404-airlines-qa.ggufIt may take some seconds to start, but you should see the following which should look familiar to you:
INFO 2024-10-20 17:24:33,497 instructlab.model.serve:136: Using model '/home/developer/.cache/instructlab/models/404-airlines-qa.gguf' with -1 gpu-layers and 4096 max context size.
INFO 2024-10-20 17:24:33,497 instructlab.model.serve:140: Serving model '/home/developer/.cache/instructlab/models/404-airlines-qa.gguf' with llama-cpp
INFO 2024-10-20 17:24:34,492 instructlab.model.backends.llama_cpp:232: Replacing chat template:
 {% for message in messages %}
{% if message['role'] == 'user' %}
{{ '<|user|>
' + message['content'] }}
{% elif message['role'] == 'system' %}
{{ '<|system|>
' + message['content'] }}
{% elif message['role'] == 'assistant' %}
{{ '<|assistant|>
' + message['content'] + eos_token }}
{% endif %}
{% if loop.last and add_generation_prompt %}
{{ '<|assistant|>' }}
{% endif %}
{% endfor %}
INFO 2024-10-20 17:24:34,495 instructlab.model.backends.llama_cpp:189: Starting server process, press CTRL+C to shutdown server...
INFO 2024-10-20 17:24:34,495 instructlab.model.backends.llama_cpp:190: After application startup complete see http://127.0.0.1:8000/docs for API.-
In the bottom terminal window, let’s can begin a chat session with the
ilab model chatcommand:
ilab model chatYou should see a chat prompt like the example below.
╭───────────────────────────────────────────────────────────────────────────╮
│ Welcome to InstructLab Chat w/ 404-AIRLINES-QA.GGUF (type /h for help)
╰───────────────────────────────────────────────────────────────────────────╯
>>>-
At this point, let’s interact with the model by asking it a question. Here’s some 404 Airlines-specific questions that may inspire you, such as:
What’s the maximum carry-on size for economy passengers?
How does 404 Airlines handle refunds for weather-related cancellations?
What are the maximum dimensions (length, width, and height) for carry-on baggage on 404 Airlines?
You should see the model respond with an answer grounded on our seed data, as shown in the example output below:
The maximum dimensions allowed for carry‑on baggage are 22 inches (height) × 14 inches (width) × 9 inches (depth). The total weight of the item must not exceed 30 pounds.While this is working in the terminal, most organizations would want to have a user-friendly interface for their customer service agents to interact with the model. So, we have provided a simple web application that you can use to test out the model as well. Let’s head to the next section to integrate the model into the Parasol Customer Service application.