Data and AI
Sovereign AI: Bringing AI Intelligence to Your Data
AI Sovereignty means keeping your data, models, and AI workflows under your own control --so data stays within your organization and meets your compliance needs.
Most AI solutions require sending sensitive data to outside services or cloud providers, risking privacy, security, and vendor lock-in.
With Red Hat OpenShift AI, you can run AI tasks in your own infrastructure or private cloud. This keeps your data local, protects your intellectual property, and helps you meet regulations, while avoiding extra costs from data transfers and cloud service fees.
In this module, you’ll install Red Hat OpenShift AI and set up a DataScienceCluster so you can use Jupyter notebooks, experiment with a simple workbook, and see how to deploy AI models --all while keeping your data and models secure and under your control.
Exploring the OpenShift AI Dashboard
With OpenShift AI installed and the DataScienceCluster configured, data scientists can now access the OpenShift AI dashboard using all of the same systems and platforms that we’ve previously configured.
Let’s start by accessing the OpenShift AI dashboard and move on to create a run a simple python notebook.
-
Access the OpenShift AI dashboard by click on the OpenShift AI tab in the right panel.
You may need to log in. If you already logged in to the OpenShift Console, you will be automatically logged in to the OpenShift AI dashboard.
Administrator login credentials:
OpenShift AI Console Username:
{openshift_cluster_admin_username}
OpenShift AI Console Password:
{acs_portal_password}
-
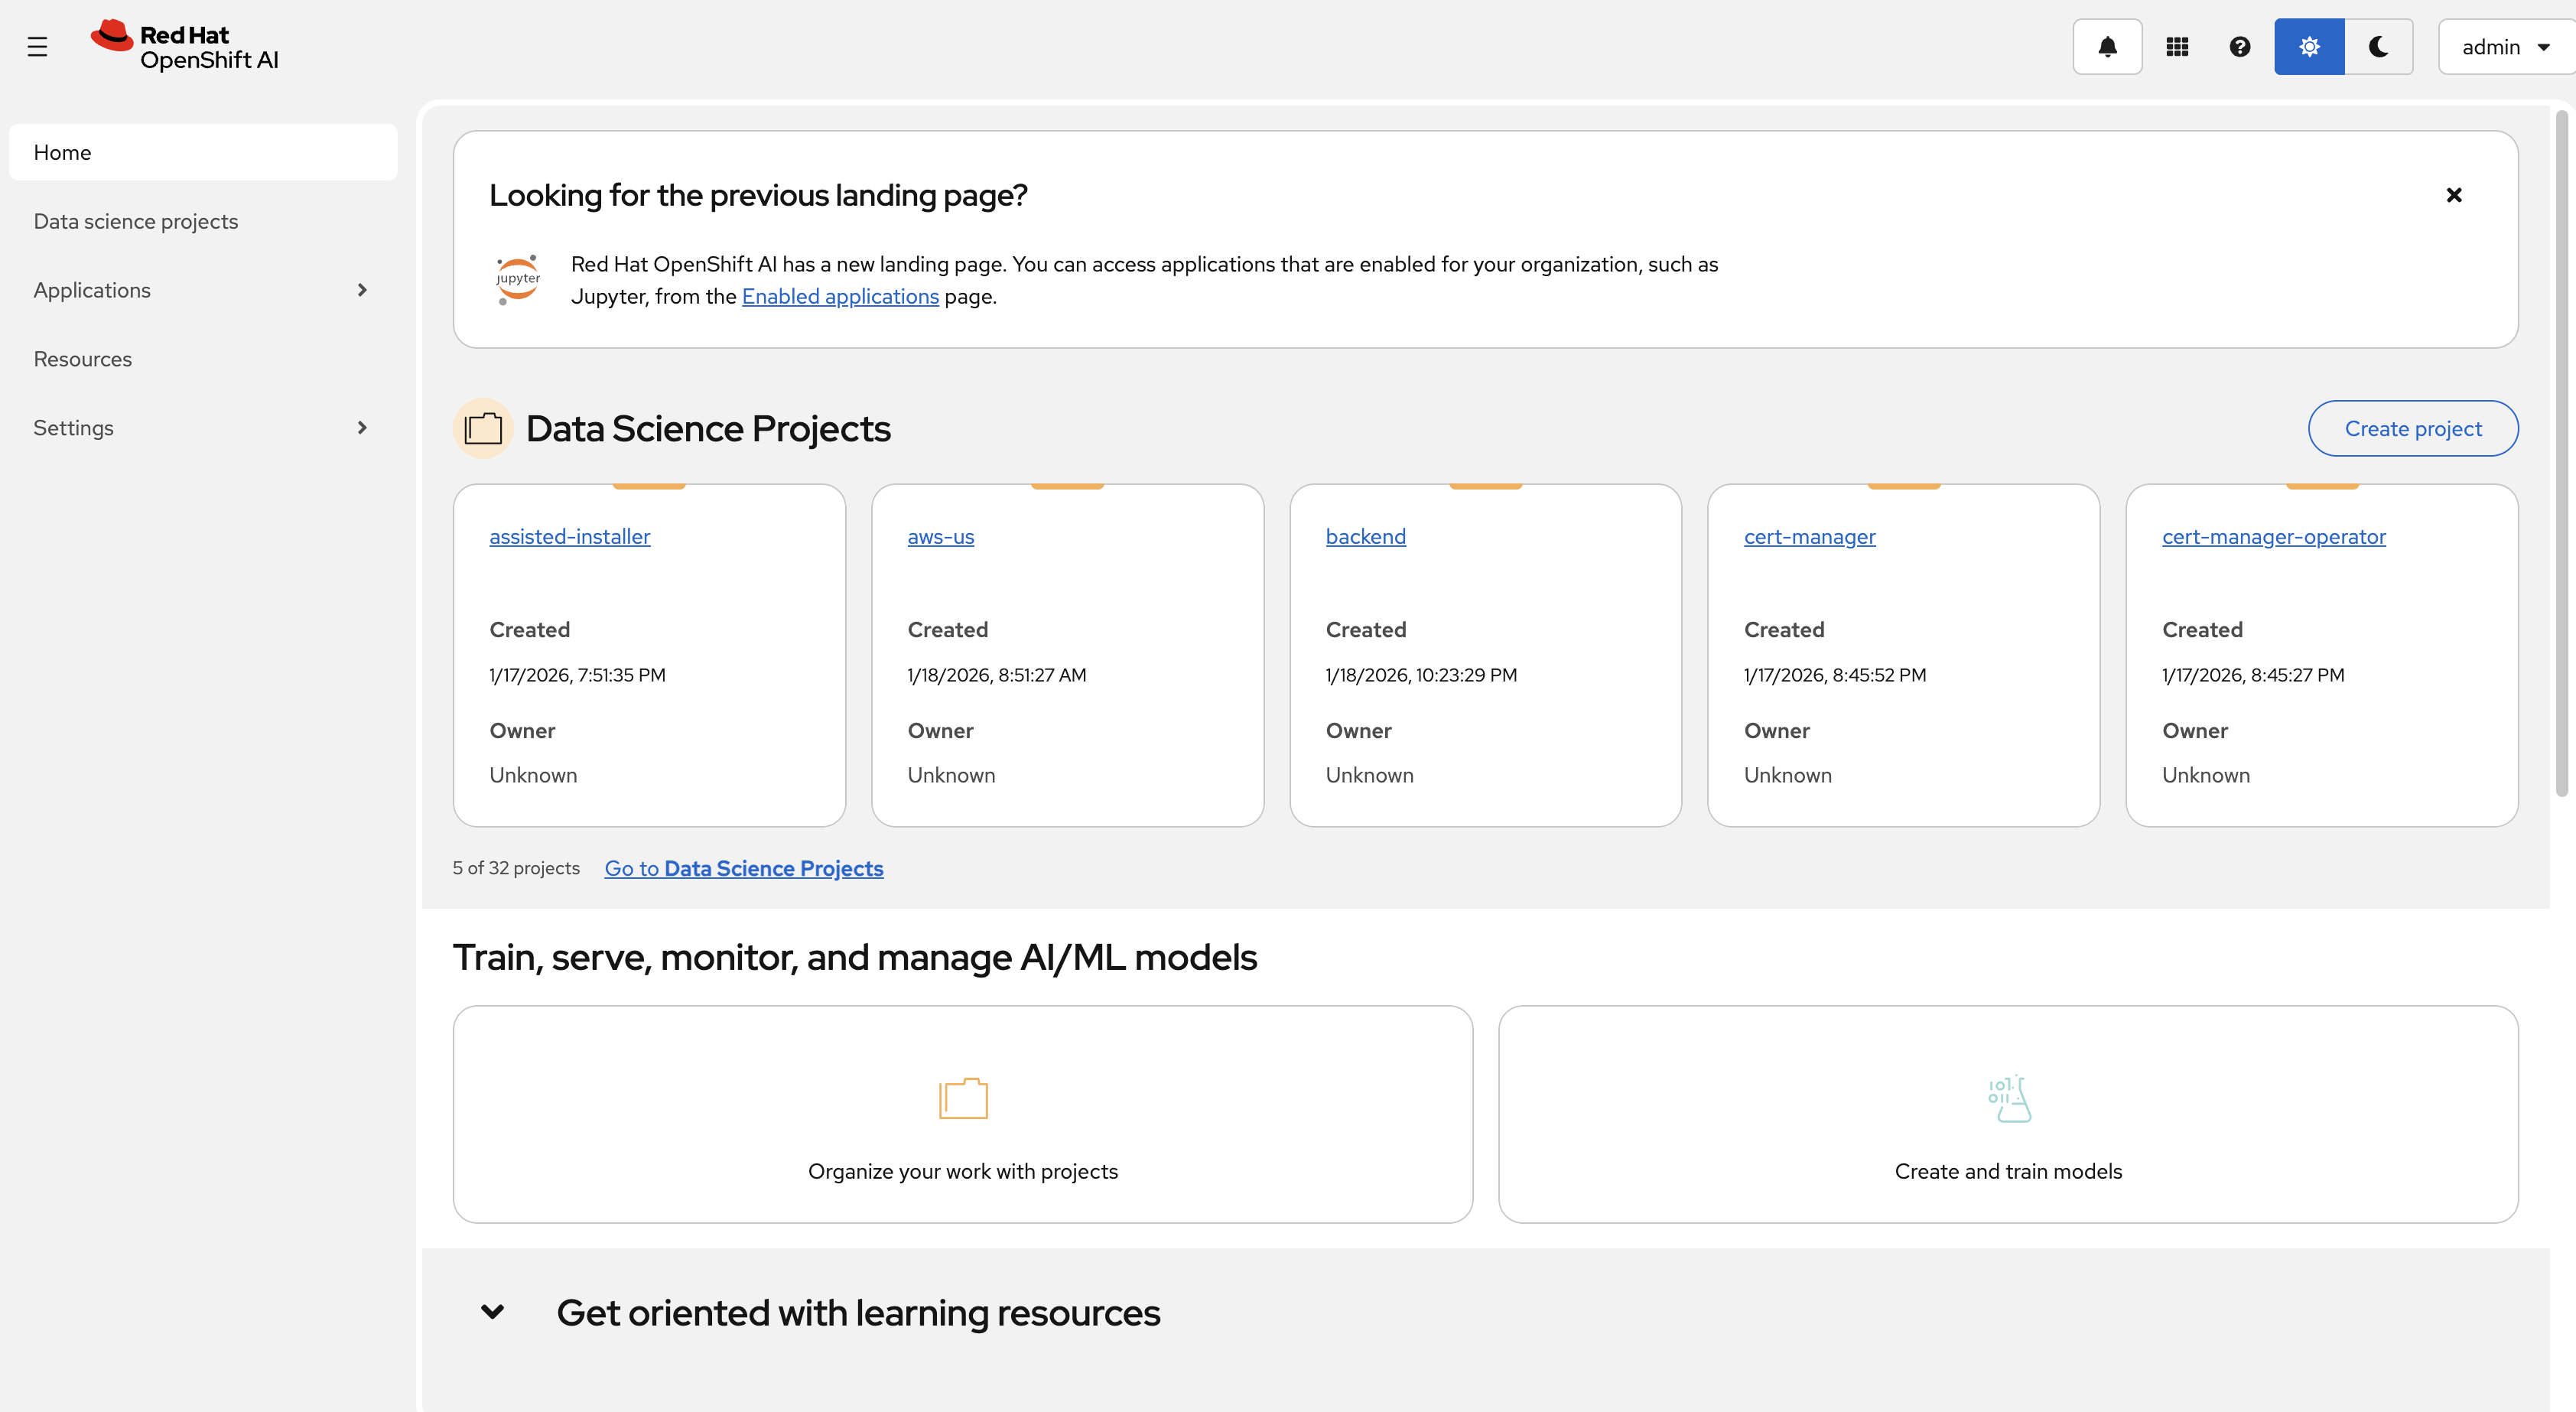
Once logged in, you’ll see the OpenShift AI dashboard home page:
-
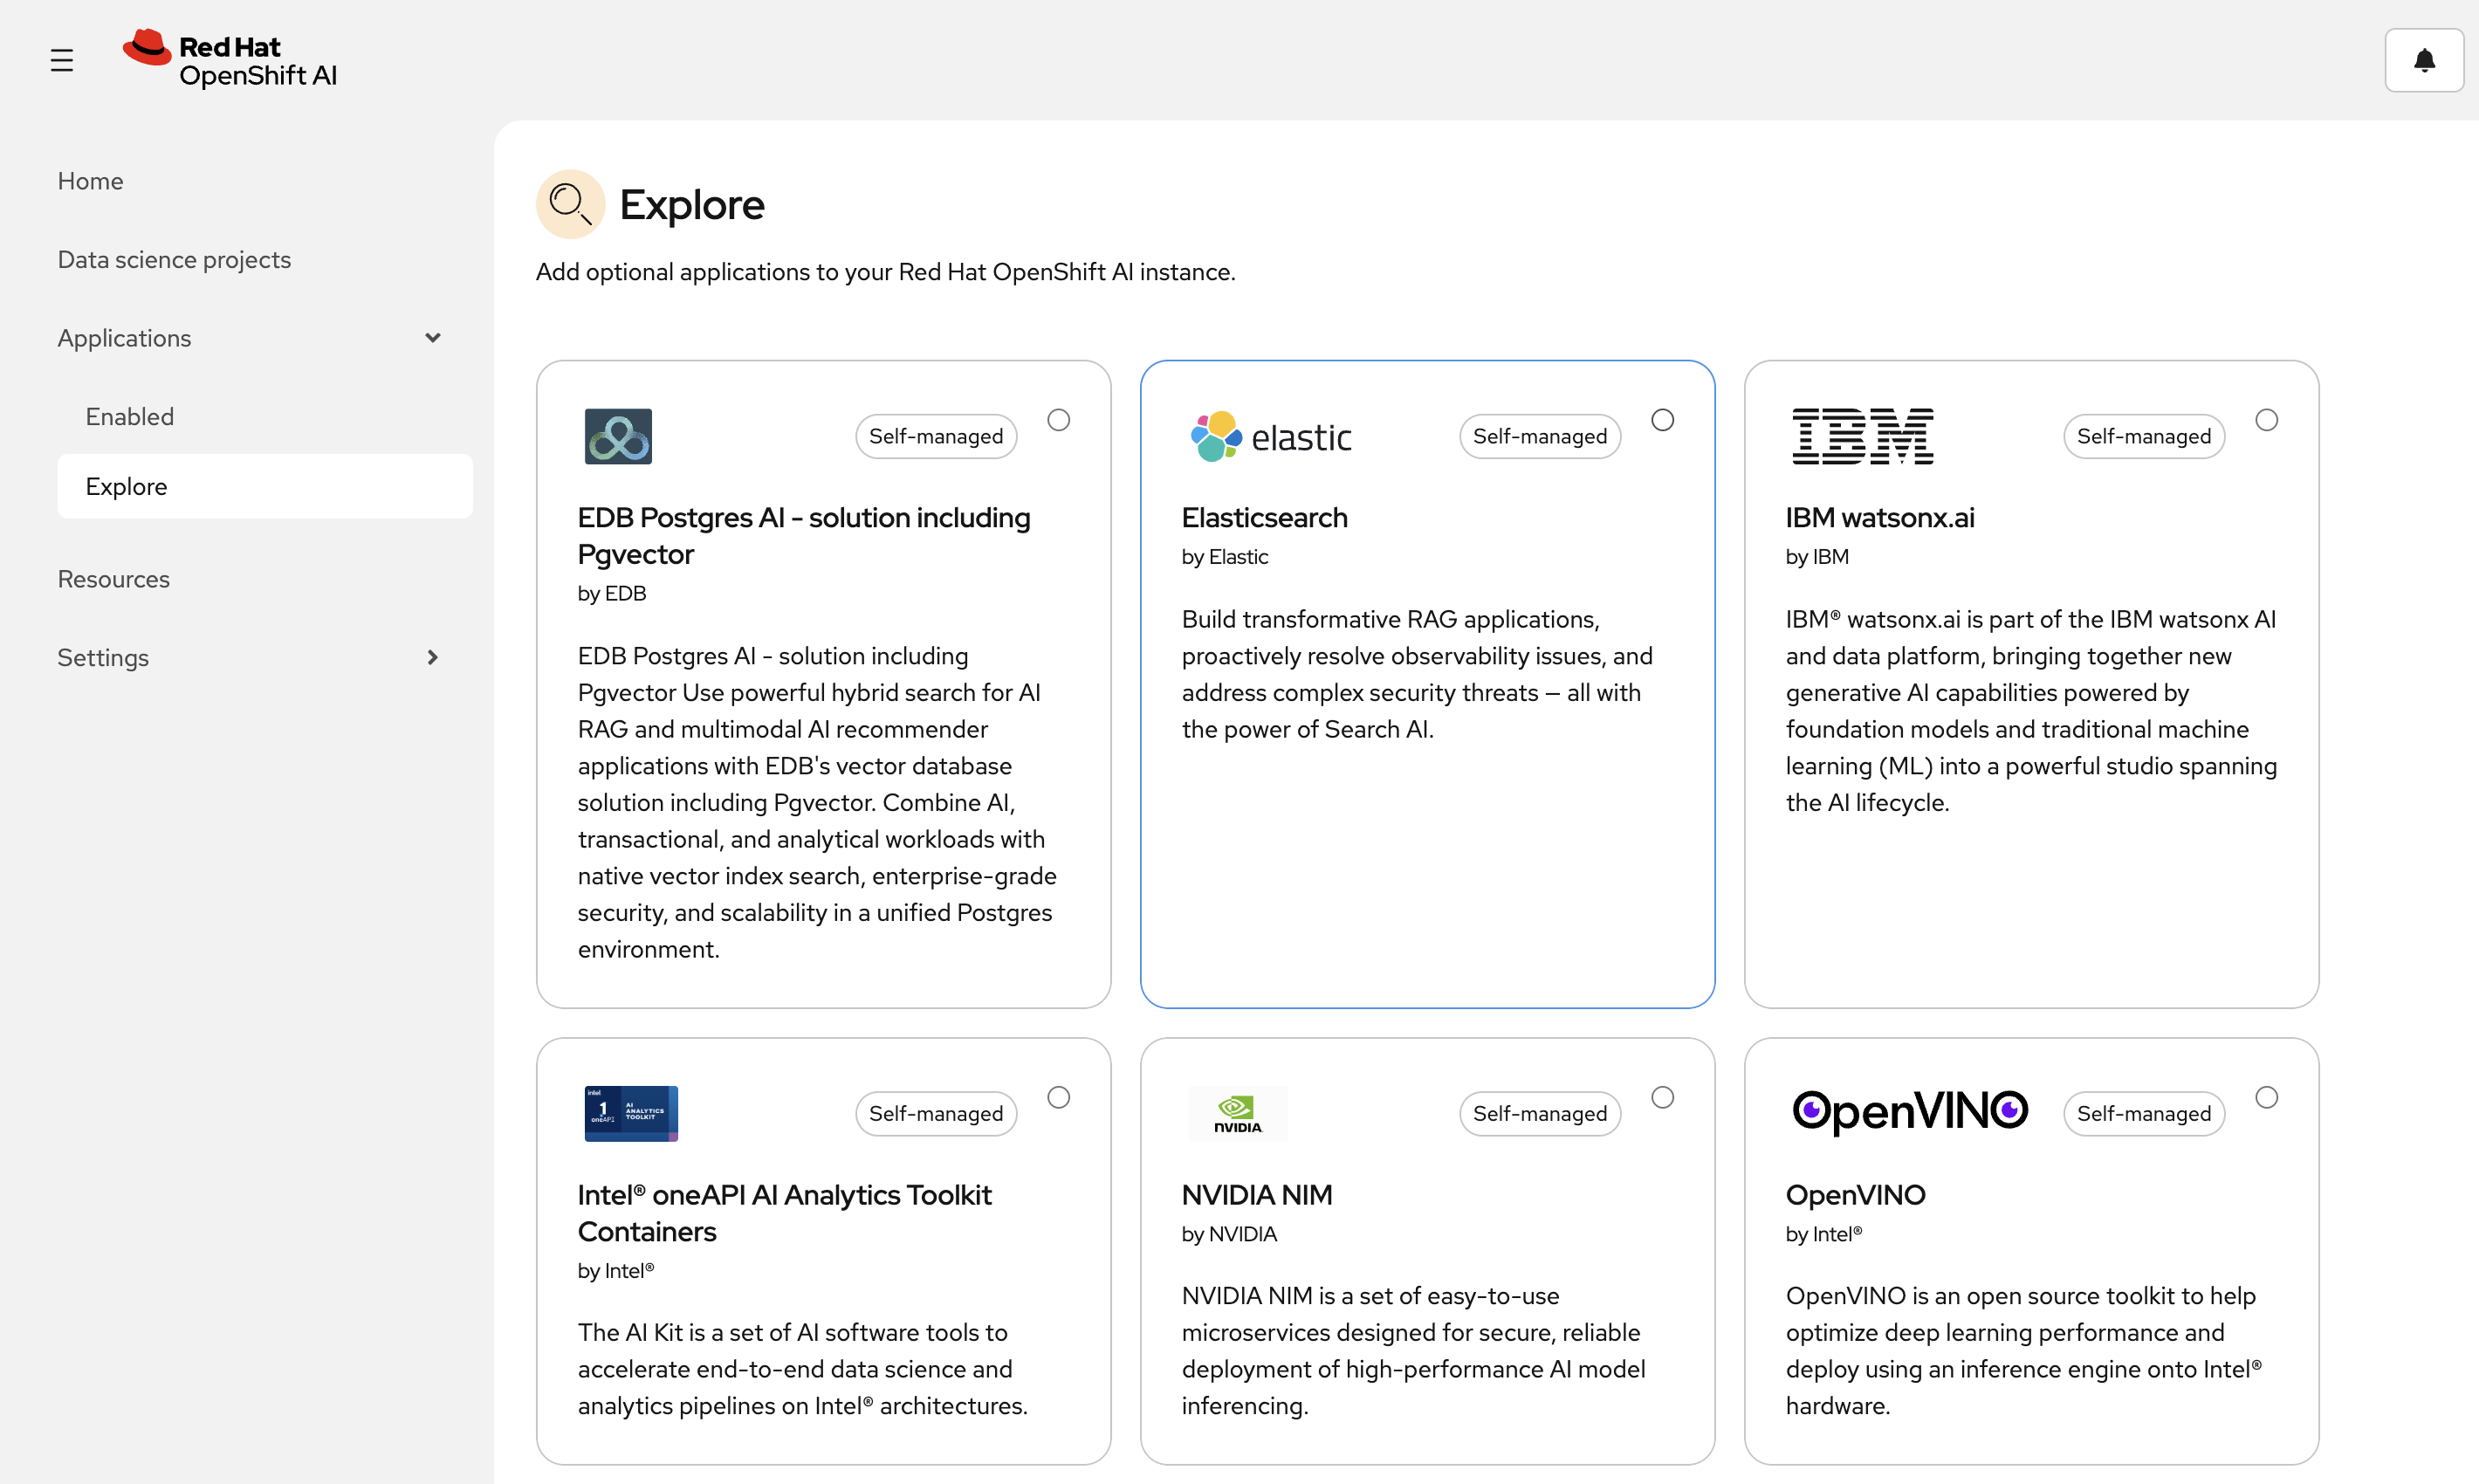
Click on the Hamburger bar in the top left and navigate to the Applications → Explore section. Here you can see the available applications that can be added to your cluster.
+ image::04-openshift-ai-dashboard-02.png[OpenShift AI Applications View, width=100%, link=self, window=blank]
-
Next, navigate to the AI Hub → Deployments section.
GPUs are expensive, so unfortunately we did not deploy a model for you to review. However, they can be managed via the OpenShift AI dashboard in the AI Hub.
Deploying a Jupyter Notebook
Let’s create a Jupyter notebook server to explore the OpenShift AI dashboard.
-
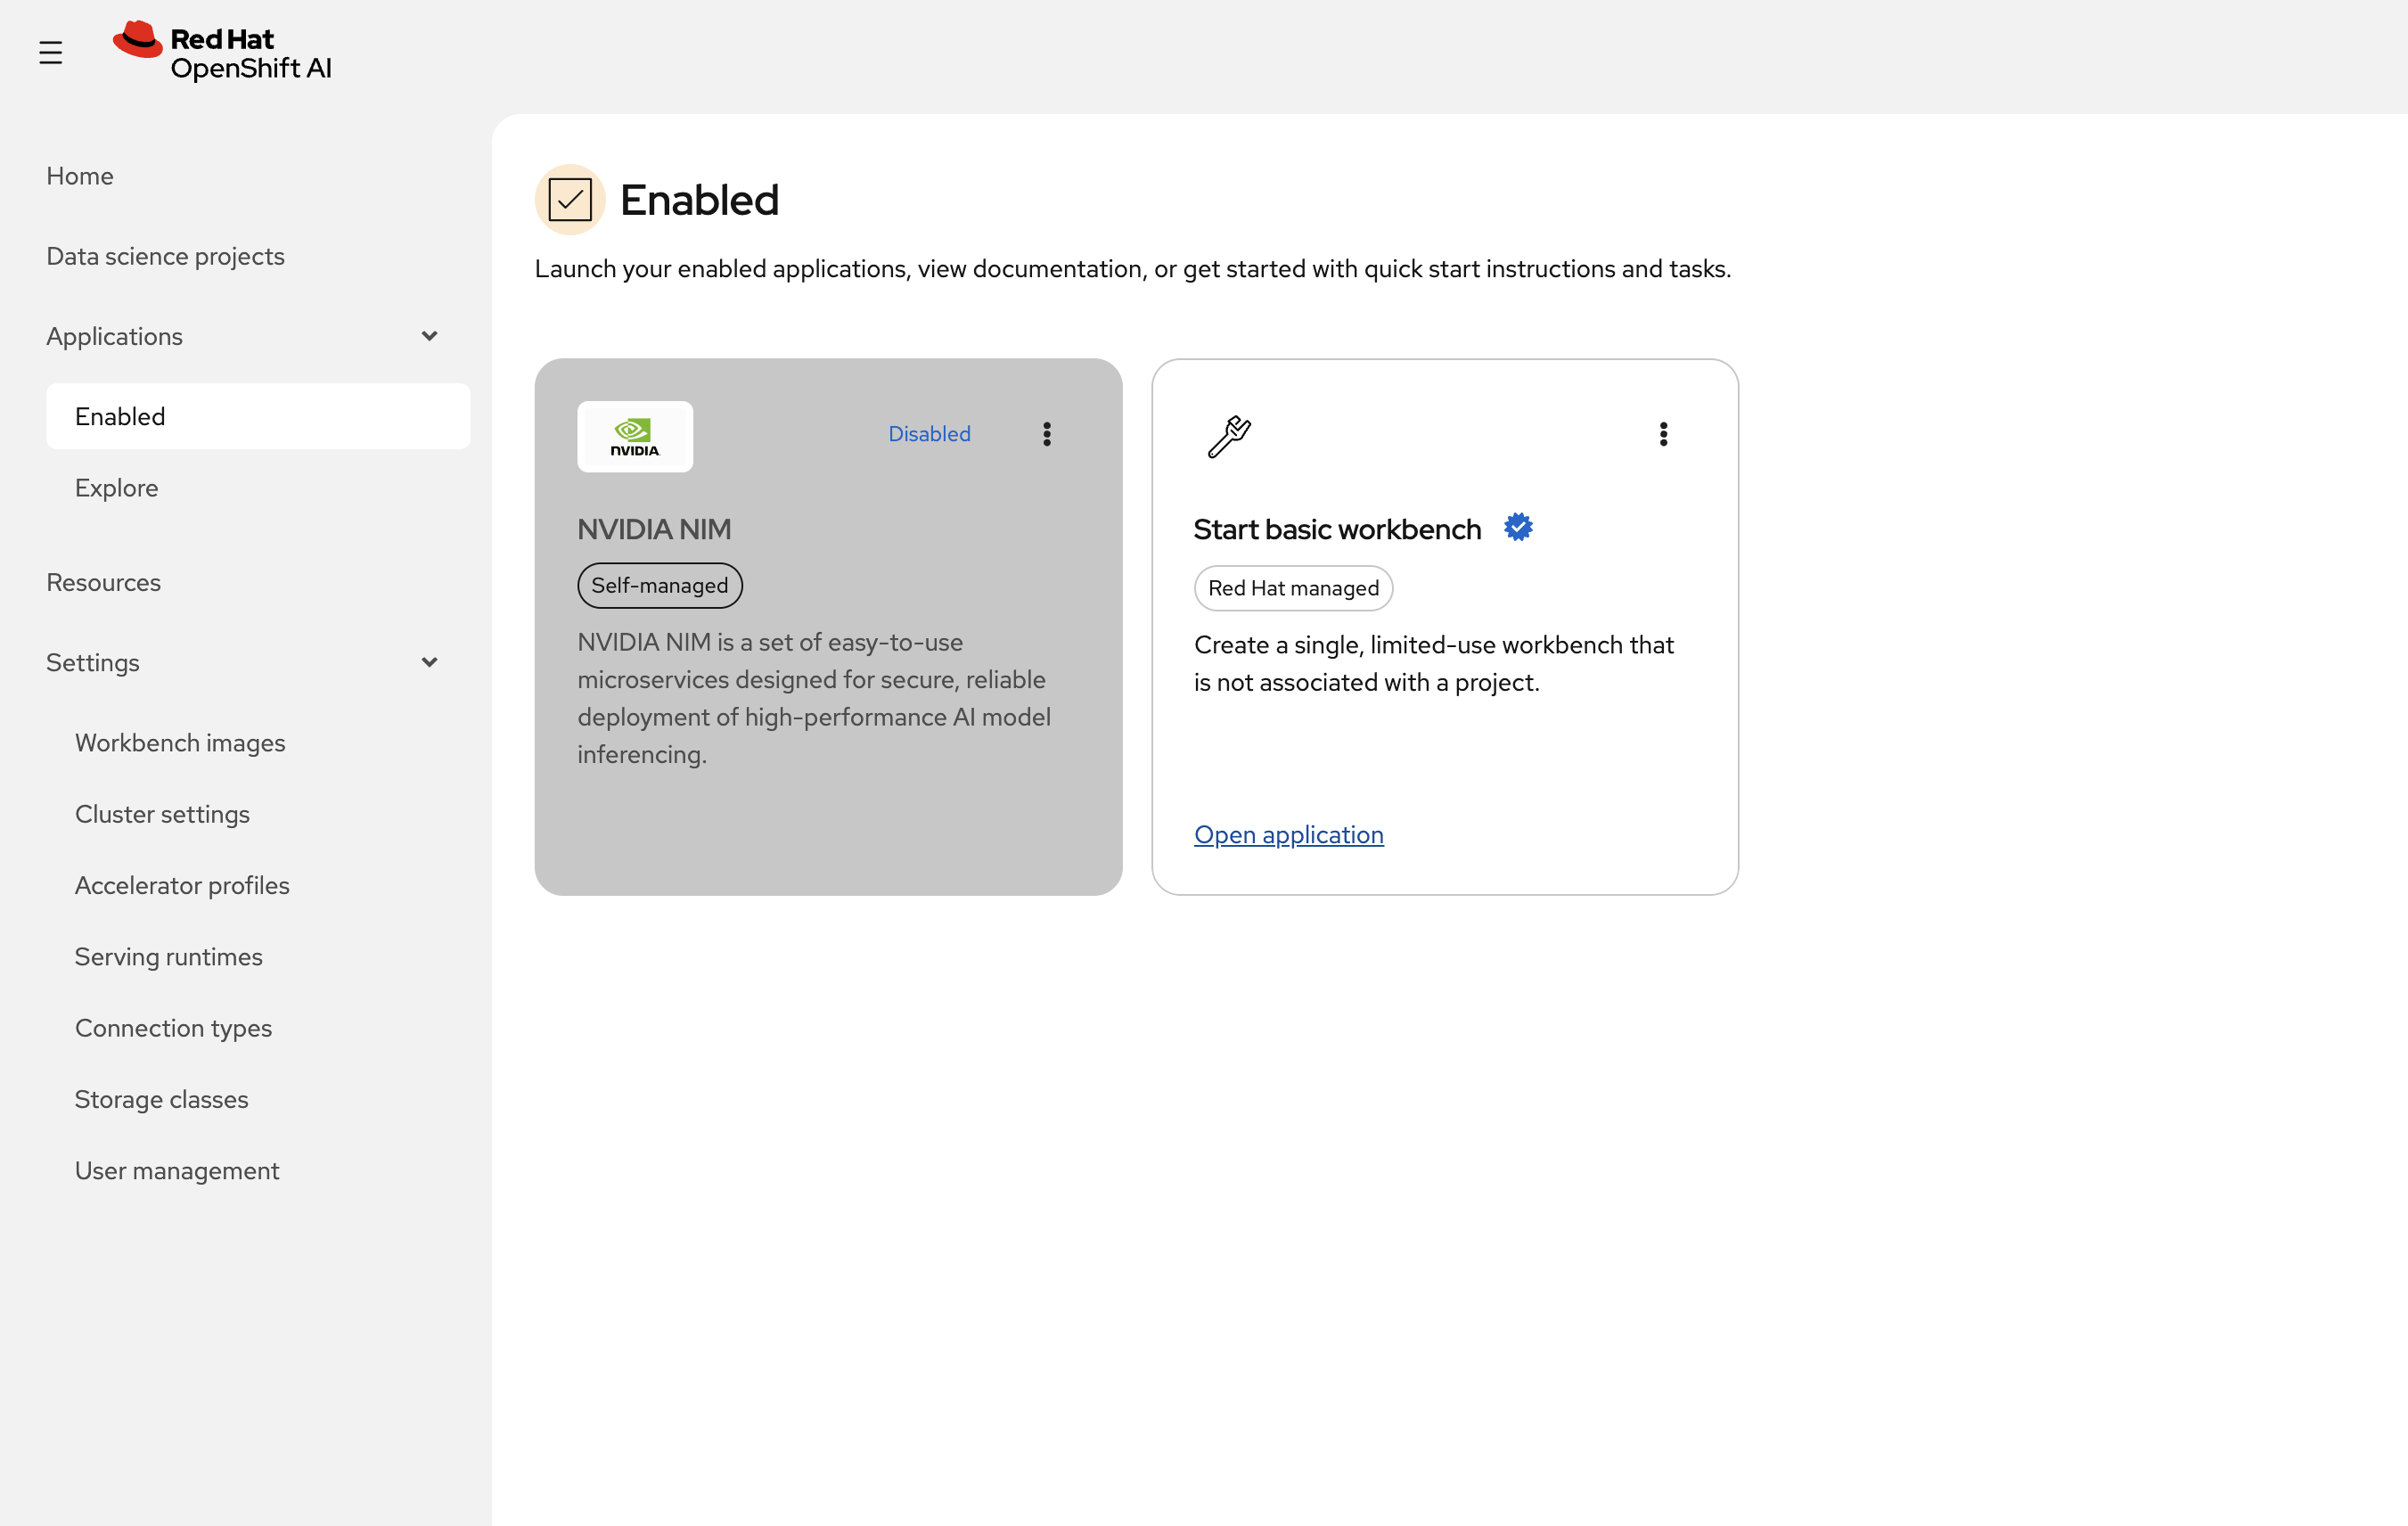
To create a Jupyter notebook server, click on Applications → Enabled → Start basic workbench
-
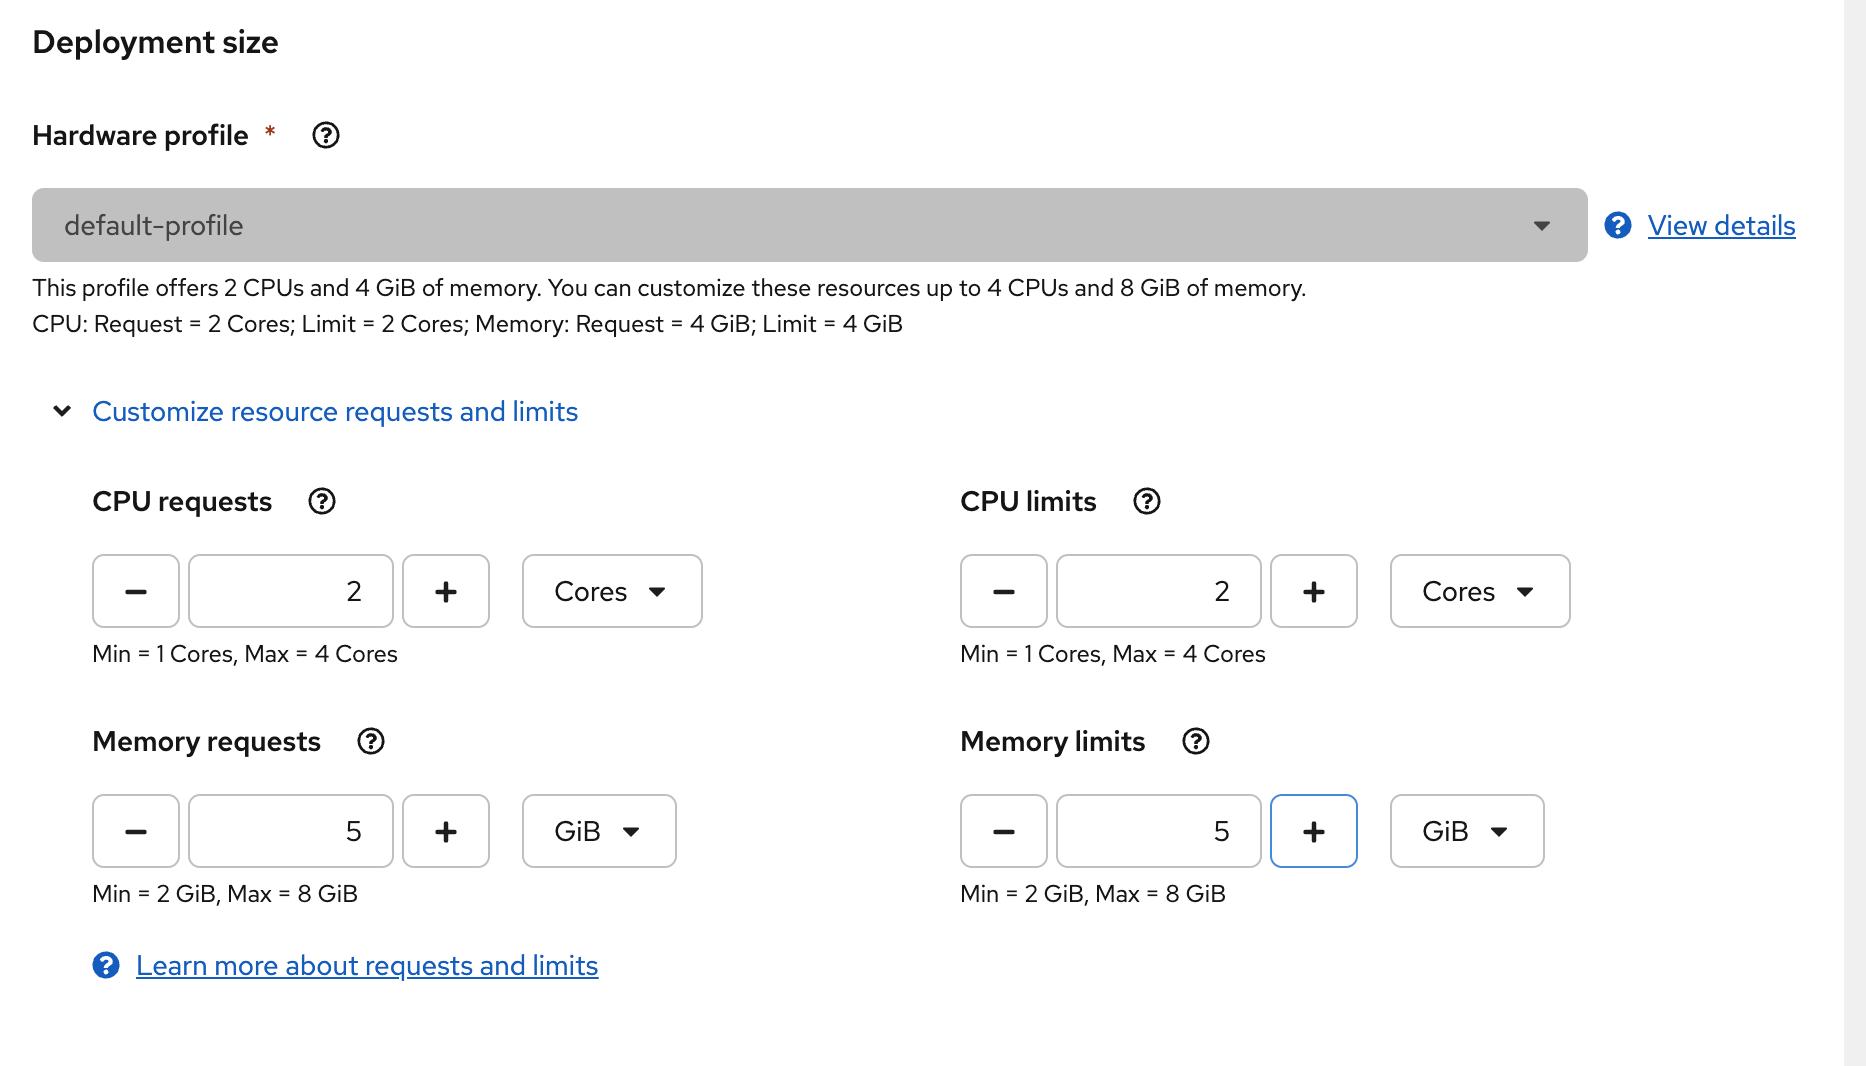
Configure your workbench:
-
Select a notebook image Jupyter | Data Science | CPU | Python 3.12 | 2025.2
Notice the accelerators location that are not available for the notebook image. If your cluster had access to GPU, you would be able to select the GPU accelerator. You can also use environment variables to configure access to your storage/databases

-
Click Start Workbench to launch your notebook server

-
-
Once your notebook server is running, click Open in a new tab to access your Jupyter environment (if you get prompted to log in, use Username:
adminand Password:{openshift_cluster_admin_password}):
-
Once your notebook server is running, click Open in New Tab to access your Jupyter environment.
-
Your Jupyter notebook interface opens in a new tab. You can create notebooks, upload files, use a terminal, or open an existing
.ipynbfile.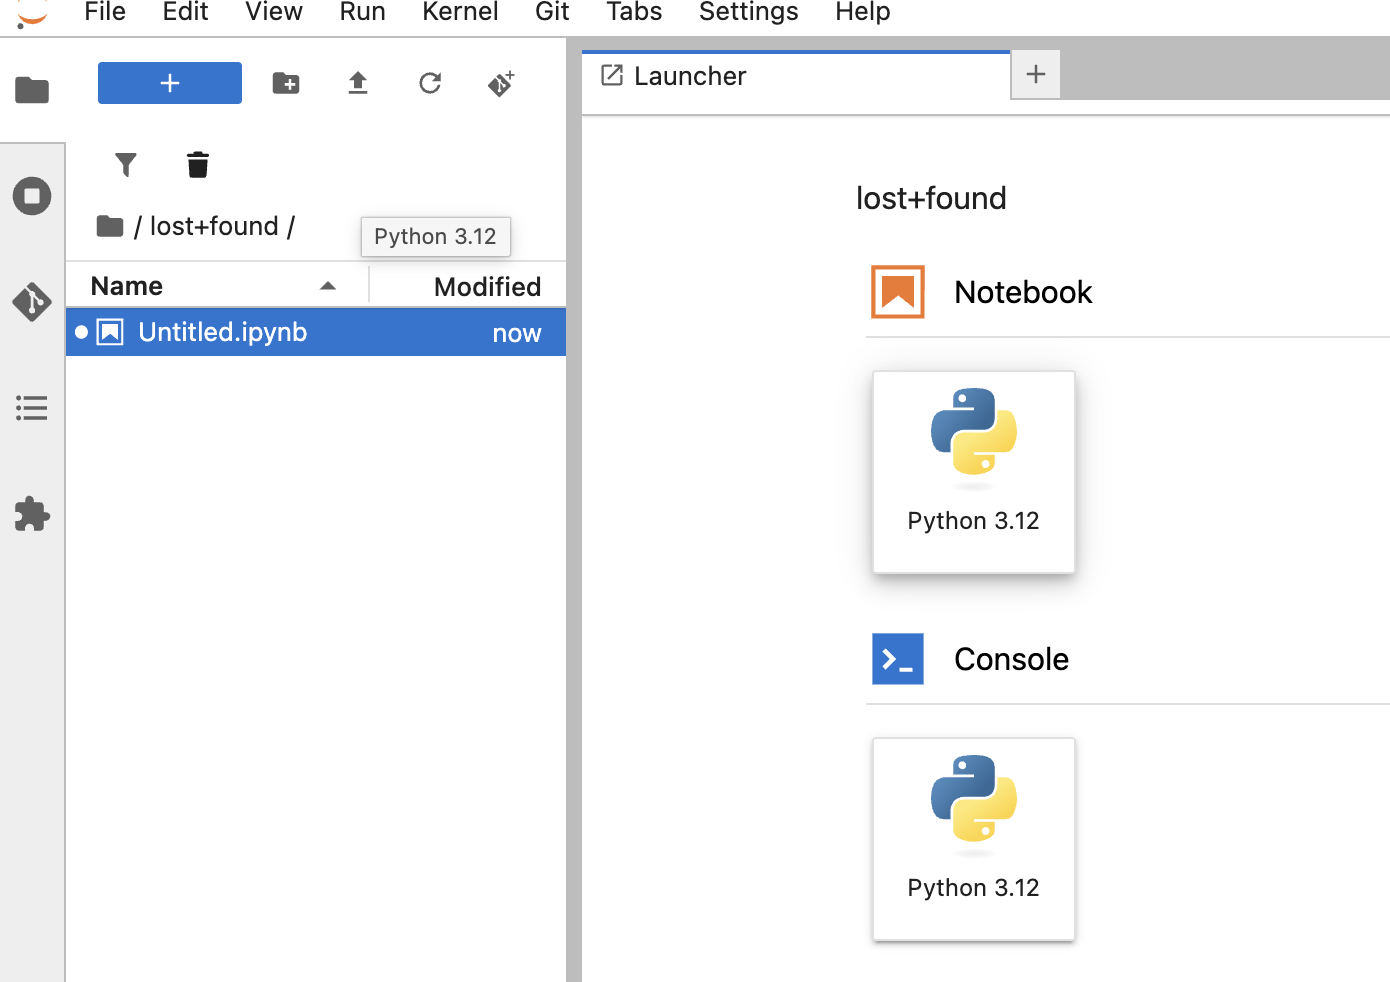
-
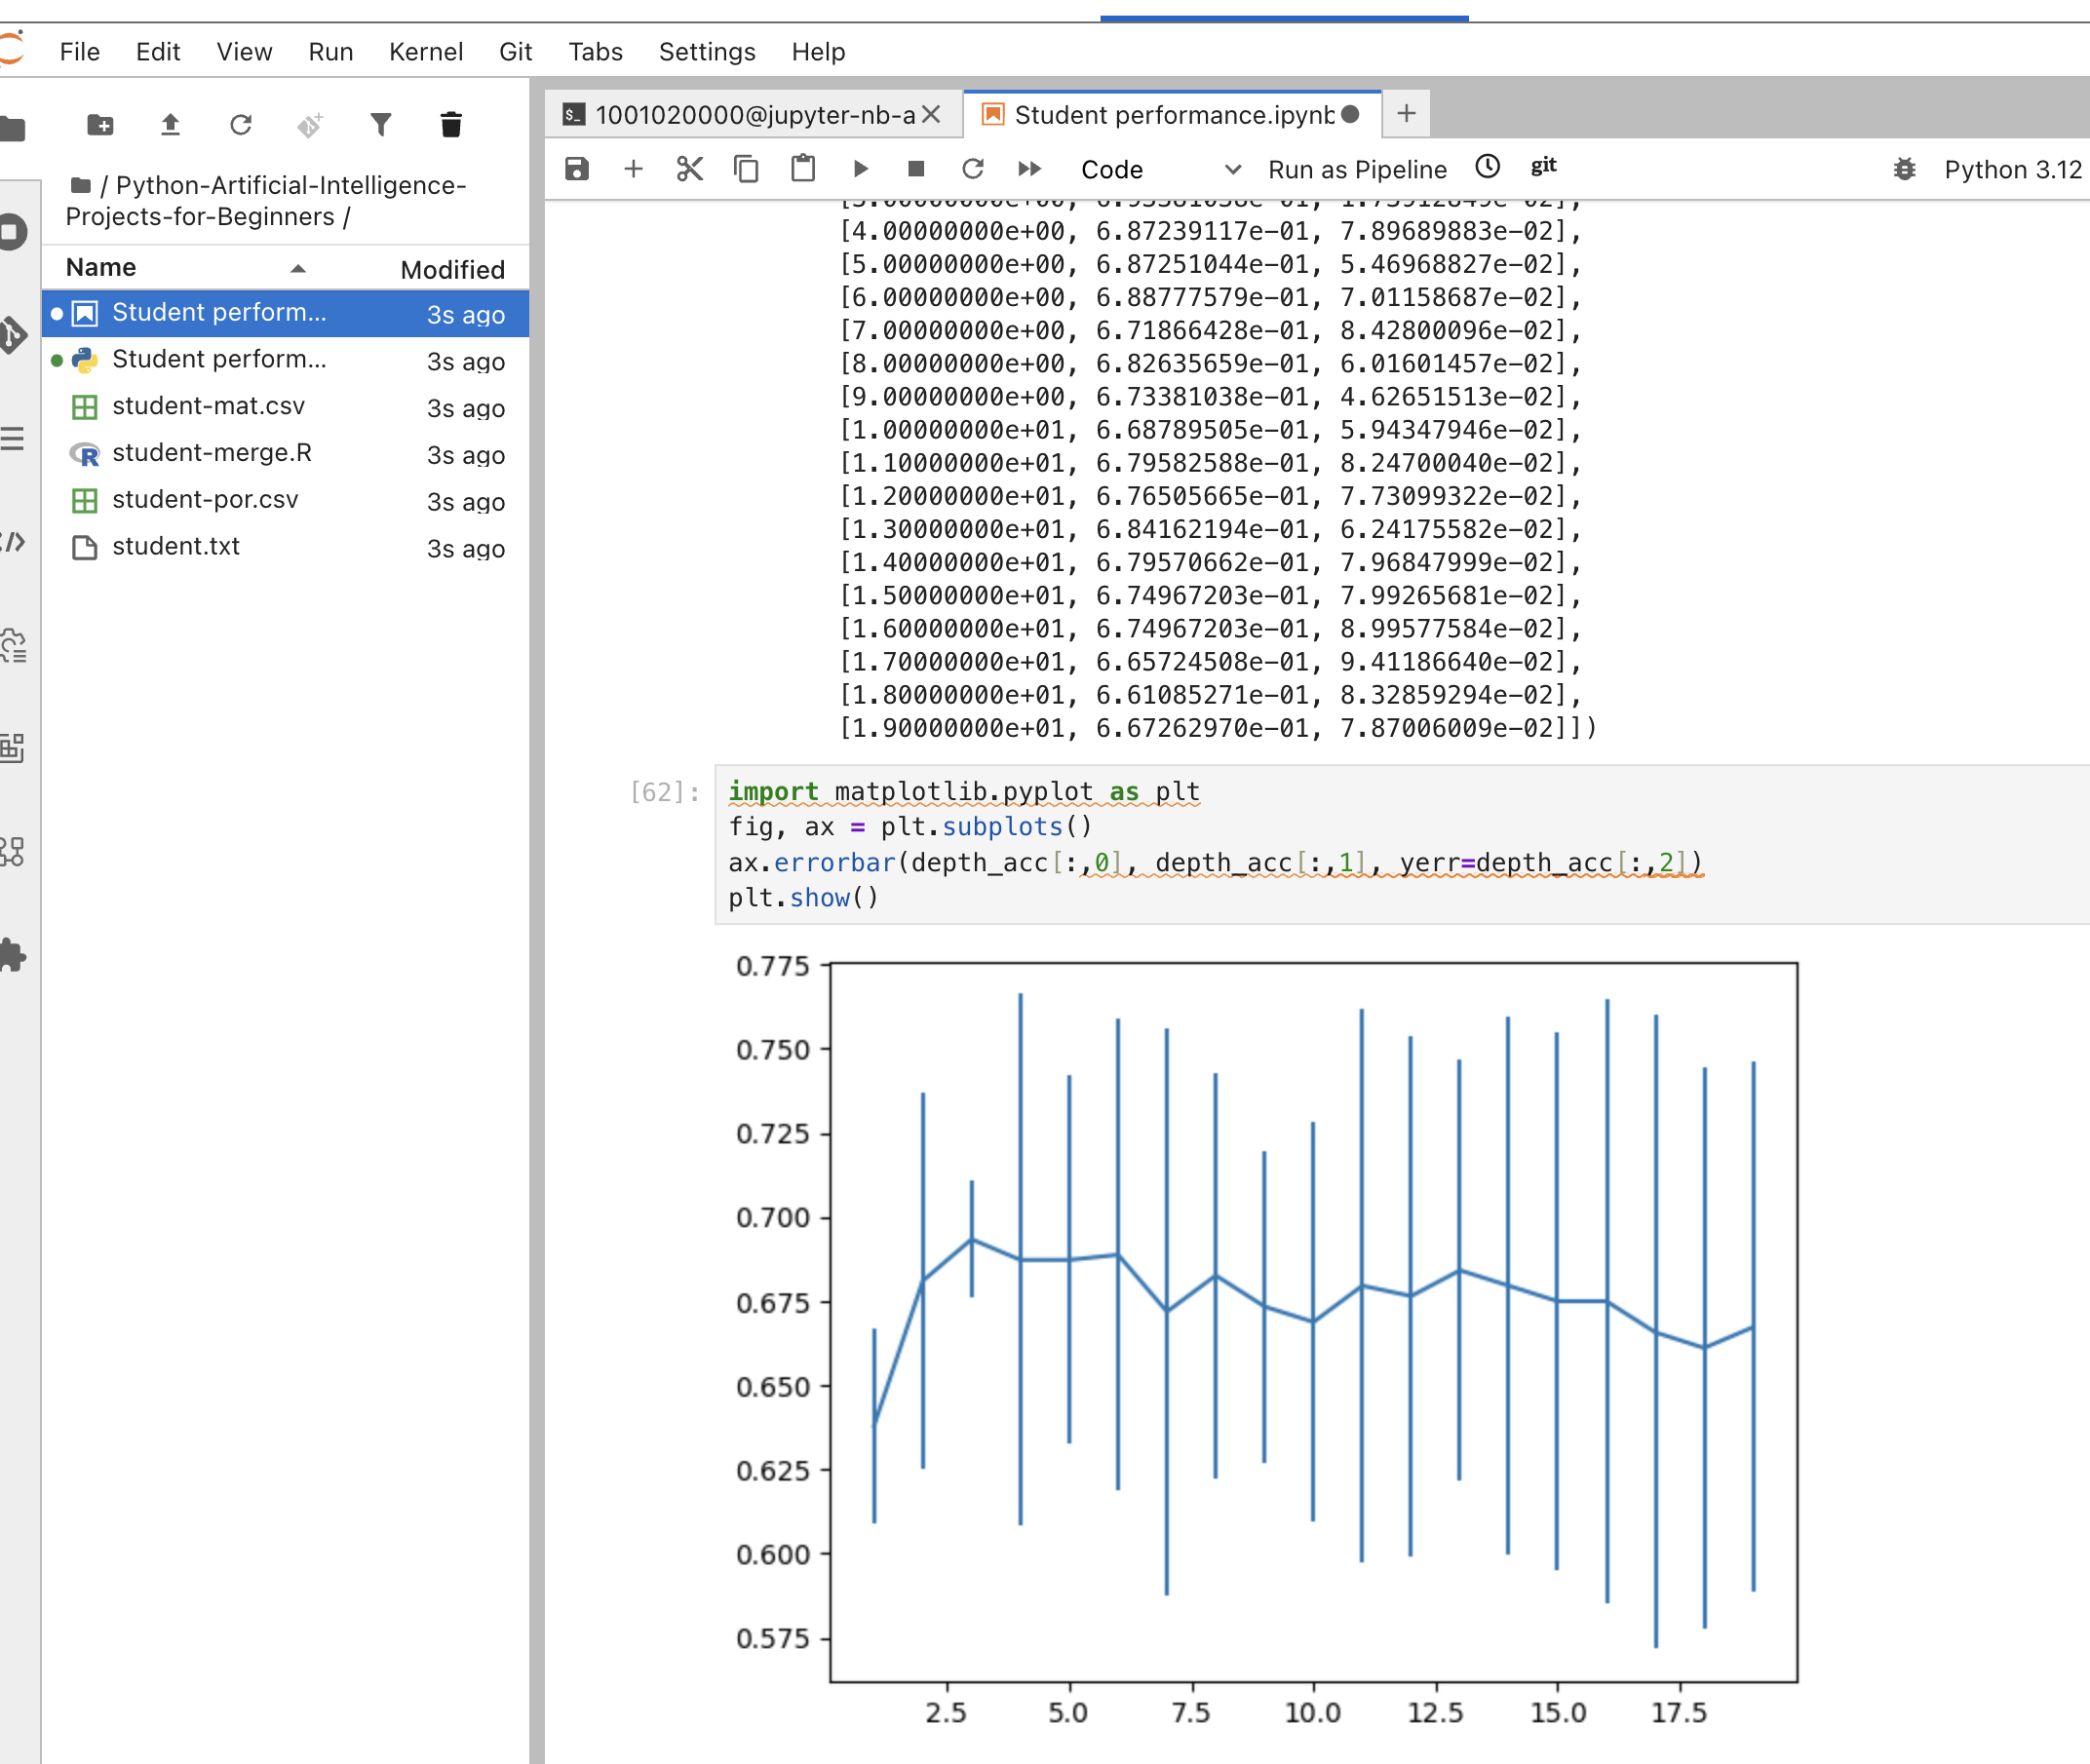
Next, you will run the Python Artificial Intelligence Projects for Beginners sample from this repository (
Student performance.ipynband the CSV data files in the same folder) in your workbench:-
Open a terminal: from the Launcher (or the File menu), choose New → Terminal.
-
Clone the repository into your workbench (one block to copy and paste):
git clone https://github.com/mfosterrox/Python-Artificial-Intelligence-Projects-for-Beginners.git -
In the Jupyter file browser (folder icon or Jupyter logo), open Python-Artificial-Intelligence-Projects-for-Beginners, then double-click Student performance.ipynb to open it.
-
Run the notebook: menu Run → Run All Cells, or run each cell in order with Shift+Enter.
You should see the output of the notebook in the terminal, along with the final plot of the student performance.
-
Bringing Intelligence to Your Data
Red Hat OpenShift AI lets you run your AI tools and data science projects right where your data lives, inside your trusted infrastructure. By using OpenShift AI on-premises or in your own cloud, you keep control of your data and AI workloads.
With this setup, your sensitive data stays private, your models are secure, and you can easily meet compliance needs. OpenShift AI makes it easy to build, train, and use AI while keeping everything under your control.
You’ve successfully brought intelligence to your data --keeping it safe, secure, and sovereign.
