Introduction
This module introduces the Ansible Development Tools workshop and walks you through launching your development environment in Red Hat OpenShift Dev Spaces. By the end, you will have a fully configured VS Code workspace with all the tools needed for the remaining labs.
Learning objectives
After completing this module, you will be able to:
-
Understand what Ansible Development Tools are and why they matter
-
Navigate the Red Hat OpenShift Dev Spaces interface
-
Launch and configure your Ansible development workspace
-
Verify the installed development tools
What are Ansible Development Tools?
Ansible Development Tools (often referred to as Ansible Dev Tools or ansible-dev-tools) are a curated bundle of command-line tools designed to support the entire Ansible content lifecycle.
These tools cover:
-
Project scaffolding (
ansible-creator) -
Local development environments (
ade) -
Linting and static analysis (
ansible-lint) -
Testing with ephemeral infrastructure (
molecule,pytest-ansible,tox-ansible) -
Content signing (
ansible-sign) -
Execution Environment creation (
ansible-builder) -
Execution and navigation (
ansible-navigator)
Instead of assembling and maintaining these tools individually, the bundle provides known-good versions and predictable integration between tools. All contributors use the same tools and compatible versions, reducing environment-related issues.
In this workshop, you will use these tools through a consistent development workflow: Create, Test, and Deploy your automation content.
Lab environment
For this workshop, your development environment runs in Red Hat OpenShift Dev Spaces, which provides consistent, reproducible development environments based on the open-source project Eclipse Che.
Dev Spaces provides a VS Code environment configured by a devfile, a YAML file that defines the entire workspace as code, including all necessary tools, runtimes, and project source. This ensures every participant has an identical setup.
The lab environment includes:
-
Red Hat OpenShift Dev Spaces — your browser-based VS Code development environment, powered by Eclipse Che
-
Ansible Development Tools (adt) — the bundled CLI suite including
ansible-creator,ade,ansible-lint,molecule,pytest-ansible,tox-ansible,ansible-builder,ansible-navigator, andansible-sign -
Ansible VS Code extension — provides content scaffolding wizards, linting integration, and language support
-
Podman — container runtime for building Execution Environments and running Molecule tests
-
Open VSX Registry — on-premises registry serving VS Code extensions to Dev Spaces
-
Lab instructions — this guide (Showroom)
Lab tips
Before we begin, here are some tips to improve your lab experience:
-
Screenshots in this lab guide are provided as visual guidance. Your environment may look slightly different due to version updates or display settings — always follow the written instructions.
-
The instructions panel (where you are reading this) can be resized by dragging its border. This is useful if you need extra space for the main panel.
-
If you receive any VS Code notification pop-ups, you can safely ignore and dismiss them by clicking
x,Dismiss, orIgnore, unless otherwise noted. -
Copy and pasting into the VS Code Terminal: The key combo Ctrl + Shift + V (Mac: Cmd + Shift + V) should work for pasting. If using Firefox, you can also use the right-click menu for Paste into the Terminal.
-
The lab consists of several Modules. Each module contains one or more Tasks. When you finish a module, click the Next button at the bottom of the instructions to proceed.
Lab guide: Hands-on tasks
Task 1: Launch the Dev Spaces workspace
Red Hat OpenShift Dev Spaces gives you a full VS Code environment running in your browser, with all Ansible development tools pre-installed and configured. Instead of spending time installing tools locally, every participant gets an identical, ready-to-use workspace backed by an enterprise container platform.
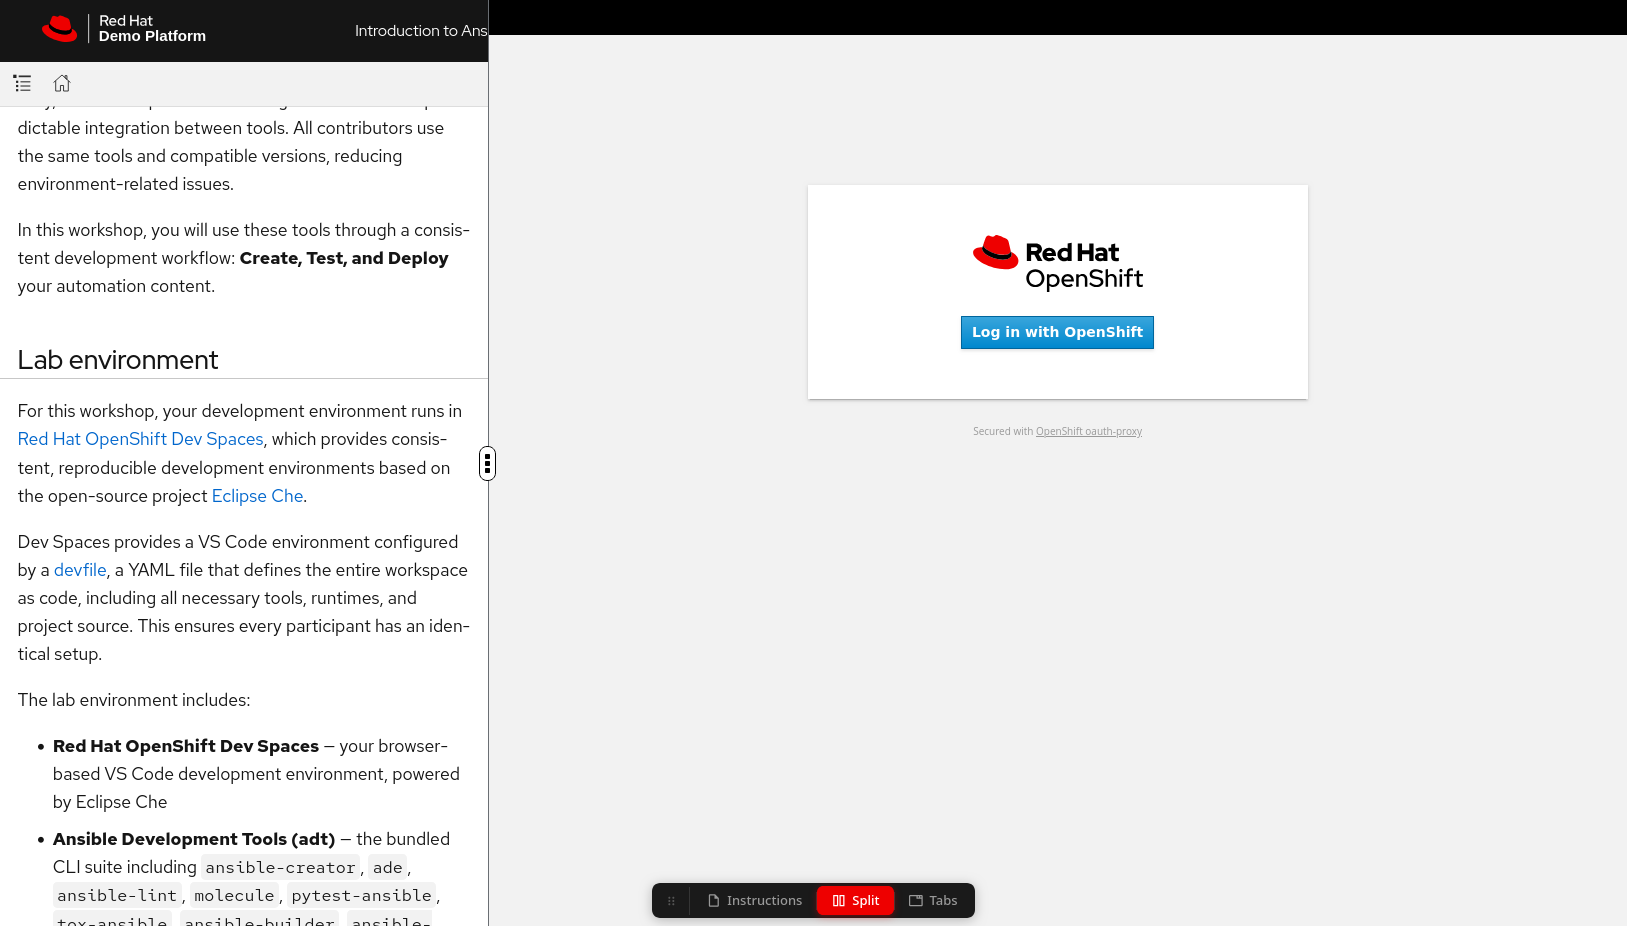
-
In the lab instructions toolbar at the top of this page, click the Split button to open a side-by-side view. The right panel will load the Dev Spaces dashboard.
-
In the Dev Spaces dashboard on the right, click the Log in with OpenShift button.
-
Enter your credentials from the Environment Details page (
{user}/{password}) and click Sign In.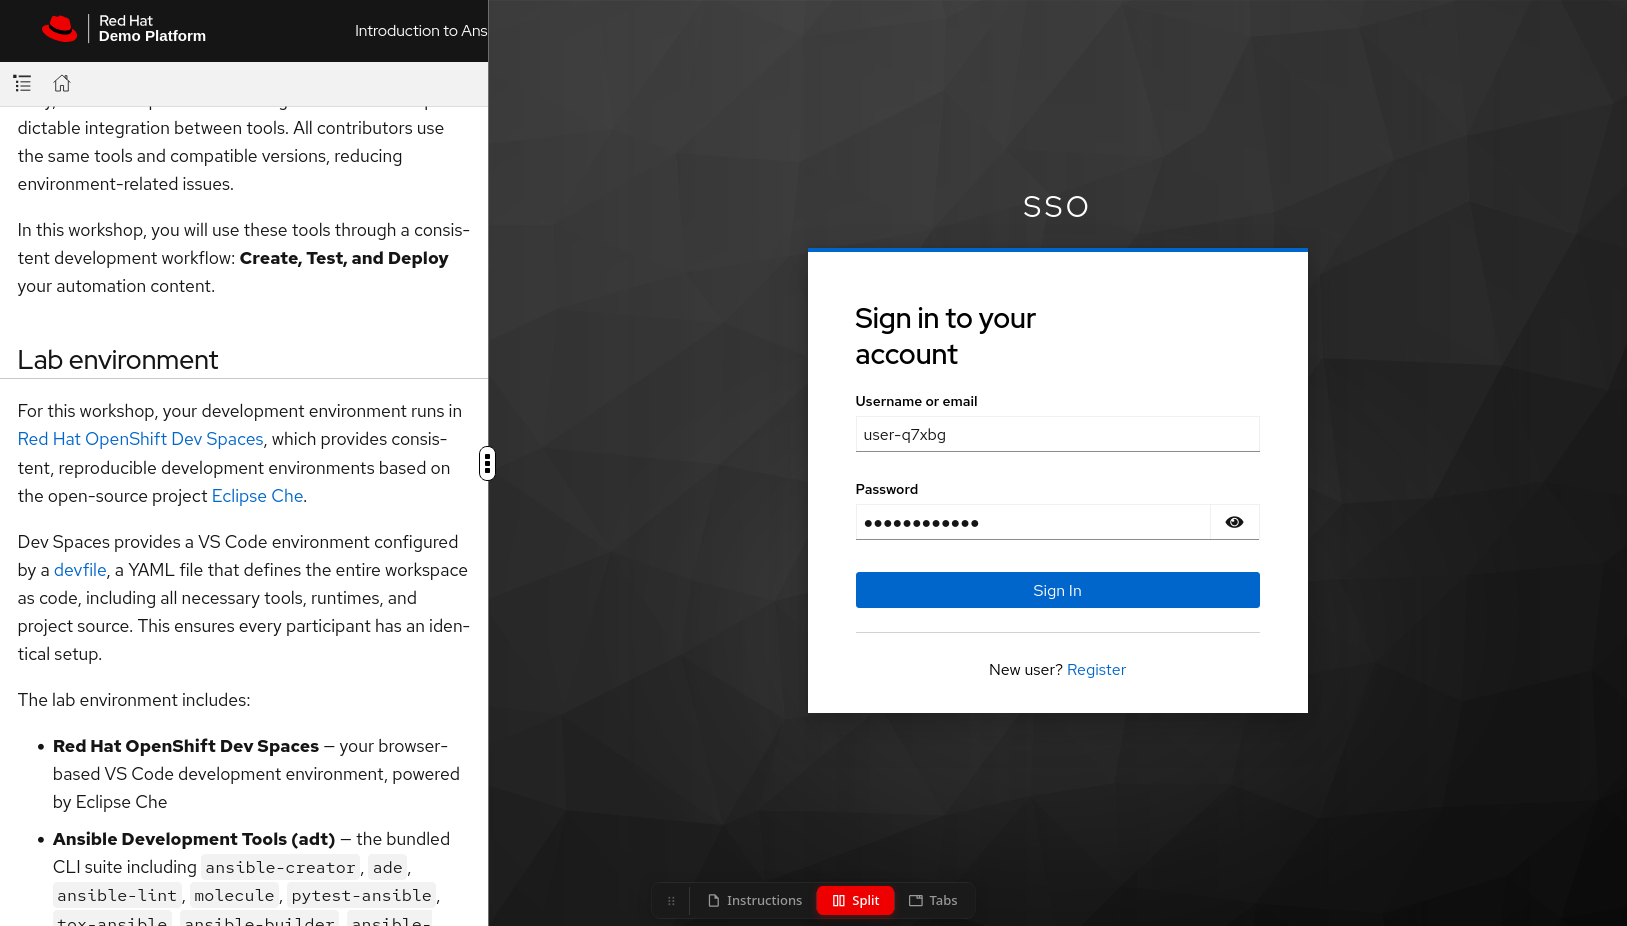
-
You will see an authorization prompt. Click Allow selected permissions to grant Dev Spaces access to your account.
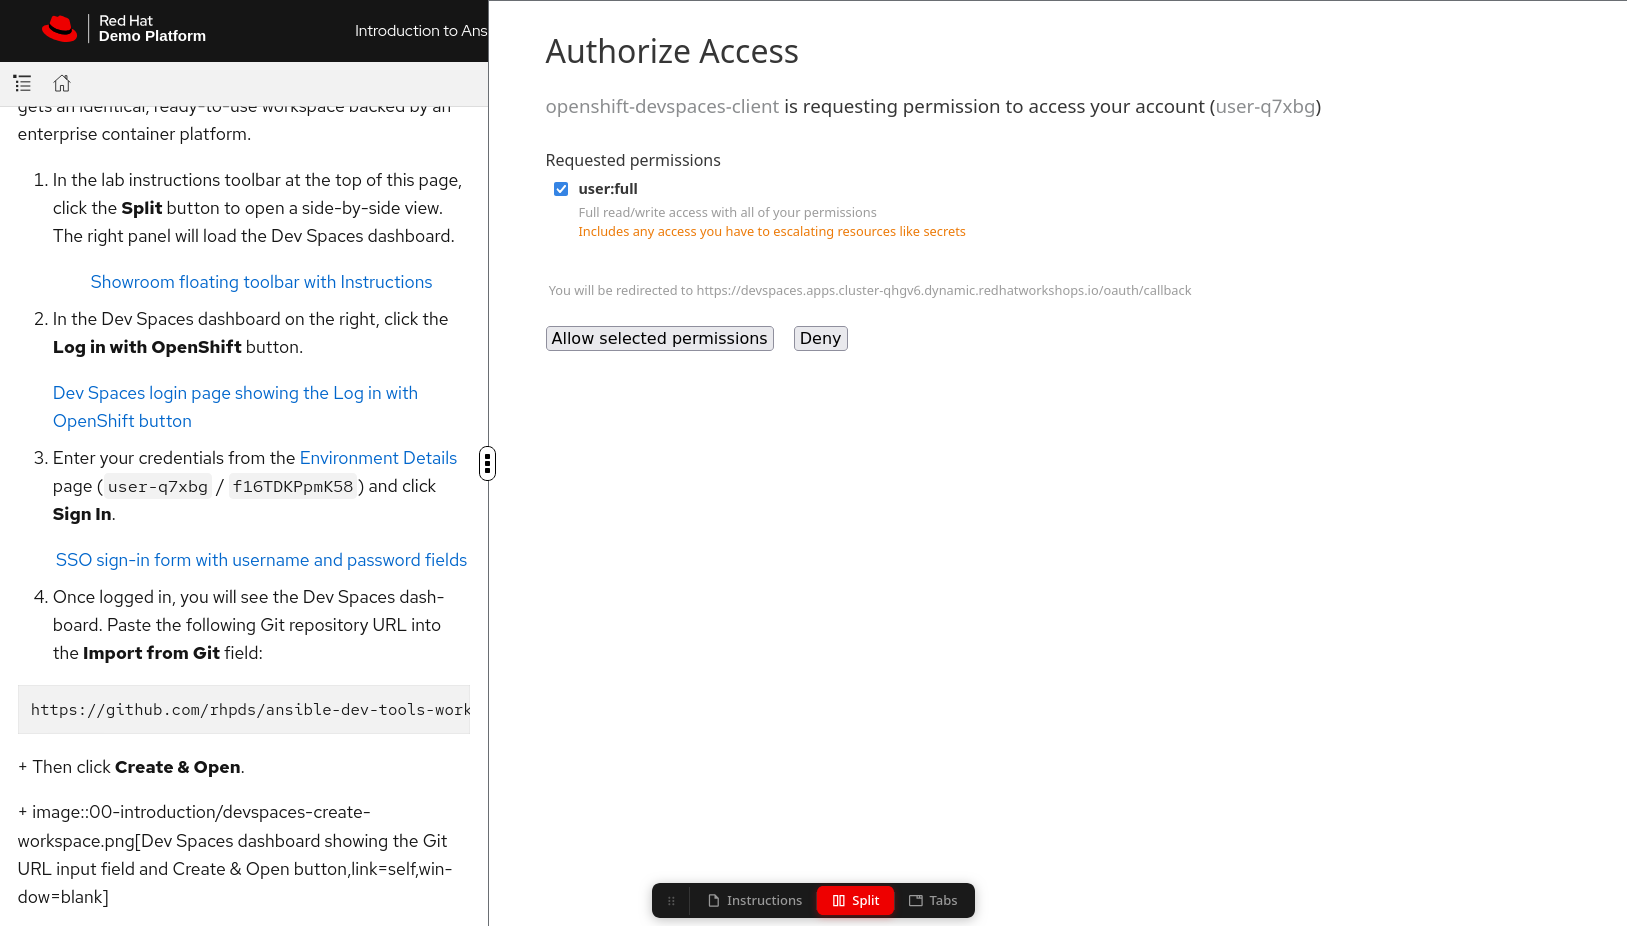
-
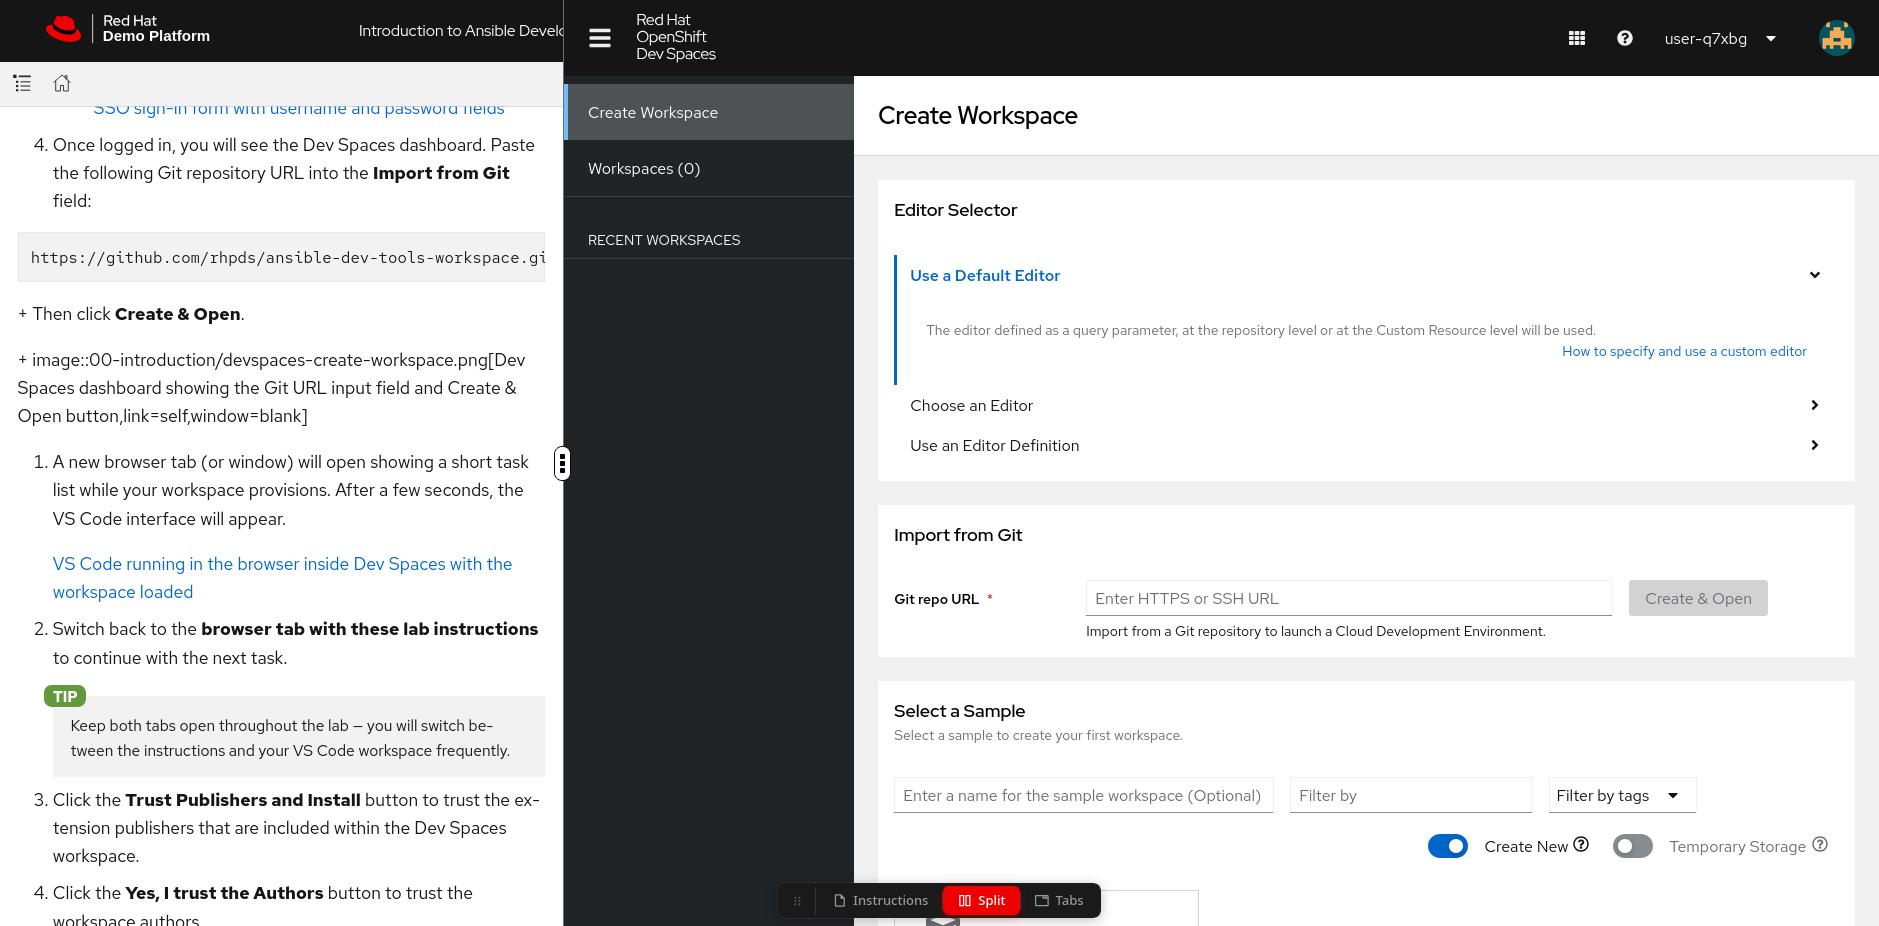
Once logged in, you will see the Dev Spaces dashboard. In the Import from Git section, paste the following Git repository URL into the Git Repo URL field:
https://github.com/rhpds/ansible-dev-tools-workspace.gitThen click Create & Open.
-
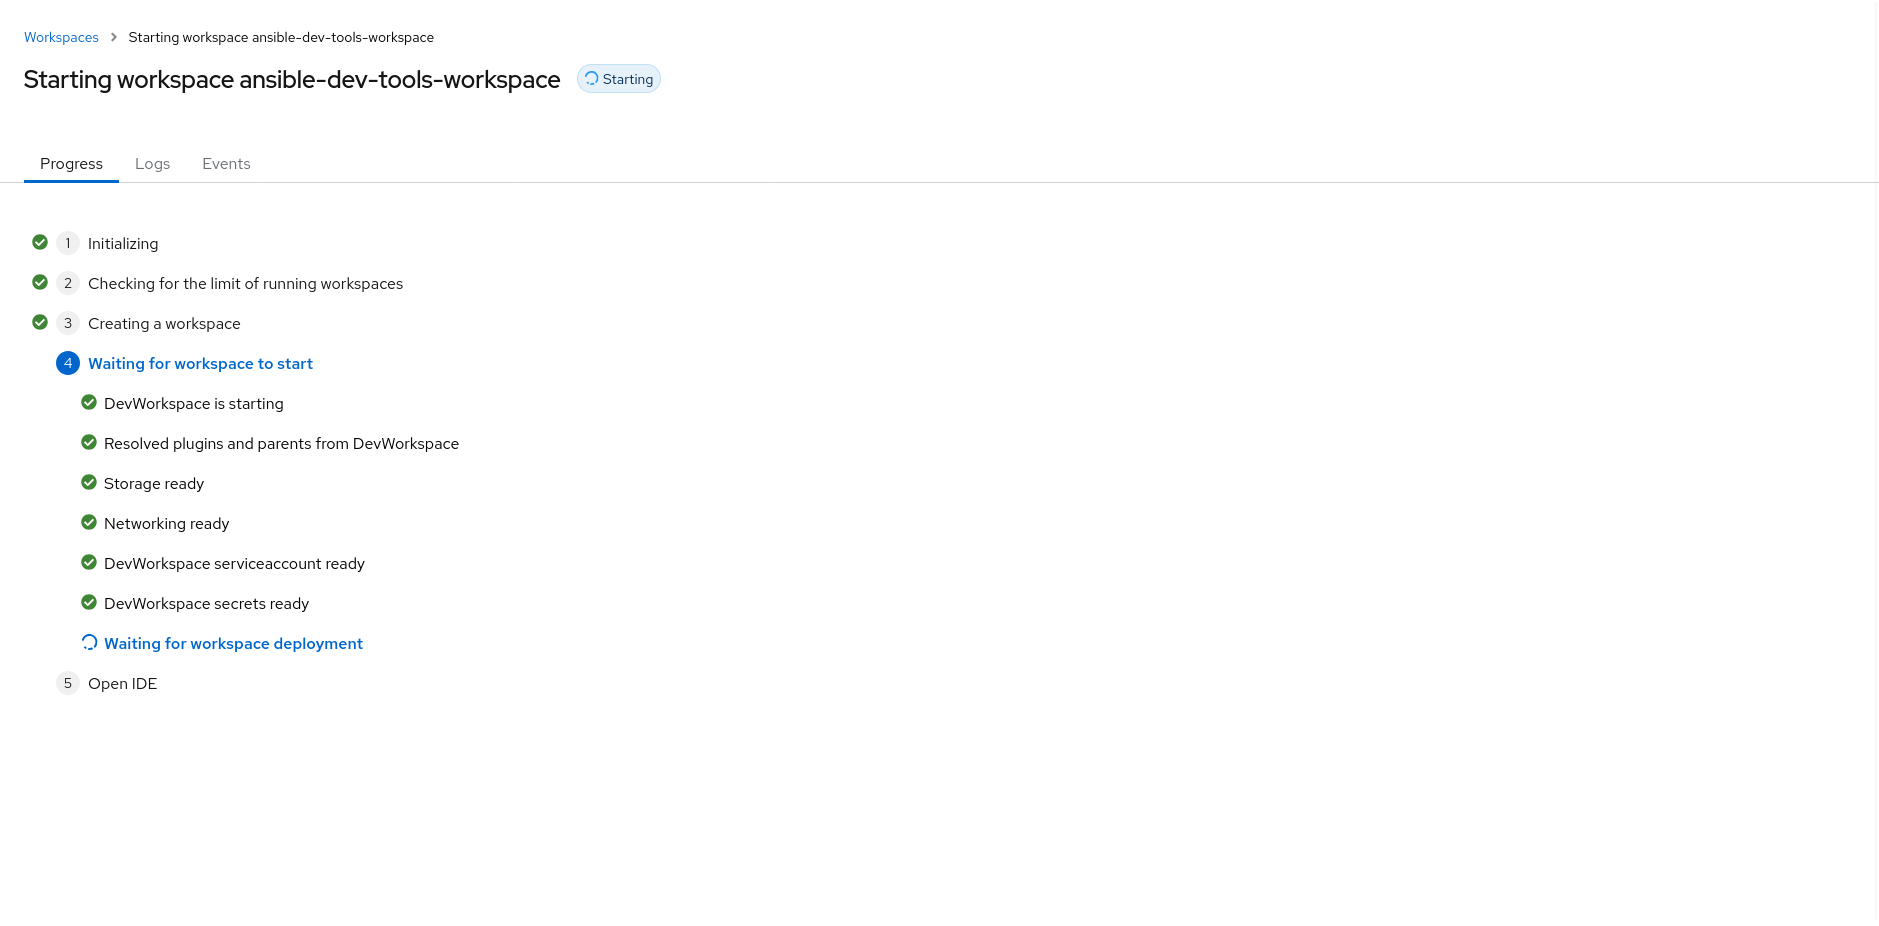
A new browser tab (or window) will open showing a progress page while your workspace provisions. Wait for the workspace to finish starting.
-
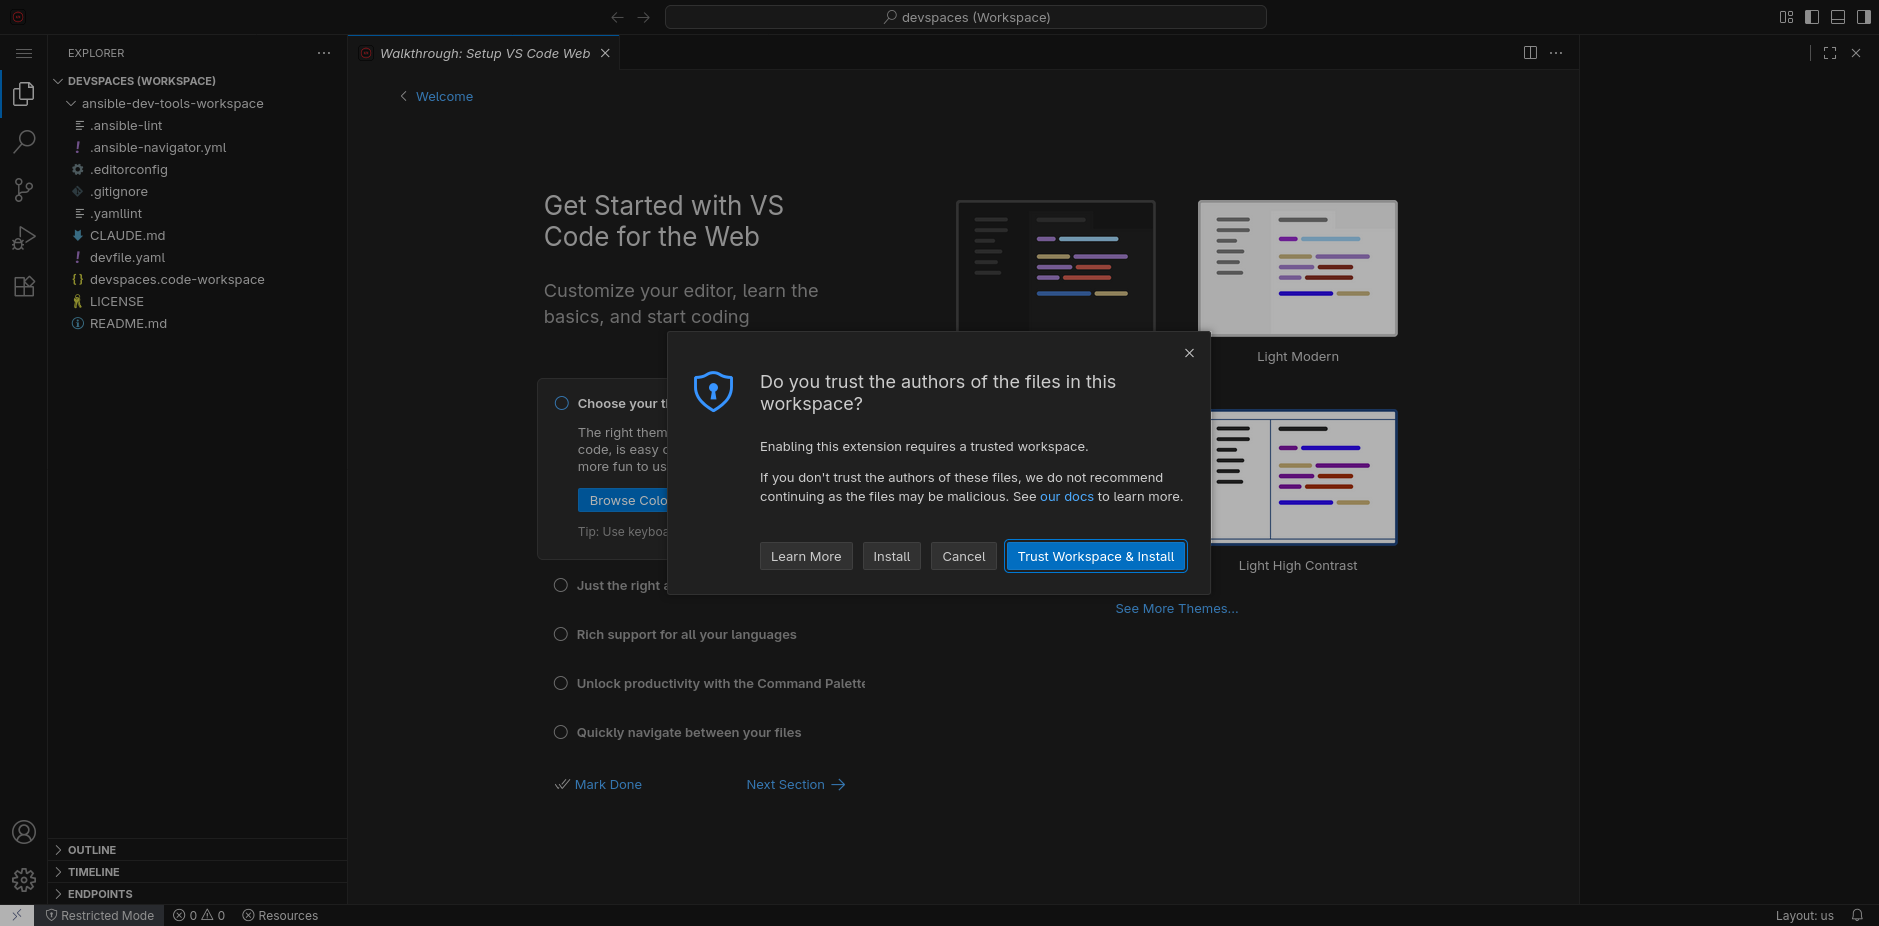
Once the workspace is ready, the VS Code interface will load. You may see a popup asking "Do you trust the authors of the files in this workspace?". Click Continue to proceed.
-
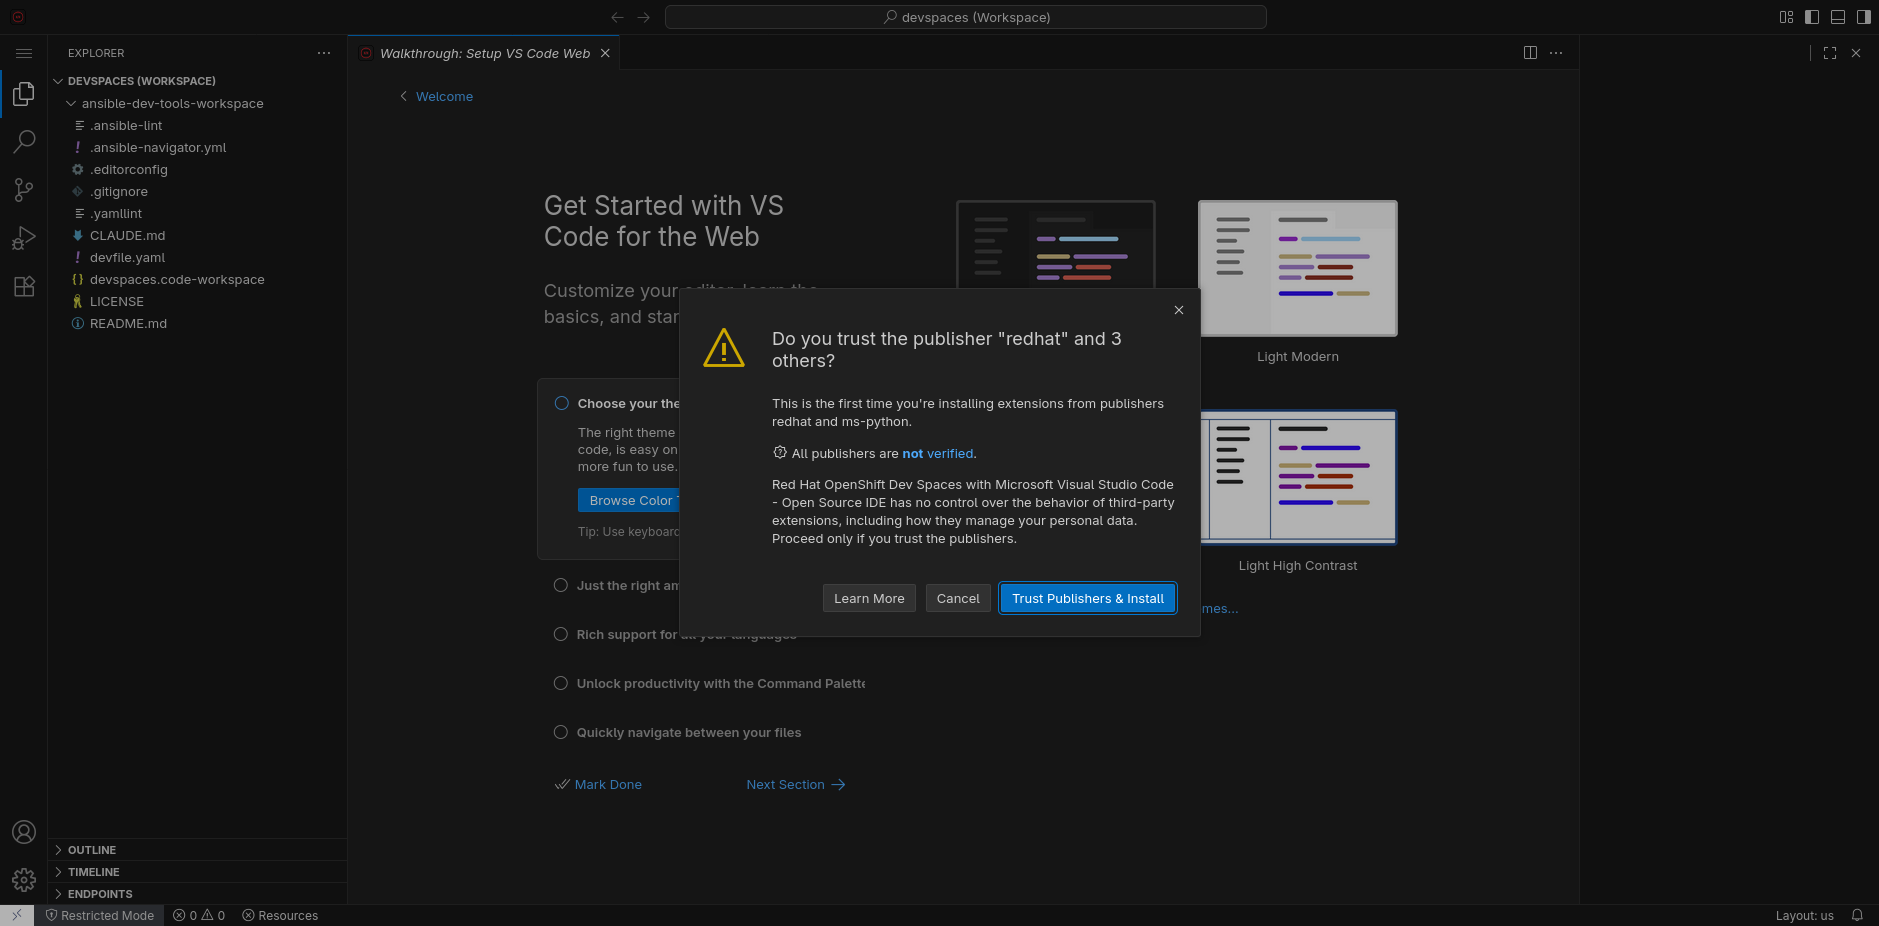
You will be prompted to trust the extension publishers. Click the Trust Publishers & Install button.
-
Next, click the Trust Workspace & Install button to trust the workspace authors.
-
Wait a few moments until the extensions finish loading and the Ansible extension icon appears on the left sidebar.
Keep both tabs open throughout the lab — you will switch between the instructions and your VS Code workspace frequently.
Task 2: Explore the Ansible extension
-
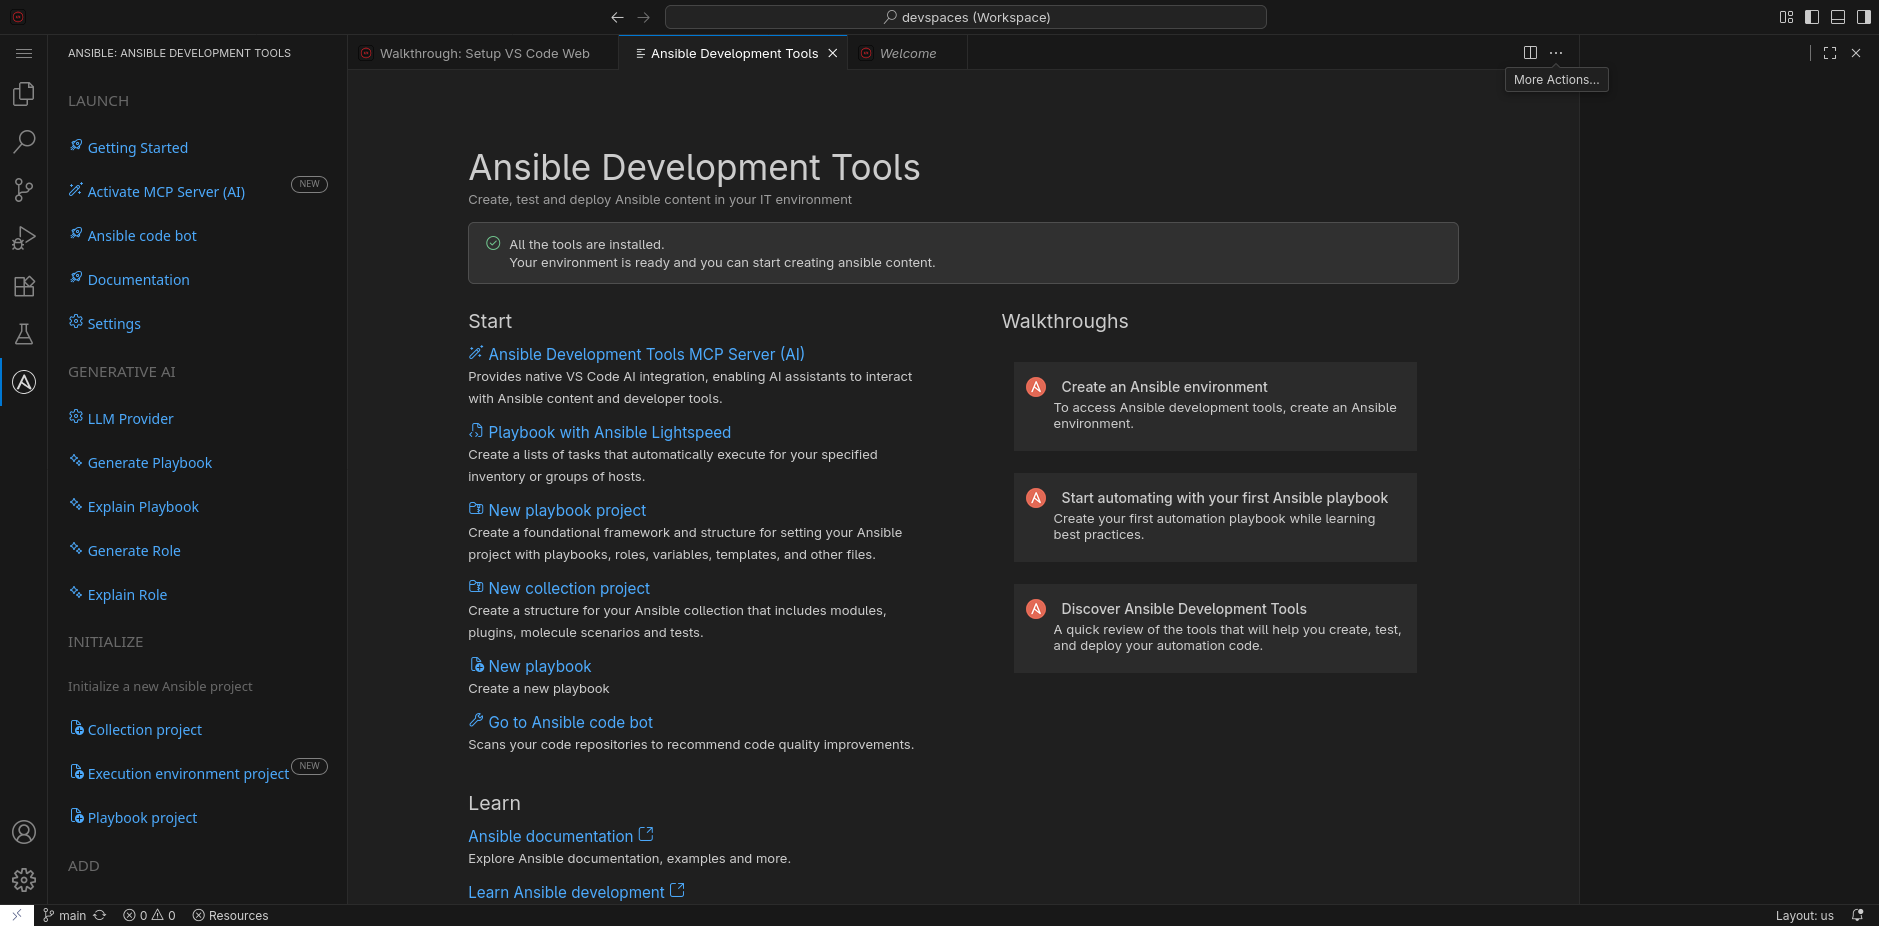
Click on the Ansible extension icon (the "A" logo) in the left activity bar to open the Ansible panel. You will see the Ansible Development Tools section with shortcuts and guided wizards to scaffold projects, manage execution environments, and perform other common Ansible development tasks. You will use several of these throughout the lab.
-
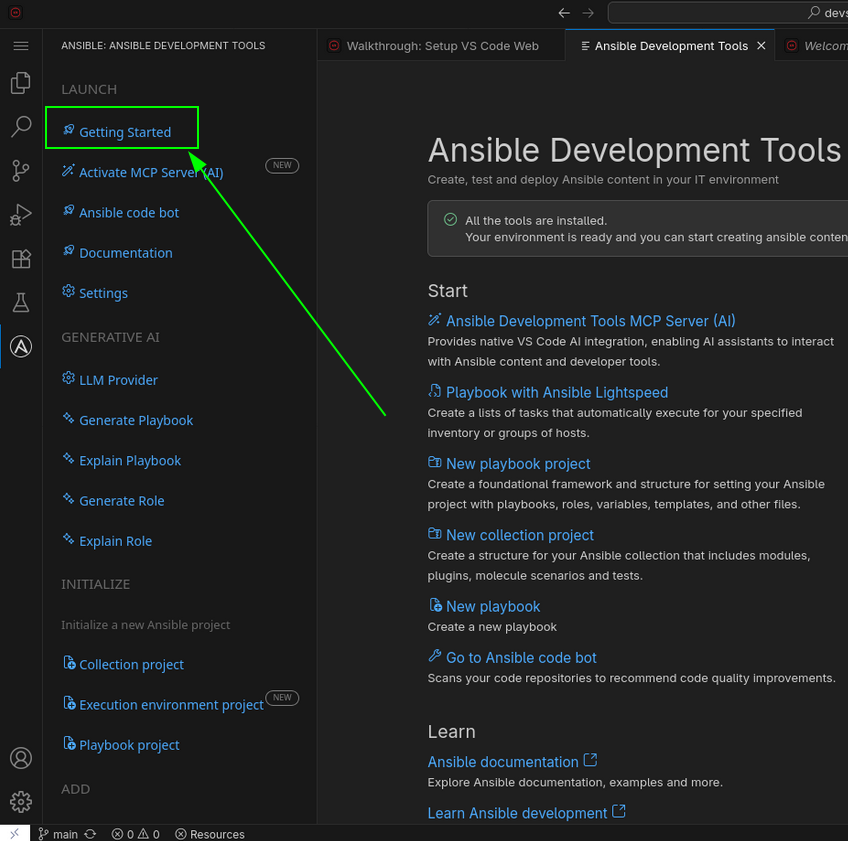
Click Getting Started at the top of the Ansible sidebar to open the Ansible Development Tools welcome page. This page gives you an overview of all the available tools, quick-start links, and walkthroughs.
Task 3: Verify the development environment
The majority of the exercises in this lab will be performed using the VS Code terminal.
-
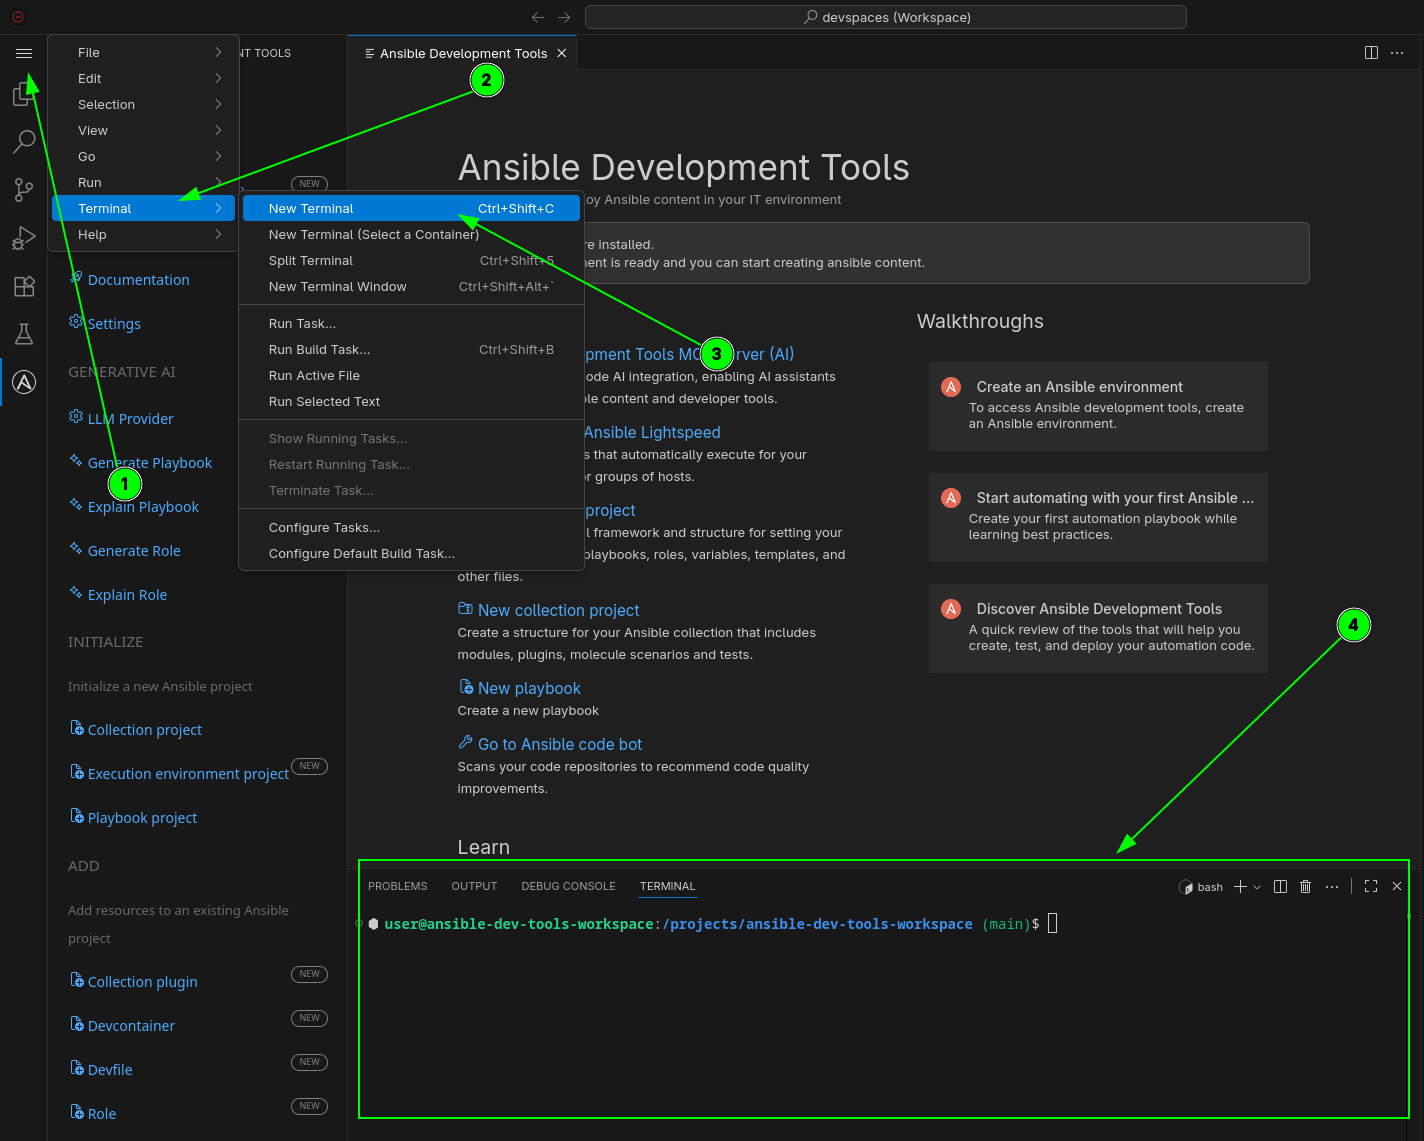
Open a new terminal by selecting the VS Code menu starting with the hamburger (3 horizontal lines) in the top left, then selecting Terminal → New Terminal
-
Verify the container OS release:
cat /etc/redhat-releaseRed Hat Enterprise Linux release 9.7 (Plow) -
Verify
ansibleand the development tools are available:adt --versionThe output will show the versions of all installed Ansible development tools. Versions may differ from the examples in the lab, this is expected. -
Close the terminal by clicking the trash can icon on the terminal panel or by typing
exitin the terminal.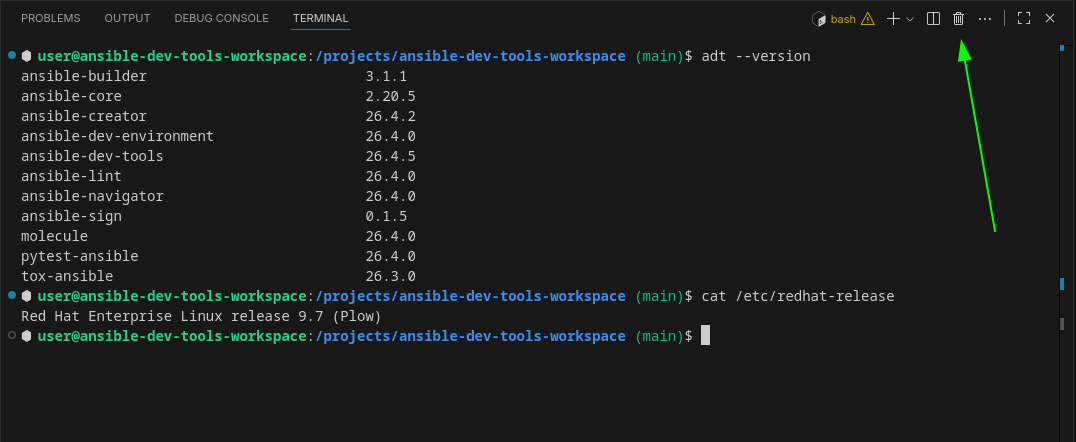
Summary
In this module, you have:
-
Learned what Ansible Development Tools are and how they support the content lifecycle
-
Launched and configured your Red Hat OpenShift Dev Spaces workspace
-
Verified the development tools are installed and ready
This foundation prepares you for the remaining labs where you will create, test, and deploy Ansible automation content.
Next steps
Please click the Next button below to proceed to Lab 1.1 - Creating a Collection with the VS Code Extension.