Introduction
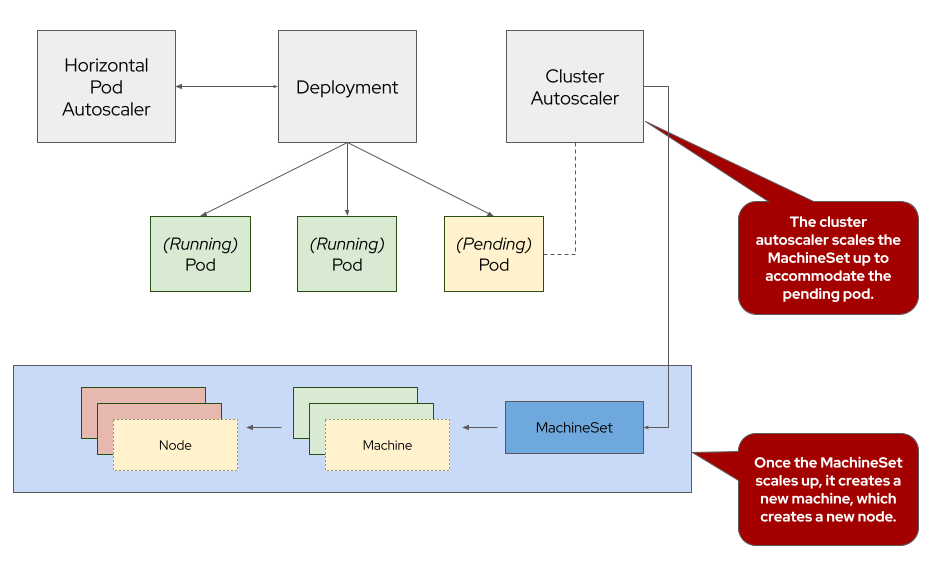
The ROSA Cluster Autoscaler is a feature that helps automatically adjust the size of an ROSA cluster based on the current workload and resource demands. Cluster Autoscaler offers automatic and intelligent scaling of ROSA clusters, leading to efficient resource utilization, improved application performance, high availability, and simplified cluster management. By dynamically adjusting the cluster size based on workload demands, it helps organizations optimize their infrastructure costs while ensuring optimal application performance and scalability. The cluster autoscaler does not increase the cluster resources beyond the limits that you specify.
To learn more about cluster autoscaling, visit the Red Hat documentation for cluster autoscaling.
Enable Autoscaling on the Default MachinePool
You can enable autoscaling on your cluster using either the rosa CLI or the Red Hat OpenShift Cluster Manager. For this lab we will be using the CLI; however, there are instructions at the end of the lab showing how to do it in the console.
You will need to set up autoscaling for each MachinePool in the cluster separately.
-
To identify the machine pool IDs in a cluster, enter the following command:
rosa list machinepools --cluster rosa-${GUID}Sample OutputID AUTOSCALING REPLICAS INSTANCE TYPE LABELS TAINTS AVAILABILITY ZONE SUBNET DISK SIZE VERSION AUTOREPAIR workers No 2/2 m6a.xlarge us-east-2a subnet-068e9a693eeb96757 300 GiB 4.15.43 YesThe ID of the MachinePool that you want to add autoscaling to is
workers. -
To enable autoscaling on a machine pool, enter the following command:
rosa edit machinepool --cluster rosa-${GUID} workers --enable-autoscaling --min-replicas=2 --max-replicas=4Sample OutputI: Updated machine pool 'workers' on cluster 'rosa-6n4s8'
Test the Cluster Autoscaler
Now let’s test the cluster autoscaler and see it in action. To do so, we’ll deploy a job with a load that this cluster cannot handle. This should force the cluster to scale to handle the load.
-
First, let’s create a namespace (also known as a project in OpenShift). To do so, run the following command:
oc new-project autoscale-exSample OutputNow using project "autoscale-ex" on server "https://api.rosa-6n4s8.1c1c.p1.openshiftapps.com:6443". You can add applications to this project with the 'new-app' command. For example, try: oc new-app rails-postgresql-example to build a new example application in Ruby. Or use kubectl to deploy a simple Kubernetes application: kubectl create deployment hello-node --image=k8s.gcr.io/e2e-test-images/agnhost:2.33 -- /agnhost serve-hostname -
Next, let’s deploy our job that will exhaust the cluster’s resources and cause it to scale more worker nodes. To do so, run the following command:
cat << EOF | oc apply -f -
---
apiVersion: batch/v1
kind: Job
metadata:
  name: maxscale
  namespace: autoscale-ex
spec:
  template:
    spec:
      containers:
      - name: work
        image: busybox
        command: ["sleep",  "300"]
        resources:
          requests:
            memory: 500Mi
            cpu: 500m
        securityContext:
          allowPrivilegeEscalation: false
          capabilities:
            drop:
            - ALL
      restartPolicy: Never
  backoffLimit: 4
  completions: 50
  parallelism: 50
EOF
Sample Outputjob.batch/maxscale created -
After a few seconds, run the following to see what pods have been created.
oc -n autoscale-ex get podsSample OutputNAME READY STATUS RESTARTS AGE maxscale-2c6zt 1/1 Running 0 29s maxscale-2ps5g 0/1 Pending 0 29s maxscale-42l2d 0/1 Pending 0 29s maxscale-4n8rt 0/1 Pending 0 29s maxscale-5888n 1/1 Running 0 29s [...Output Omitted...]Notice that we see a lot of pods in a pending state. This should trigger the cluster autoscaler to create more machines using the MachineAutoscaler we created.
-
Let’s check to see if our MachineSet automatically scaled (it may take a few minutes). To do so, run the following command:
aws ec2 describe-instances --filters Name=tag:api.openshift.com/nodepool-ocm,Values=workers \
  | jq -r '.Reservations[].Instances[].PrivateDnsName'
Sample Outputip-10-0-0-199.us-east-2.compute.internal ip-10-0-0-42.us-east-2.compute.internal ip-10-0-0-170.us-east-2.compute.internal ip-10-0-0-53.us-east-2.compute.internalThis shows that the cluster autoscaler is working on scaling multiple MachineSets up to 4.
-
Now let’s watch the cluster autoscaler create and delete machines as necessary (it may take several minutes for machines to appear in the Running state). To do so, run the following command:
watch 'oc get nodes -l "hypershift.openshift.io/nodePool=rosa-${GUID}-workers"'Sample OutputNAME STATUS ROLES AGE VERSION ip-10-0-0-113.us-east-2.compute.internal NotReady worker 53s v1.28.15+ff493be ip-10-0-0-164.us-east-2.compute.internal Ready worker 2d2h v1.28.15+ff493be ip-10-0-0-210.us-east-2.compute.internal NotReady worker 66s v1.28.15+ff493be ip-10-0-0-42.us-east-2.compute.internal Ready worker 2d2h v1.28.15+ff493be ip-10-0-0-210.us-east-2.compute.internal NotReady worker 68s v1.28.15+ff493be ip-10-0-0-113.us-east-2.compute.internal NotReady worker 63s v1.28.15+ff493beWatch will refresh the output of a command every second. Hit CTRL and c on your keyboard to exit the watch command when you’re ready to move on to the next part of the workshop.
-
Once the machines are running stop the watch and re-run the command to display the pods for the job. You should see that more pods are now running. If you still see some pods in Pending state that is normal because even 4 worker nodes may not be enough to handle the node - but you limited the autoscaler to 4 worker nodes.
oc -n autoscale-ex get podsSample OutputNAME READY STATUS RESTARTS AGE maxscale-2c6zt 0/1 Completed 0 5m18s maxscale-2ps5g 0/1 ContainerCreating 0 5m18s maxscale-42l2d 0/1 ContainerCreating 0 5m18s maxscale-4n8rt 0/1 Pending 0 5m18s maxscale-5888n 0/1 Completed 0 5m18s maxscale-5944p 0/1 Completed 0 5m18s maxscale-5nwfz 0/1 Pending 0 5m18s maxscale-5p2n8 0/1 ContainerCreating 0 5m18s [...Output omitted...]
Congratulations! You’ve successfully demonstrated cluster autoscaling.
Summary
Here you learned:
-
Enable autoscaling on the default Machine Pool for your cluster
-
Deploy an application on the cluster and watch the cluster autoscaler scale your cluster to support the increased workload
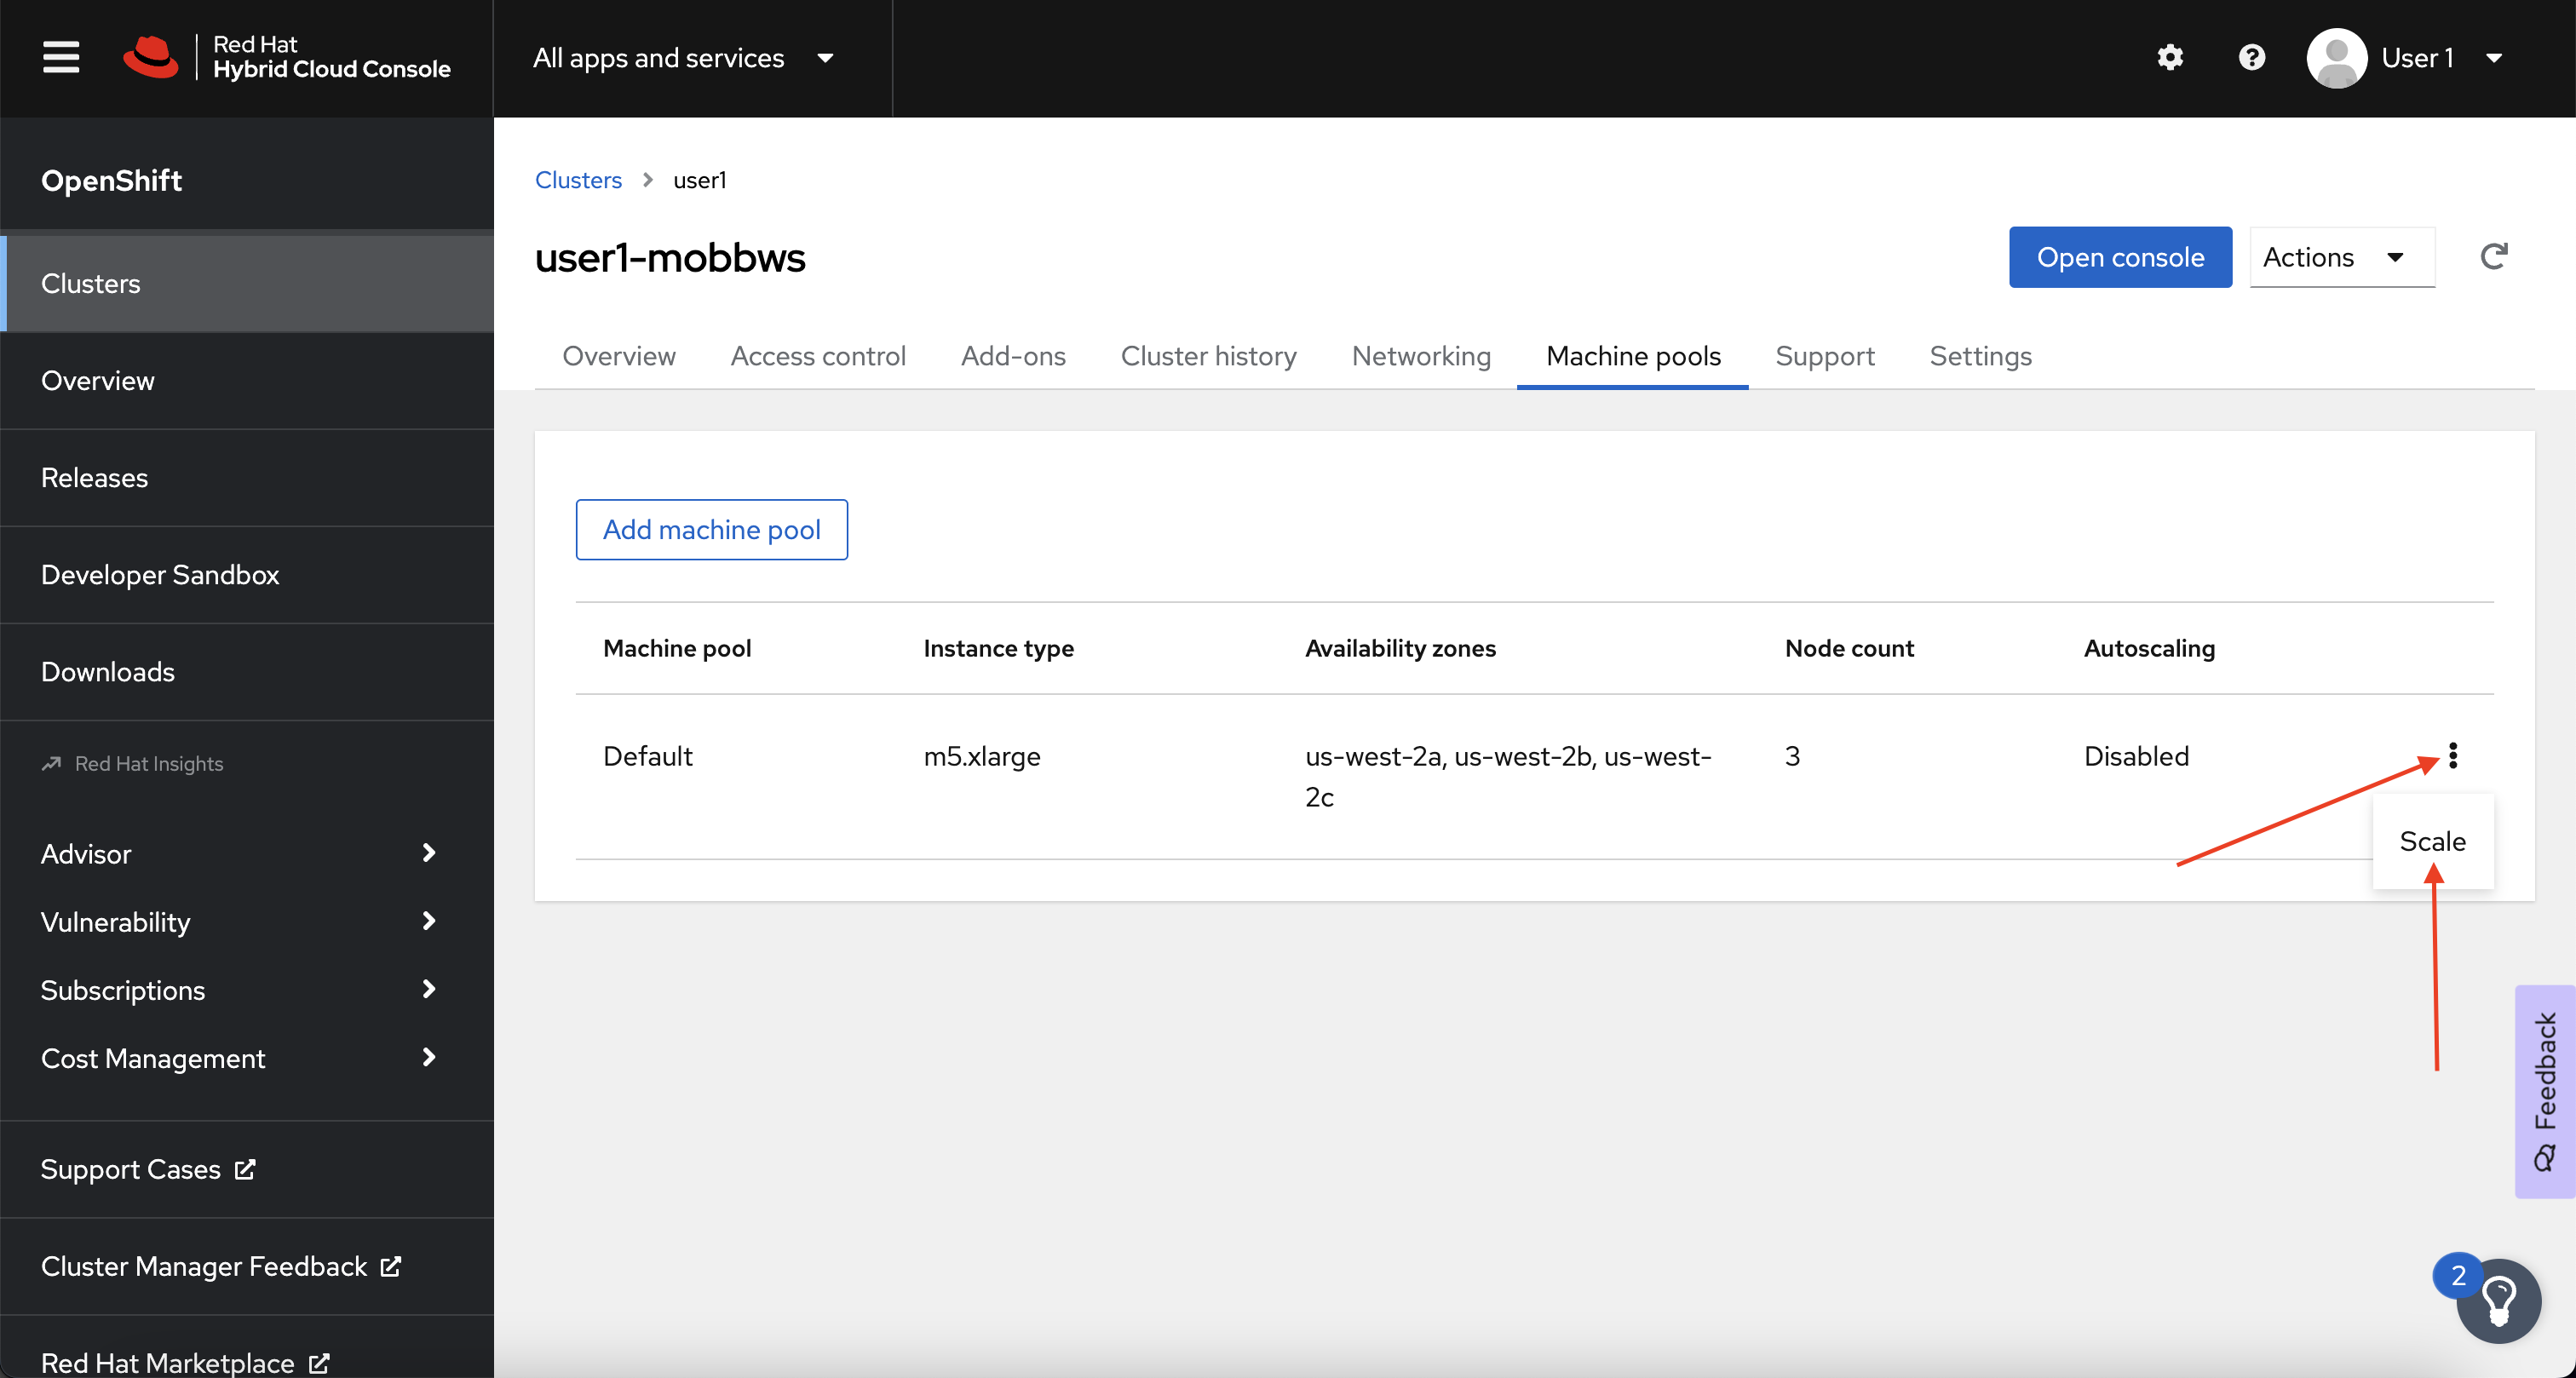
Enable Autoscaling via Red Hat OpenShift Cluster Manager Console
|
This section is for your information only. You do not have access to the OpenShift Cluster Manager. Feel free to read through these instructions to understand how to do it via the console - or skip to the next swection. |
-
Log back into the OpenShift Cluster Manager.
-
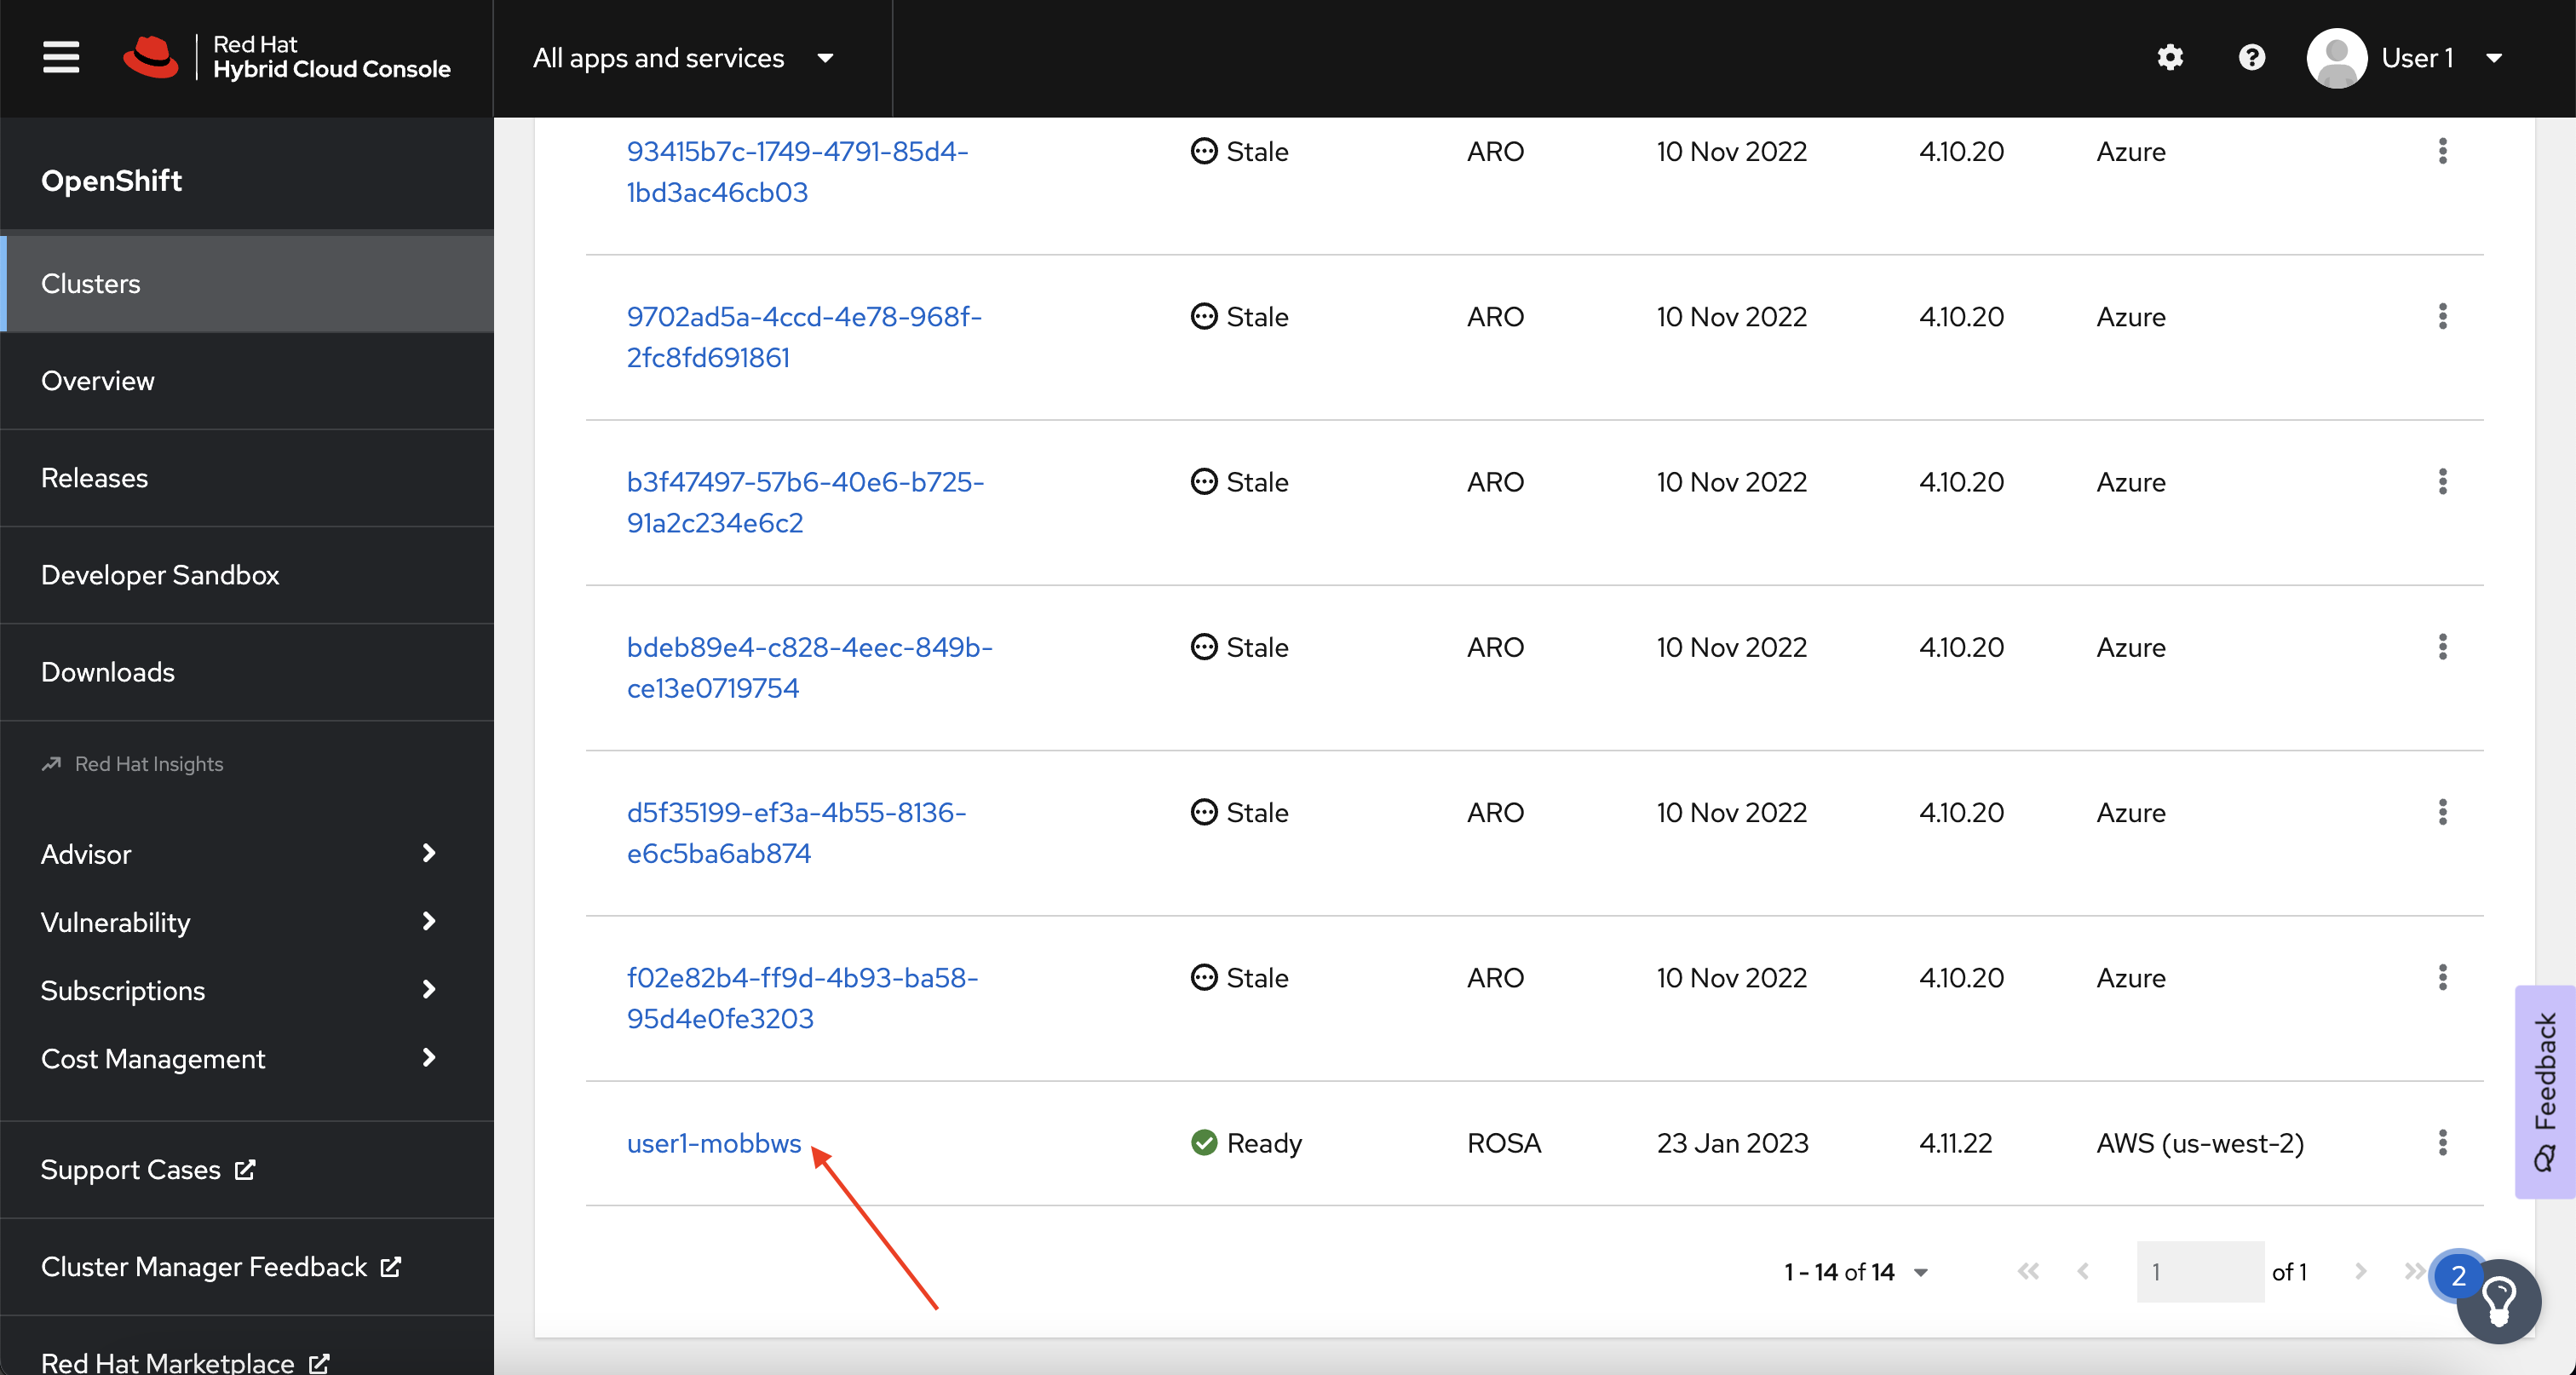
In the Cluster section, locate your cluster and click on it.
-
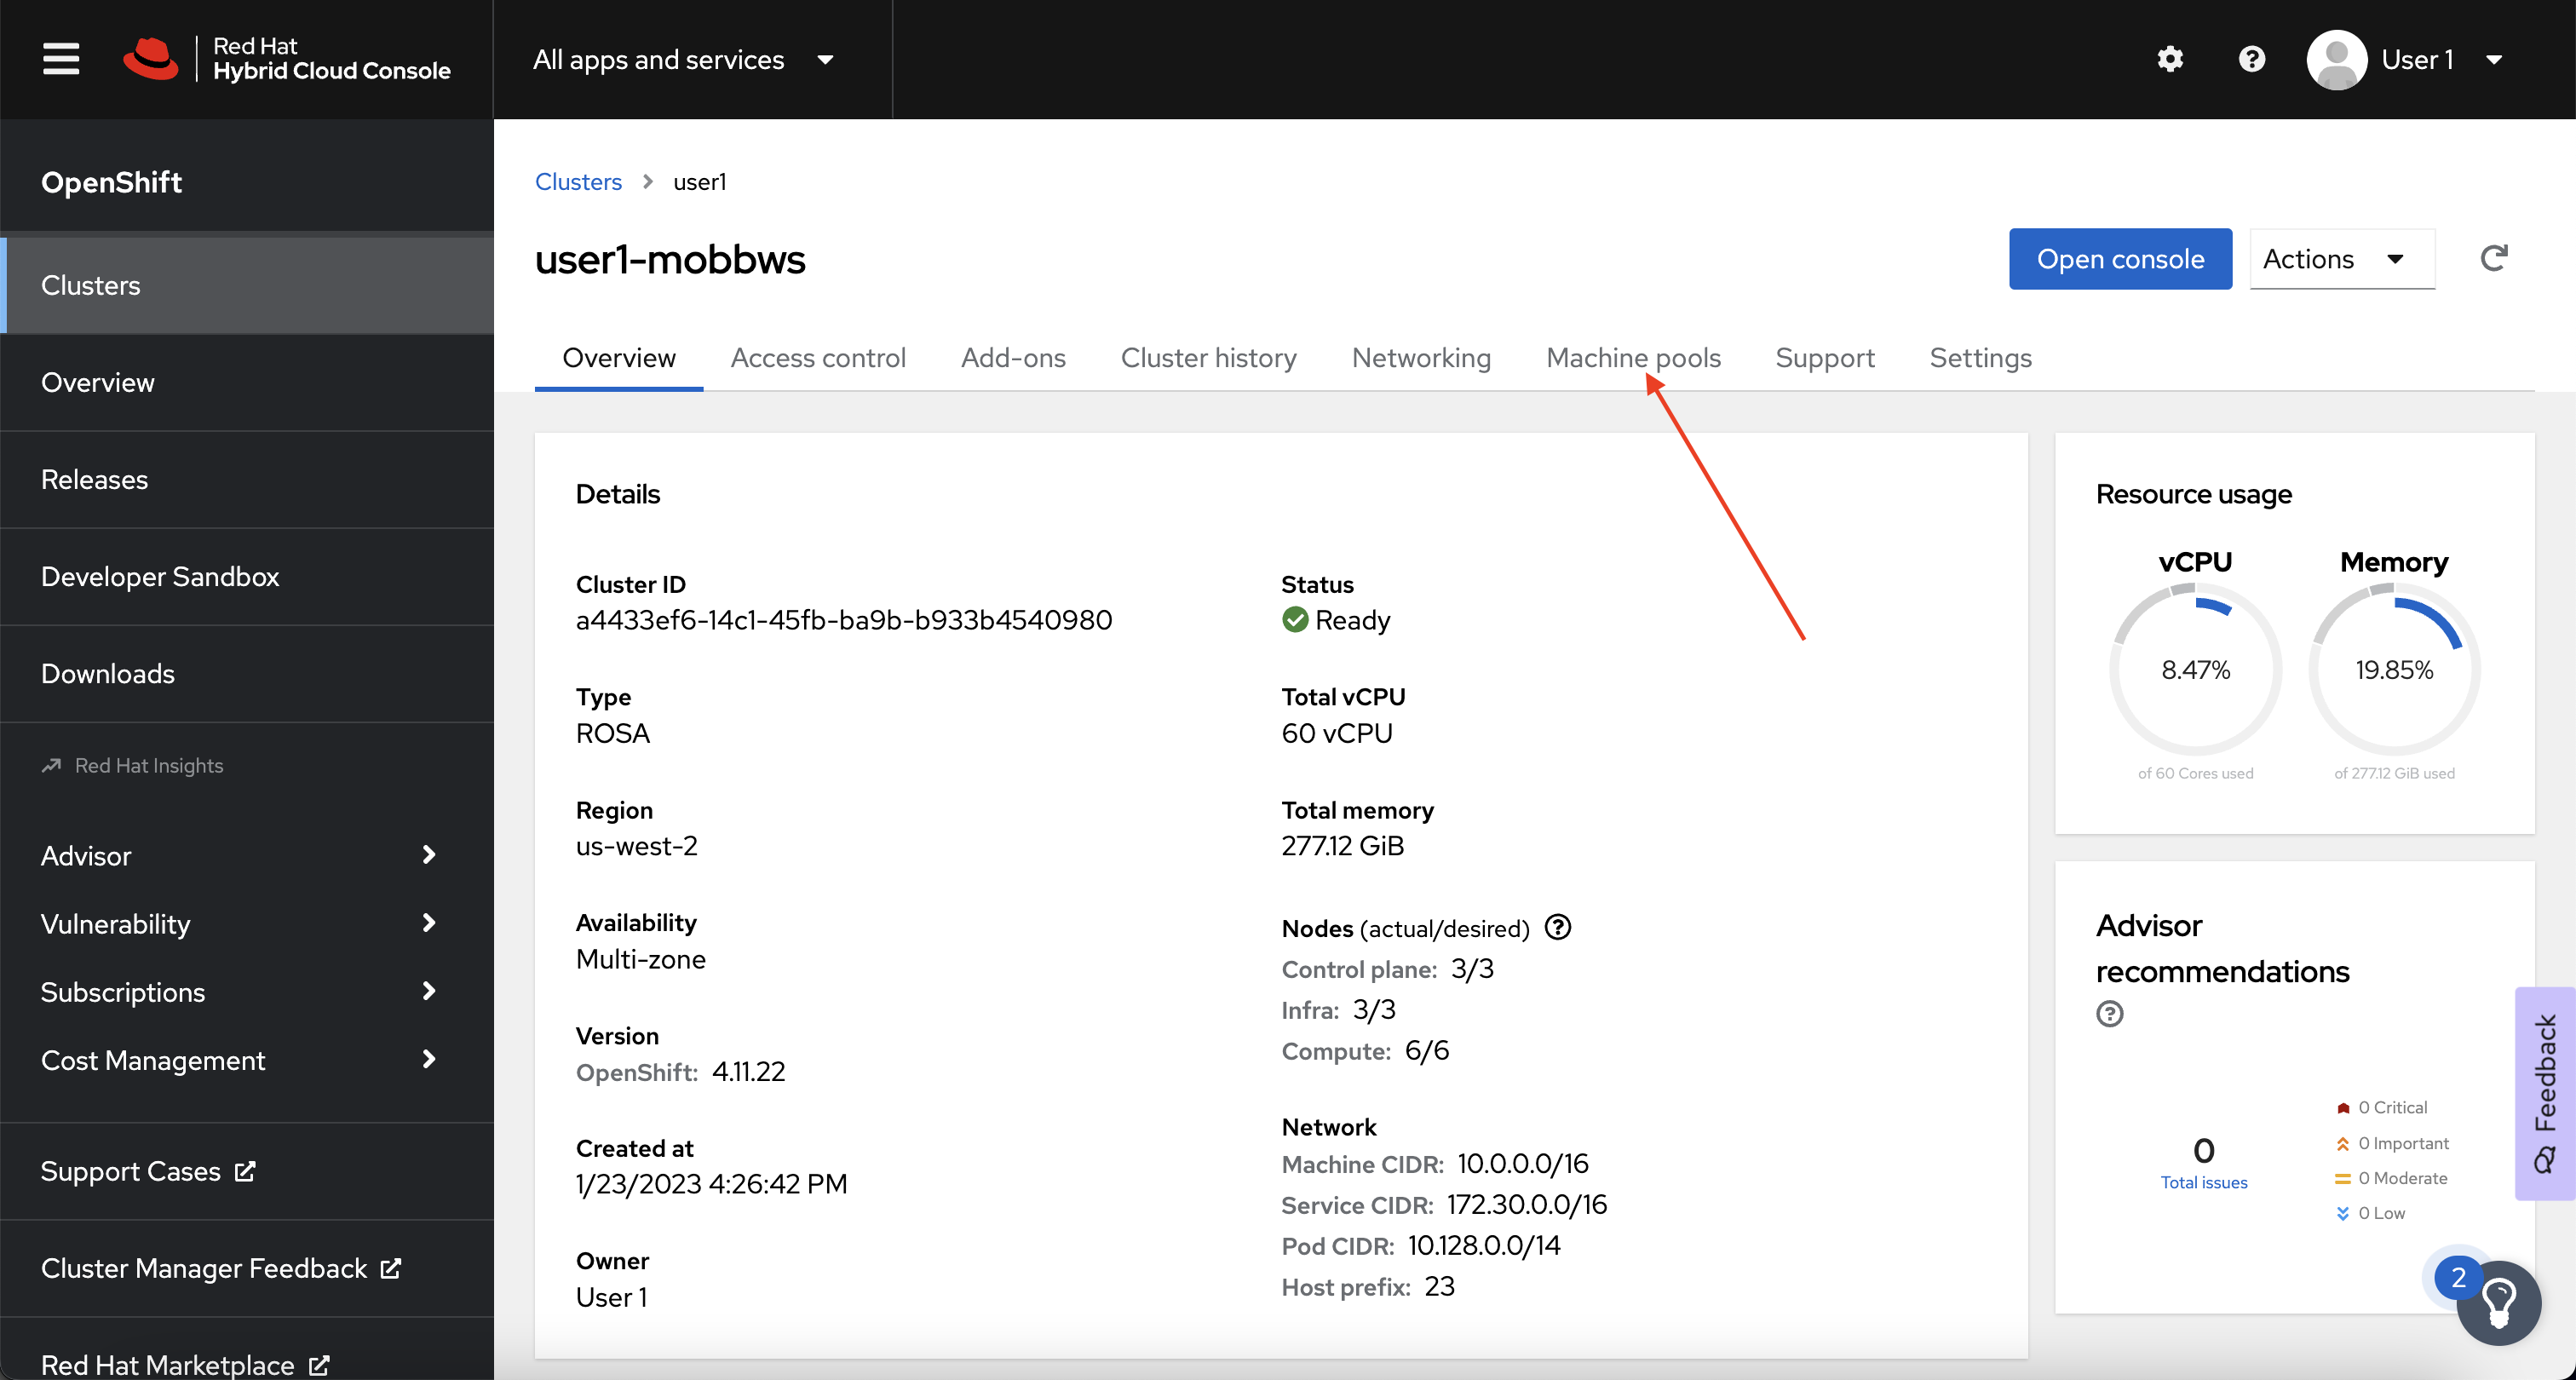
Next, click on the Machine pools tab.
-
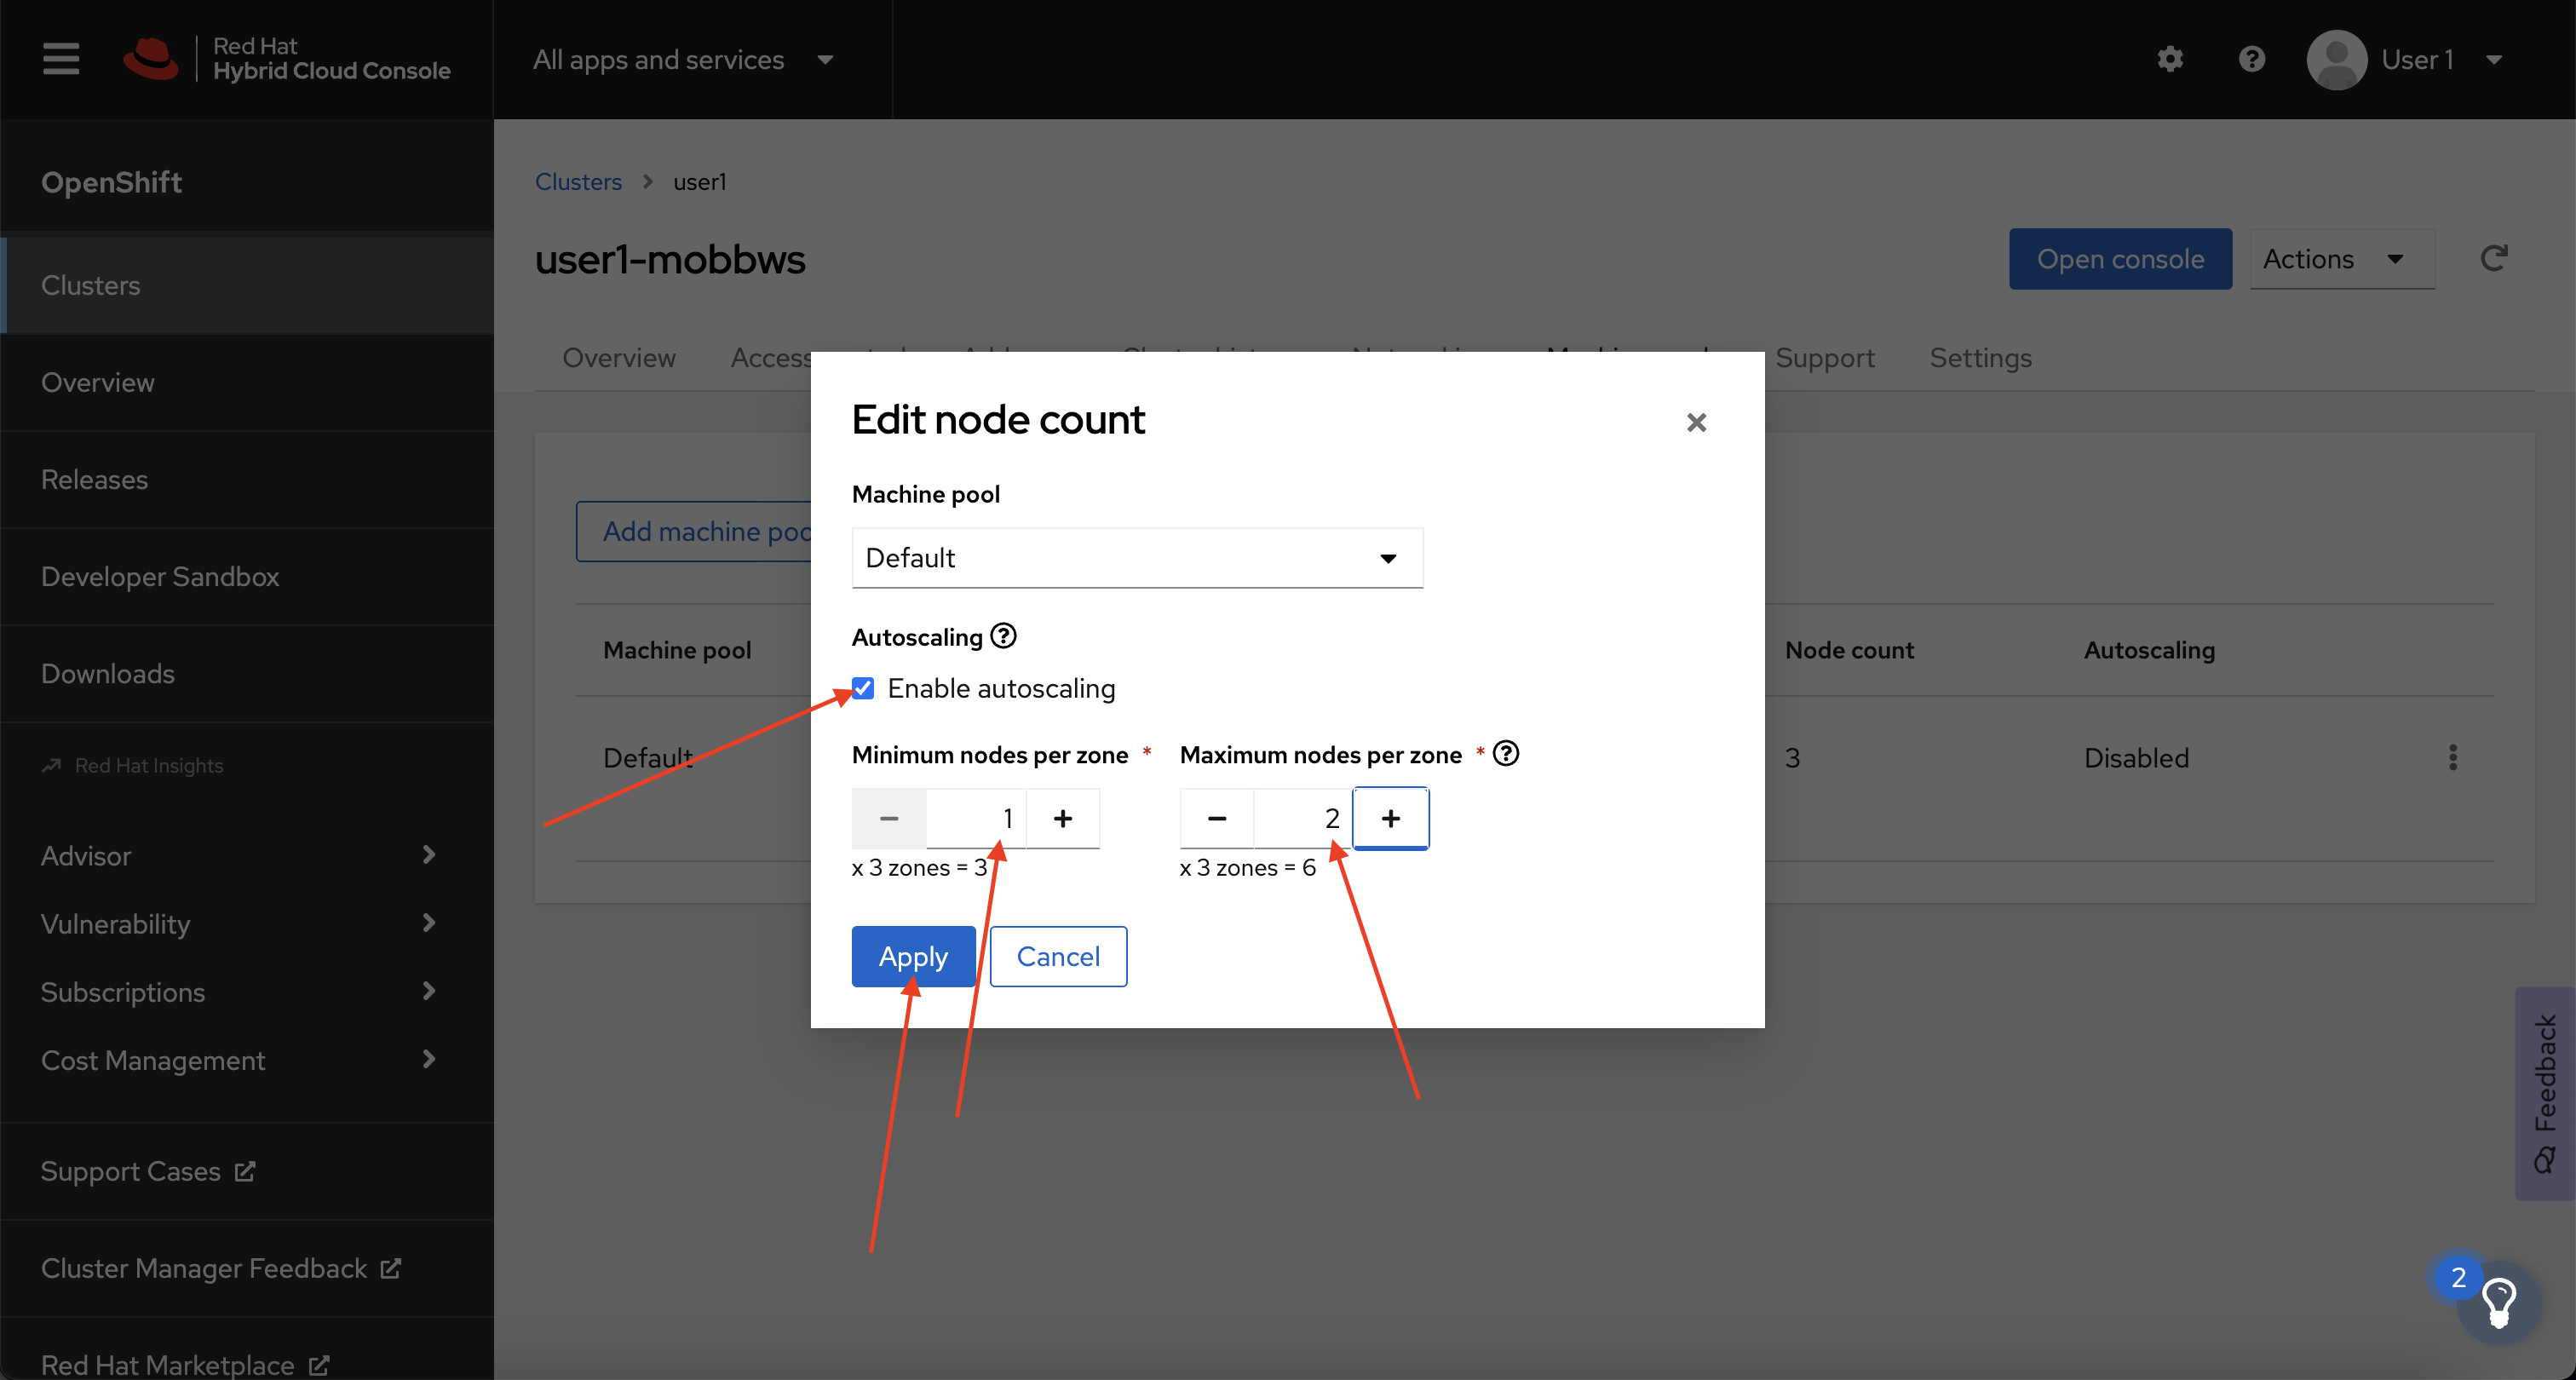
Next, click on the ⋮ icon beside the Default machine pool, and select Scale.
-
Finally, check the Enable autoscaling checkbox, and set the minimum to
1and maximum to2, then click Apply.