🛠️ Creating a Workbench
🚀 Launch a Workbench
-
Once the Data Connection and Pipeline Server are fully created, it’s time to create your workbench! 🎉
-
Go to Data Science Projects, select your previously created project (
userX), and click on Create a workbench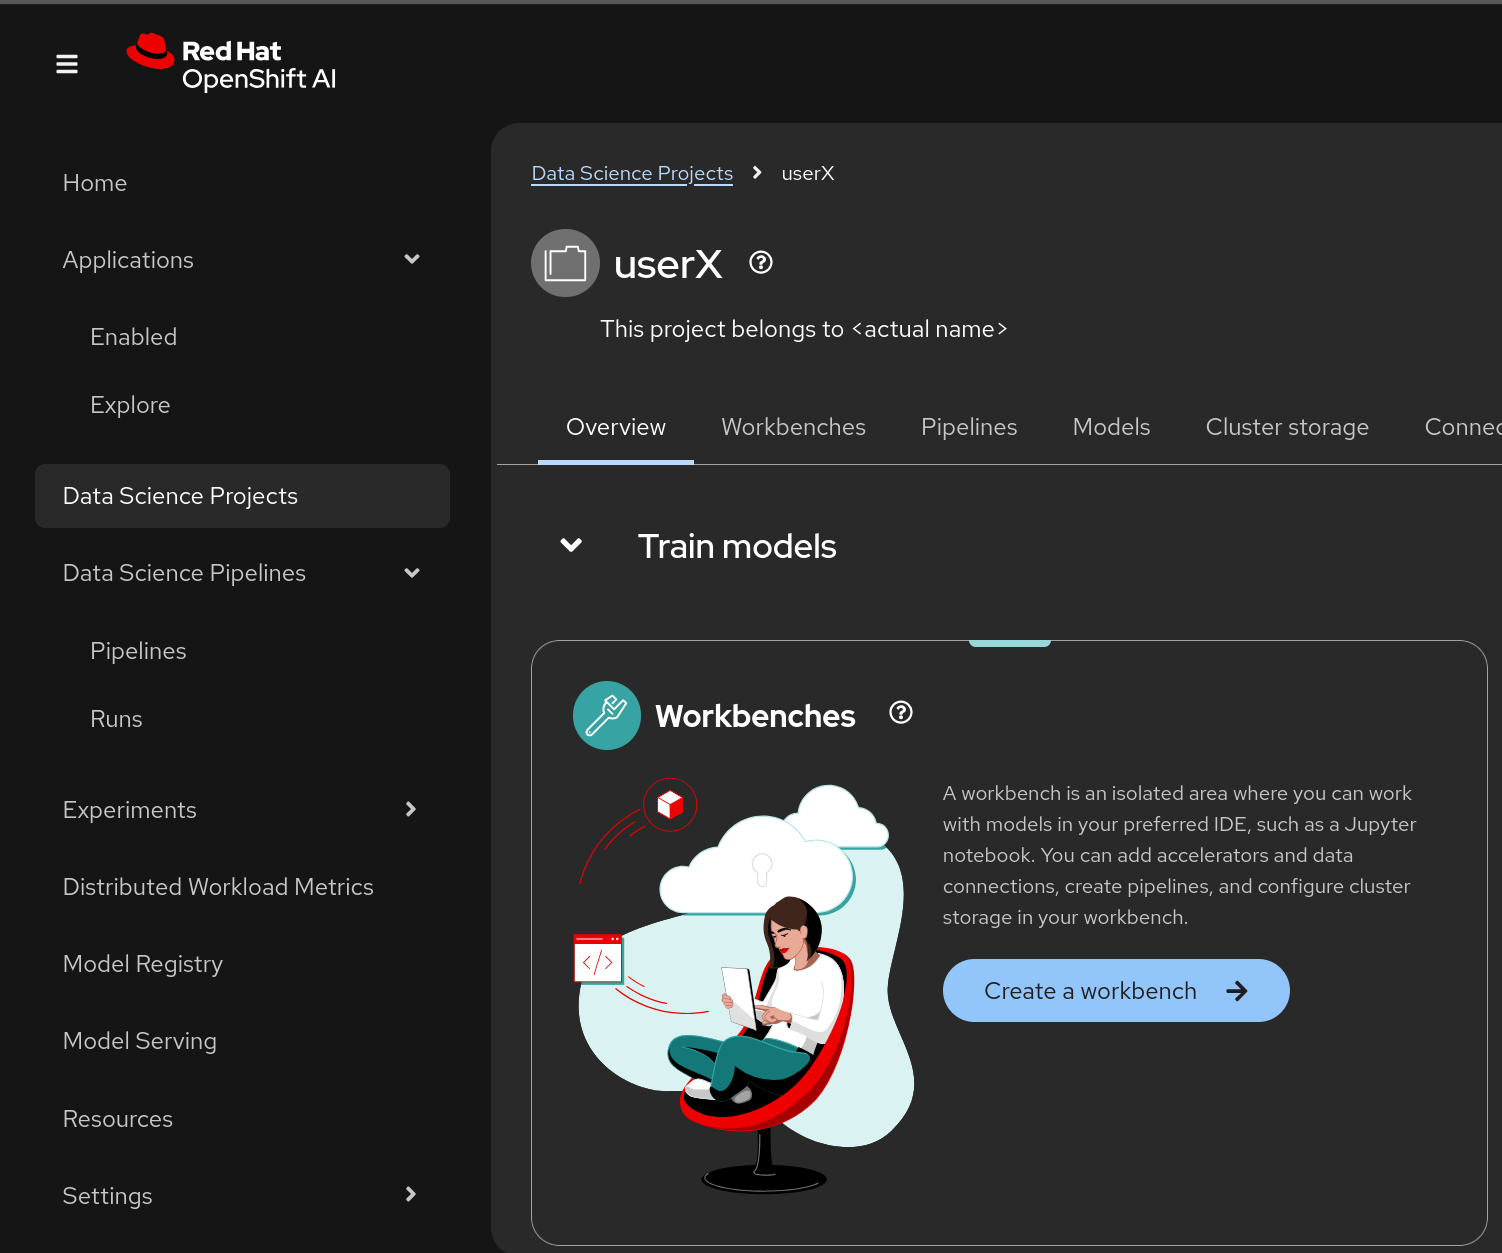 Figure 1. Create Workbench
 -
Make sure it has the following characteristics:
-
Choose a name for it, like:
My Workbench🌟 -
Image Selection:
Minimal PythonorStandard Data Science🐍 -
Container Size:
Medium📦 -
Accelerator:
NVIDIA-GPU💻
-
-
That should look like:
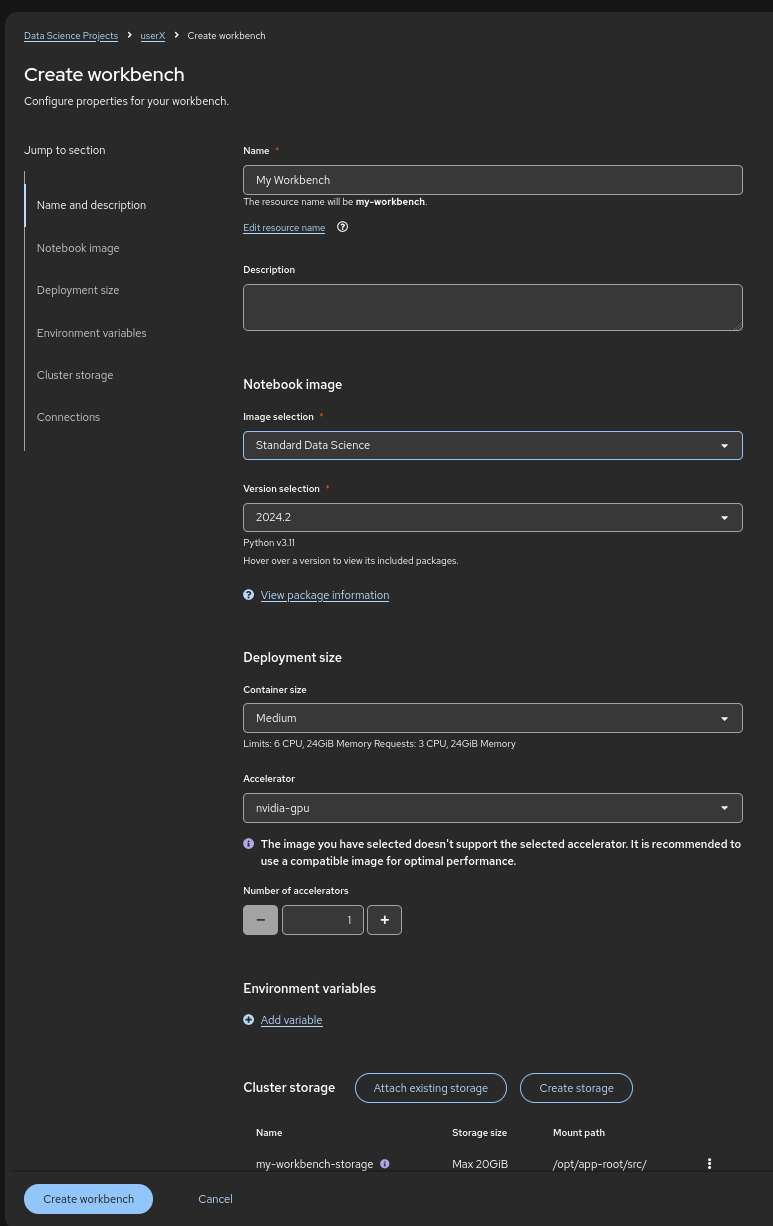 Figure 2. Launch Workbench
 -
Add the created Data Connection by clicking on the Connections section and selecting Attach existing connections. Then, click Attach for the created Minio - models connection. 🔗
 Figure 3. Add Data Connection
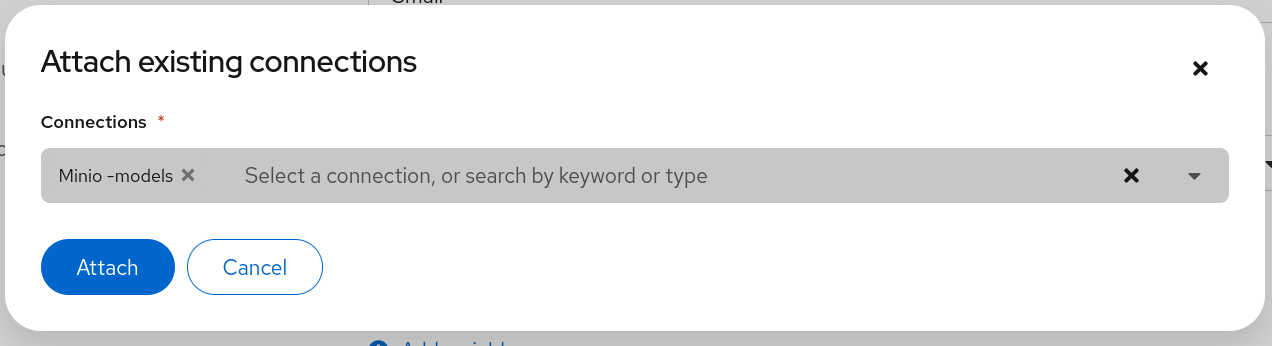 Figure 4. Attach Data Connection
 -
You should not need to modify any other Workbench settings (such as Storage).
-
Then, click on Create Workbench and wait for your workbench to be fully started. ⏳
-
Once it is, click the Open link to connect to it! 🔗
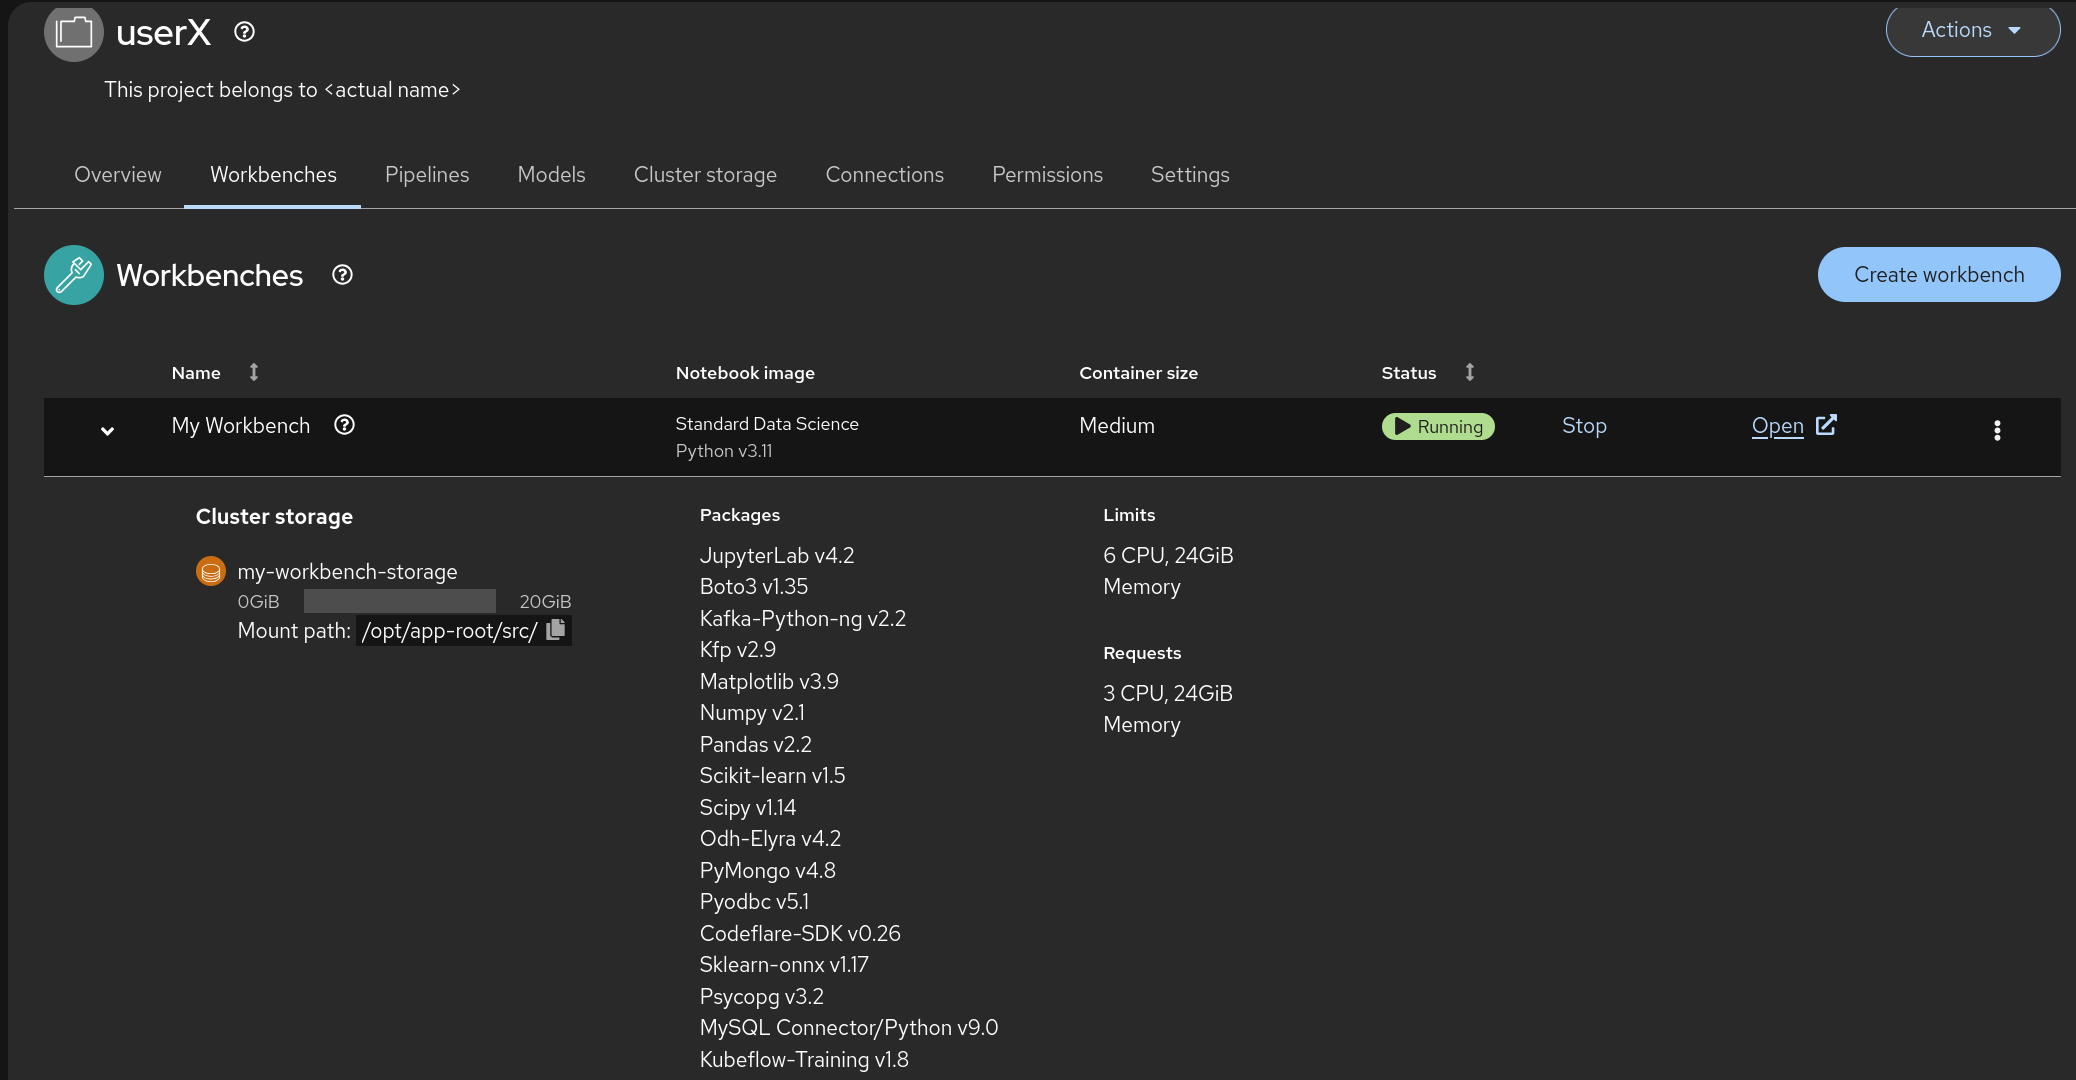 Figure 5. Open Link
 -
Authenticate with the same credentials as earlier. 🔑
-
You will be asked to accept the following settings:
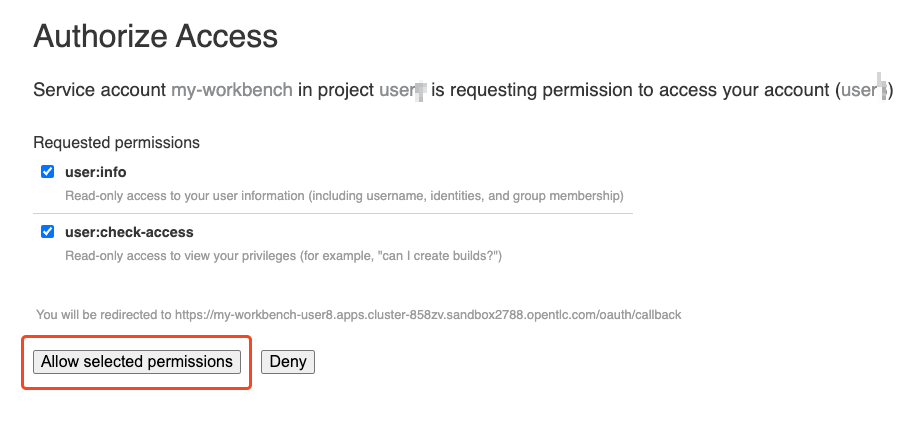 Figure 6. Accept Settings
 -
Go ahead and do so! 👍
-
You should now see this:
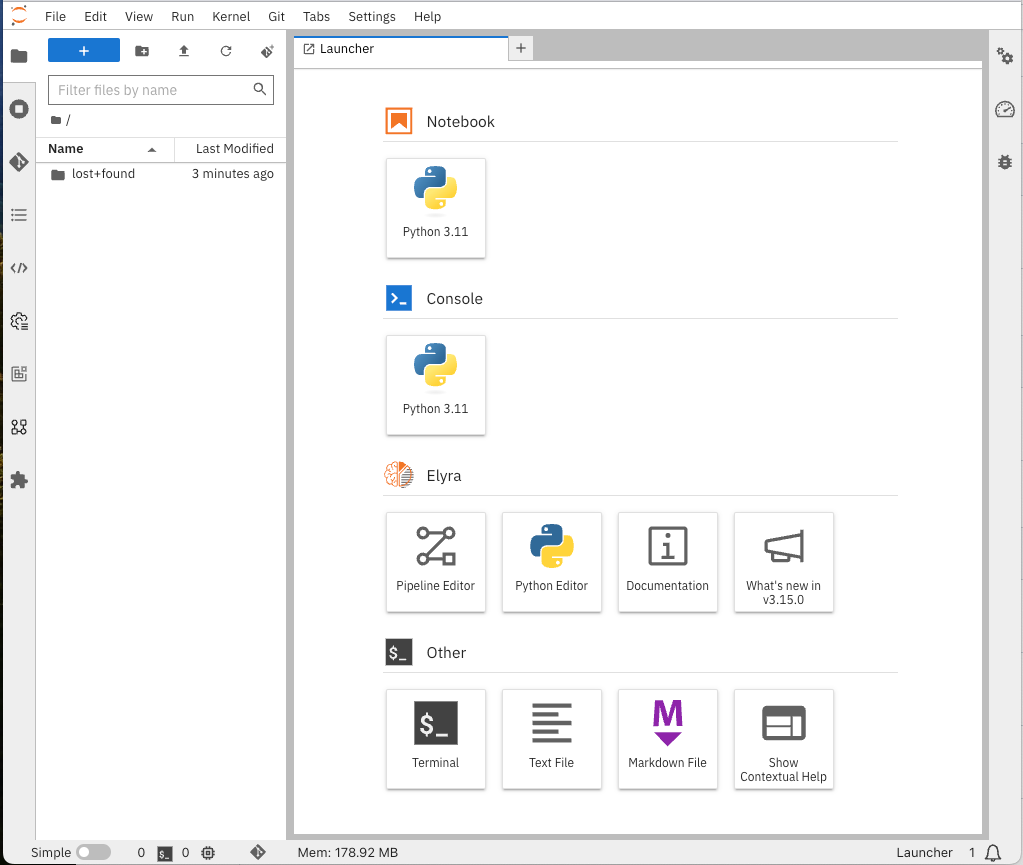 Figure 7. Jupyter
JupyterLab and Jupyter Notebooks
|
Workbenches utilize JupyterLab, an interactive development environment you’ll access directly through your web browser. Think of JupyterLab as a workbench that’s excellent for hands-on experimentation, which is especially useful in AI development. Within JupyterLab, we’ll be using Jupyter Notebooks. A Notebook is like an interactive document where you can:
Quick interactive introduction to using and customizing your Workbench (recommended)
(This Interactive demo was recorded using a Virtual Machine Based Jupyter Lab but behaves in exactly the same way.) |
🌟 Git-Clone the Common Repo
We will clone the content of our Git repo so that you can access all the materials created as part of our prototyping exercise. 📚
-
Using the Git UI:
-
Open the Git UI in Jupyter:
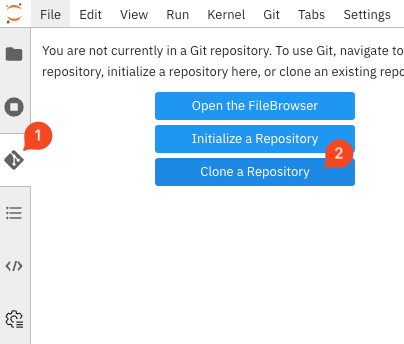 Figure 8. Git UI
 -
Enter the URL of the Git repo:
https://github.com/rhpds/showroom-summit2025-lb2959-neural-magic.git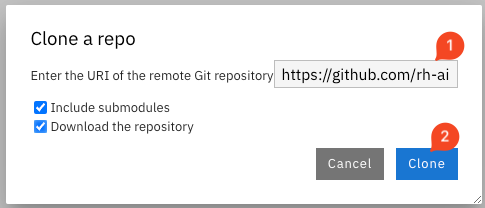 Figure 9. Git Clone
-
At this point, your project is ready for the work we want to do in it. Let’s get started! 🚀