Deploy and Test the Optimized Model
Deploy the Optimized Model with VLLM
Now that we have the optimized models on the MinIO S3 bucket, let’s deploy one of them.
To deploy a model you need to go to the created Data Science Project (userX) and follow the nextd steps:
-
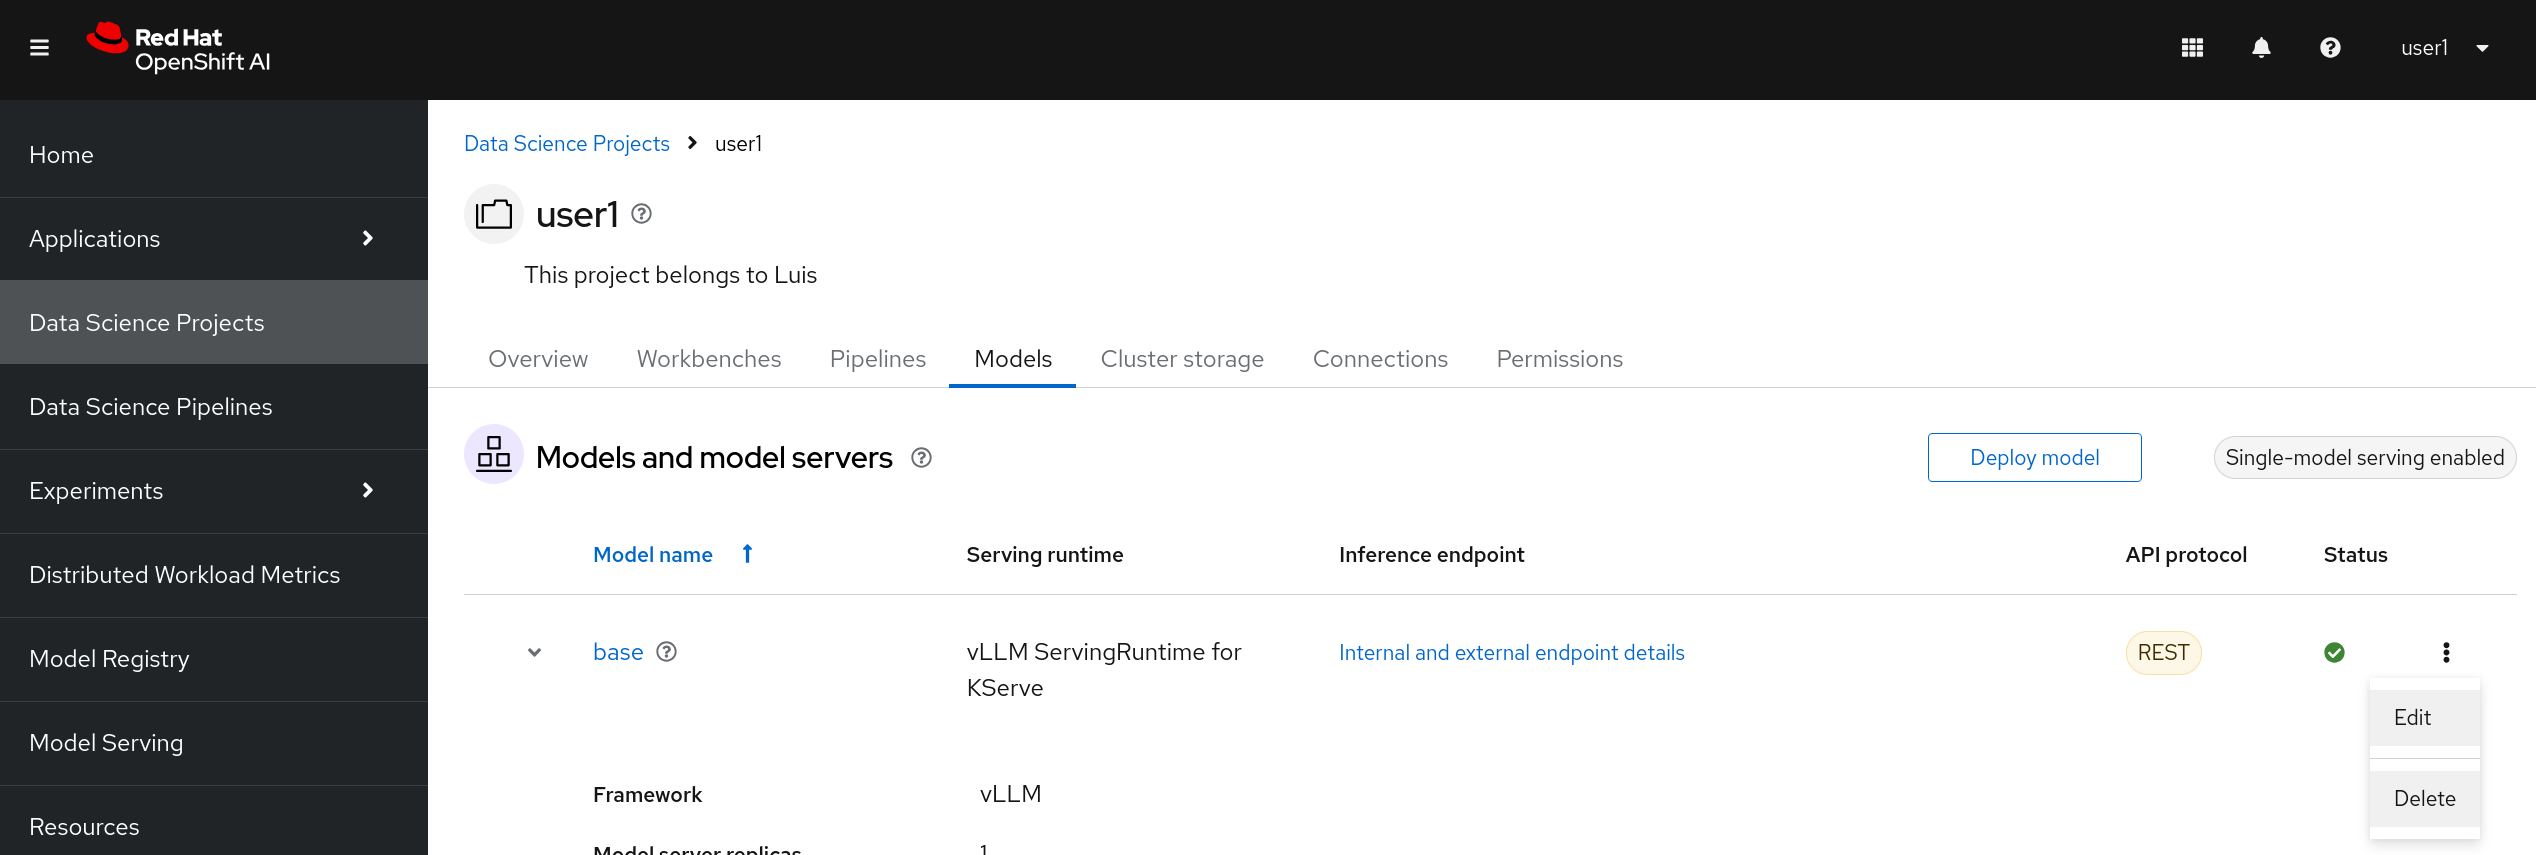
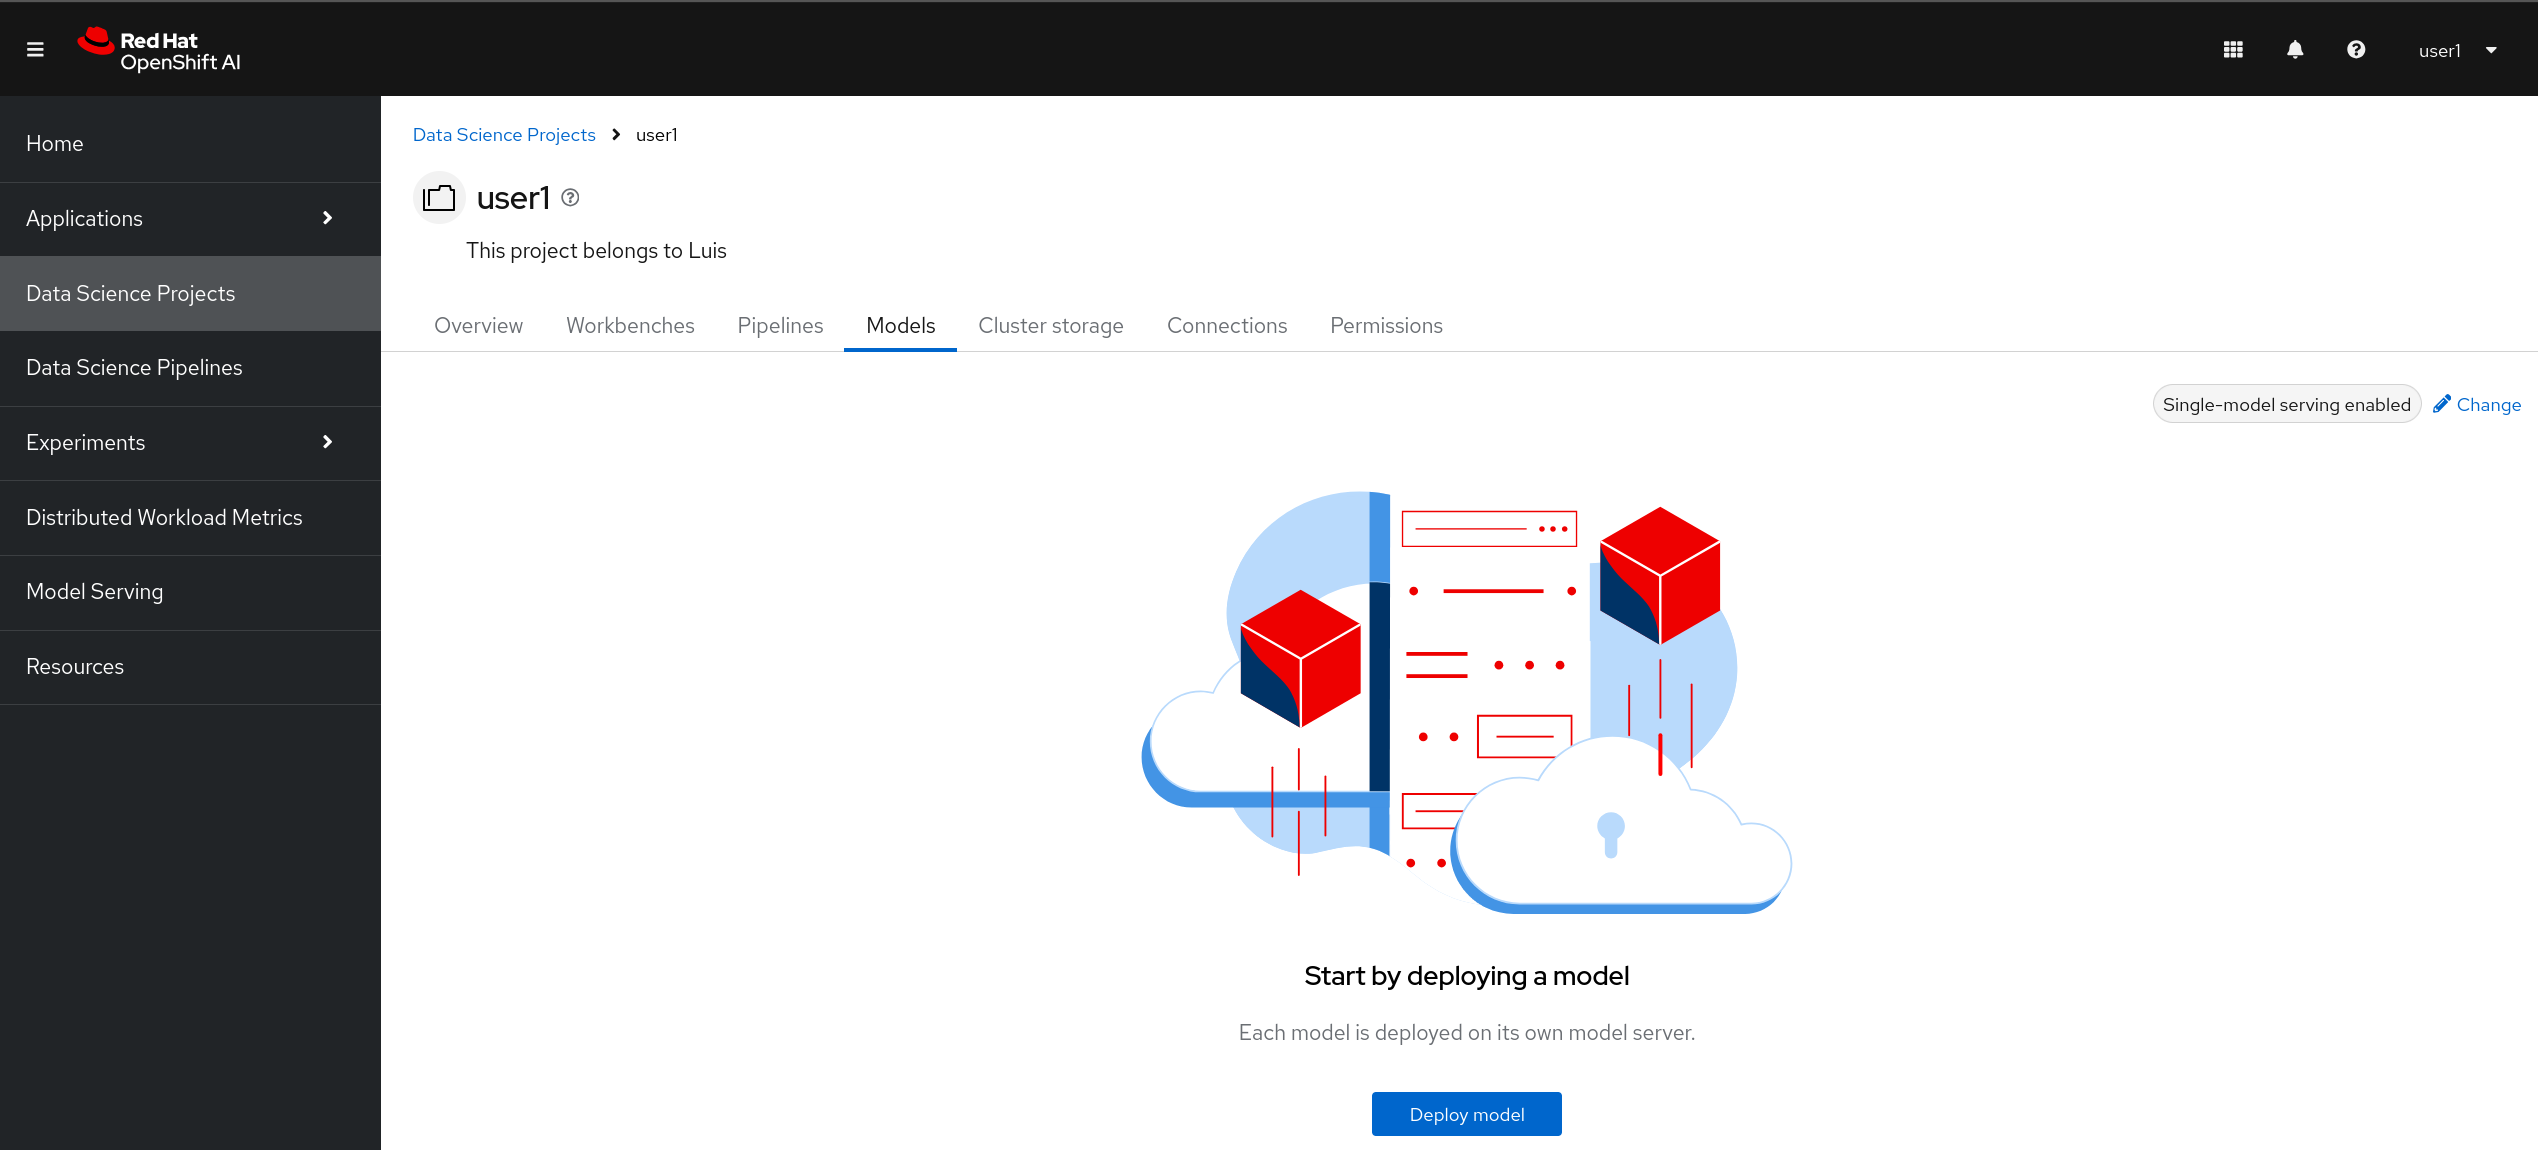
Navigate to Your Project: Head over to your created Data Science Project and locate the Models section.
-
Deploy Your Model: Click on the Deploy model button to start the deployment process.
Once single-model option has been selected for the Data Science project, there is no need to select that again, it gets annotated on the namespace. -
Fill Out the Deployment Form: You’ll need to provide some essential information. Here’s what to enter:
-
Name:
optimized -
Serving runtime:
vLLM ServingRuntime for KServe -
Model server size:
Small -
Accelerator:
NVIDIA GPU -
Model route: Select the option to make your model available through an external route.
-
Token authentication: Choose
Require token authenticationand leave the default Service account name. -
Existing connection:
-
Connection:
Minio - models -
Path:
granite-int4(you can choose alsogranite-int8orgranite-fp8)
-
-
-
Deploy and Wait: After filling out the form, click on Deploy. Now, wait while your model gets ready. This might take a moment! ☕
Test the Optimized Model
Now that the optimized model is deployed, it’s time to put it to the test and compare it with the base mode. Get ready to send a request to your model and measure its response time.
Workbench Setup
We are going to reuse the workbench created in Section 4.1.
-
Go back to the
terminalworkbench created in Section 4.1 -
Update Your Variables: Open the
request.pyfile and update the following variables to match your setup:MODEL = "your-model-name" // Replace with your model name URL = "your-api-url" // Replace with your API endpoint API_KEY = "your-api-key" // Replace with your API keyTo fill in these variables, use the information from your deployed model:
-
Set
MODELto the name of your model (optimized). -
For the
URL, check theinternal and external endpoints detailsof your deployed model and use the external endpoint.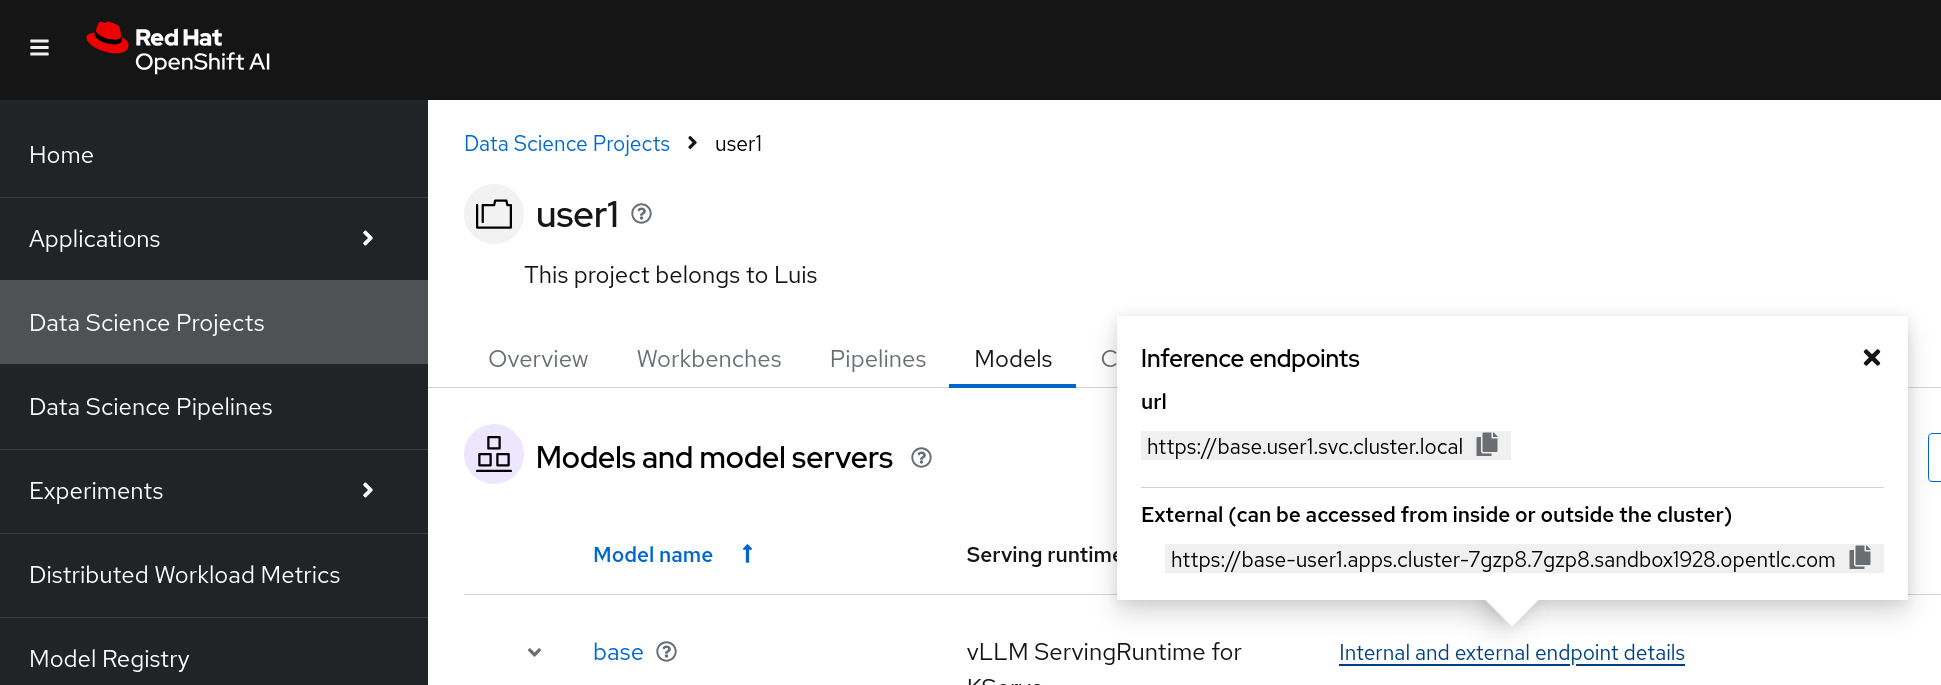
-
Copy the model server
tokenfor theAPI_KEY.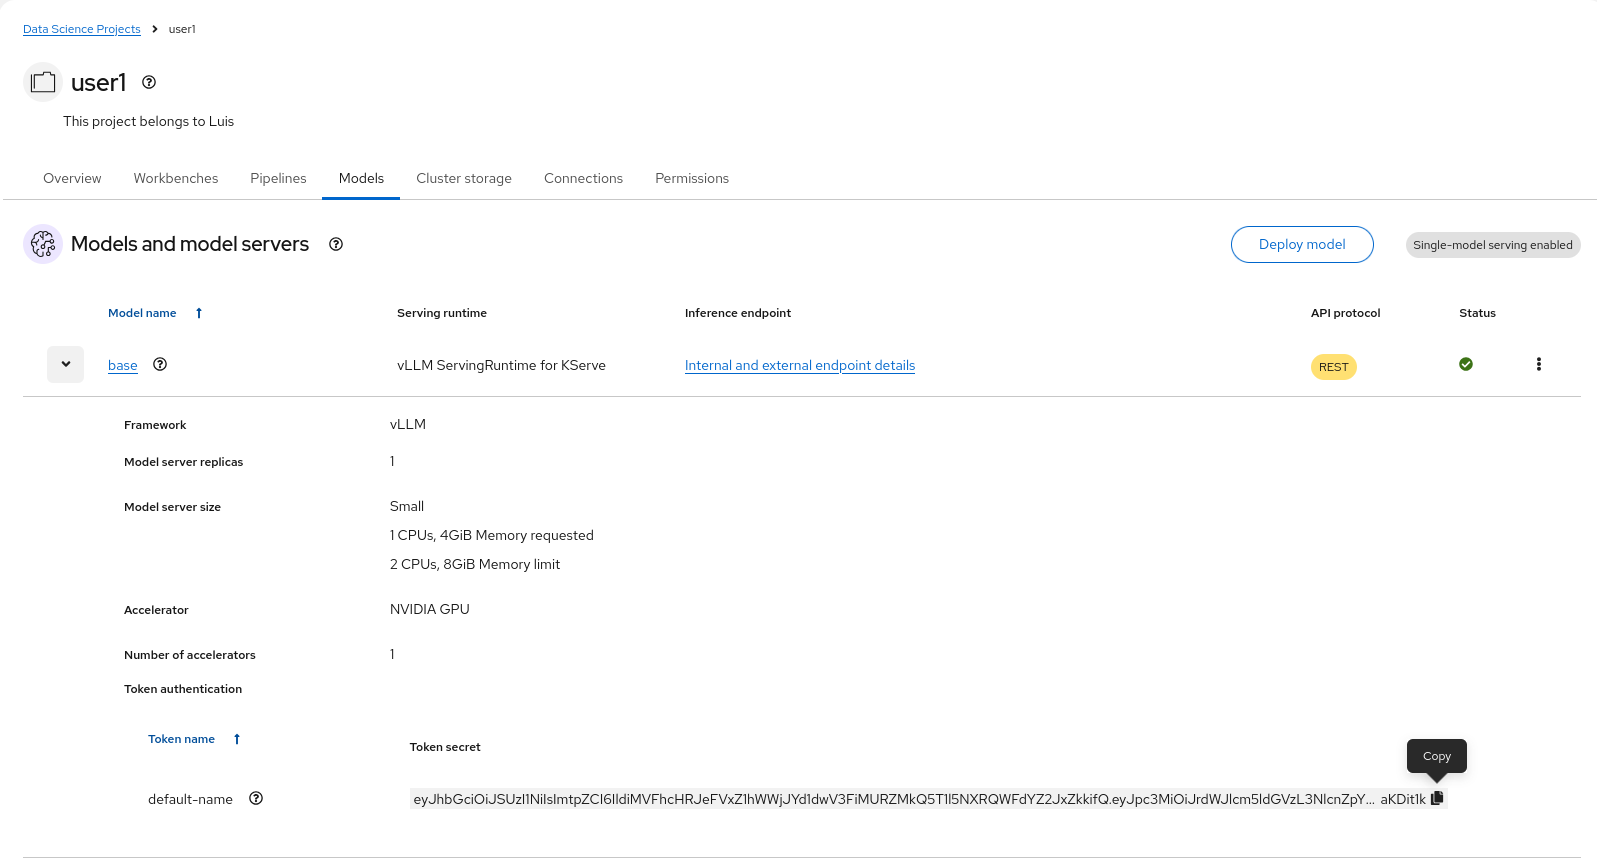
-
-
The required dependencies should already be installed from the previous Section, but if not install the next package in the previously created terminal:
pip install langchain_openai
Running the Script
To run the script and measure its execution time, simply execute the following command in your terminal:
time python request.pyOnce you run the script, you’ll see some exciting output, including:
-
The script’s output
-
Real time (wall clock time)
-
User CPU time
-
System CPU time
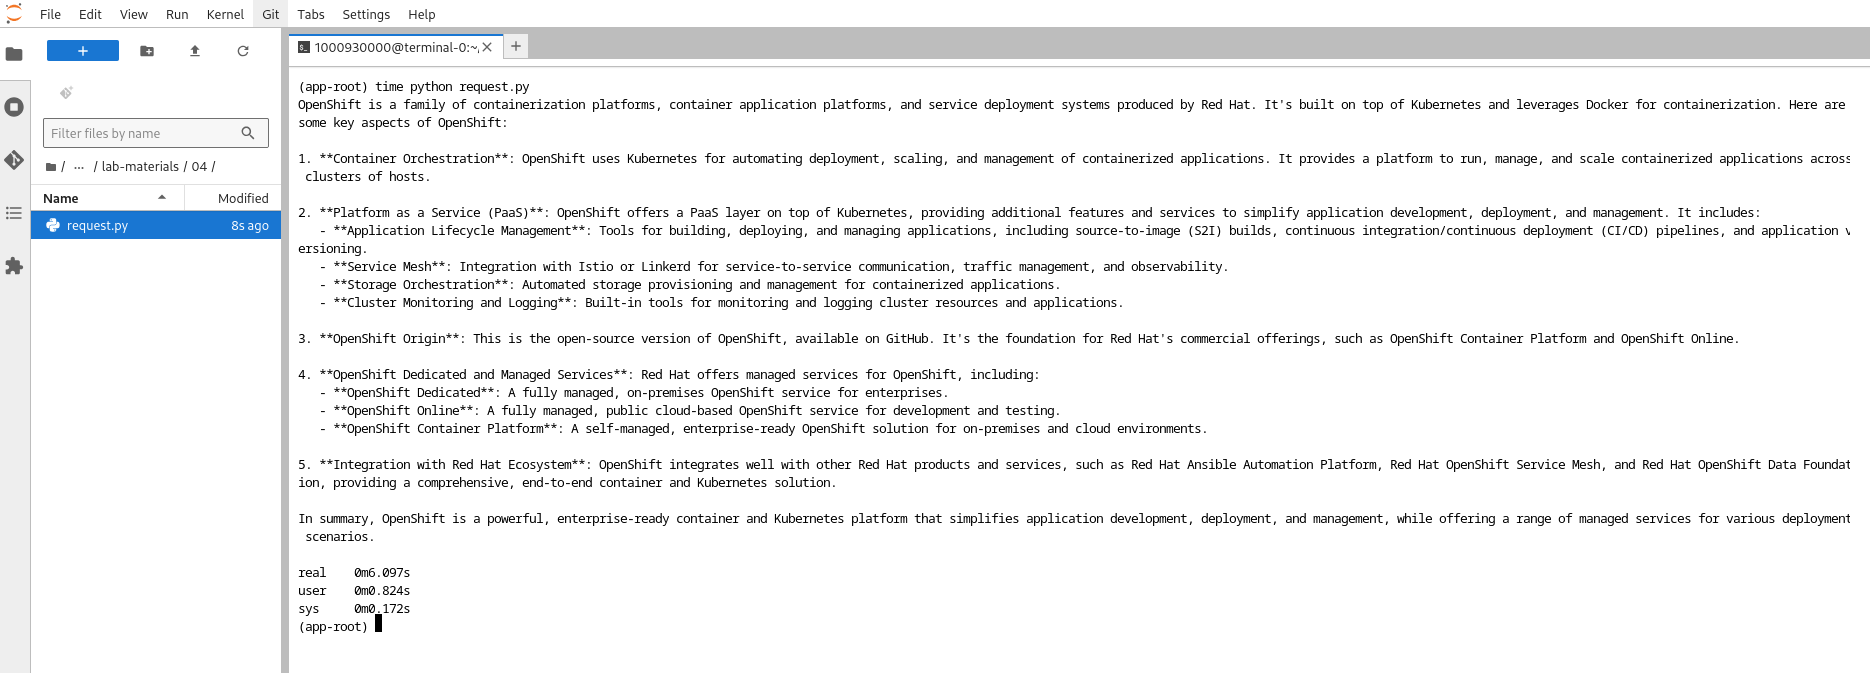
This is your chance to see how well your model performs in comparison with the base model! 🚀