Weights and Activation Quantization (FP8)
In this exercise, we will use a notebook to investigate how LLMs weights and activations can be quantized to FP8 for memory savings and inference acceleration. This quantization method allows for:
-
A 2x reduction in model memory requirements
-
Up to a 1.6x improvement in throughput with minimal impact on accuracy
| 🚨 Currently, only Hopper and Ada Lovelace GPUs are officially supported for W8A8. Ampere GPUs are supported for W8A16 (weight-only FP8) utilizing Marlin kernels. |
Quantization Process
The quantization process involves the following steps:
-
Load the Model: Load the pre-trained LLM model.
-
Quantize the Model: Convert the model weights and activations to FP8 format.
-
Using RTN (FP8_dynamic)
-
No need for calibration data
-
-
Evaluate the Model: Evaluate the quantized model’s accuracy.
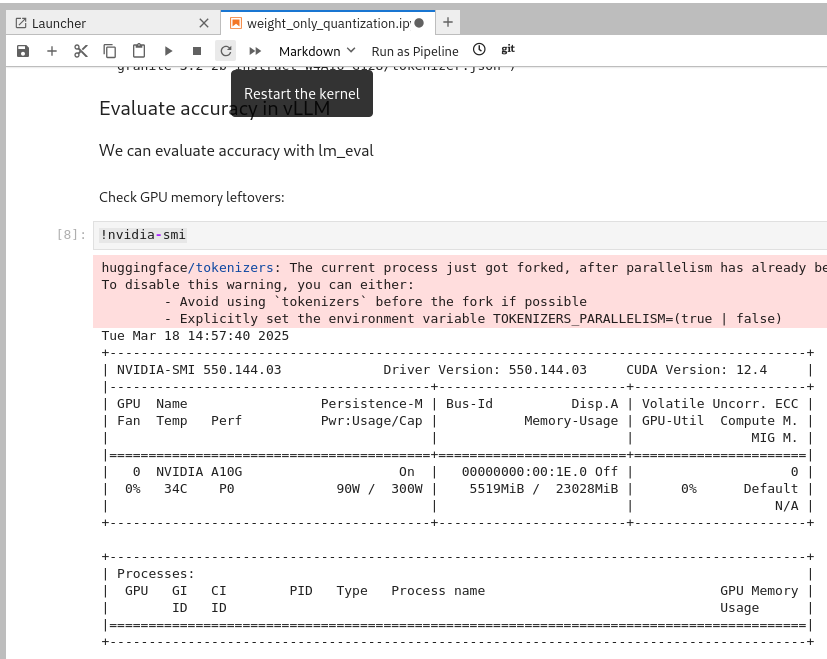
| 🚨 After quantizing the model, the GPU memory may not be freed. You need to restart the kernel before evaluating the model to ensure you have enough GPU RAM available. |
Exercise: Quantize the Model with llm-compressor
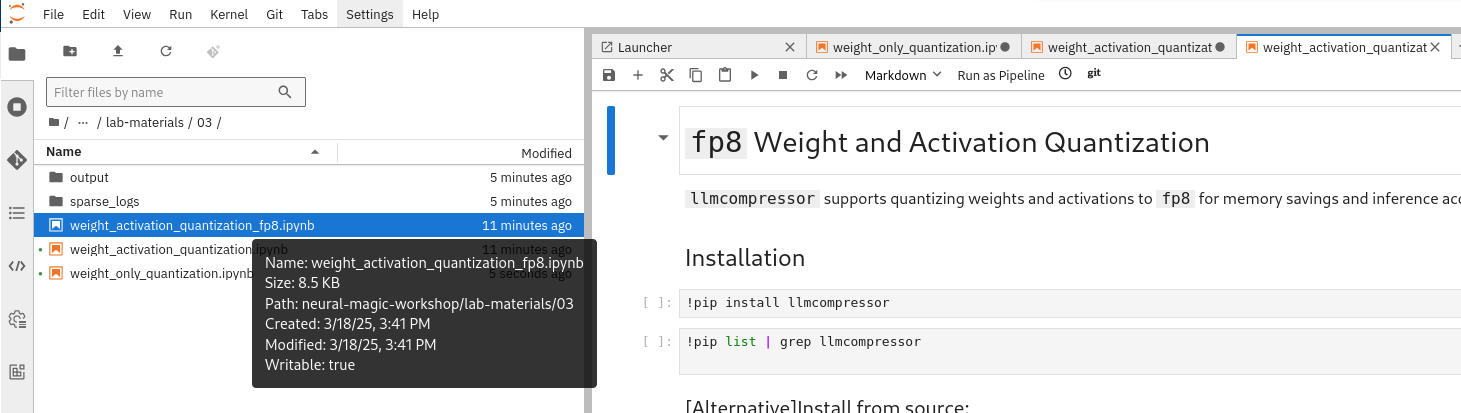
Go to the workbench created in the previous section (Section 2). From the showroom-summit2025-lb2959-neural-magic/lab-materials/03 folder, please open the notebook called fp8_weight_activation_quantization.ipynb and follow the instructions.
To execute the cells you can select them and either click on the play icon or press Shift + Enter
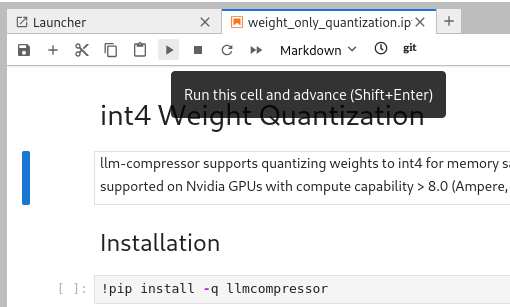
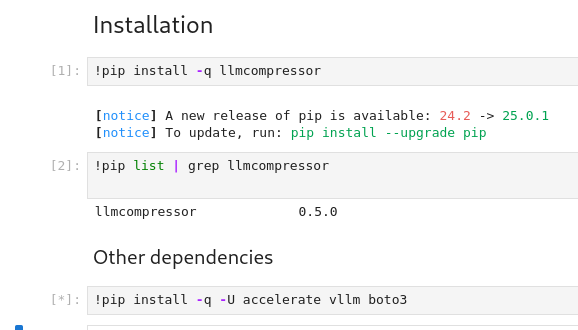
When the cell is being executed, you can see [*]. And once the execution has completed, you will see a number instead of the *, e.g., [1]
When done, you can close the notebook and head to the next page.
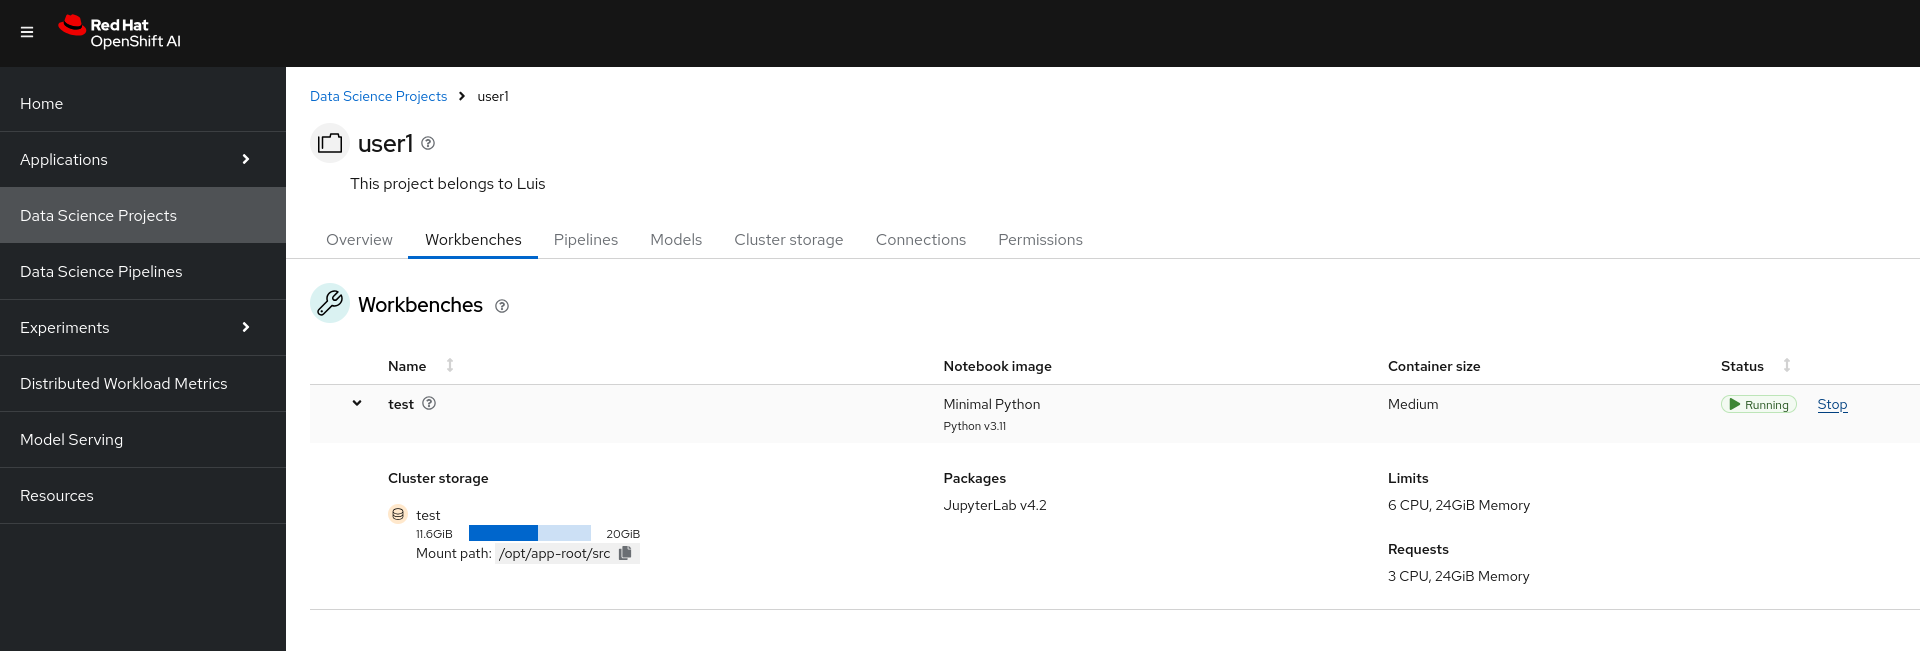
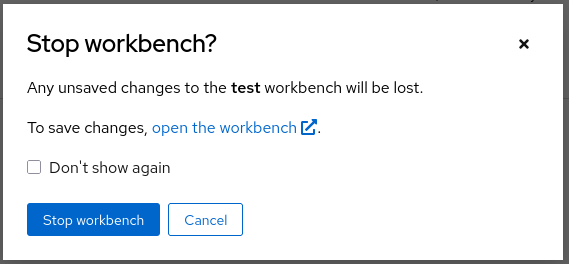
| 🚨 Once you complete all the quantization exercises and you no longer need the workbench, ensure you stop it so that the associated GPU gets freed and can be utilized to serve the model. |