Introduction to Unified UI
Overview
With Ansible Automation Platform 2.5 we have introduced a new, unified Web UI. It provides consistent access to the components of AAP in one interface.
To access the UI, open https://MYCTLHOST.apps.ocpvdev01.rhdp.net in a new browser tab, or in Showroom click the AAP tab. Both take you to the AAP login page:
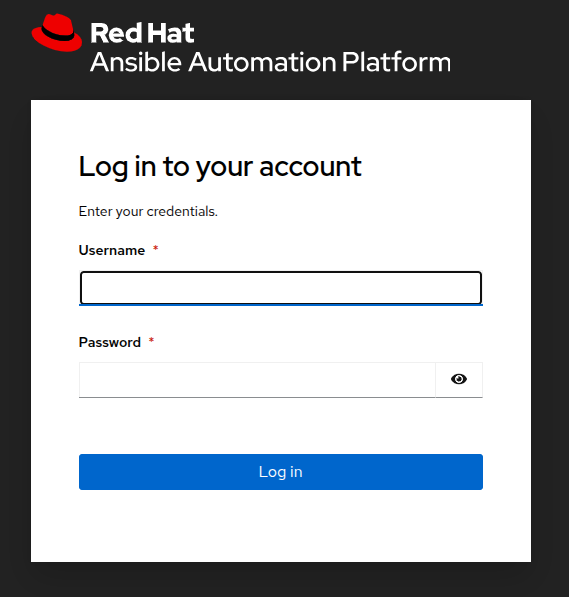
Log in as user MYCTLUSER with the password MYCTLPASSWORD.
This will open the UI, let’s have a look around.
| Depending on the width of your browser window the main menu on the left might be hidden. Just click the "Hamburger" menu in the upper left and it will fold out (see below for more details), or just resize your browser window… ;-) |
The menu lists the main components of AAP, most entries will open sub-menus when clicked, like Automation Execution in this example:
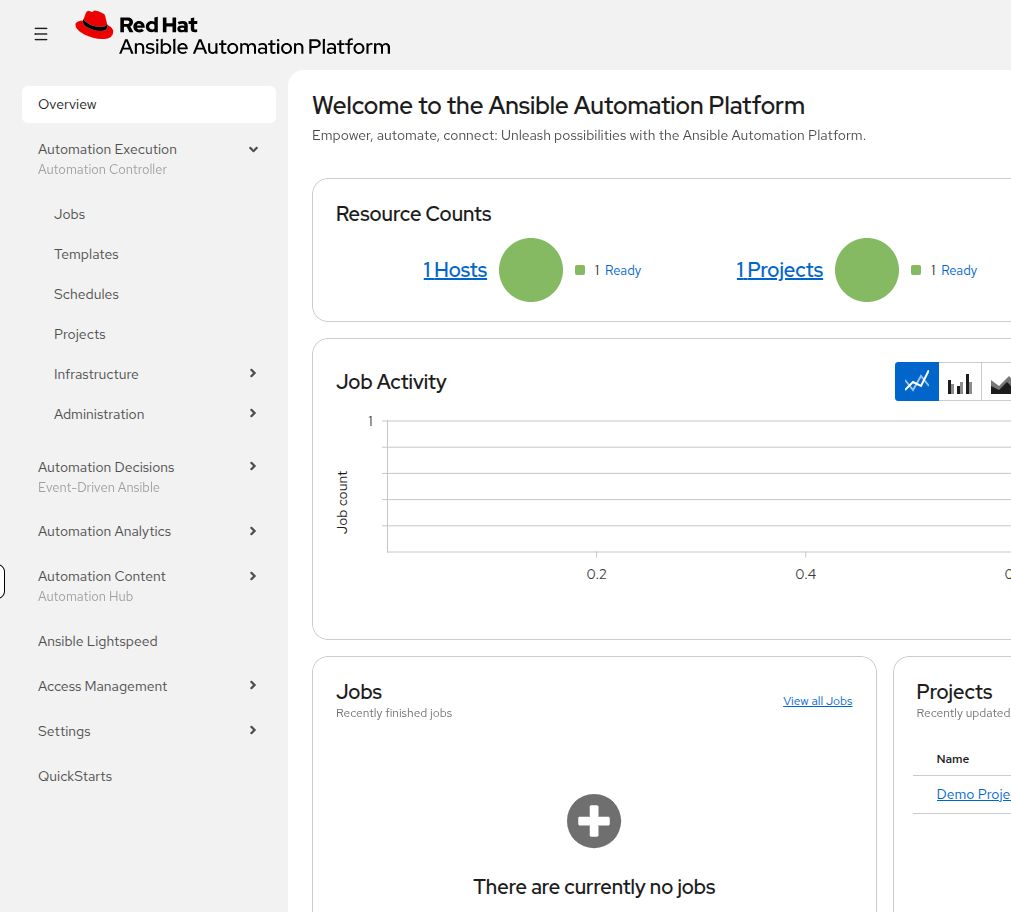
When you access the UI, you will start on the Overview page which provides information about what’s going on in your AAP in a handy dashboard. Right now your environment hasn’t done anything so this will be pretty empty. But we’ll of course change this during the course of this lab.
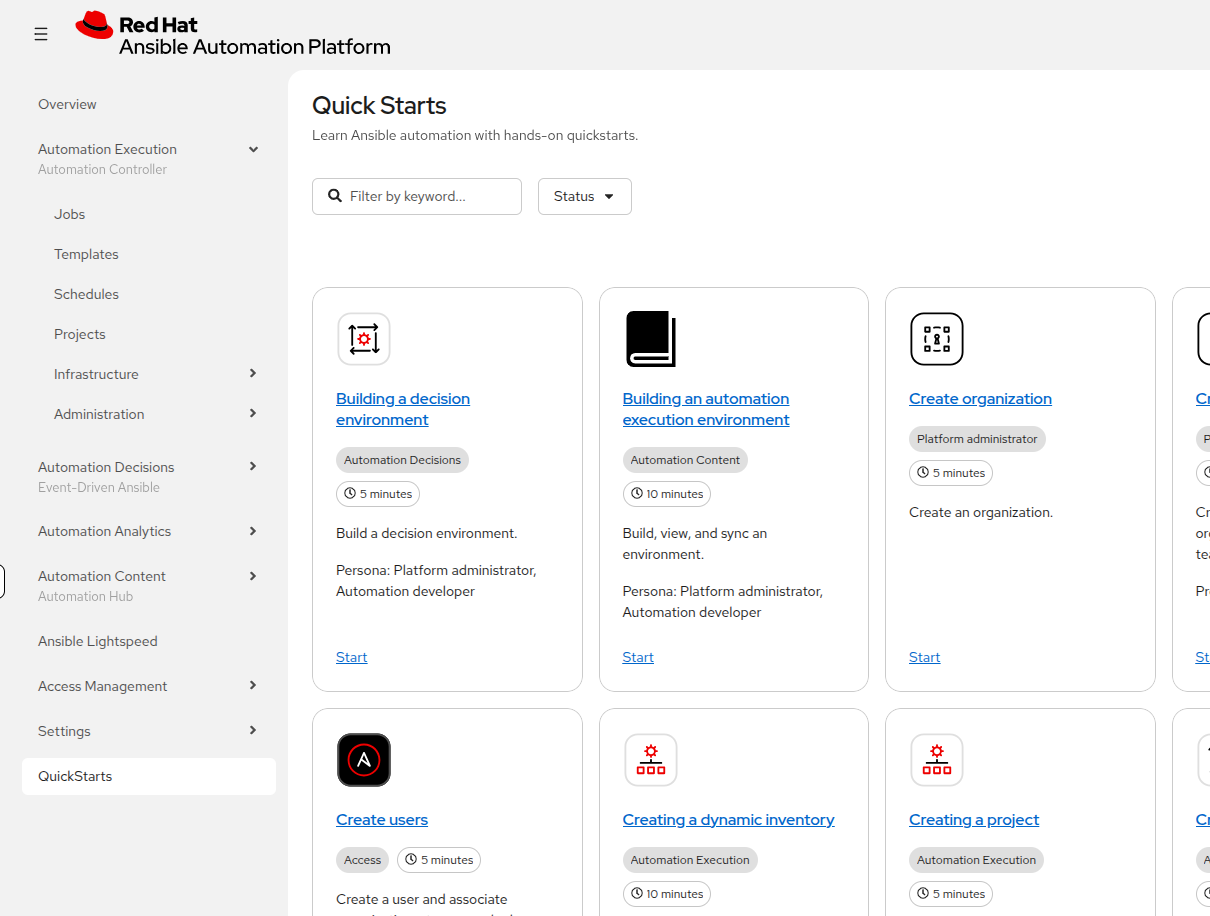
But there is more: if you scroll down, you’ll find a menu called Quick Starts. These are interactive guides to get you started quickly with key Ansible Automation Platform features. This will help to introduce new users to the Ansible Automation Platform.
Menu Items
Now let’s briefly go through the other menu items:
-
Automation Execution: This was formerly named Automation Controller, it is the main control center of your automation. This is where you manage automation jobs.
-
Automation Decisions is the UI component of the AAP Event Driven Automation (EDA) functionality. There you can create event triggers to automatically start your automation.
-
Automation Analytics provides access to the Automation Calculator, Host Metrics and the usage of the AAP subscriptions. This helps you to get an overview how automation is used and potential cost savings.
-
Automation Content adds the Private Automation Hub to the UI. This allows you to manage reusable automation content, like container images (Execution and Decision Environments) and Ansible collections.
-
Ansible Lightspeed is providing a link to get started with generative AI for Ansible Playbooks.
-
Access Management holds the management of the RBAC (Role Based Access Control) system to control access to AAP. This is where you will manage organizations, teams, roles and users; we’ll come back to it.
-
Settings for configuring AAP and system wide settings. Here you can set system defaults for Job execution, system behavior, external logging and much more.
-
QuickStarts was already covered above.
The new UI is not only eye-candy, the main change is hidden: all traffic to the UI components now goes through a single entry point called Platform Gateway. It handles authentication and authorization for the Ansible Automation Platform and serves the platform user interface.
Now that you know your way around, go ahead and proceed to the next chapter!
Ah wait, before we let you go!
The new interface is reactive, meaning it changes its appearance depending on the width of your screen. The next picture shows two screenshots of the UI, from a wide screen on the left, and a narrow one on the right:
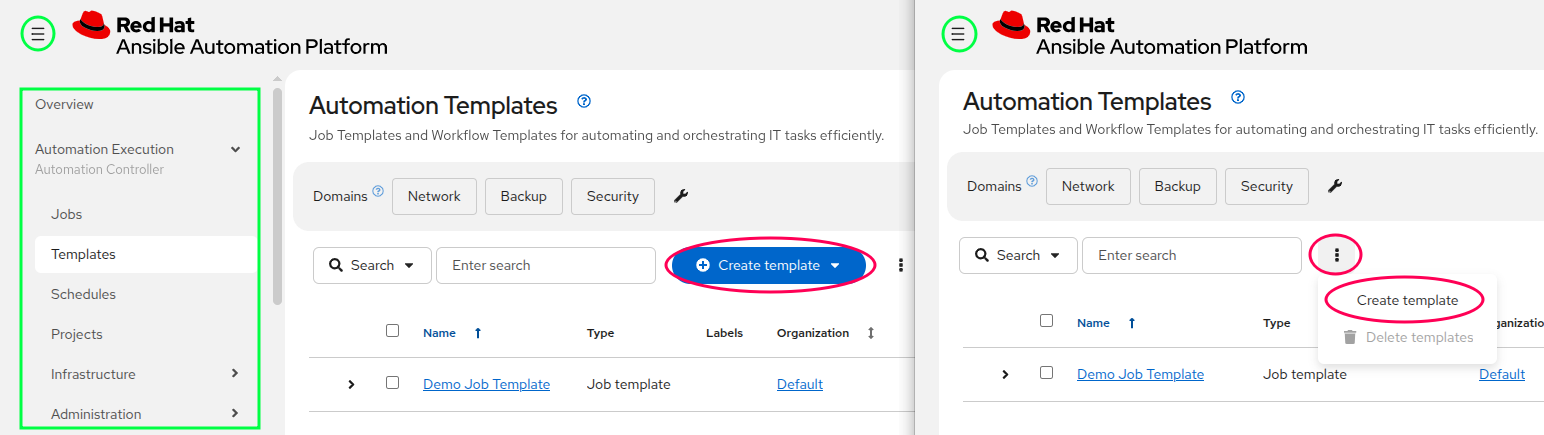
Two main things are to be noted:
-
When we refer to the left hand navigation menu, it might be hidden behind the hamburger menu (both highlighted in green)
-
When we refer to a blue button, it might be hidden behind the 3 dots menu (highlighted in red)
Now, you’re ready for the lab!