Employ Ansible Automation Platform workflows so teams can collaborate more efficiently
The basic idea of a workflow in Ansible Automation Platform is to link multiple Job Templates together. They may or may not share inventory, Playbooks, or even permissions. The links can be conditional, for example:
-
If job template A succeeds, job template B is automatically executed afterwards.
-
In case of a failure, job template C will be run.
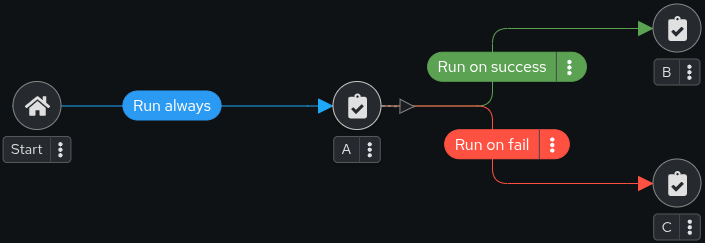
And the workflows are not even limited to Job Templates, they can also include project or inventory updates.
This enables new ways for teams to collaborate e.g. the application team creates playbooks with their own content, in their own Git repository and even targeting their own inventory, while the operations team also has their own repositories, playbooks, and inventory, but everything is tied together with a workflow.
The Scenario
Assume you have two teams in your organization. Each team is managing their respective content in their own git repository:
-
The web operations team is creating playbooks to deploy web infrastructures
-
The web applications team is developing JavaScript web applications for NodeJS
When there is a new NodeJS-based website to deploy, two main steps need to happen.
The web operations team has to:
-
Install and configure NodeJS to run as a service.
-
Install and configure an Apache instance as a proxy to pass requests for the NodeJS content to the NodeJS backend. Many other steps might be needed too, such as SELinux and firewall configuration.
The web developer team has to:
-
Deploy the most recent version of the JavaScript web application.
-
Make sure everything is prepared to run the application, such as the directory structure and service restarts.
As you ran the Playbook during the Configure Ansible Automation Platform with Ansible chapter some resources you need here were already setup:
-
Two Git repositories were setup as Projects
Webdev Git RepoandWebops Git Repo -
Playbooks were configured as Job Templates
Web App DeployandWeb Infra Deploy
| If you want to know what the Playbooks look like, check out the git URL in the Projects. |
Access the Automation Execution UI
In your browser open Ansible Automation Platform (or click the AAP tab to the right of these instructions) and log in as user MYCTLUSER with the password MYCTLPASSWORD.
Configure the Workflow
Now, you set up the Workflow to bring together the work of the two teams.
-
Open and click ⊕ Create template.
-
Choose Create workflow job template and fill in as follows:
-
Name:
Deploy Webapplication -
Organization:
Default -
Click Create workflow job template at the bottom
After saving the template the Workflow Visualizer opens to allow you to build a workflow. You can later open the Workflow Visualizer again by using the button labeled View workflow visualizer on the template details page.
-
-
Click on the ⊕ Add step button, a dialog to configure a new workflow node opens.
-
First, select the node type Job Template
-
Choose the Web Infra Deploy Template
-
Click Next then Finish
You get into the Workflow Visualizer overview showing the first workflow node. The node gets annotated with the name of the job.
-
Click the kebab-style menu right next to the existing node
Web Infra Deploy, you’ll see a number of options appearing: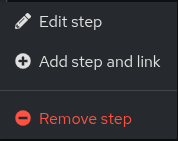
-
Edit step to edit the current workflow node
-
Add step and link to add new workflow node
-
and a Remove step to delete current workflow node.
-
-
We want to add another workflow node, so click the Add step and link icon and fill the node details:
-
Node type:
Job Template -
Job Template:
Web App Deploy -
Status:
Run on successThe Status field allows for more complex workflows. You could lay out different execution paths for successful and for failed Playbook runs.
-
-
Click Next then Finish
Your workflow should look like this:

-
Back in the main Workflow Visualizer view, click Save in the upper left to save the Workflow Template. You also might have to close the visualizer by clicking on the respective icon.
And Action!
Your Deploy Webapplication workflow is ready to go, launch it.
Click 🚀 Launch workflow on the workflow template, or open and launch the Deploy Webapplication workflow using the rocket icon.
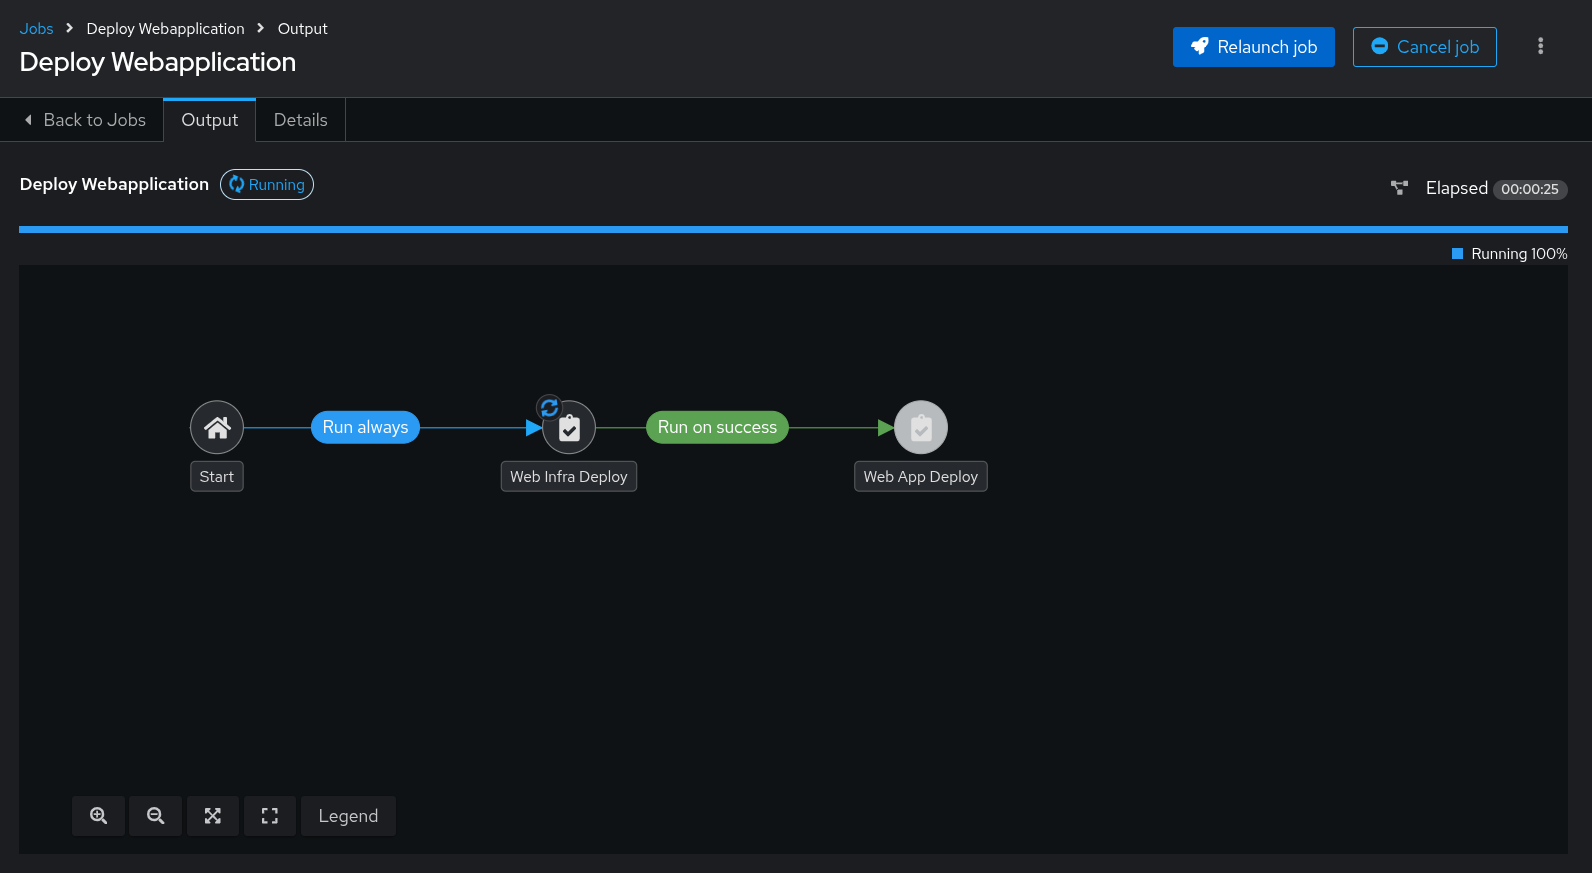
Note how the workflow run is shown in the job view as a visual representation of the different workflow steps. Like a normal job template execution you can go to the Details tab to get more information.
If you want to look at the actual Jobs behind the workflow nodes, click the workflow node. If you want to get back from a details view to the corresponding workflow, just hit your browsers back button or click on Source Workflow Job in the job template details.
After the job has finished, check if everything worked fine. To test the NodeJS application in your terminal, run:
curl http://node1/nodejsYou should be greeted with a friendly Hello World. Well done!