Module 6: Creating a Job Template
A guide to running a playbook with the automation controller by creating and launching a Job Template.
Lab Briefing
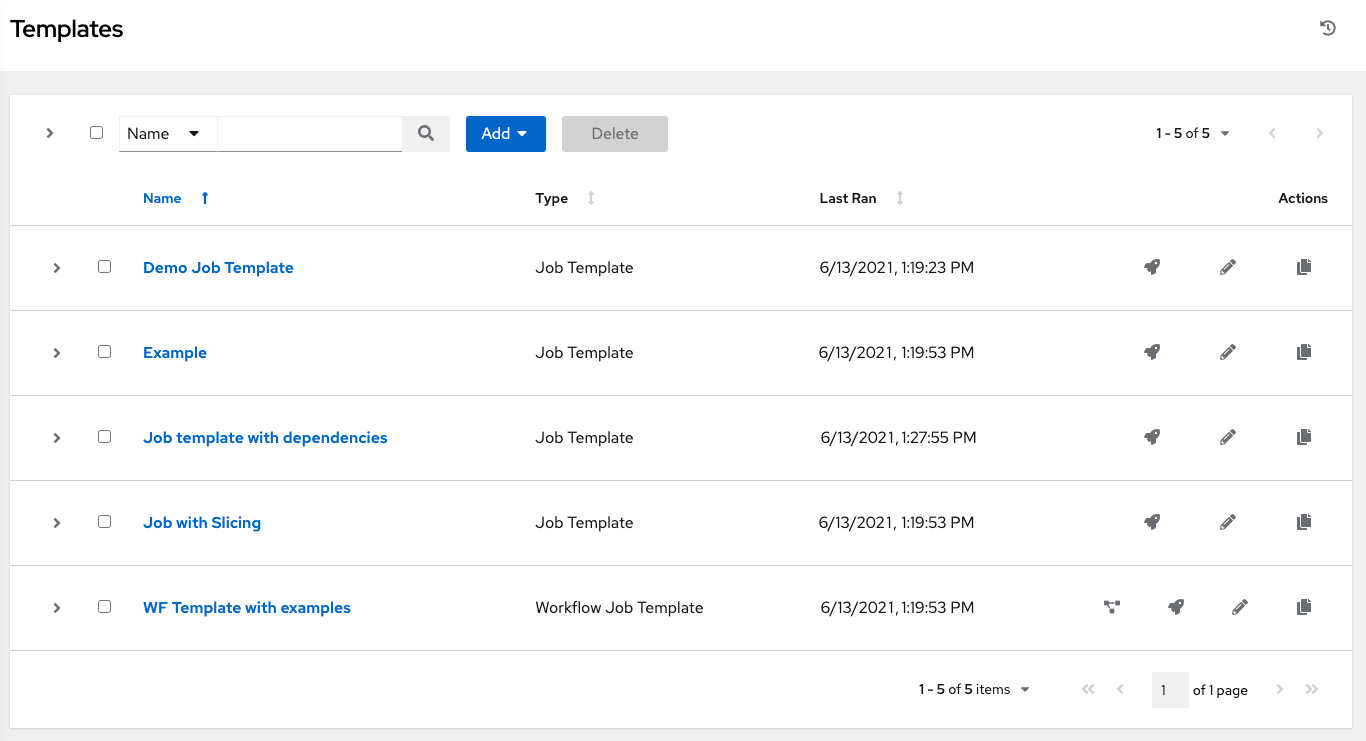
In the automation controller, job templates are a visual representation of the ansible-playbook command and all the flags you can use when executing from the command line. They are the primary mechanism for running your Ansible Playbooks.
Lab Guide
A Job Template is a definition and set of parameters for running an Ansible Playbook. Job Templates are useful for executing the same job many times while also encouraging the reuse of Ansible content and collaboration between teams.
Now that you have an Inventory with managed hosts, a Project with playbooks, and Credentials for authentication, you have all the building blocks needed to create and launch your first Job Template. While a Project might contain multiple playbooks, a Job Template runs one playbook at a time.
|
Do not confuse a Job Template with a Jinja2 template. A Job Template is a controller object that defines how to run a playbook. A Jinja2 template is a file used inside playbooks to generate dynamic content (like configuration files) by replacing variables at runtime. |
|
Reminder that the credentials to log in to the automation controller are:
|
Task 1: Create the Job Template
First, you will create a new job template that links your inventory, project, playbook, and credentials together.
-
Navigate to the Templates page.
In the left navigation menu, go to Automation Execution → Templates.
-
Create a new job template.
Click the blue Create template button and select Create job template.
-
Enter the job template details.
Fill out the form with the following information:
-
Name:
Install Apache -
Job Type:
Run -
Inventory:
Lab-Inventory -
Project:
Apache playbooks -
Playbook:
apache.yml -
Credentials: Select
lab-credentials. -
Privilege Escalation: Check this box to enable
become.
-
-
Save the job template.
Leave all other fields as they are and click the blue Create job template button.
|
The Credentials field is not mandatory for all job templates, but if you do not select the correct machine credentials for a job that connects to a remote host, the execution will fail. |
Task 2: Launch the Job Template
Now that the job template is created, you can launch it to run the playbook.
-
Navigate to the Templates page.
If you are not already there, go to Automation Execution → Templates.
-
Launch the template.
You can launch the template in two ways:
-
Click the Launch icon (🚀) next to the
Install Apachetemplate in the list. -
Click on the name
Install Apacheto open its details page, then click the blue Launch button.
-
-
Verify the execution.
The job will run, and you will be taken to the output page. Verify that the job completes with a Successful status.
Task 3: Verify the Result
Finally, verify that the Apache web server was installed correctly on both nodes.
-
Check the Node1 web page.
In the tab bar at the top of your lab screen, click the Node1 Web tab and verify you see the "Hello World" message.
-
Check the Node2 web page.
Click the Node2 Web tab and verify you see the same "Hello World" message.
Controller as Code Alternative
The job template you created by filling in a form in the UI is a single YAML entry in the CaC approach — linking inventory, project, playbook, and credentials by name.
YAML Definition
From controller-as-code/configs/module-06/controller_objects.yml:
---
controller_templates:
  - name: Install Apache
    organization: Default
    state: present
    inventory: Lab-Inventory
    become_enabled: true
    playbook: apache.yml
    project: Apache playbooks
    credential: lab-credentials
Notice how each field maps directly to what you entered in the UI form. The CaC approach makes it easy to review, version-control, and reproduce this configuration.
Troubleshooting
If you have encountered an issue or have noticed something not quite right, please open an issue on GitHub.