Module 10: Creating a Job Template with a Survey
A guide to creating a fourth Job Template for installing Apache, this time including a Survey to pass variables at runtime.
Lab Briefing
In this final challenge, you will explore one more powerful feature of Job Templates: Surveys. Surveys let you prompt users for input when launching a job, making it possible to customize parameters for each run — without editing the playbook itself.
Lab Guide
A Survey adds a user-friendly input form to a Job Template. When the template is launched, the survey prompts for values that are passed to the playbook as extra variables. In this challenge, you will use a survey to customize the index.html file deployed by the Apache playbook with your name.
|
Reminder that the credentials to log in to the automation controller are:
|
Task 1: Create the Job Template
First, you will create a new job template that uses a playbook designed to work with a survey variable.
-
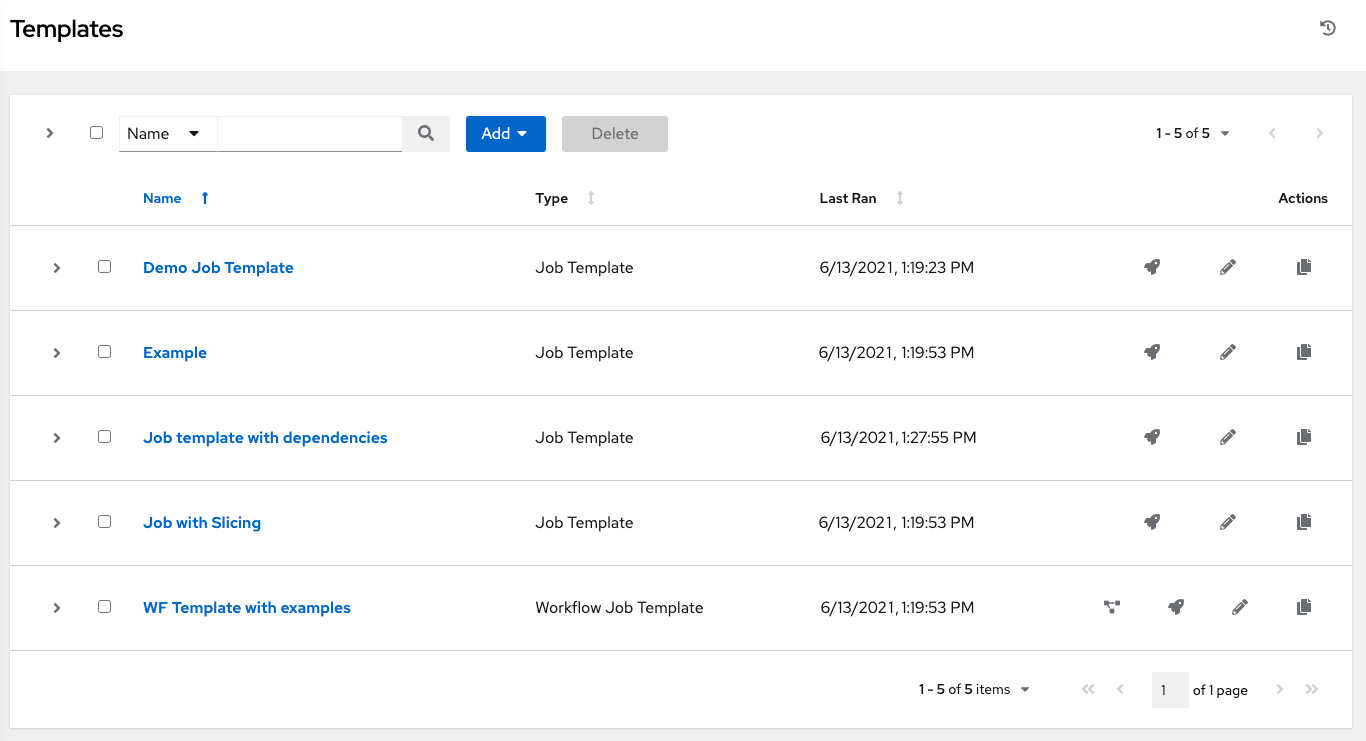
Navigate to the Templates page.
In the left navigation menu, go to Automation Execution → Templates.
-
Create a new job template.
Click the blue Create template button and select Create job template.
-
Enter the job template details.
Fill out the form with the following information:
-
Name:
Install Apache with Survey -
Job Type:
Run -
Inventory:
Lab-Inventory -
Project:
Apache playbooks -
Playbook:
apache_template.yml -
Credentials: Select
lab-credentials. -
Privilege Escalation: Check this box to enable
become.
-
-
Save the job template.
Leave all other fields as they are and click the blue Create job template button.
Task 2: Create the Survey
Now you will add a survey to the job template to ask for a user’s name.
-
Navigate to the Survey tab.
Once the Job Template is saved, you will be on its Details page. Click the Survey tab.
-
Create a new survey question.
Click the blue Create survey question button.
-
Configure the survey question.
Fill out the form with the following details:
-
Question:
What is your name, fellow student? -
Description:
Enter your name or nickname to see it work! -
Answer variable name:
student_name -
Answer type:
Text(default) -
Required: Make sure this is NOT checked.
-
Default answer:
Skippy
-
-
Save the survey question.
Click the blue Create survey question button at the bottom.
-
Enable the survey.
On the Survey tab, you will now see a toggle that reads Survey disabled. Click this toggle to enable the survey.
Task 3: Launch the Template and Use the Survey
Finally, launch the template and provide a custom value through the survey.
-
Launch the template.
Click the Launch template button at the top of the
Install Apache with Surveyjob template screen. -
Answer the survey question.
A survey prompt will appear. Delete the default answer (
Skippy) and enter your own name. -
Launch the job.
Click the Next button, review the details, and then click the Finish button to launch the job.
-
Verify the result.
Once the job completes successfully, navigate to the Node1 Web tab at the top of the lab screen. You may need to refresh the page. You should see the Apache message with your name displayed below it!

Controller as Code Alternative
The survey you configured manually through the UI — including the question, variable name, type, and default value — is defined inline within the job template YAML.
YAML Definition
From controller-as-code/configs/module-10/controller_objects.yml:
---
controller_templates:
  - name: Install Apache with Survey
    organization: Default
    state: present
    inventory: Lab-Inventory
    become_enabled: true
    playbook: apache_template.yml
    project: Apache playbooks
    credential: lab-credentials
    survey_enabled: true
    survey_spec:
      name: Apache Survey
      description: Survey for Apache template deployment
      spec:
        - question_name: "What is your name, fellow student?"
          question_description: >-
            Enter your name or nickname to see it work!
          variable: student_name
          type: text
          required: false
          default: Skippy
Summary: UI vs. Controller as Code
| Aspect | UI (this workshop) | Controller as Code |
|---|---|---|
How objects are created |
Manually through web forms |
Declarative YAML variable files |
Reproducibility |
Must repeat steps for each environment |
Single playbook applies to any environment |
Version control |
Not possible |
Full Git history of all changes |
Idempotency |
N/A |
Built-in — safe to re-run anytime |
Dependency ordering |
Manual (you must create inventory before templates) |
Automatic via the |
Audit trail |
Controller activity stream |
Git commits + Controller activity stream |
Congratulations!
You have finished the lab successfully! 🎉
Starting from an empty automation controller, you built a complete automation setup: an Inventory with managed hosts, Projects importing playbooks from Git, Credentials for secure authentication, Job Templates to run those playbooks, a Workflow chaining multiple templates with conditional logic, and a Survey to collect user input at runtime.
|
Remember to press the blue Next button below to complete the lab. We appreciate all feedback! |
Claim Your Badge
Scan the following QR code to claim your Ansible Forum badge for completing the lab:

If you don’t have an Ansible Forum account yet, no worries! You can sign up using the same link. To keep it simple, you can register or log in with your Google or GitHub account, and an account will be created for you automatically.
Once you sign up, remember to introduce yourself in this Forum topic!
Troubleshooting
If you have encountered an issue or have noticed something not quite right, please open an issue on GitHub.