1-1: Exploring the Lab Environment
Explore and understand the lab environment. These first few lab exercises will be exploring the command-line utilities of the Ansible Automation Platform, including:
-
ansible-navigator — a command line utility and text-based user interface (TUI) for running and developing Ansible automation content.
-
ansible-core — the base executable that provides the framework, language and functions that underpin the Ansible Automation Platform. It also includes various CLI tools like
ansible,ansible-playbookandansible-doc. Ansible Core acts as the bridge between the upstream community with the free and open source Ansible and connects it to the downstream enterprise automation offering from Red Hat, the Ansible Automation Platform. -
Execution Environments — container images that can be utilized as Ansible execution.
Learning objectives
By the end of this module, you will be able to:
-
Connect to the lab environment with Visual Studio Code
-
Explore execution environments with
ansible-navigator -
Locate the Ansible Navigator configuration (
ansible-navigator.yml) -
Understand the inventory structure for command-line exercises
-
Use the ansible-navigator TUI (Text-based User Interface)
-
Connect to network devices via SSH
| You can open these workshop directions in a separate browser window for easier reference: https://rhpds.github.io/zt-network-automation-workshop |
| Subscribe to our Ansible YouTube channel to stay connected with the Tech Marketing team and get the latest videos on Ansible automation. |
Step 1: Connecting via VS Code
It is highly encouraged to use Visual Studio Code to complete the workshop exercises. Visual Studio Code provides:
-
A file browser
-
A text editor with syntax highlighting
-
An in-browser terminal
Direct SSH access is available as a backup, or if Visual Studio Code is not sufficient to the student.
Click the VS Code tab at the top of the Showroom window to open the editor. No login is required — it opens directly.

| For the best experience (especially copy/paste in the terminal), open VS Code in its own browser tab. Right-click the VS Code tab and copy the link, or navigate directly to https://vscode-GUID.example.opentlc.com/. |
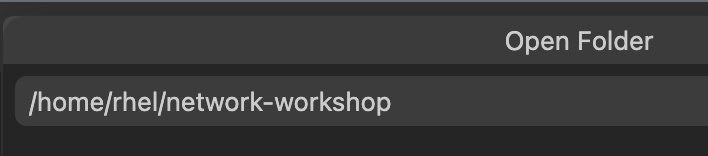
Open the network-workshop directory in Visual Studio Code:
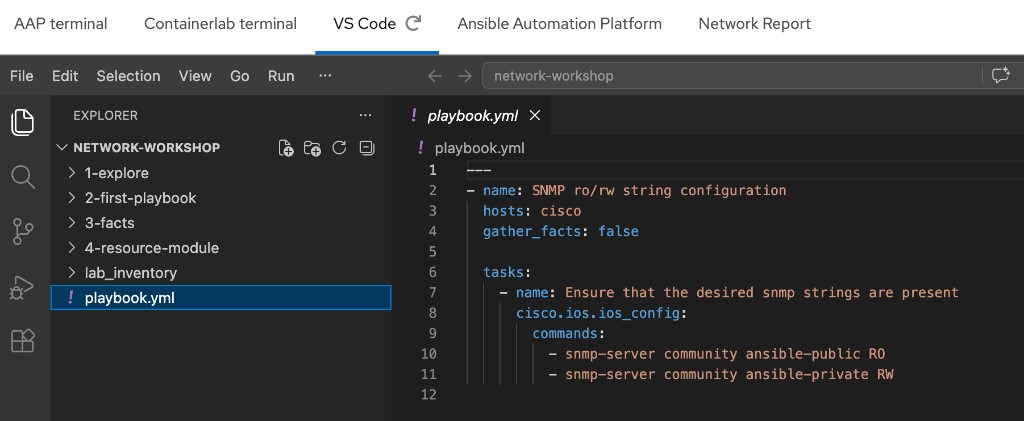
Click on the playbook.yml to view the content.
Step 2: Using the Terminal
Open a terminal in Visual Studio Code:
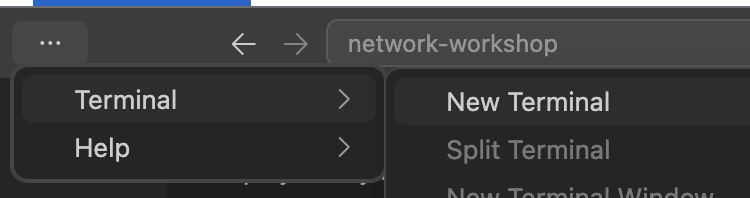
Navigate to the network-workshop directory in the VS Code terminal.
[rhel@vscode ~]$ cd ~/network-workshop/
[rhel@vscode network-workshop]$ pwd
/home/rhel/network-workshop
[rhel@vscode network-workshop]$-
~— the tilde in this context is a shortcut for the home directory, i.e./home/rhel -
cd— Linux command to change directory -
pwd— Linux command for print working directory. This will show the full path to the current working directory.
Step 3: Examining Execution Environments
Run the ansible-navigator command with the images argument to look at execution environments:
ansible-navigator images
| The output you see might differ from the above output. |
This command gives you information about all currently installed Execution Environments or EEs for short. Investigate an EE by pressing the corresponding number. For example pressing 0 with the above example will open the network-ee execution environment:
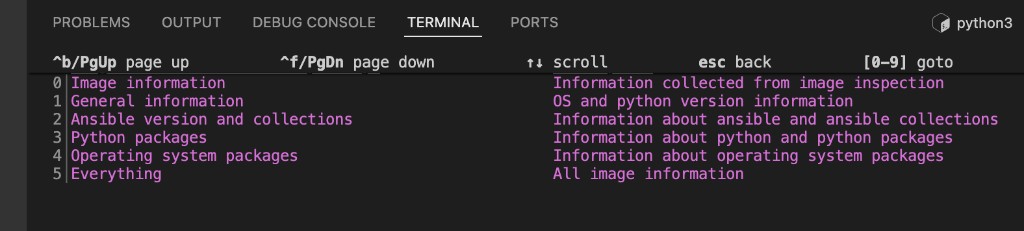
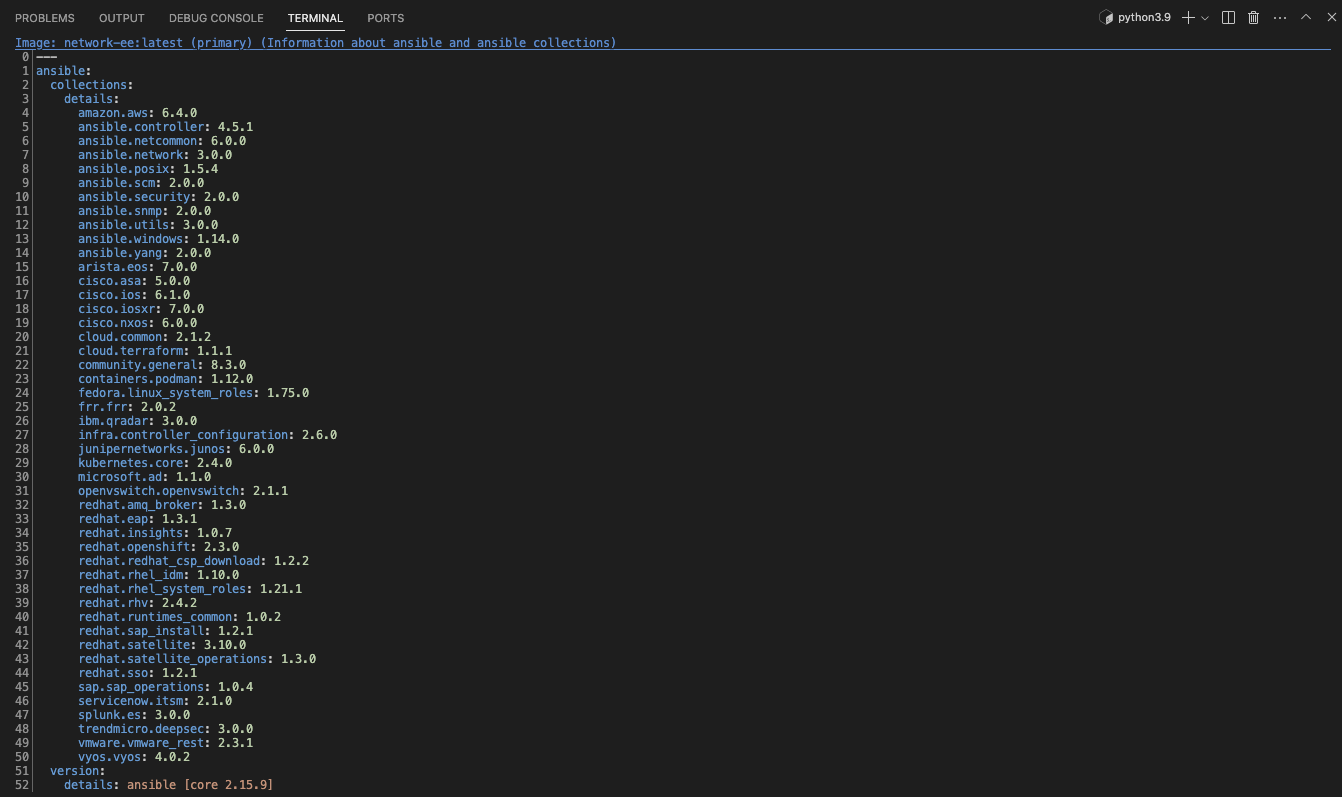
Selecting 2 for Ansible version and collections will show us all Ansible Collections installed on that particular EE, and the version of ansible-core:
Step 4: Examining the ansible-navigator configuration
Either use Visual Studio Code to open or use the cat command to view the contents of the ansible-navigator.yml file. The file is located in the home directory:
cat ~/.ansible-navigator.yml---
ansible-navigator:
ansible:
inventory:
entries:
- /home/rhel/network-workshop/lab_inventory/hosts
execution-environment:
image: quay.io/acme_corp/network-ee:latest
enabled: true
container-engine: podman
pull:
policy: missingNote the following parameters within the ansible-navigator.yml file:
-
inventories: shows the location of the ansible inventory being used -
execution-environment: where the default execution environment is set
For a full listing of every configurable knob checkout the documentation.
Step 5: Examining inventory
The scope of a play within a playbook is limited to the groups of hosts declared within an Ansible inventory. Ansible supports multiple inventory types. An inventory could be a simple flat file with a collection of hosts defined within it or it could be a dynamic script (potentially querying a CMDB backend) that generates a list of devices to run the playbook against.
In this lab you will work with a file based inventory written in the ini format. Either use Visual Studio Code to open or use the cat command to view the contents of the ~/network-workshop/lab_inventory/hosts file.
cat ~/network-workshop/lab_inventory/hosts[all:vars]
ansible_user=admin
ansible_password=admin@123
[network:children]
cisco
arista
juniper
[cisco]
rtr1 ansible_host=containerlab ansible_port=2222
[arista]
rtr2 ansible_host=containerlab ansible_port=2223
rtr4 ansible_host=containerlab ansible_port=2226
[juniper]
rtr3 ansible_host=containerlab ansible_port=2225 ansible_netconf_port=2224
[cisco:vars]
ansible_network_os=ios
ansible_connection=network_cli
[arista:vars]
ansible_network_os=eos
ansible_connection=network_cli
ansible_become=true
ansible_become_method=enable
[juniper:vars]
ansible_network_os=junos
ansible_connection=netconf
[dc1]
rtr1
rtr3
[dc2]
rtr2
rtr4Step 6: Understanding inventory
In the above output every [ ] defines a group. For example [dc1] is a group that contains the hosts rtr1 and rtr3. Groups can also be nested. The group [network] is a parent group to the group [cisco].
Parent groups are declared using the children directive. Having nested groups allows the flexibility of assigning more specific values to variables.
We can associate variables to groups and hosts.
| A group called all always exists and contains all groups and hosts defined within an inventory. |
Host variables can be defined on the same line as the host themselves. For example for the host rtr1:
rtr1 ansible_host=containerlab ansible_port=2222-
rtr1— The name that Ansible will use. This can but does not have to rely on DNS. -
ansible_host— The host that Ansible will connect to. In this lab all routers are accessed through thecontainerlabhost. -
ansible_port— The SSH port for this device. Each router is mapped to a unique port on the containerlab host.
Group variables are declared using the vars directive. Having groups allows the flexibility of assigning common variables to multiple hosts. Multiple group variables can be defined under the [group_name:vars] section. For example look at the group cisco:
[cisco:vars]
ansible_network_os=ios
ansible_connection=network_cli-
ansible_network_os— This variable is necessary while using thenetwork_cliconnection type within a play definition, as we will see shortly. -
ansible_connection— This variable sets the connection plugin for this group. This can be set to values such asnetconf,httpapiandnetwork_clidepending on what this particular network platform supports.
Step 7: Using ansible-navigator to explore inventory
We can also use the ansible-navigator TUI to explore inventory.
Run the ansible-navigator inventory command to bring up inventory in the TUI:
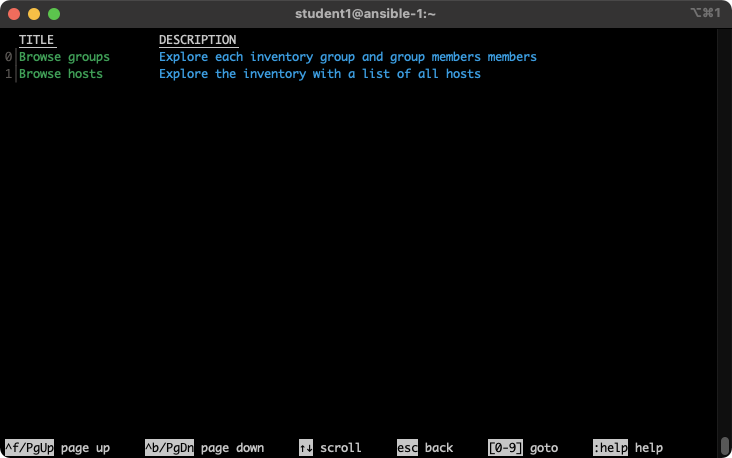
Pressing 0 or 1 on your keyboard will open groups or hosts respectively.
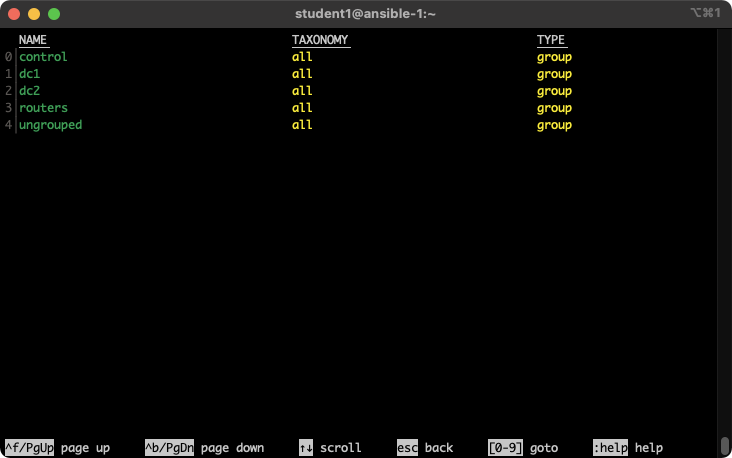
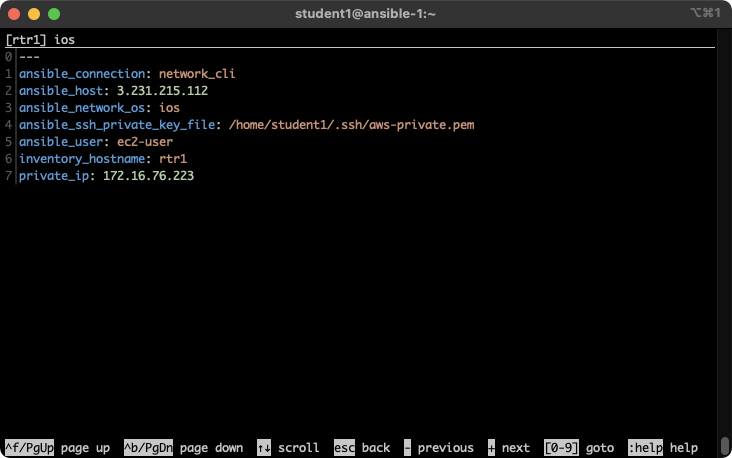
Press the Esc key to go up a level, or you can zoom in to an individual host:
Step 8: Connecting to network devices
There are four routers, named rtr1, rtr2, rtr3 and rtr4. The SSH configuration file (~/.ssh/config) is already setup so you can SSH to any router from the VS Code terminal without a login:
For example to connect to rtr1, type:
ssh rtr1For example:
$ ssh rtr1
Warning: Permanently added 'rtr1,35.175.115.246' (RSA) to the list of known hosts.
And use the show version command to look at the Cisco IOS version:
rtr1#show ver
Cisco IOS XE Software, Version 17.14.01a
Cisco IOS Software [IOSXE], Virtual XE Software (X86_64_LINUX_IOSD-UNIVERSALK9-M), Version 17.14.1a, RELEASE SOFTWARE (fc1)
The workshops have been upgraded to Red Hat Enterprise Linux 9 which uses a newer more secure system-wide cryptographic policy. If you hit the issue no mutual signature supported for a Cisco network device, please run the command sudo update-crypto-policies --set LEGACY and exit/restart your terminal so the policy will take effect.
|
Module summary
In this module, you learned how to:
-
Connect to the lab environment using Visual Studio Code
-
Explore execution environments with
ansible-navigator images -
Locate and understand the Ansible Navigator configuration (
ansible-navigator.yml) -
Examine the inventory file and understand groups, host variables, and group variables
-
Navigate inventory using the
ansible-navigatorTUI -
Connect to network devices via SSH from the VS Code terminal