Explore OpenShift
OpenShift provides two primary interfaces for interacting with the platform: a web-based console for visual management and a command-line interface for scripting and advanced operations. In this section, you’ll learn how to access and use both tools effectively.
The Web Console
The OpenShift Console provides an intuitive graphical interface for managing your projects, applications, and cluster resources. It’s accessible from any modern web browser and is designed to simplify common administrative and development tasks.
Accessing the OpenShift Web Console
To access the OpenShift Console, navigate to the following URL in your browser and log in using the provided credentials:
Console URL: https://console.apps.cluster.example.com
Username: userX
Password: password
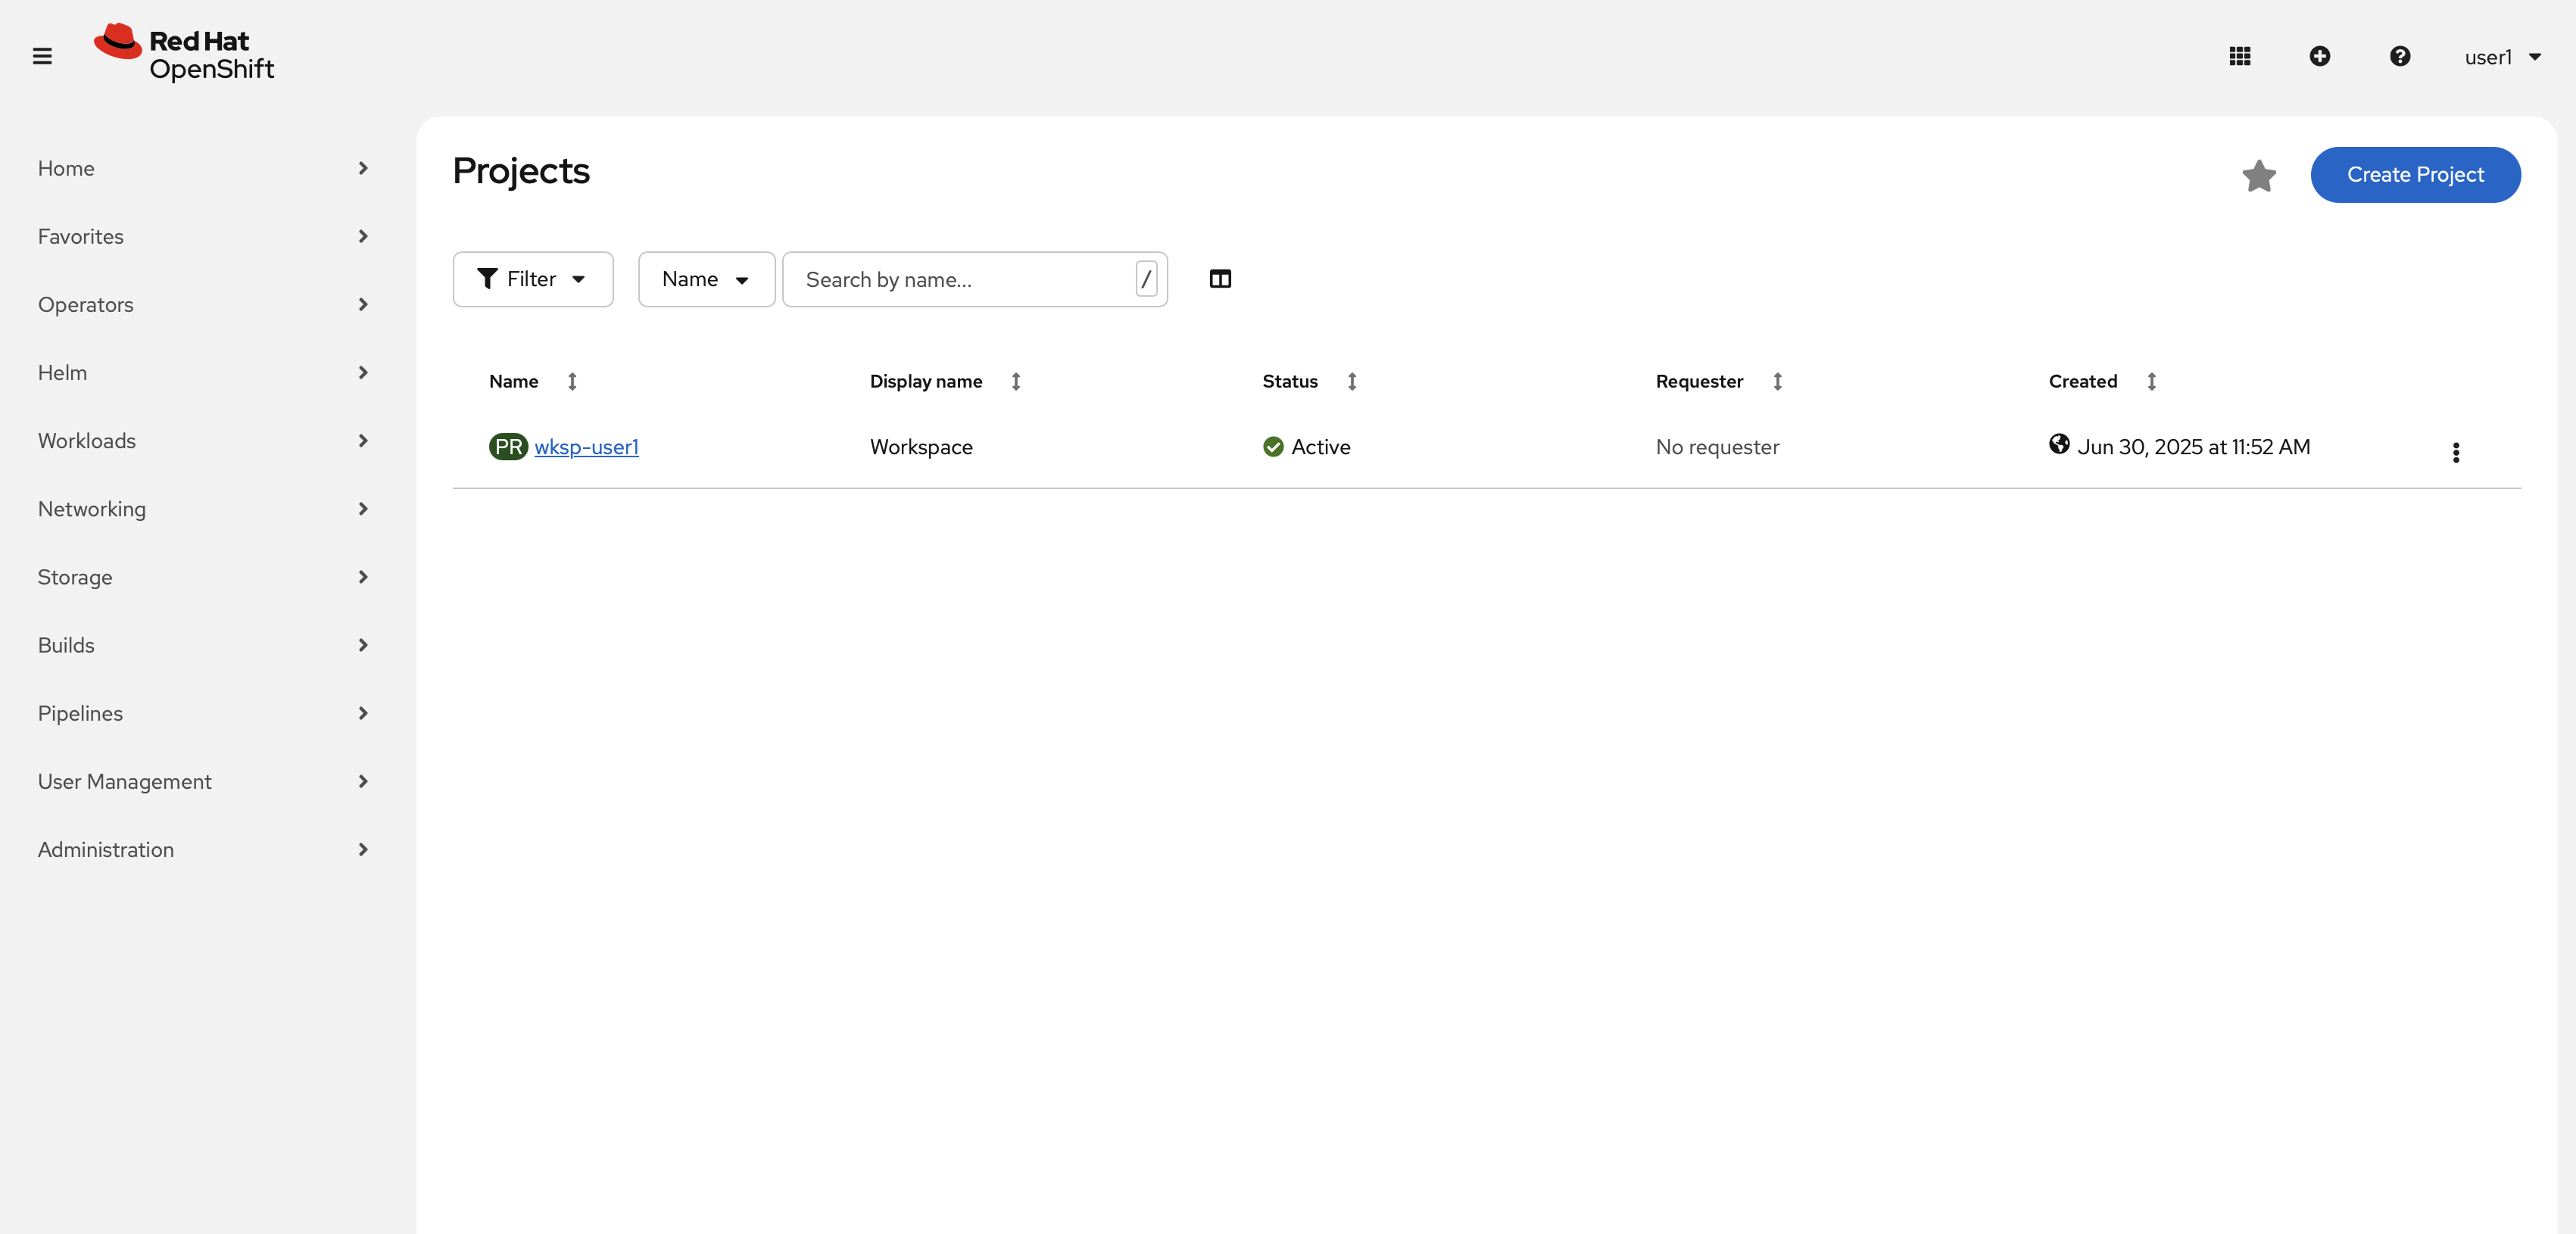
Once logged in, you’ll see the main dashboard where you can view your projects and navigate through the platform’s features.
Command Line Interface
While the web console is excellent for visual management, the OpenShift CLI (oc) provides powerful automation capabilities and access to advanced features. The CLI is a single executable written in Go and is available for Microsoft Windows, macOS, and Linux.
Verifying the CLI Installation
The CLI has been pre-installed in your workshop environment. Verify it’s available and check the version:
oc versionYou should see output similar to this:
Client Version: 4.19.4
Kustomize Version: v5.5.0
Kubernetes Version: v1.32.6
Logging in with the CLI
Authenticate with the OpenShift cluster using the command line:
oc login --insecure-skip-tls-verify=false -u userX -p password https://api.cluster.example.com:6443This command authenticates you to the cluster using your username and password.
| If you get a message "certificate signed by unknown authority", you can ignore it for this workshop environment. It indicates that the cluster’s API certificate is self-signed, which is common in development and testing environments. |
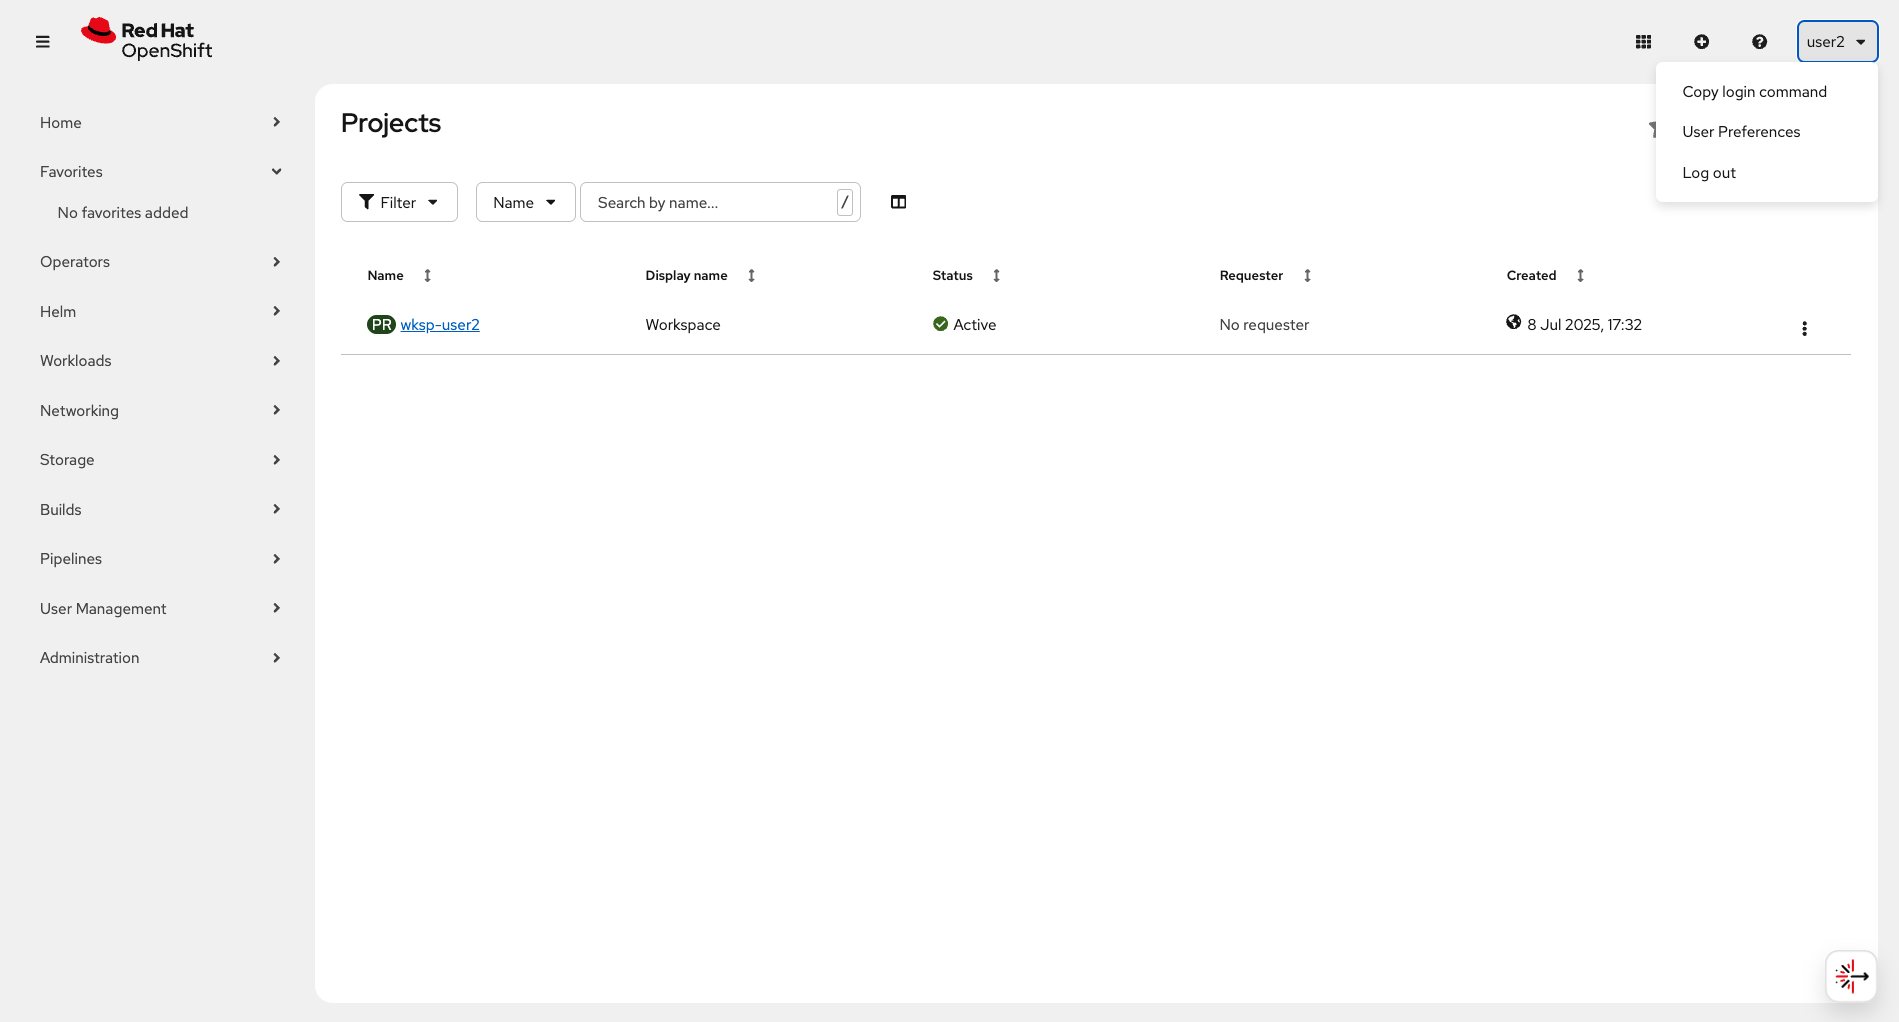
| Alternatively, you can use a token for authentication. To obtain a token, use the Copy login command option in the OpenShift Web Console as shown. |
Verifying Your Access
Let’s confirm that you’re properly authenticated and can access your assigned resources.
First, verify your login credentials:
oc whoamiYour username should be displayed:
userXNext, verify that you can view the project(s) assigned to you:
oc projectsOutput similar to the following example should be displayed:
You have one project on this server: "Workspace (wksp-userX)".

Using project "wksp-userX" on server "https://api.cluster.example.com:6443".
Great! You now have access to OpenShift through both the web console and command line interface. In the following sections, you’ll use these tools to deploy and manage applications on the platform.