Routes
In this workshop section, you will make your application accessible to external users.
Background: Routes
While Services provide internal abstraction and load balancing within an OpenShift environment, sometimes clients (users, systems, devices, etc.) outside of OpenShift need to access an application. External clients access applications running in OpenShift through the OpenShift routing layer, which can be configured using a Route object.
The default OpenShift router (HAProxy) uses the HTTP header of the incoming request to determine where to proxy the connection. You can optionally define security, such as TLS, for the Route. If you want your Services, and, by extension, your Pods, to be accessible from the outside world, you need to create a Route.
Exercise: Creating a Route
You may remember that when you deployed the parksmap application, you unchecked the checkbox to
create a Route. Normally it would have been created automatically. Fortunately, creating a Route is a straightforward process.
You can create a Route either from the OpenShift Console or using the oc CLI. Use one of the options below to choose your desired approach for adding the route.
OPTION A: OpenShift Console:
-
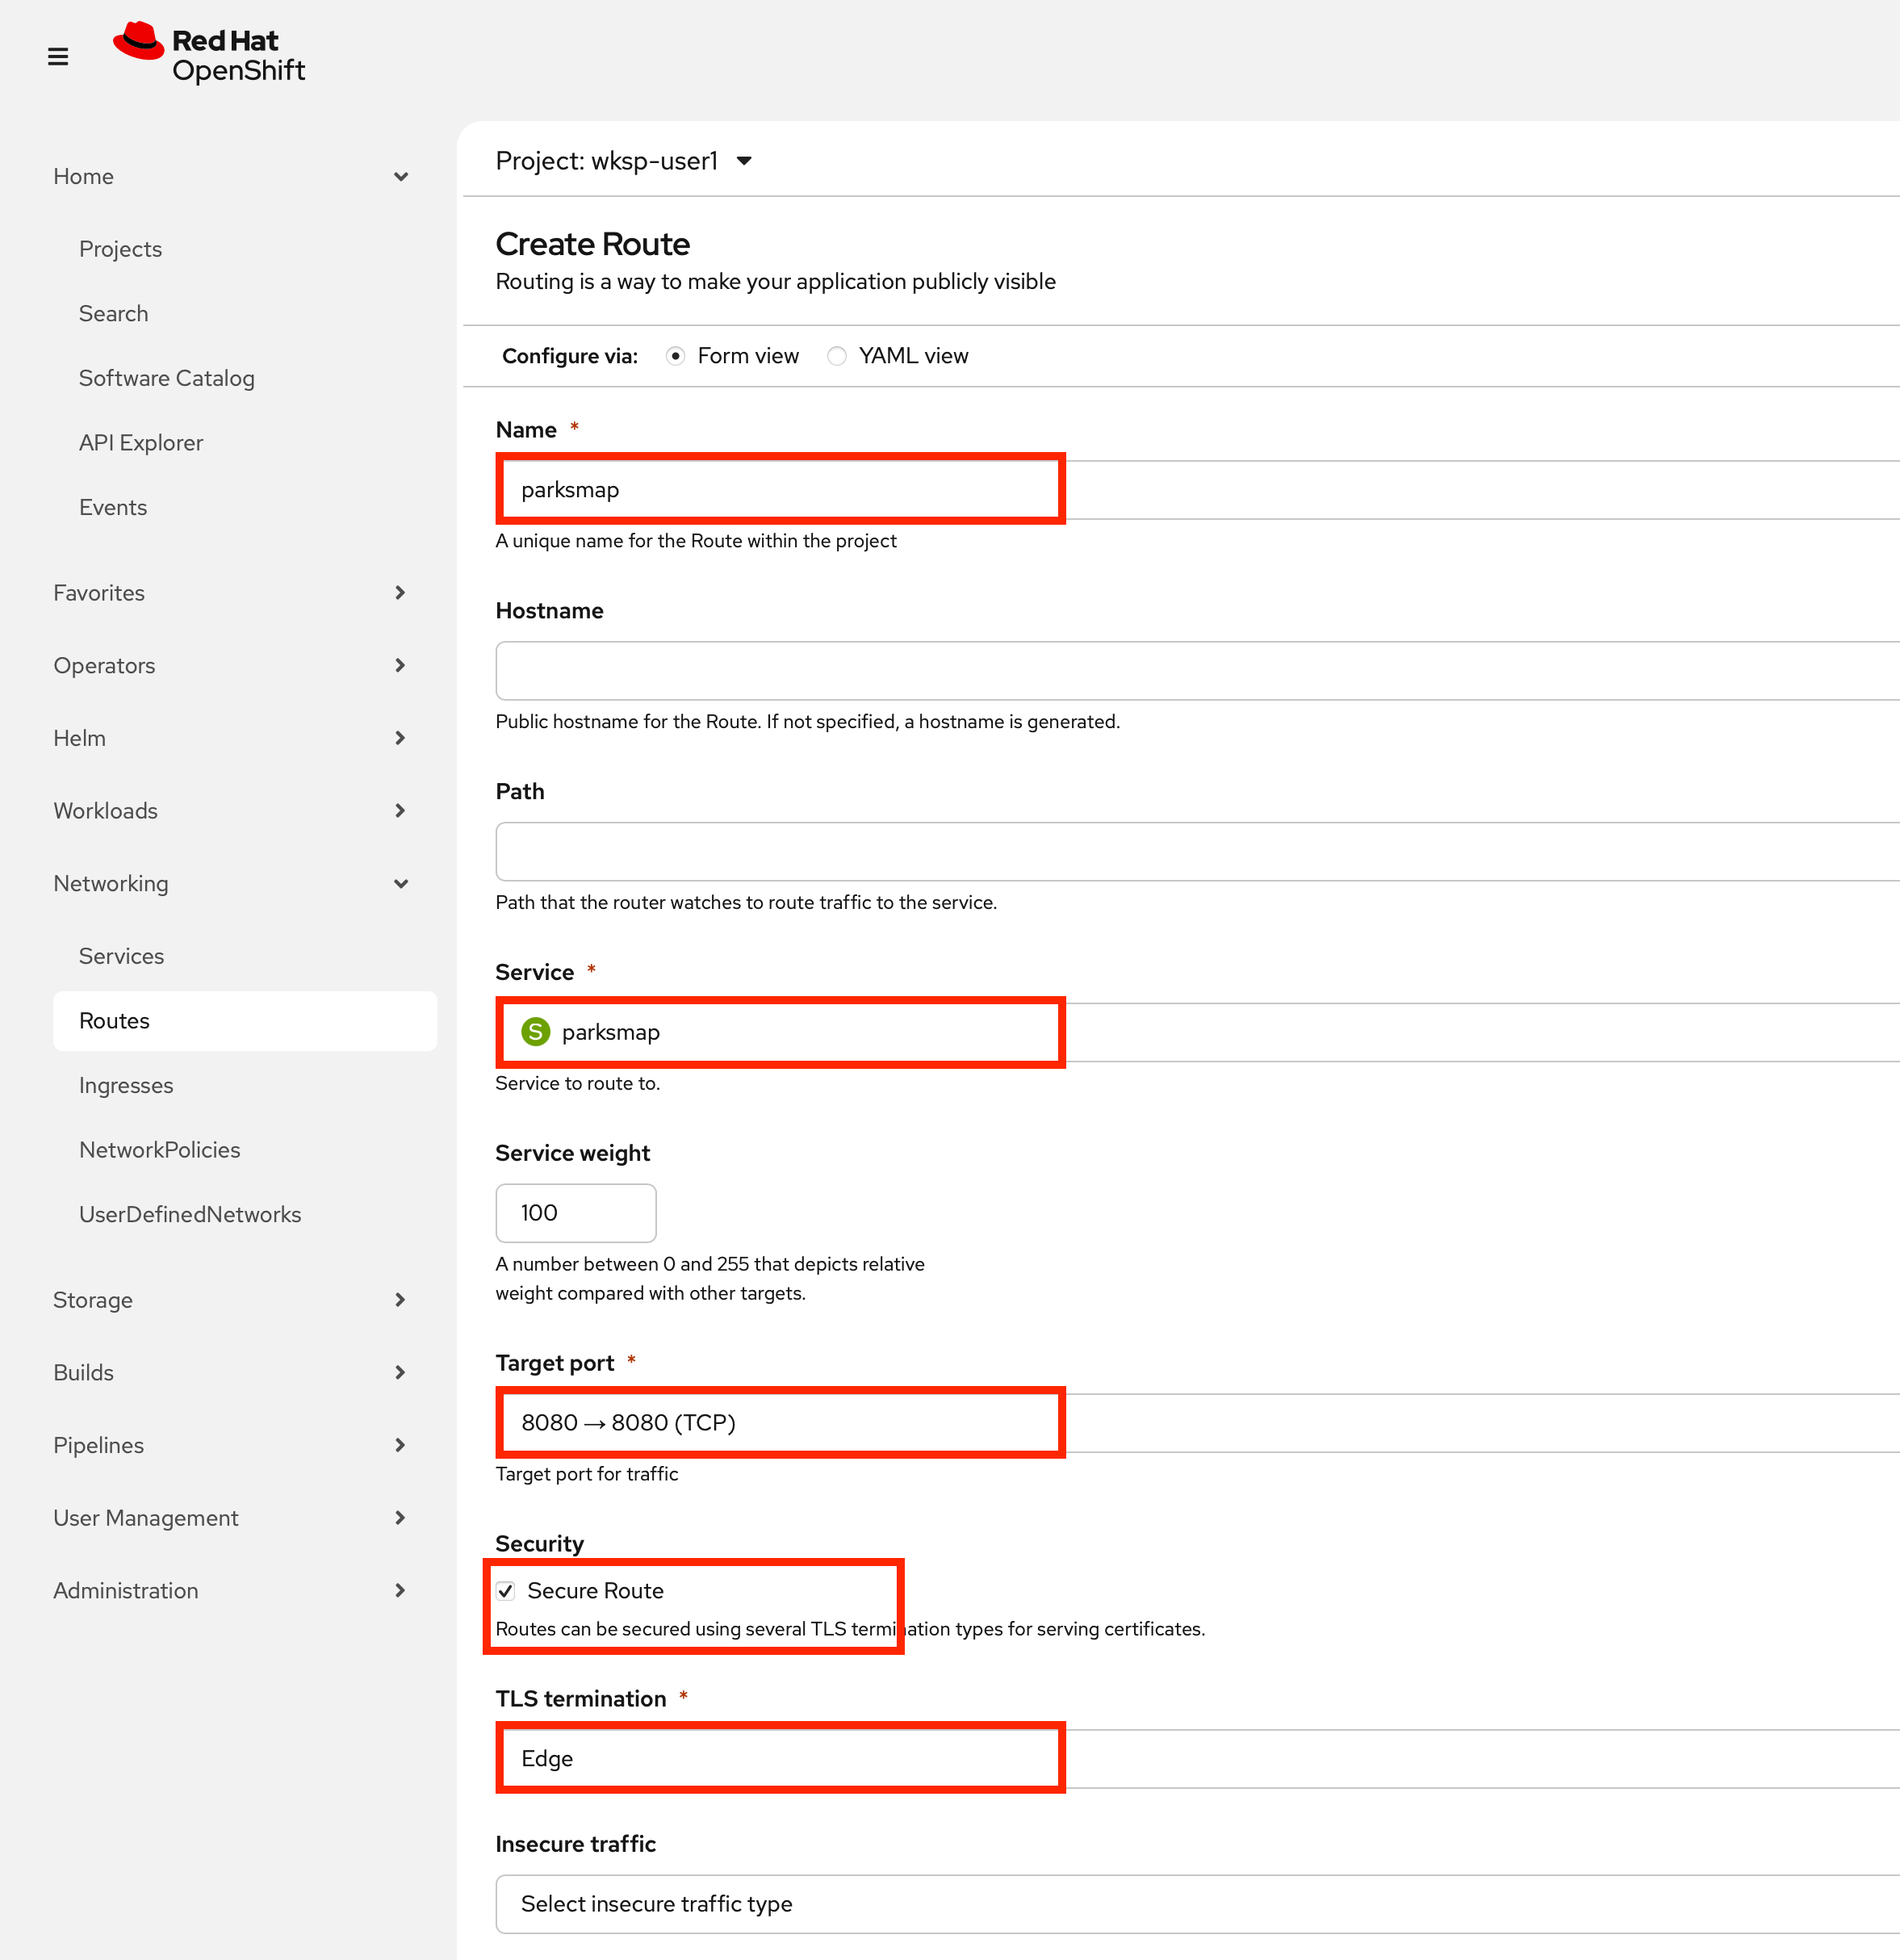
Click Networking → Routes and then the Create Route button.
-
Insert parksmap in Name field.
-
From Service field, select parksmap. For Target Port, select 8080.
-
In Security section, check Secure route. Select Edge from TLS Termination list.
-
Leave all other fields blank and click Create:
| The TLS certificate for cluster Apps domains is used by default, so you don’t need to add any certificate. If you want to use a custom domain resolving to your OpenShift cluster, you can add certificates on a per-route basis. |
When creating a Route, you can specify other options, such as the hostname and path for the Route or additional TLS configurations.
OPTION B: oc Command Line:
To expose the Service, first verify that you don’t already have any existing Routes:
oc get routesNo resources found.Now you need to get the Service name to expose:
oc get servicesNAME CLUSTER-IP EXTERNAL-IP PORT(S) AGE
parksmap 172.30.169.213 <none> 8080/TCP 5hOnce you know the Service name, creating a Route is a simple one-command task:
oc create route edge parksmap --service=parksmaproute.route.openshift.io/parksmap createdVerify the Route was created with the following command:
oc get routeNAME HOST/PORT PATH SERVICES PORT TERMINATION WILDCARD
parksmap parksmap-wksp-userX.apps.cluster.example.com parksmap 8080-tcp edge NoneYou can also verify the Route in the Topology view under the Resources tab for your parksmap Deployment. Note that there is now an arrow icon on the parksmap node in the Topology. If you click that, it will open the URL for your Route in a browser.
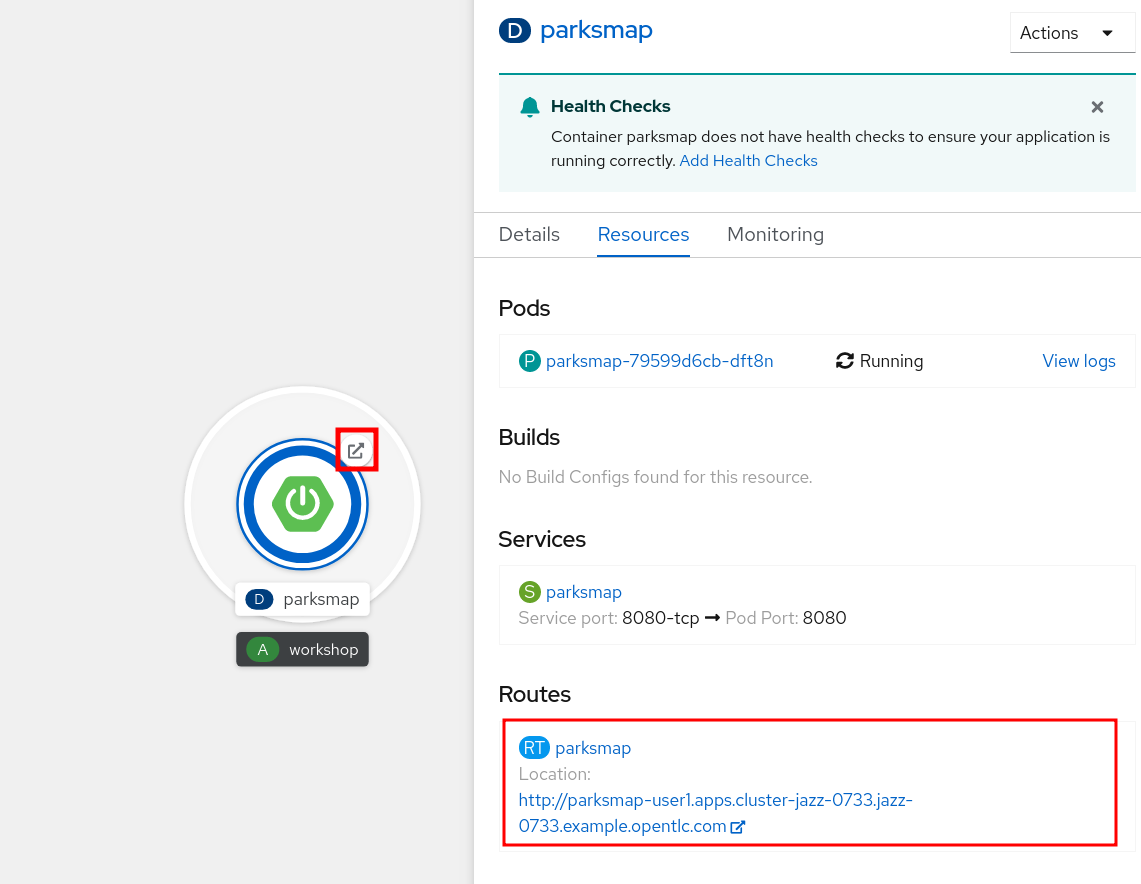
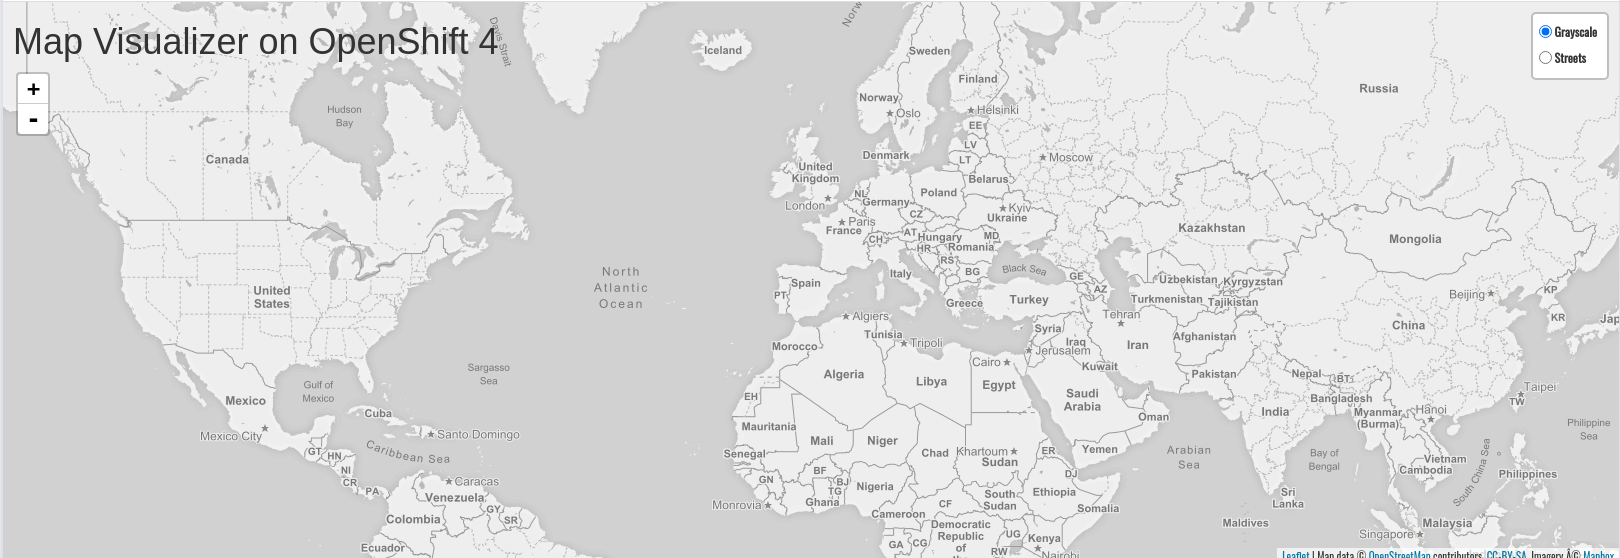
The application is now available at the URL shown in the Developer Perspective. Click the link and you will see it.
| If this is the first time opening this page, the browser will ask permission to get your position. This is needed by the frontend app to center the world map to your location. If you don’t allow it, the app will use a default location. |