Projects
Understanding OpenShift Projects
Projects are a fundamental concept in OpenShift that help you organize and manage your deployments. An OpenShift project allows a group of users (or individual users) to organize and manage their content in isolation from other groups. Each project has its own resources, policies (defining who can or cannot perform actions), and constraints (such as quotas and limits on resources).
Think of projects as a "wrapper" around all the application services and endpoints you (or your teams) are using for your work. Under the hood, OpenShift projects are built on top of Kubernetes namespaces, but the project abstractions provide administrators with additional features such as enhanaced role-based access controls (RBAC).
In this section, you’ll explore how to work with projects using both the web console and command line interface. Don’t worry if you don’t understand all of the terminology—you’ll cover these concepts in detail throughout the workshop.
Exploring Your Project in the Web Console
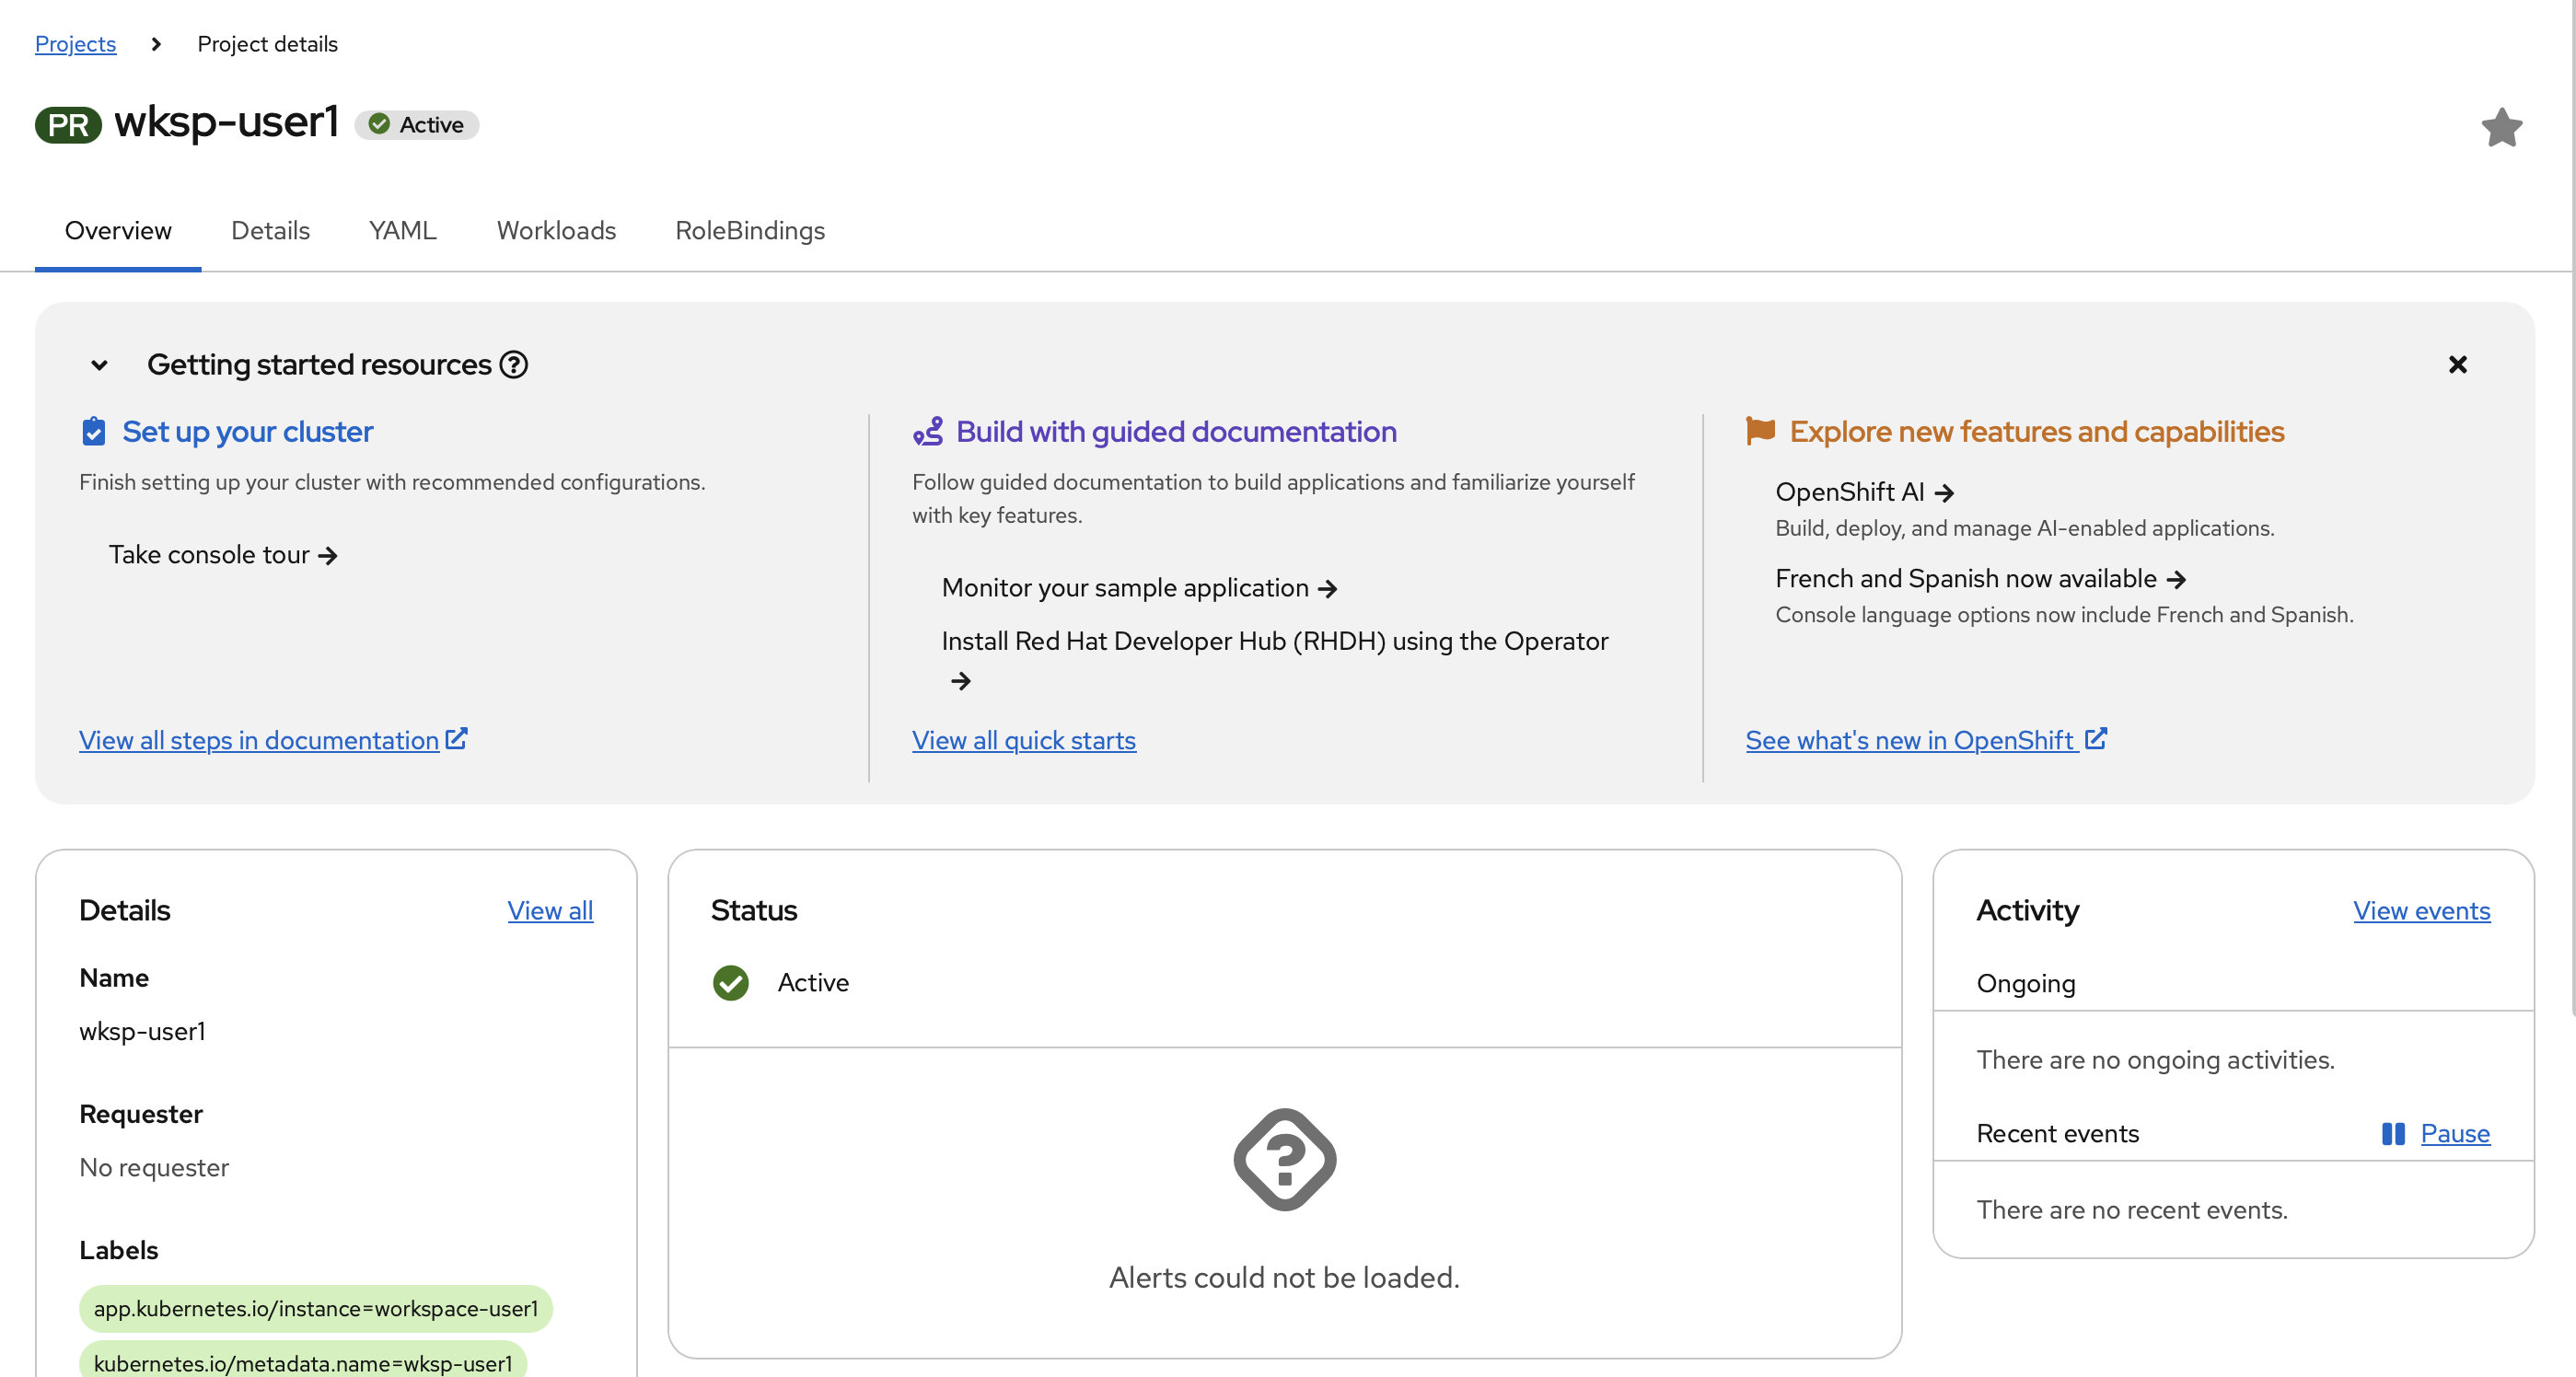
A project named wksp-userX has already been created for you. Start by exploring it through the web console.
After logging in to the OpenShift web console, locate and select your project from the project dropdown. Take a moment to explore the project overview, which provides a summary of your project’s resources and activity.
The Topology View
Familiarize yourself with the Topology perspective, which offers a visual representation of the applications and their components within your project.
From the left menu, navigate to Workloads and then to Topology.
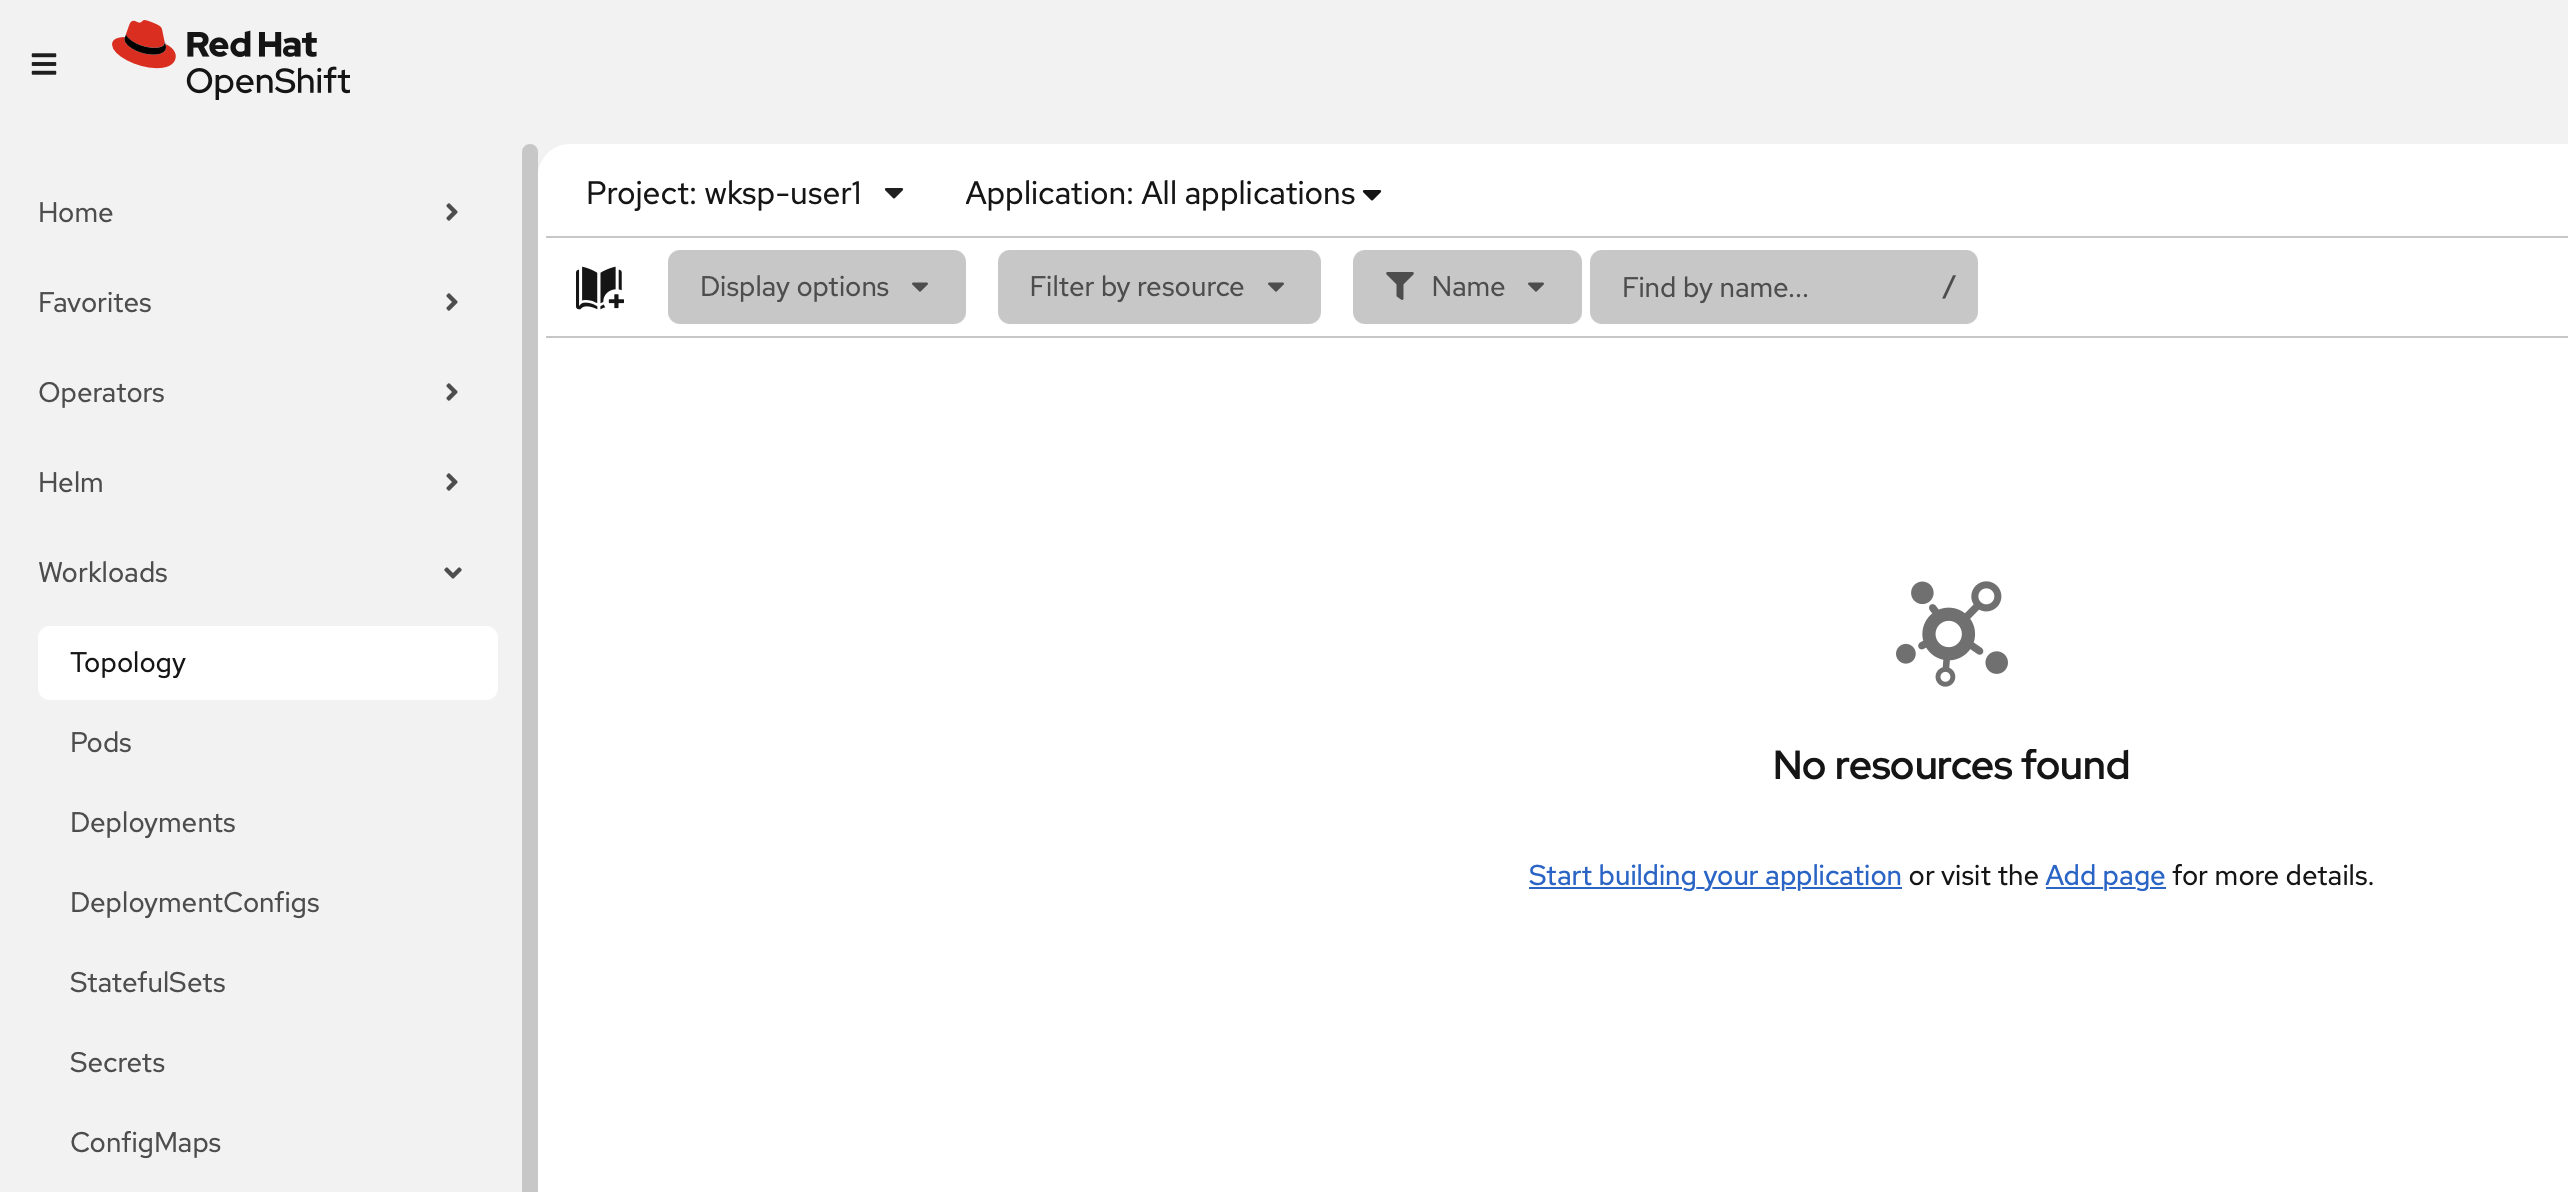
Currently, you won’t see any applications or components since nothing has been deployed yet. As you progress through the workshop, you’ll be able to visualize and interact with your application’s components in this Topology view.
Working with Your Project via the Command Line
You can also interact with your project using the OpenShift CLI, which provides powerful automation capabilities and access to advanced features.
In your web terminal, switch to your project using the following command:
oc project wksp-userXYou should see output similar to the following:
Now using project "wksp-userX" on server "https://api.cluster.example.com:6443"This command sets your current context to work within your assigned project. All subsequent oc commands will operate within this project scope unless you specify otherwise.
Next Steps
Throughout this workshop, you’ll use both the web console and command line interface to deploy and manage applications within your project. The web console provides an intuitive visual interface for common tasks, while the CLI offers powerful automation capabilities for more advanced operations.
Now that you’re familiar with your project and how to access it through both interfaces, you’re ready to start deploying applications!