2.1 Lab Overview & Setup
Now it’s your turn to get hands-on. In this lab, you will deploy the mock ServiceNow API and the Kubeflow Pipeline that ingests its data into our Milvus vector database.
To ensure you can get started quickly, we have pre-created a project for you and deployed some of the necessary components. This section will guide you through connecting to the environment, exploring your project, and running a simple test against the Large Language Model (LLM) provided for this workshop.
Getting Connected
For this workshop, we have provisioned a shared OpenShift Container Platform cluster with Red Hat OpenShift AI deployed on it. Each attendee has a unique user account.
Environment Information
|
If you are viewing these instructions in the deployed lab environment, the values below will be correctly rendered for you. If viewing from a static source like GitHub, placeholder values will appear. |
Username |
|
Password |
|
Login Procedure
-
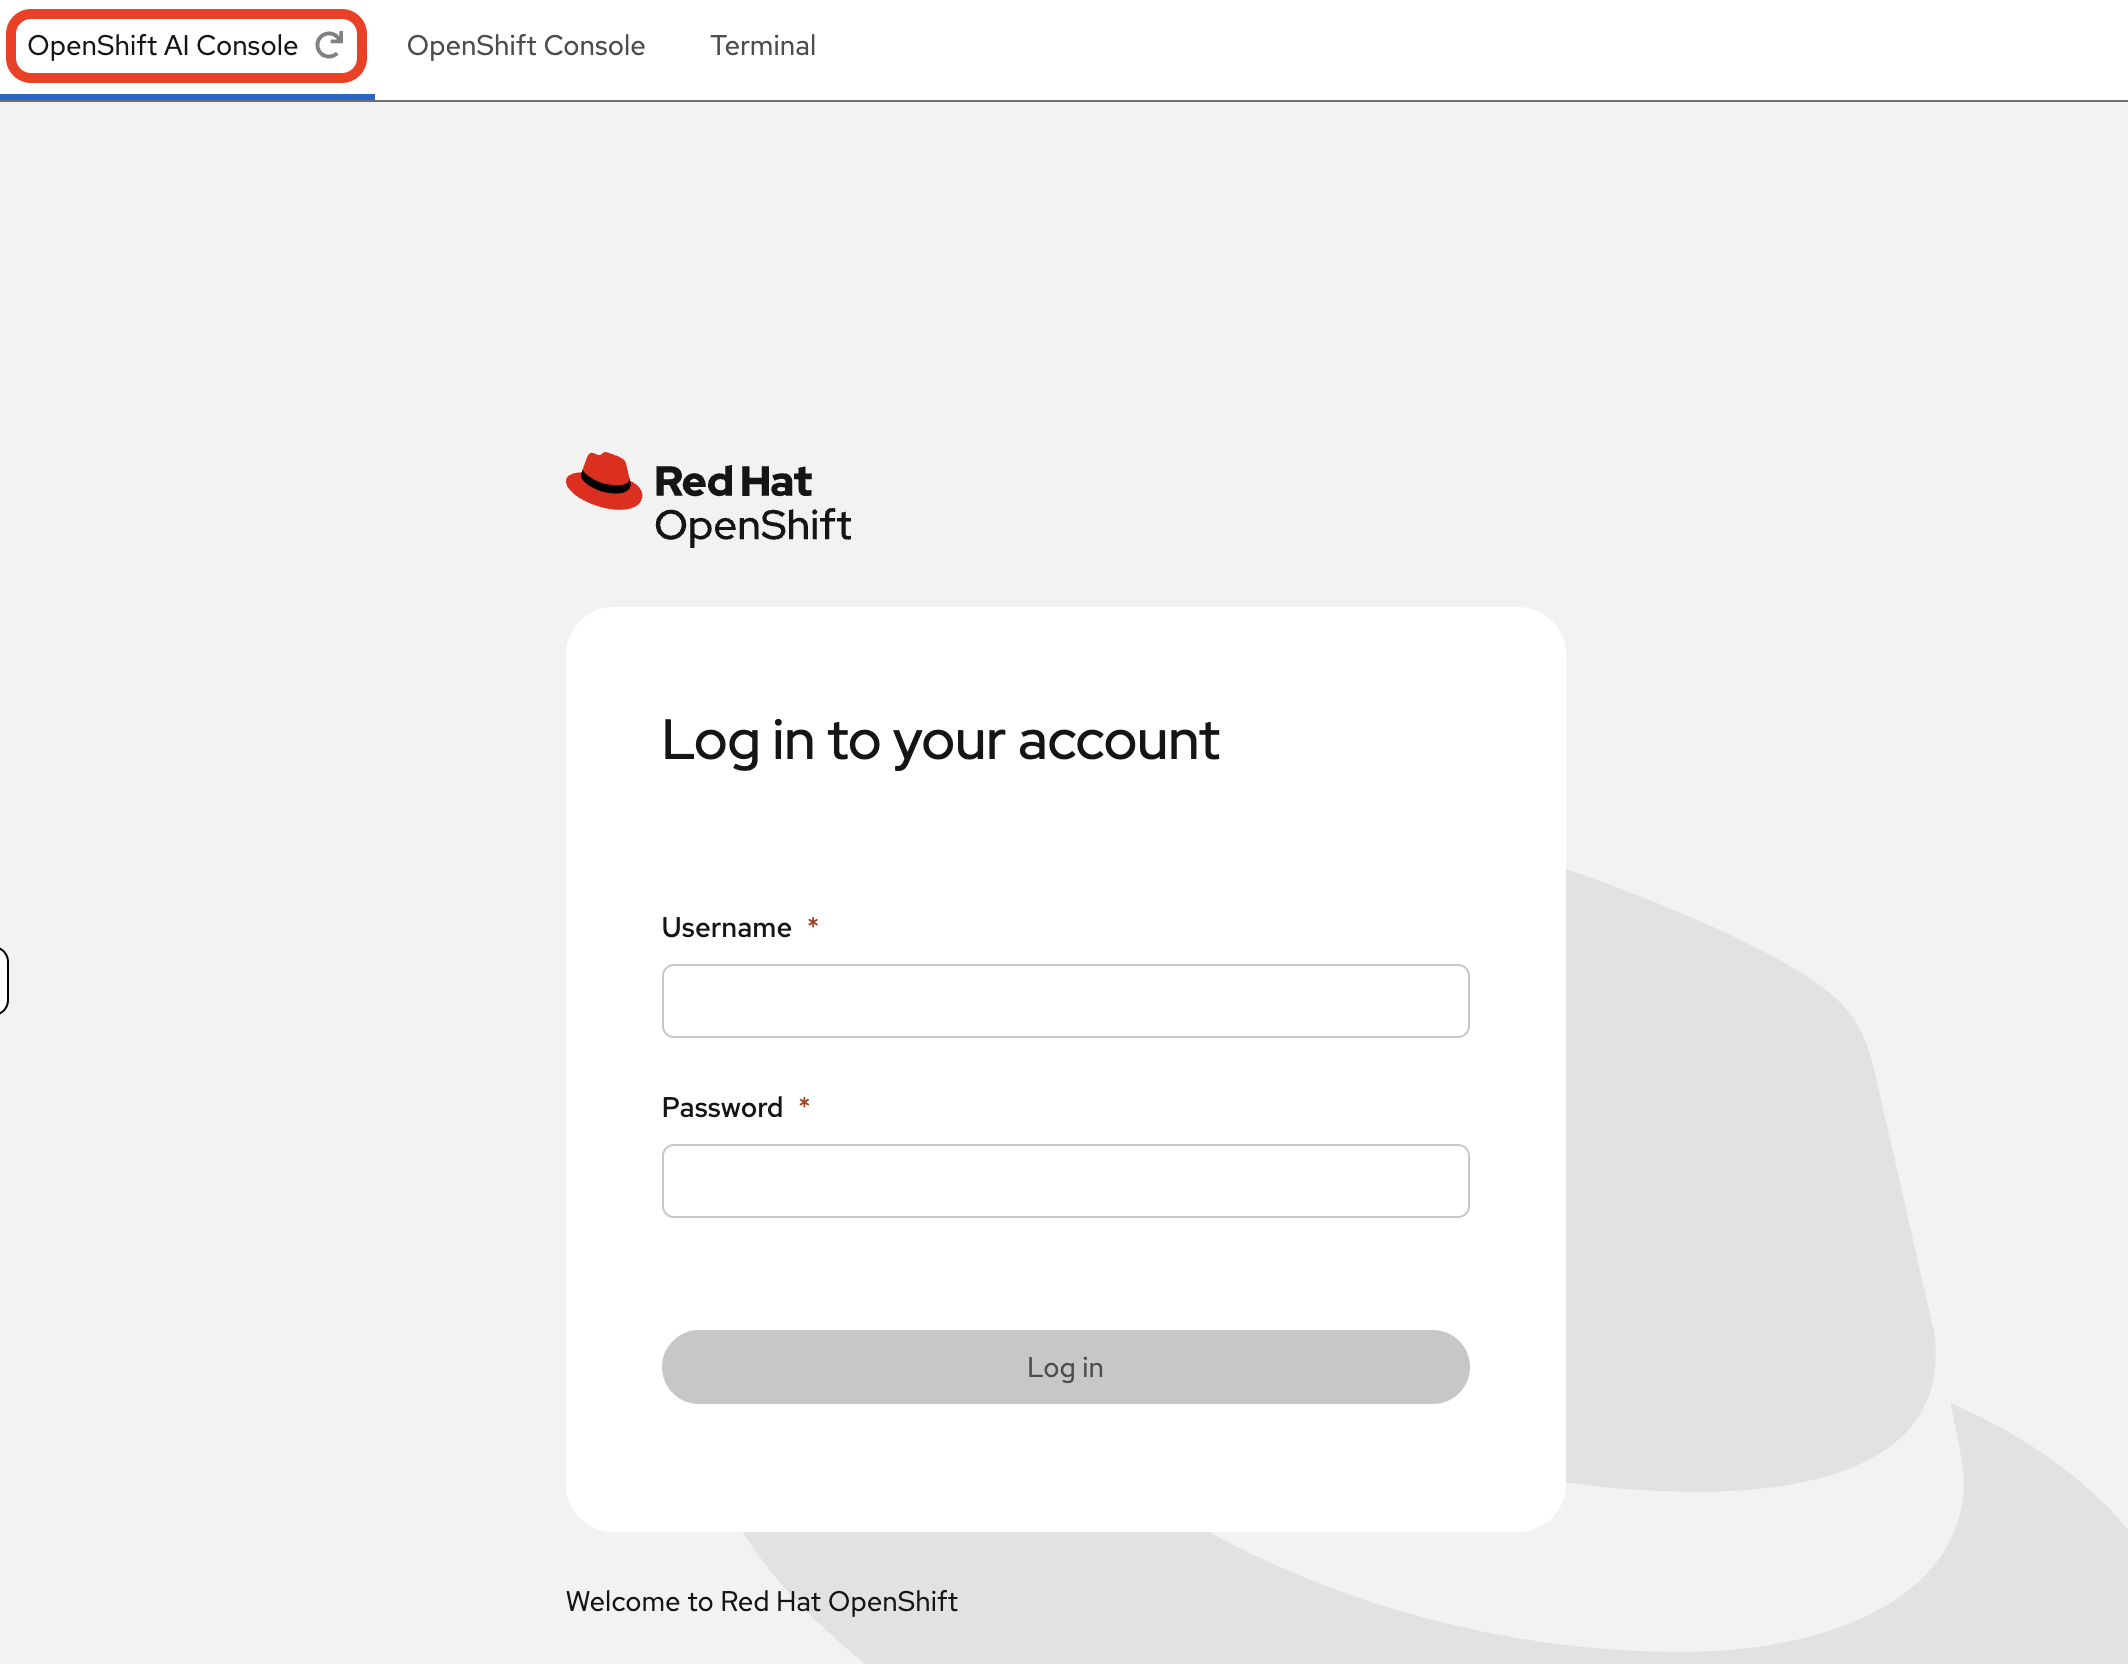
Click the Login with OpenShift button at the OpenShift AI Dashboard.
-
Enter your user credentials (
userXandopenshift) provided above.Your browser might display a security warning. It is safe to ignore this message for the lab environment.
-
After you authenticate, you will land on the OpenShift AI dashboard.
Congratulations, you are now connected!
Reviewing Your Pre-Created Project
A project has been pre-created for you. Let’s take a quick tour.
-
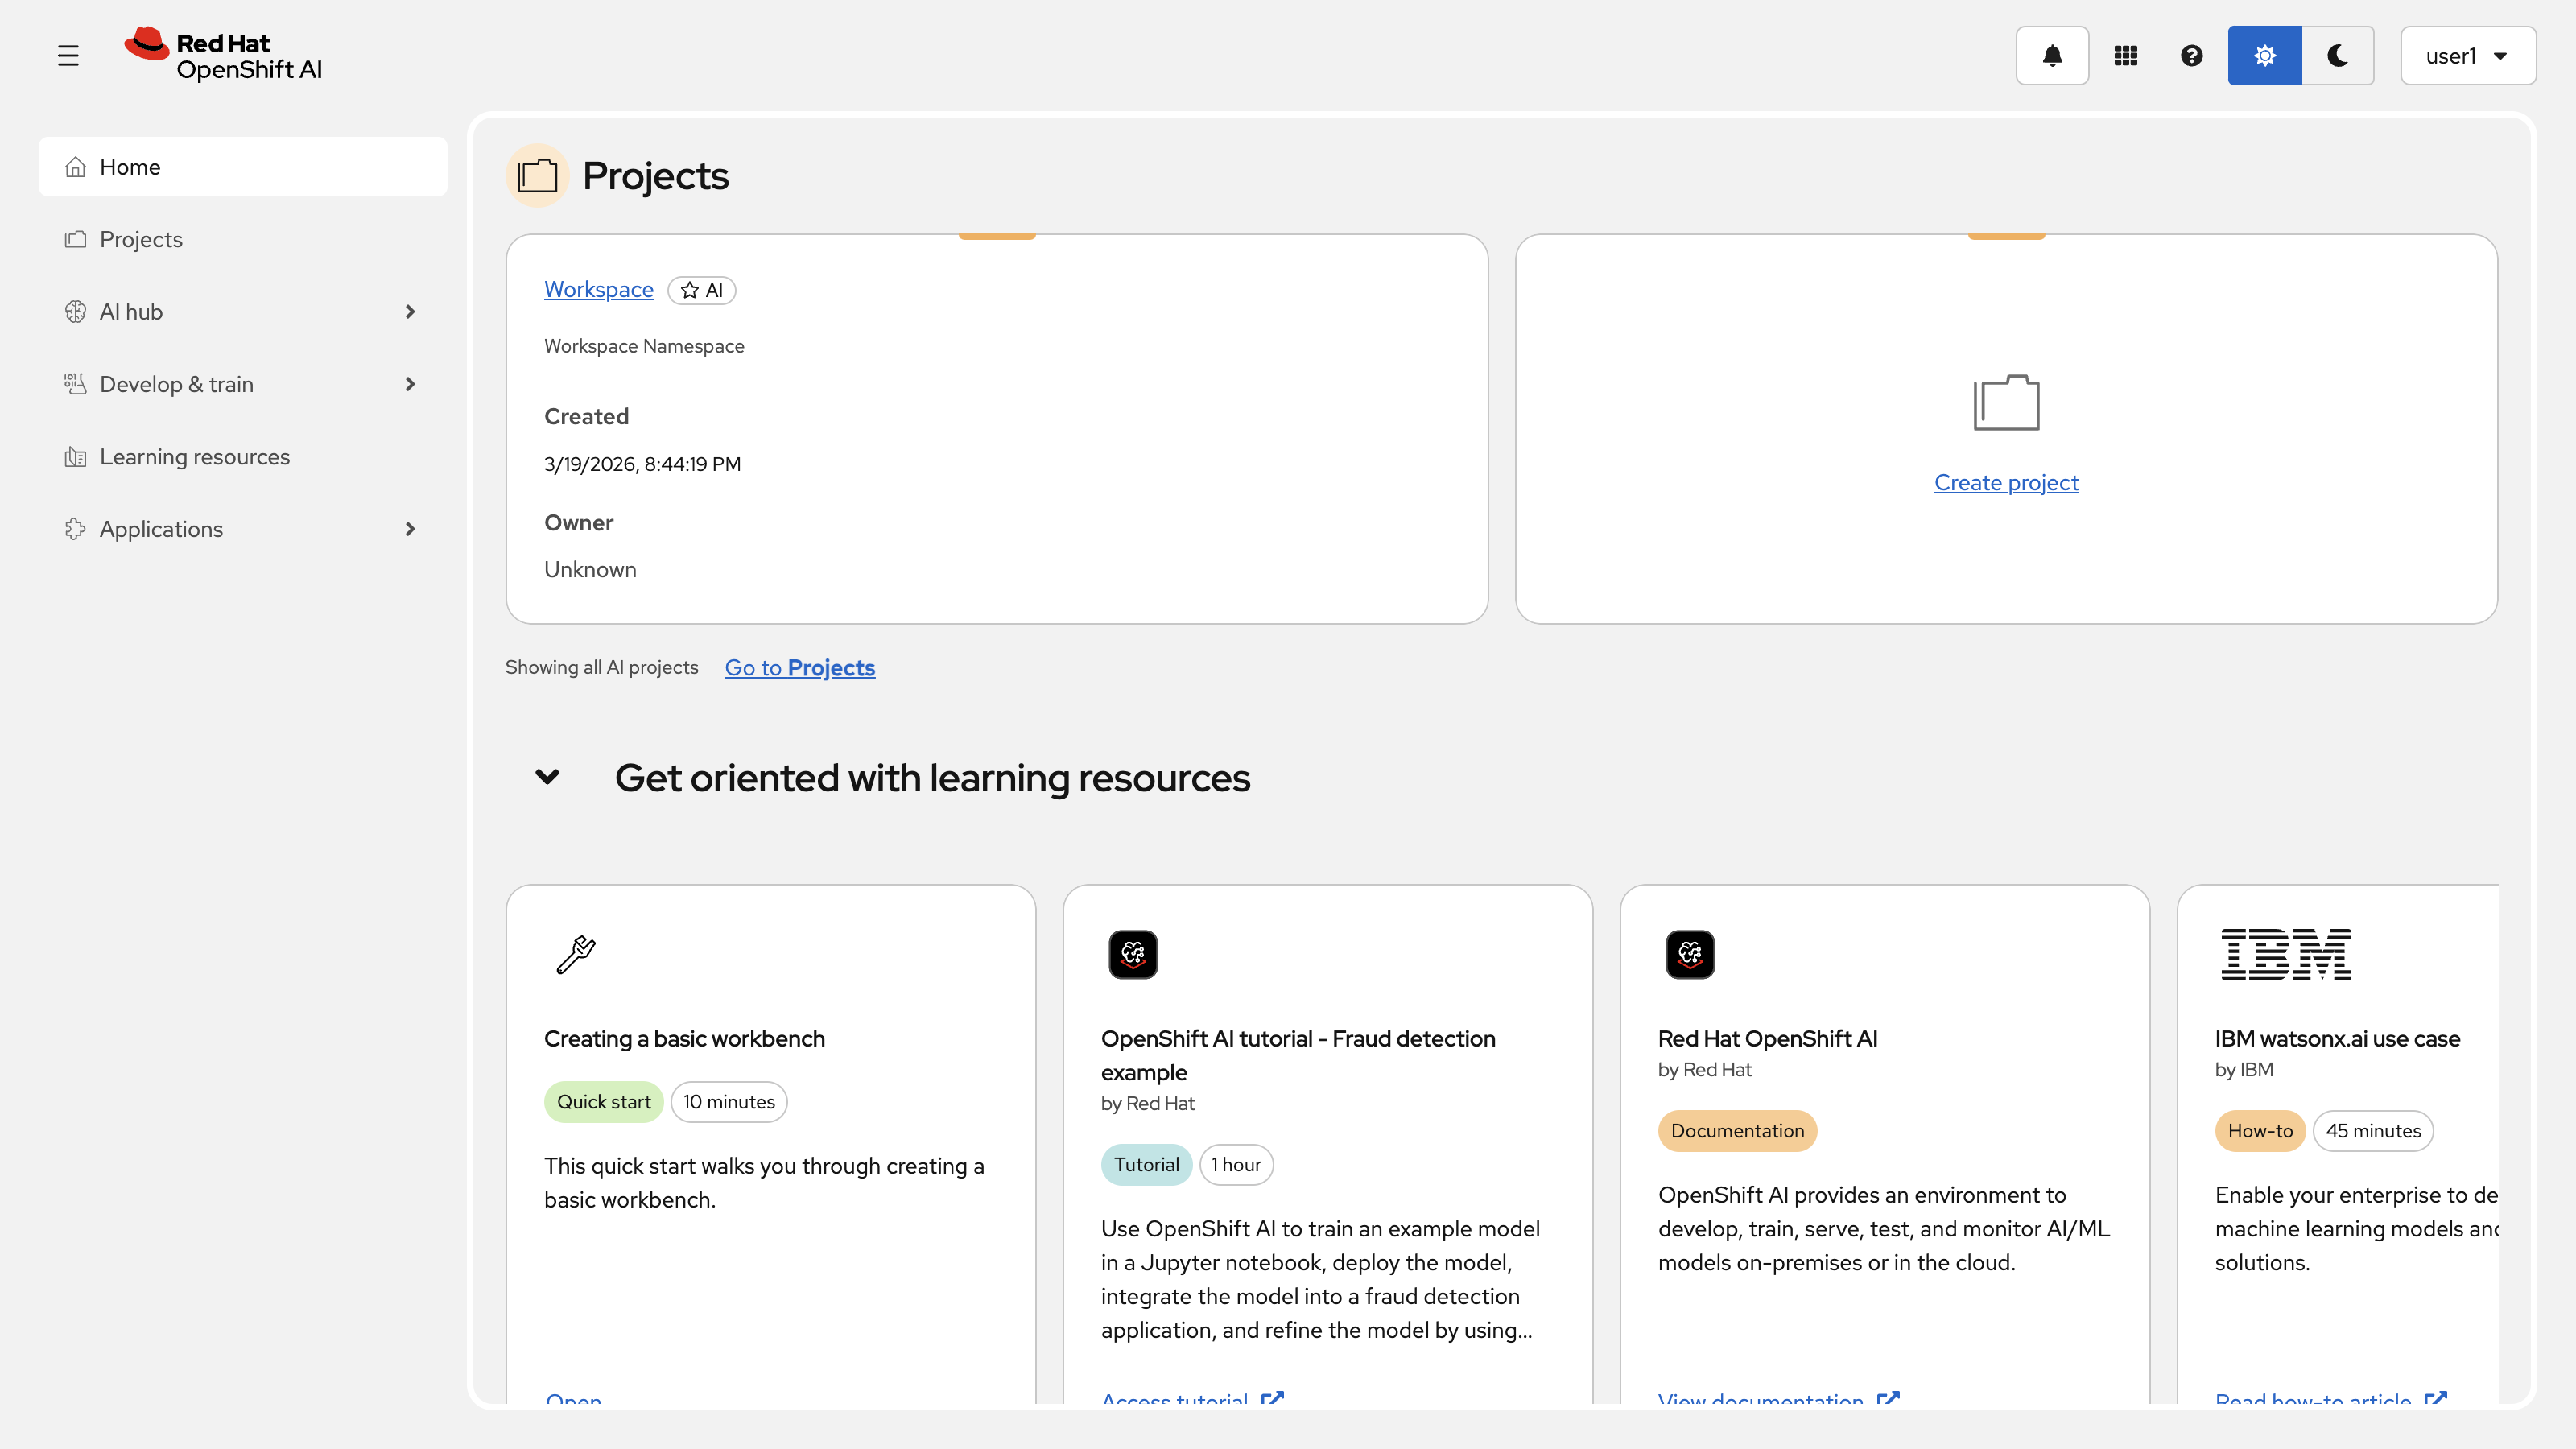
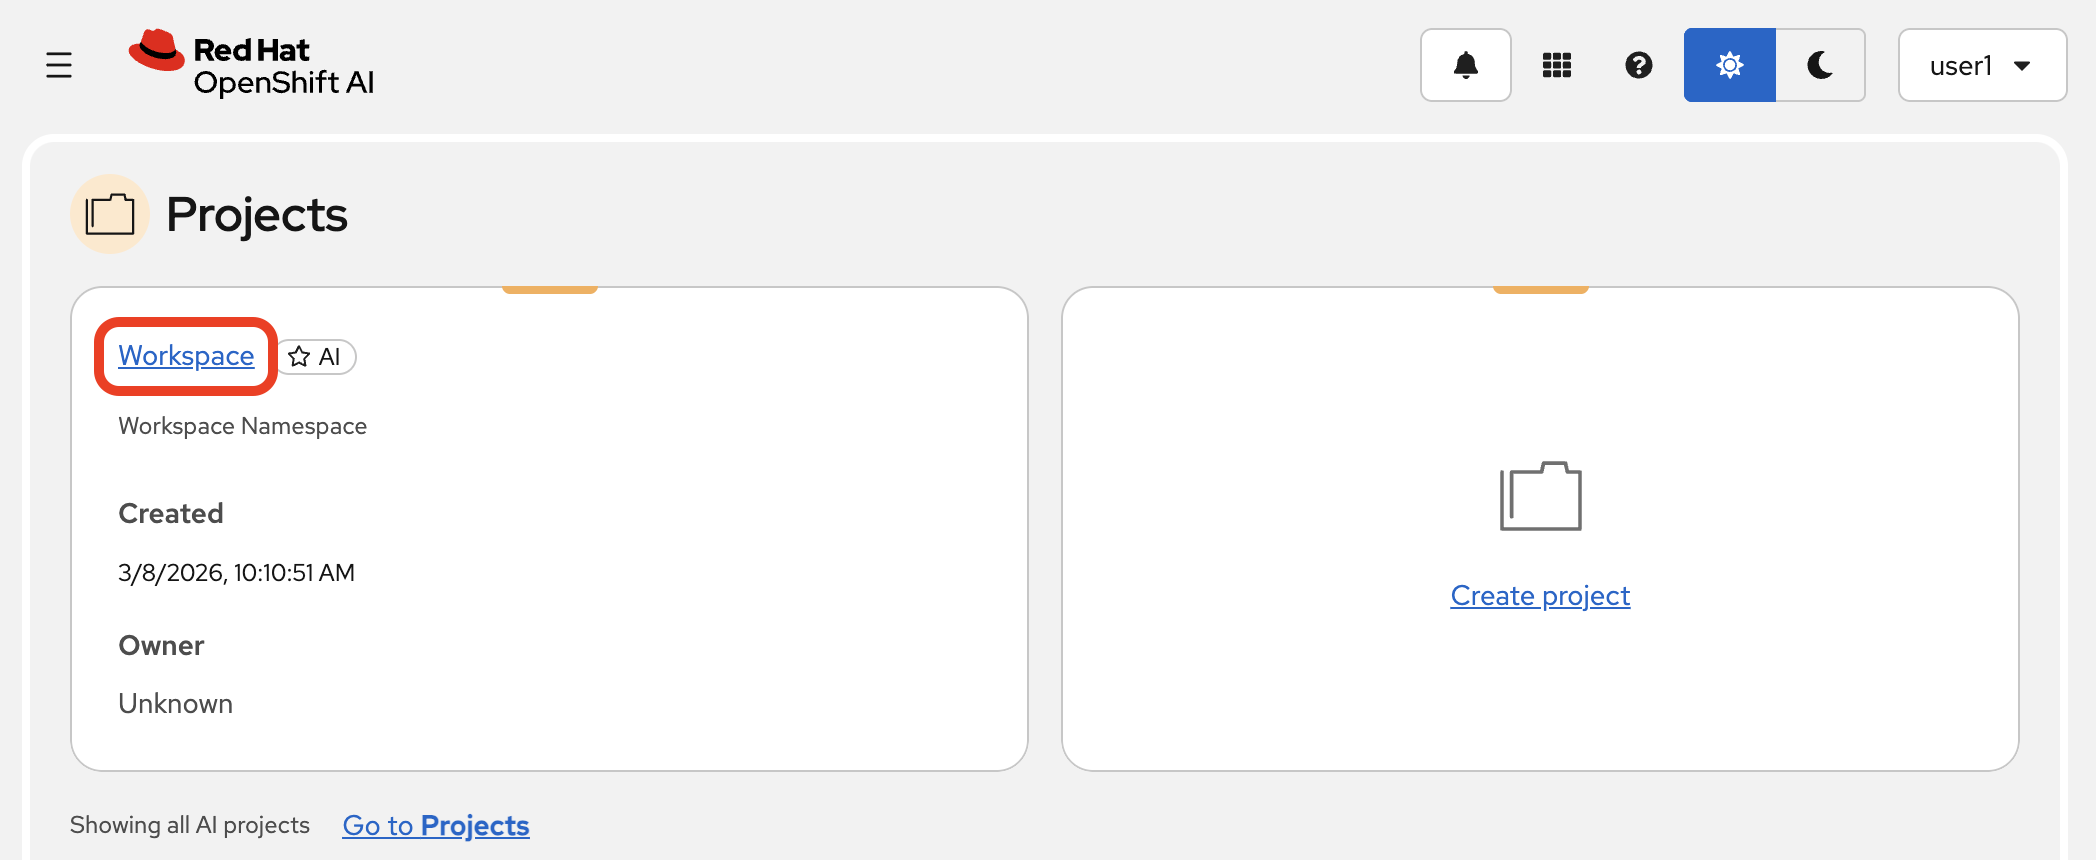
In the Red Hat OpenShift AI Dashboard, navigate to the Projects area and select the default Workspace that’s been created.
-
Inside your project, you will find a pre-configured Jupyter Workbench to perform model testing. Later, you’ll setup a Pipeline and store data in the Cluster storage.

Table 2. Project Components Overview Component Purpose Workbench
Jupyter environment for model testing and development
Pipeline
Data ingestion and processing workflows (to be configured)
Cluster Storage
Persistent storage for data and models
-
These resources are all cloud-native, and to see the running pods for these services, you need to switch to the main OpenShift Console. On the left-hand side of your page, select the OpenShift Console tab.
The console may prompt you to sign in again. Use your credentials:
userX&openshift.
-
First, make sure you have the
userXproject selected from the project dropdown at the top of the console. Then, using the left-hand menu, navigate to Workloads → Pods. Here you can see all the running components, like the Pipeline Server, database, and other pre-configured resources.
Interacting with a Large Language Model
Before we build our RAG pipeline, let’s connect to the local LLM that has been deployed for this workshop and ask it a basic question. This will help you get familiar with interacting with an LLM programmatically from your pre-created Jupyter environment via an OpenAI-compatible API.
|
The LLM service ( |
-
Return to the OpenShift AI Dashboard browser tab and navigate to the Workbenches tab within your project. Launch the workbench (
my-workbench) by clicking on its name.
-
Once JupyterLab opens, use the file browser on the left to navigate to the lab materials folder:
hello-chris-rag-pipeline/lab-content/3.1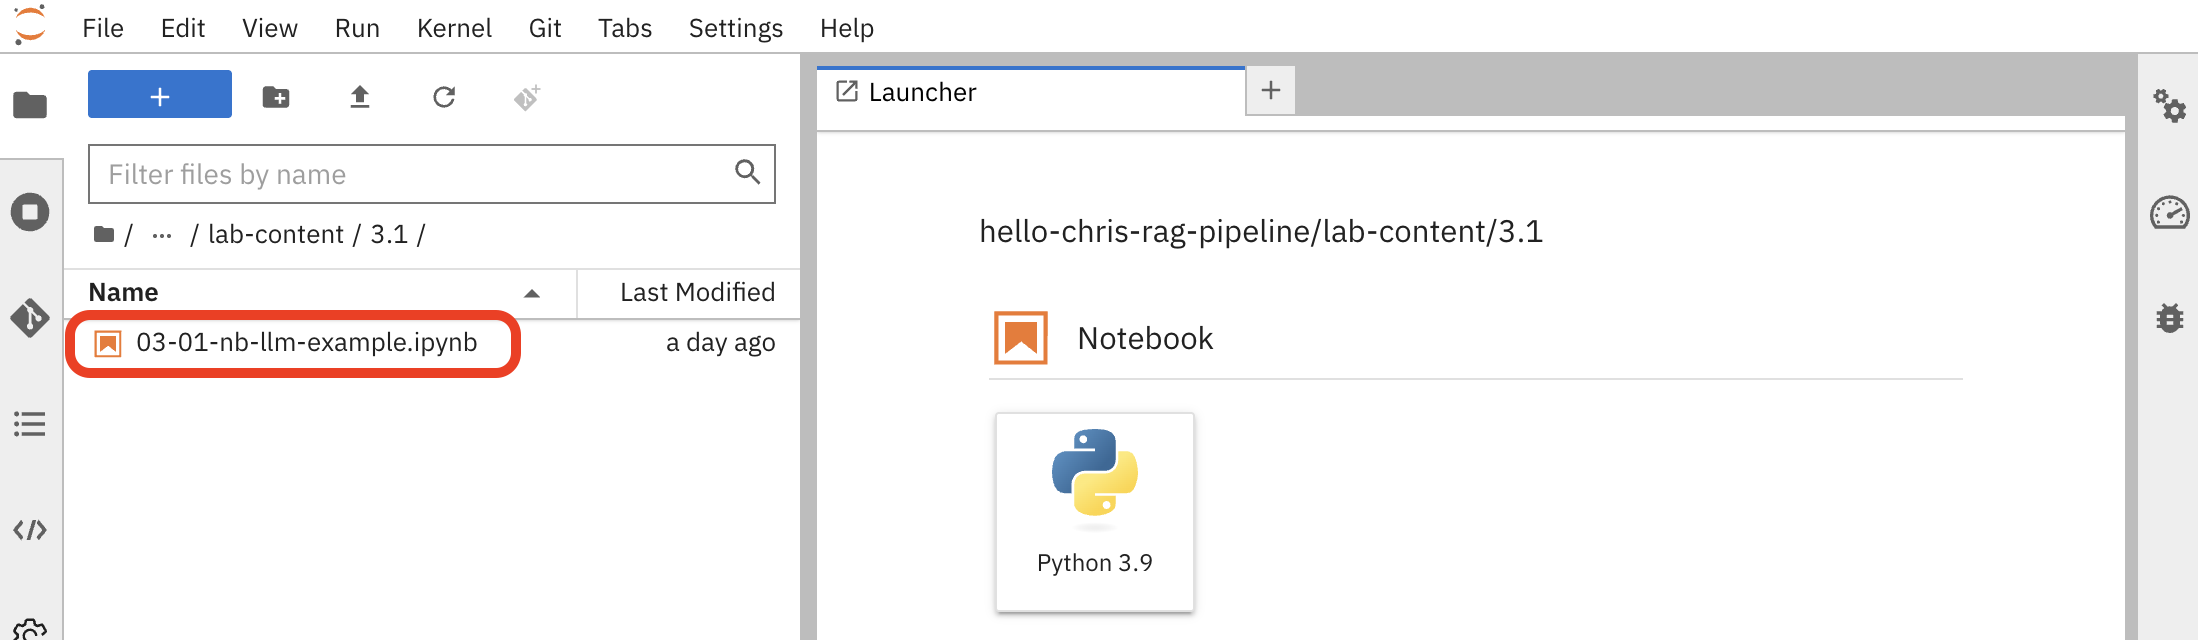
-
Open the notebook named
03-01-nb-llm-example.ipynb. This notebook contains pre-written Python code to connect to and query the LLM.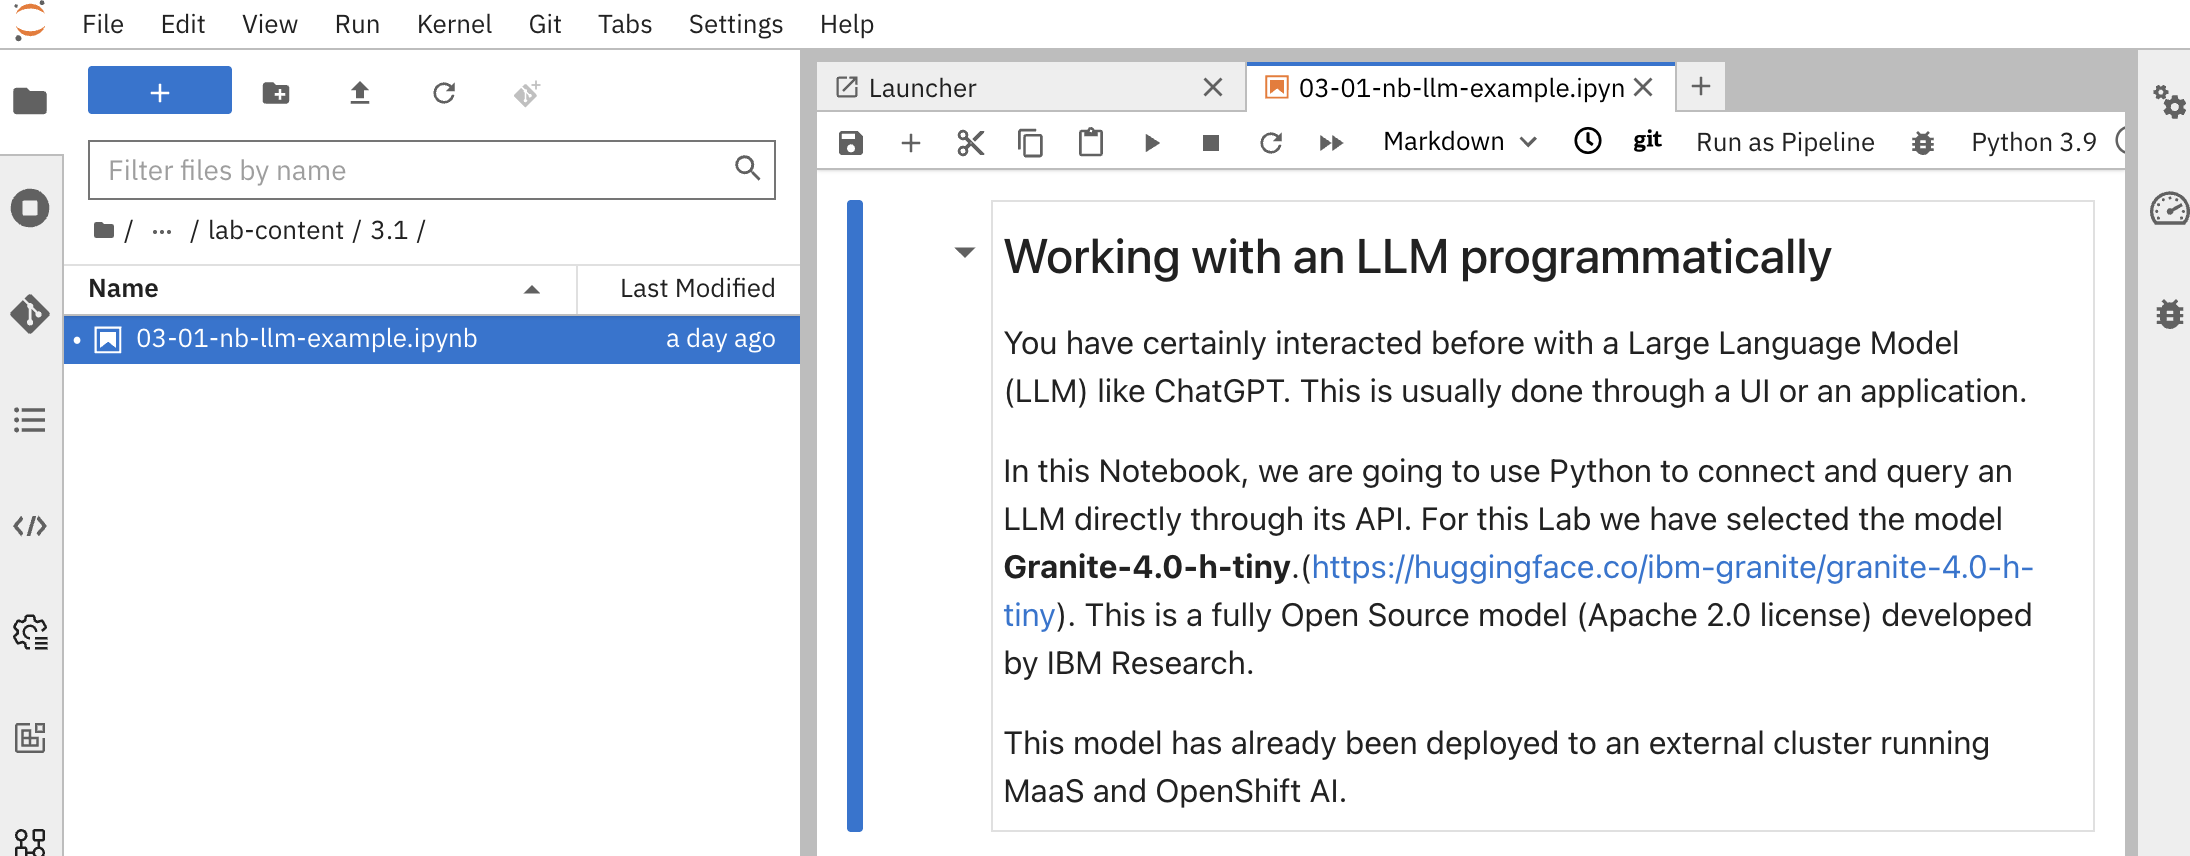
-
Copy your API token into the
openai_api_keyvariable, replacing thePASTE_YOUR_LITELLM_KEY_HEREstring:{litellm_virtual_key} -
Execute the cells in the notebook one by one. Click the play button (▶️) next to each cell or use
Shift+Enterto run them sequentially.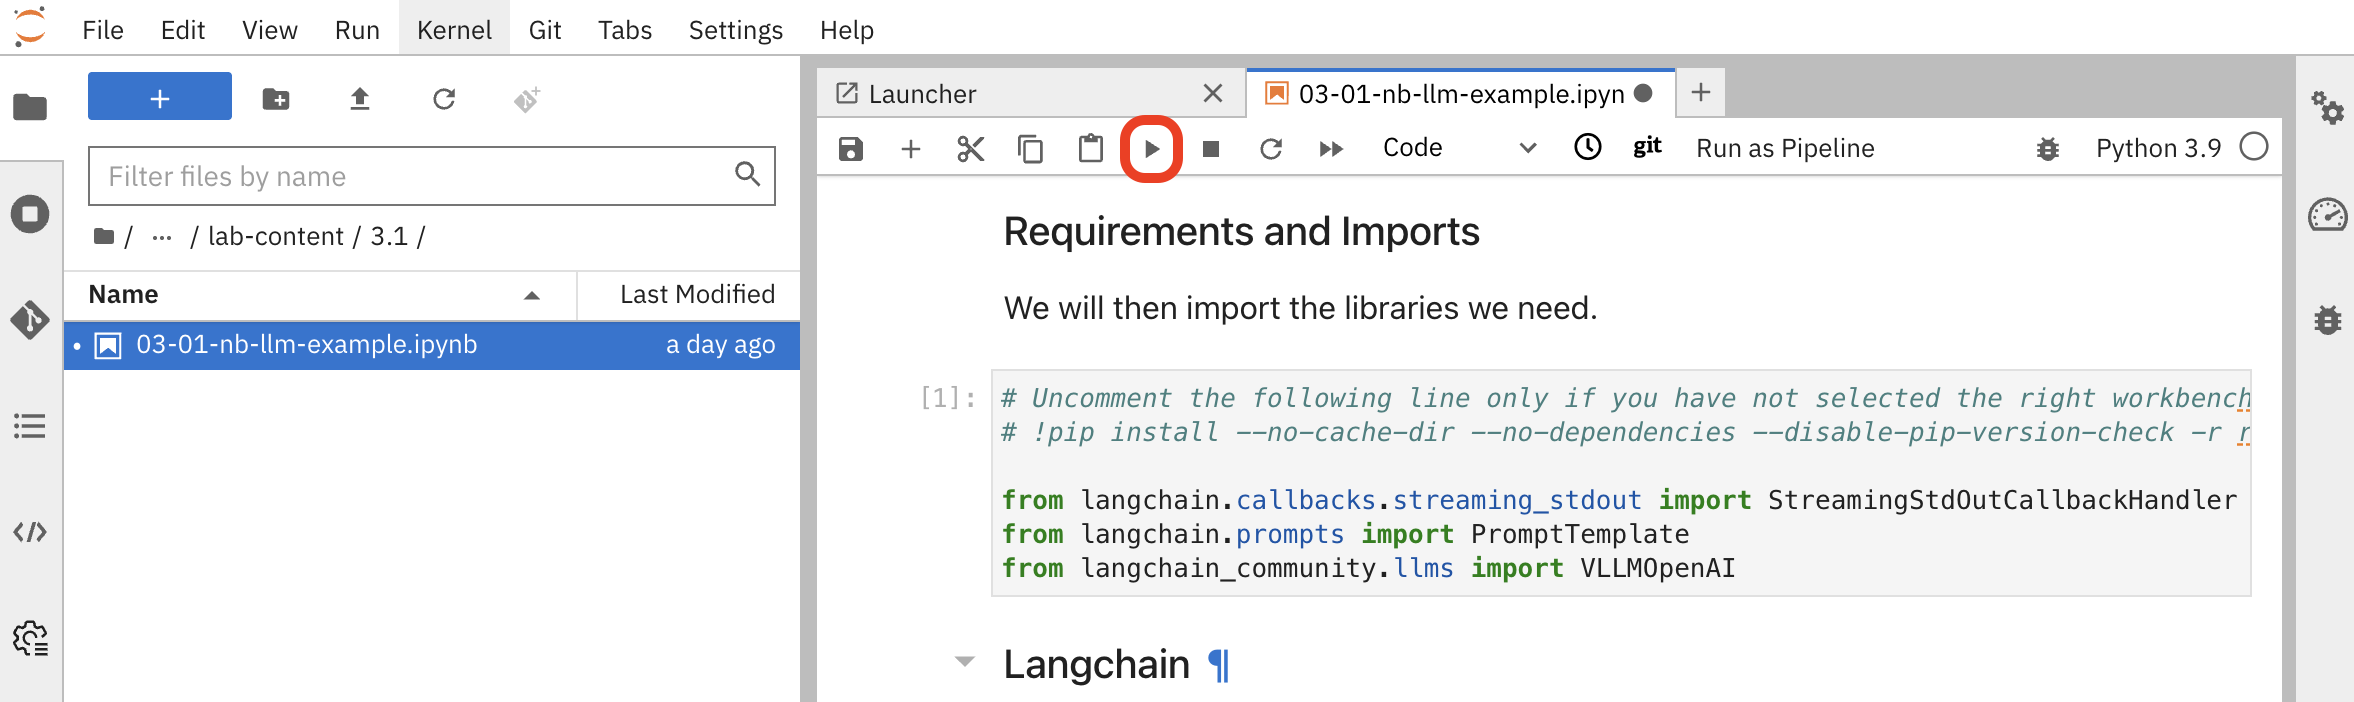
The key cells perform the following actions:
-
Connect to the LLM: This cell defines the connection to the internal service for the granite-4.0-h-tiny model that is running in the cluster.
# LLM Inference Server URL
inference_server_url = "https://litellm-prod.apps.maas.redhatworkshops.io" (1)

# LLM definition using a client that speaks the OpenAI API format
llm = VLLMOpenAI(
    openai_api_key="{litellm_virtual_key}", (2)
    openai_api_base=f"{inference_server_url}/v1", (3)
    model_name="granite-4.0-h-tiny", (4)
    # ... other parameters
)
1 Internal Kubernetes service URL for the LLM inference server 2 Your personal API token ( {litellm_virtual_key}) injected at runtime3 OpenAI-compatible API endpoint format 4 Specific model identifier for the deployed Granite model -
Define the Prompt: This cell creates a prompt template that instructs the LLM how to behave and formats the user’s question.
template="""<|system|>
You are a helpful, respectful and honest assistant. (1)
<|user|>
### QUESTION:
{input} (2)
### ANSWER:
<|assistant|>
"""
prompt = PromptTemplate(input_variables=["input"], template=template) (3)
1 System message defining the assistant’s behavior 2 Placeholder for user input that will be dynamically replaced 3 LangChain PromptTemplate object for structured prompt formatting -
Ask a Question: The final cell defines a question and sends it to the LLM. You should see the answer streamed back directly in the notebook output.
Watch for the cell execution indicator
[*]which shows when a cell is running, and[number]when it completes successfully.
-
Summary
-
Explored the pre-configured Data Science Project: workbench, pipeline server, and cluster storage provisioned per user
-
Switched between the Red Hat OpenShift AI Dashboard (ML-focused) and the OpenShift Container Platform Console (infrastructure-focused) to view the same resources from different perspectives
-
Queried a Granite LLM via the OpenAI-compatible
/v1/chat/completionsAPI — the same interface the RAG chain will use later