2.8 Querying the RAG System
Now that your pipeline has successfully fetched the ServiceNow data, generated embeddings, and populated the Milvus vector database, you are ready to test the system.
In this final exercise, you will act as an IT support engineer and ask a question in natural language. The system will use the knowledge from the ServiceNow tickets stored in Milvus to provide a helpful, context-aware answer.
What is Retrieval-Augmented Generation (RAG)?
An LLM is a very capable tool, but its knowledge is limited to the public data it was trained on. It doesn’t know about Parasol Insurance’s internal IT procedures, past incident resolutions, or specific server names.
Retrieval-Augmented Generation (RAG) solves this problem. Instead of retraining the model, we provide it with relevant, up-to-date information at the time we ask a question.

Here’s how it works:
-
When you ask a question, we first search our Milvus vector database for past incident tickets that are semantically similar to your question.
-
We "retrieve" the most relevant resolutions from those tickets.
-
We then "augment" our prompt to the LLM by including this retrieved context along with your original question.
-
The LLM uses this specific context to generate a precise, helpful answer based on our company’s own data.
This technique is powerful because you can continuously update the knowledge base (by running your data ingestion pipeline) without ever having to modify or retrain the LLM itself.
Querying Milvus from a Notebook
-
Navigate back to the Red Hat OpenShift AI Dashboard and launch your pre-created Jupyter Workbench (named "My Workbench"), or switch to it if it is already open.
-
Once JupyterLab has started, use the file browser on the left to navigate to the lab materials folder. The path is:
hello-chris-rag-pipeline/lab-content/3.8 -
Open the notebook named
03-08-retrieval-augmented-generation.ipynb. -
Follow the instructions in the notebook by executing the cells one by one. The notebook will guide you through the following steps.
Press the play button each time to step through each block and run the code.
Notebook Step 1: Imports
The first cells import the necessary libraries (LangChain, HuggingFace, Milvus). Simply run them to load the dependencies.
Notebook Step 2: Defining the LLM
Next, the notebook configures the connection to the LLM via the external LiteLLM MaaS endpoint.
|
You will need to paste your API token into the |
{litellm_virtual_key}inference_server_url = "https://litellm-prod.apps.maas.redhatworkshops.io"
llm = VLLMOpenAI(
openai_api_key="{litellm_virtual_key}", # <-- Paste your key here
openai_api_base=f"{inference_server_url}/v1",
model_name="granite-4-0-h-tiny",
top_p=0.92,
temperature=0.01,
max_tokens=512,
presence_penalty=1.03,
streaming=True,
callbacks=[StreamingStdOutCallbackHandler()]
)Notebook Step 3: Connecting to Milvus
The next cells connect to the Milvus vector database that your pipeline populated, using the same embedding model (all-MiniLM-L6-v2) and collection (servicenow_incidents) from the ingestion pipeline.
embeddings = HuggingFaceEmbeddings(
    model_name="all-MiniLM-L6-v2",
    model_kwargs={'device': 'cpu'},
)

vector_db = Milvus(
    embedding_function=embeddings,
    connection_args={"host": "vectordb-milvus", "port": "19530"},
    collection_name="servicenow_incidents",
    vector_field="embedding",
    text_field="resolution_notes"
)

retriever = vector_db.as_retriever(search_kwargs={"k": 3})
Notebook Step 4: Understanding the Two-Step RAG Process
The notebook will now show you the RAG process broken down into two distinct steps to help you understand how the answer is determined.
Step 1: Retrieval - Finding Relevant Documents
First, you’ll see what happens during the retrieval step by manually searching the vector database:
query = "A user is reporting that an application is not loading and showing an error page"

retrieved_docs = retriever.get_relevant_documents(query)

for i, doc in enumerate(retrieved_docs, 1):
    print(f"Document {i}:")
    print(f"   Incident ID: {doc.metadata.get('incident_pk', 'N/A')}")
    print(f"   Description: {doc.metadata.get('short_description', 'N/A')}")
    print(f"   Resolution: {doc.page_content[:200]}...")
This step shows you exactly which incident tickets were found to be most similar to your query based on vector similarity search.
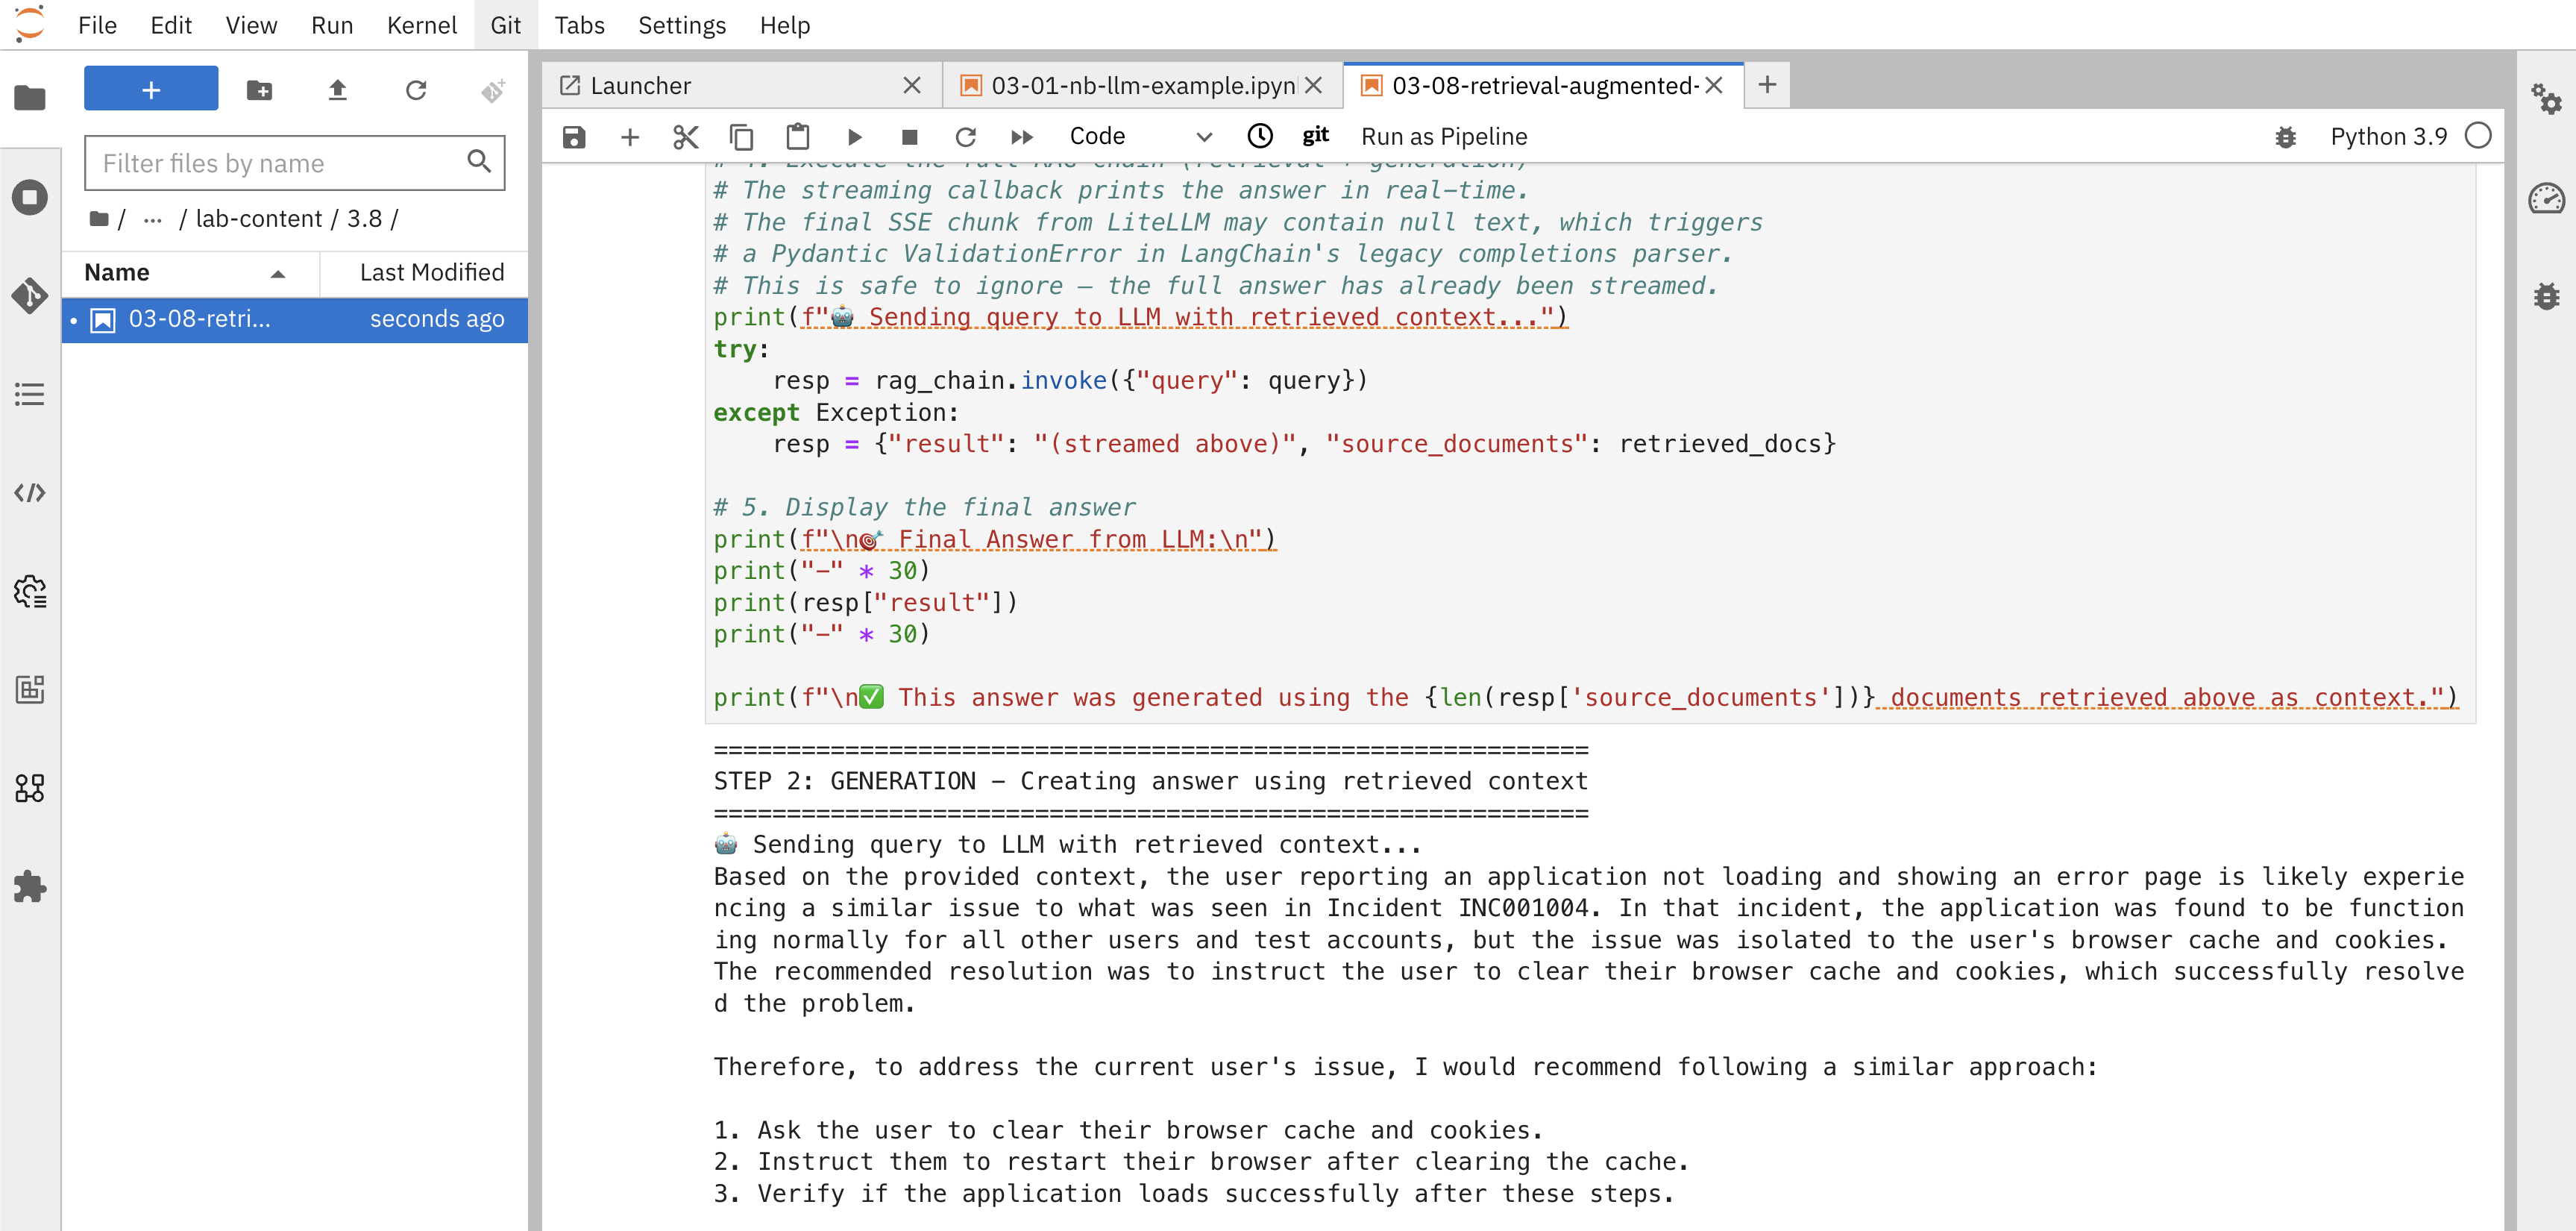
Step 2: Generation - Using Retrieved Context
Next, you’ll see how the LLM uses these retrieved documents as context to generate an answer. The notebook defines a prompt template and a document_prompt that formats each retrieved incident with its ID, description, and resolution notes, then passes everything to the LLM via a RetrievalQA chain:
rag_chain = RetrievalQA.from_chain_type(
    llm=llm,
    chain_type="stuff",
    retriever=retriever,
    chain_type_kwargs={"prompt": prompt, "document_prompt": document_prompt},
    return_source_documents=True,
)

resp = rag_chain.invoke({"query": query})
The output will show:
-
The retrieved documents: The top-3 most relevant incident tickets found in the vector database
-
The streamed answer: A response generated by the LLM in real time using those documents as context
-
Clear connection: How the retrieved documents directly informed the LLM’s answer
Understanding What You Just Accomplished
You’ve now experienced the complete RAG process broken down into its two main components:
-
Retrieval: The system searched the Milvus vector database and found the most semantically similar documents to your query using vector embeddings.
-
Generation: The LLM used those retrieved documents as context to generate a specific, relevant answer based on your company’s actual incident data.
This transparent two-step process demonstrates:
-
How vector similarity works: You can see exactly which documents were considered most relevant to your query
-
Context-aware generation: The LLM’s answer is grounded in real, specific incident data from your organization
-
Transparency: You understand exactly where the answer came from and can validate its accuracy
-
Updatable knowledge: New incidents added to Milvus are immediately available for future queries without retraining the model
For Parasol Insurance, this means support engineers can now ask complex questions and receive answers based on the collective knowledge from thousands of past incident tickets, with full visibility into how those answers were derived.
Summary
-
Ran a similarity search against the Milvus collection and inspected the most relevant incident documents returned
-
Executed a Retrieval-Augmented Generation chain that feeds retrieved context into the Granite LLM to produce a grounded answer
-
Closed the loop on the full RAG system: ServiceNow data → Kubeflow Pipeline → vector embeddings in Milvus → LLM-generated answers