2.5 Importing the Data Science Pipeline
Now that the mock API and Milvus database are running, we need to import the pipeline that connects them. A Kubeflow Pipeline can be defined in Python and then compiled into a static YAML file. This file contains the complete, portable definition of the pipeline’s components and logic.
For this lab, the pipeline has already been compiled for you and is available within your pre-created workbench. Your task is to download this file and then import it into the Red Hat OpenShift AI Pipelines server.
Pipeline Import Procedure
Step 1: Download the Pipeline File from Your Workbench
First, we need to get the pipeline definition file from your Jupyter environment.
-
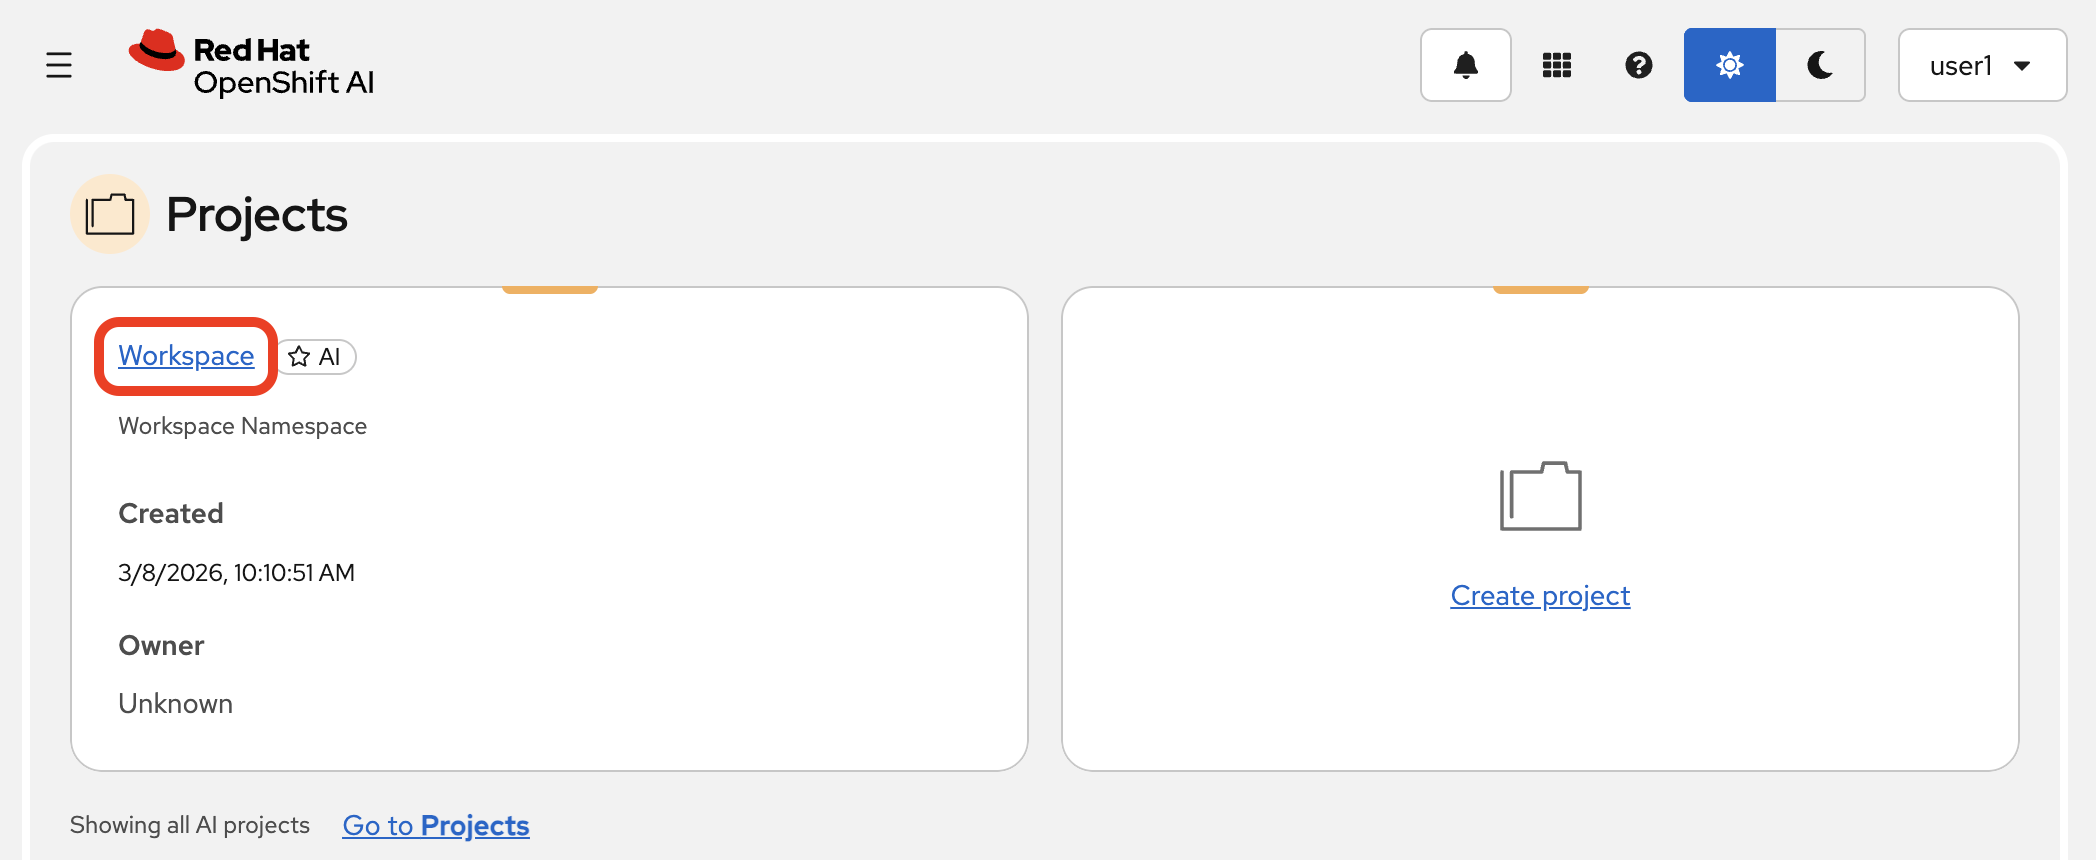
Navigate back to the Data Science Projects page in the Red Hat OpenShift AI Dashboard and open your project.
-
Go to the Workbenches tab and launch your workbench (named "My Workbench") by clicking on its name, or switch to it if it is already open.

-
Once JupyterLab opens, use the file browser on the left to navigate to the following path:
hello-chris-rag-pipeline/lab-content/3.5/ -
Inside this directory, you will find the file
api_to_milvus_pipeline.yaml. Right-click on the file and select Download from the context menu. This will save the file to your local computer (likely in your "Downloads" folder).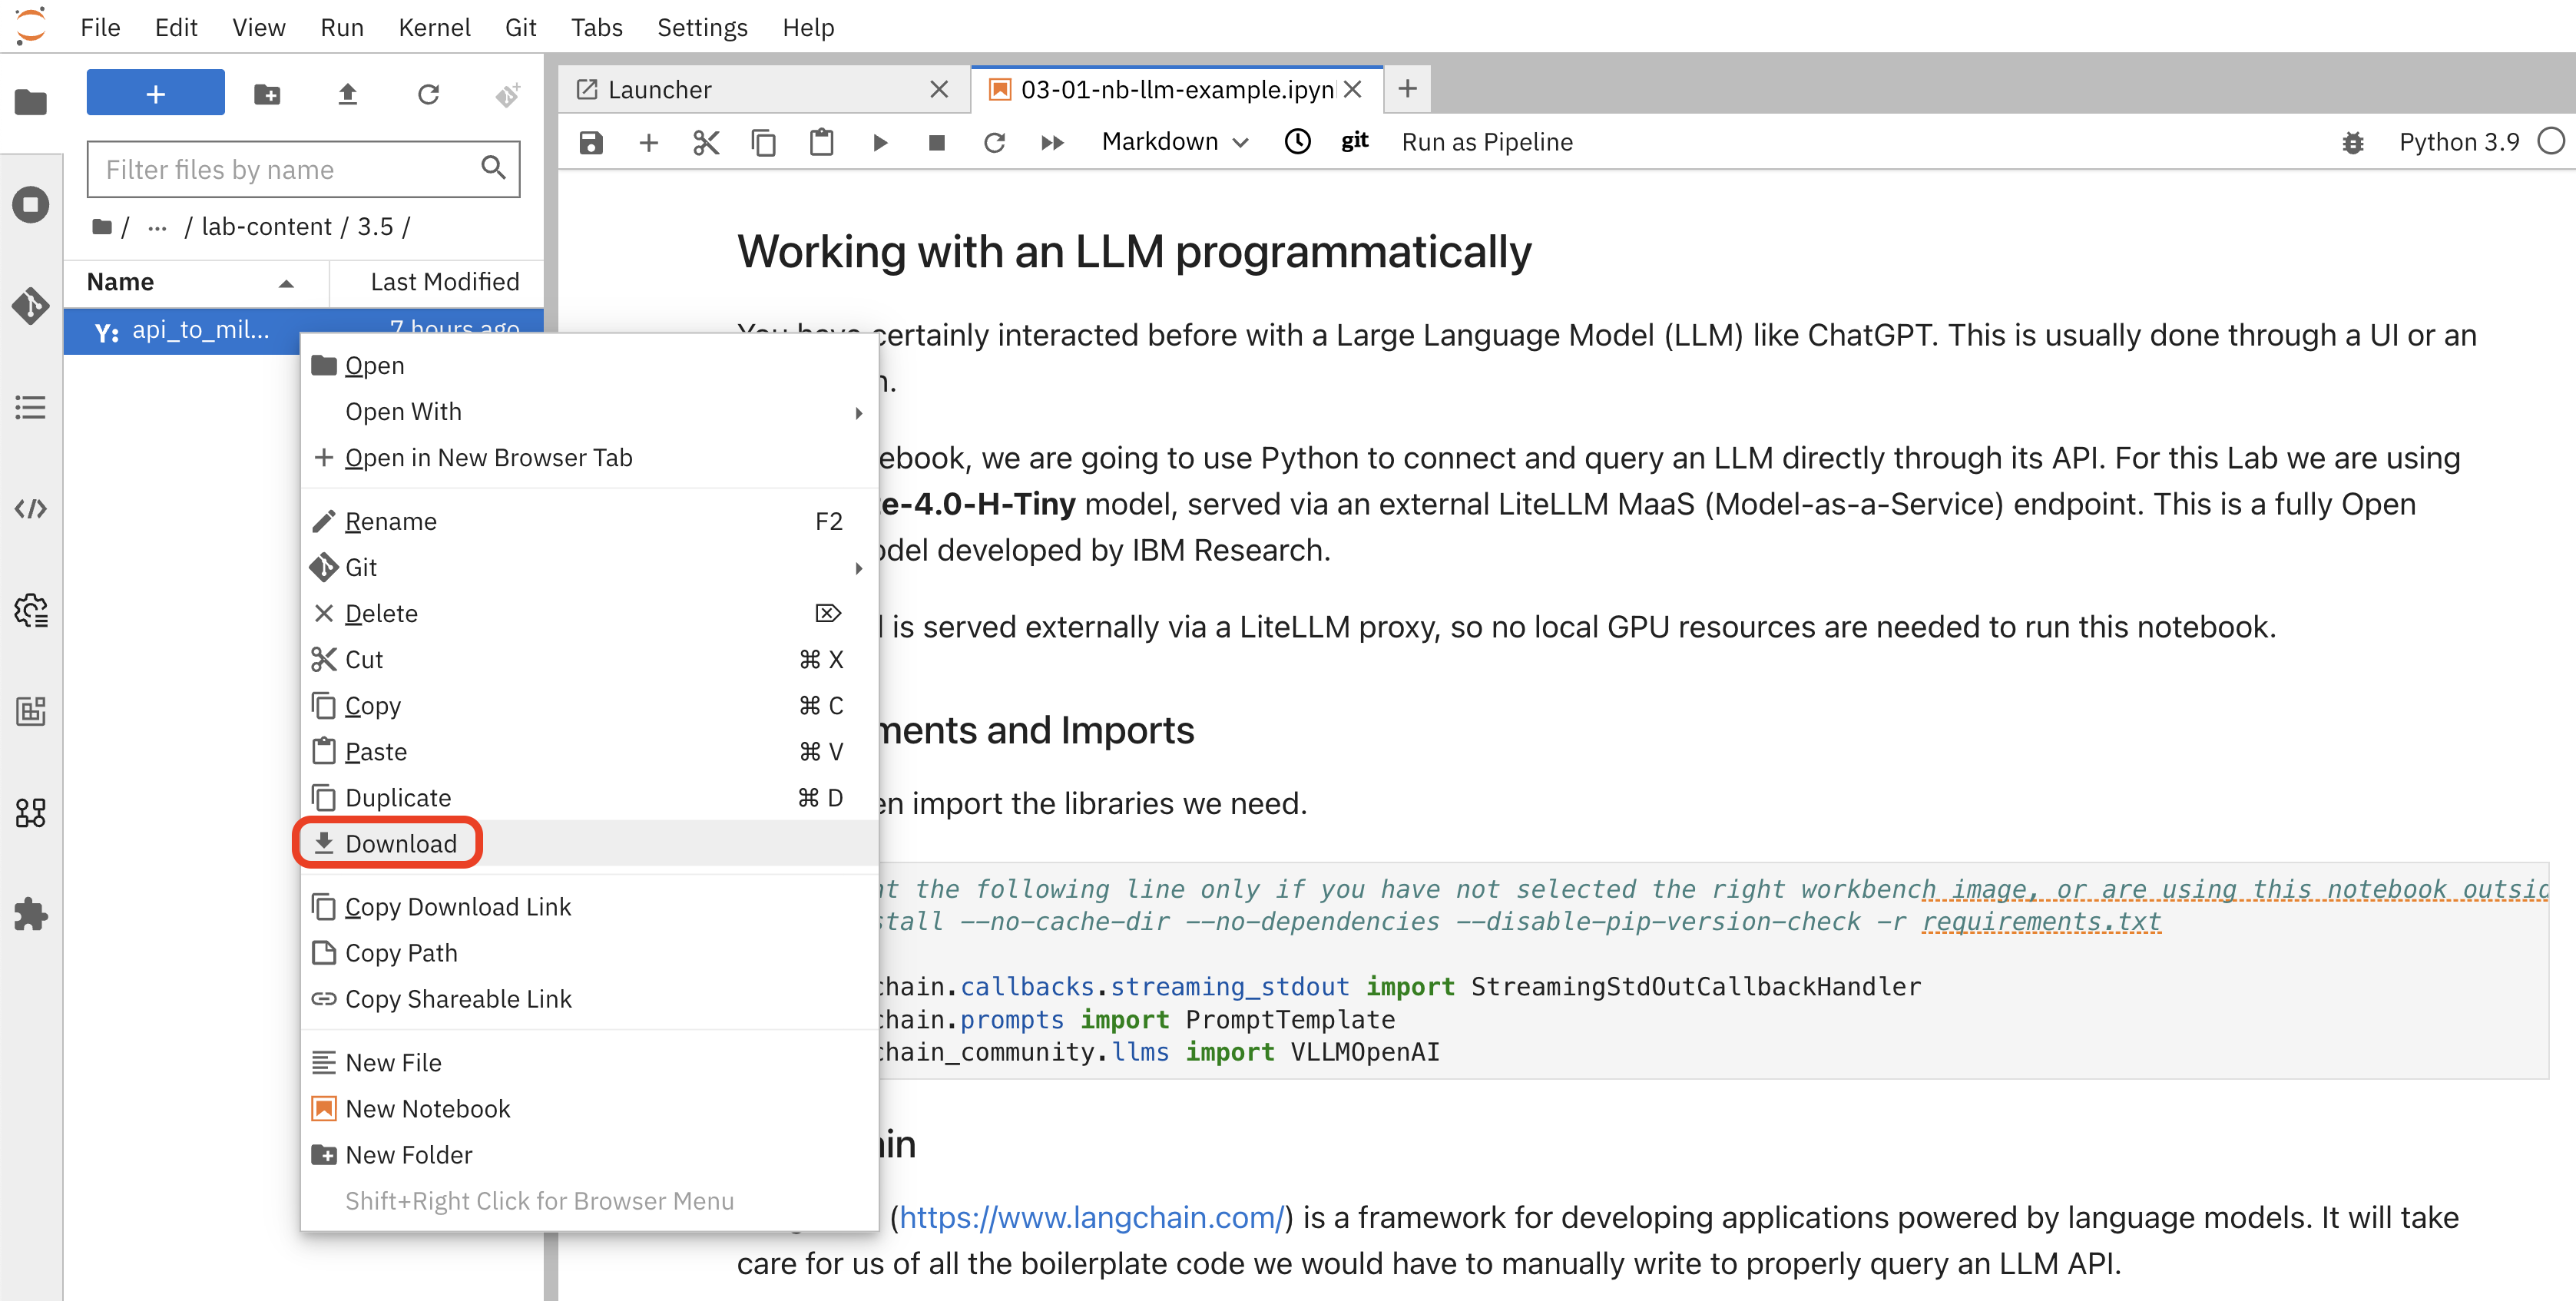
-
You can now close the JupyterLab browser tab.
Step 2: Import the Pipeline into OpenShift AI
Now, let’s upload the file you just downloaded.
-
In the Red Hat OpenShift AI Dashboard, navigate to the Pipelines section within your Data Science Project.

-
Click the Import pipeline button.
|
In the "Import pipeline" dialog, ensure the Upload a file option is selected. |
-
Give your pipeline a name. For consistency, please use the name below:
ServiceNow Ticket Ingestion -
(Optional) You can add a description, such as:
A pipeline to fetch closed ServiceNow incidents and ingest them into a Milvus vector database. -
Click the Upload box and select the
api_to_milvus_pipeline.yamlfile that you just downloaded to your local machine. -
After selecting the file, your dialog should look like this. Click the Import pipeline button to finish.

Once imported, the pipeline details view will show the graph of the workflow:

With the pipeline successfully imported, we are now ready to create a run and process the data.
Summary
-
Downloaded a compiled pipeline YAML from your workbench — a self-contained, portable definition of the two-component workflow
-
Imported it into the Red Hat OpenShift AI pipeline server so it is registered and runnable from both the dashboard and the API
-
The pipeline bridges the mock API and Milvus: it will fetch incidents, generate vector embeddings, and insert them into a collection