2.2 Deploying the Mock ServiceNow API
In this section, you will deploy the mock ServiceNow API into your project namespace.
The deployment is declared as an ArgoCD Application manifest, which instructs the GitOps operator to pull the application source from a Git repository and continuously reconcile the live state of the cluster to match it.
|
An ArgoCD |
What You Are Deploying
The mock API simulates a ServiceNow ITSM system by exposing HTTP endpoints that return closed incident ticket data. Each record contains a problem description and its corresponding resolution: the raw material that your Kubeflow Pipeline will fetch and process for ingestion into the Milvus vector database.
Applying the ArgoCD Application Manifest
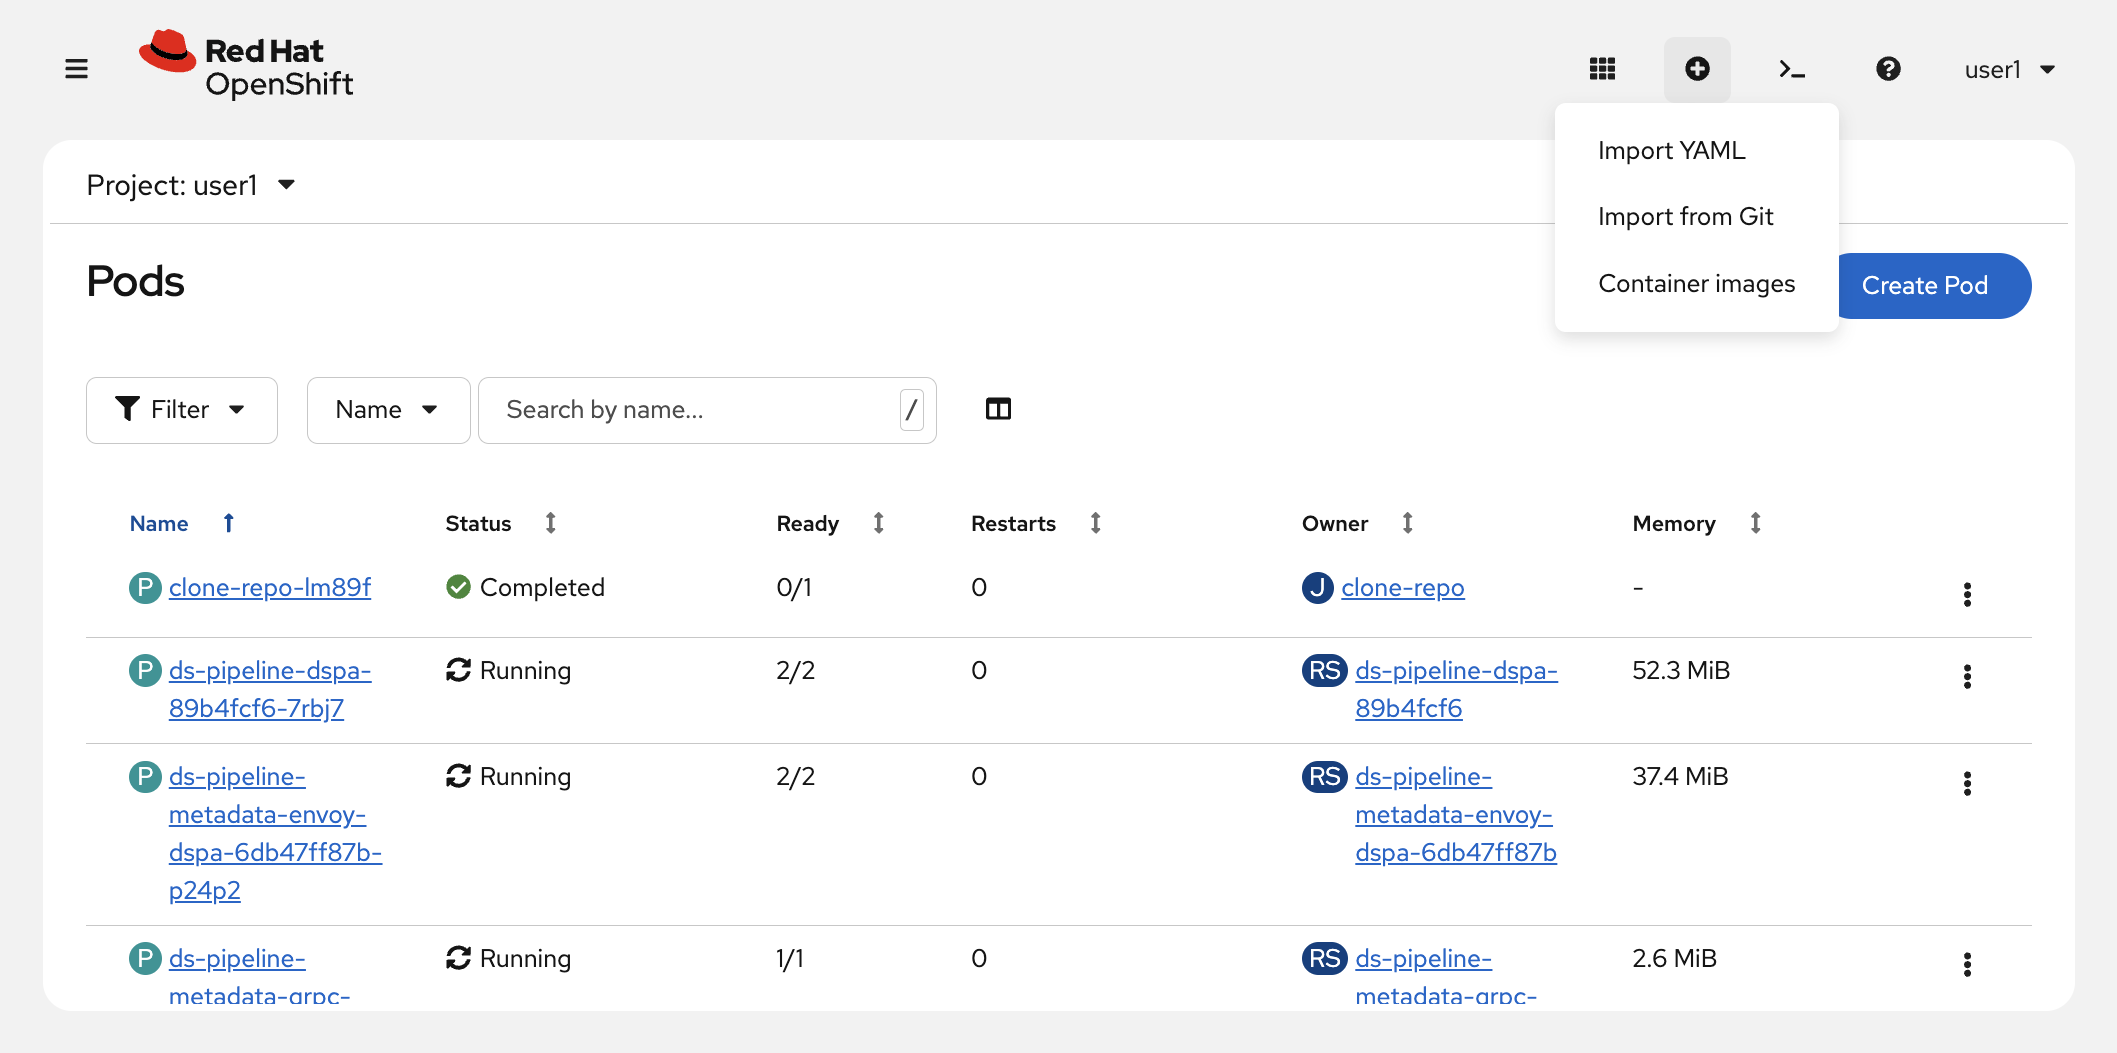
You will create the ArgoCD Application resource using the Import YAML feature built into the OpenShift web console.
-
In the OpenShift Web Console, click the + (Import YAML) button in the top-right toolbar.
-
Paste the following manifest into the editor.
ArgoCD Application ManifestapiVersion: argoproj.io/v1alpha1 kind: Application metadata: name: 'userX-mock-api' (1) namespace: openshift-gitops spec: project: default source: repoURL: 'https://github.com/cnuland/hello-chris-rag-pipeline.git' path: apps/api/.k8s (2) targetRevision: main kustomize: {} destination: server: https://kubernetes.default.svc namespace: 'userX' (3) syncPolicy: automated: prune: true selfHeal: true syncOptions: - CreateNamespace=true - ServerSideApply=true1 A unique name scoped to your account, preventing resource conflicts in the shared cluster. 2 The Kustomize overlay directory within the repository that defines the mock API deployment. 3 The target namespace where ArgoCD will deploy the application workloads. 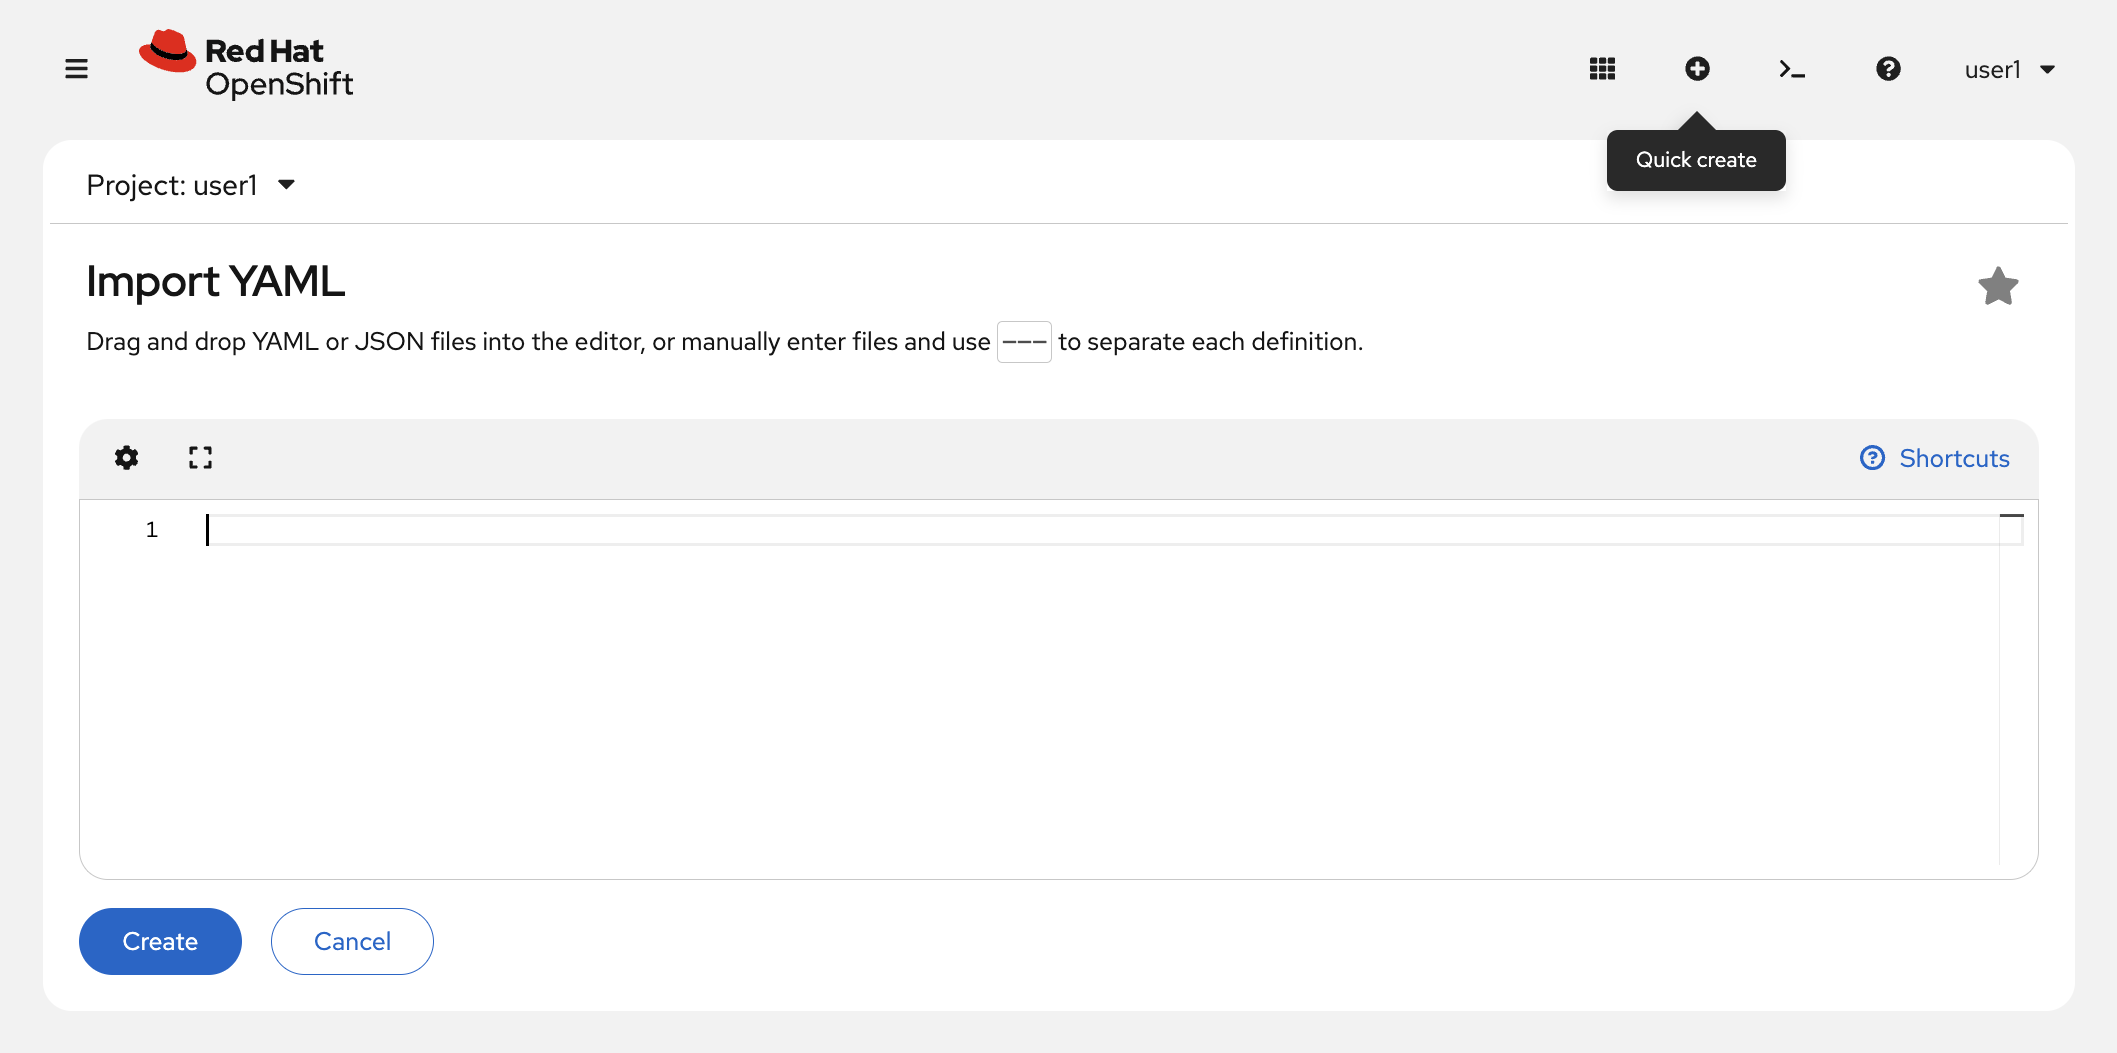
-
Click Create.
You’ll be taken to the newly created Application, which will be in the process of syncing.
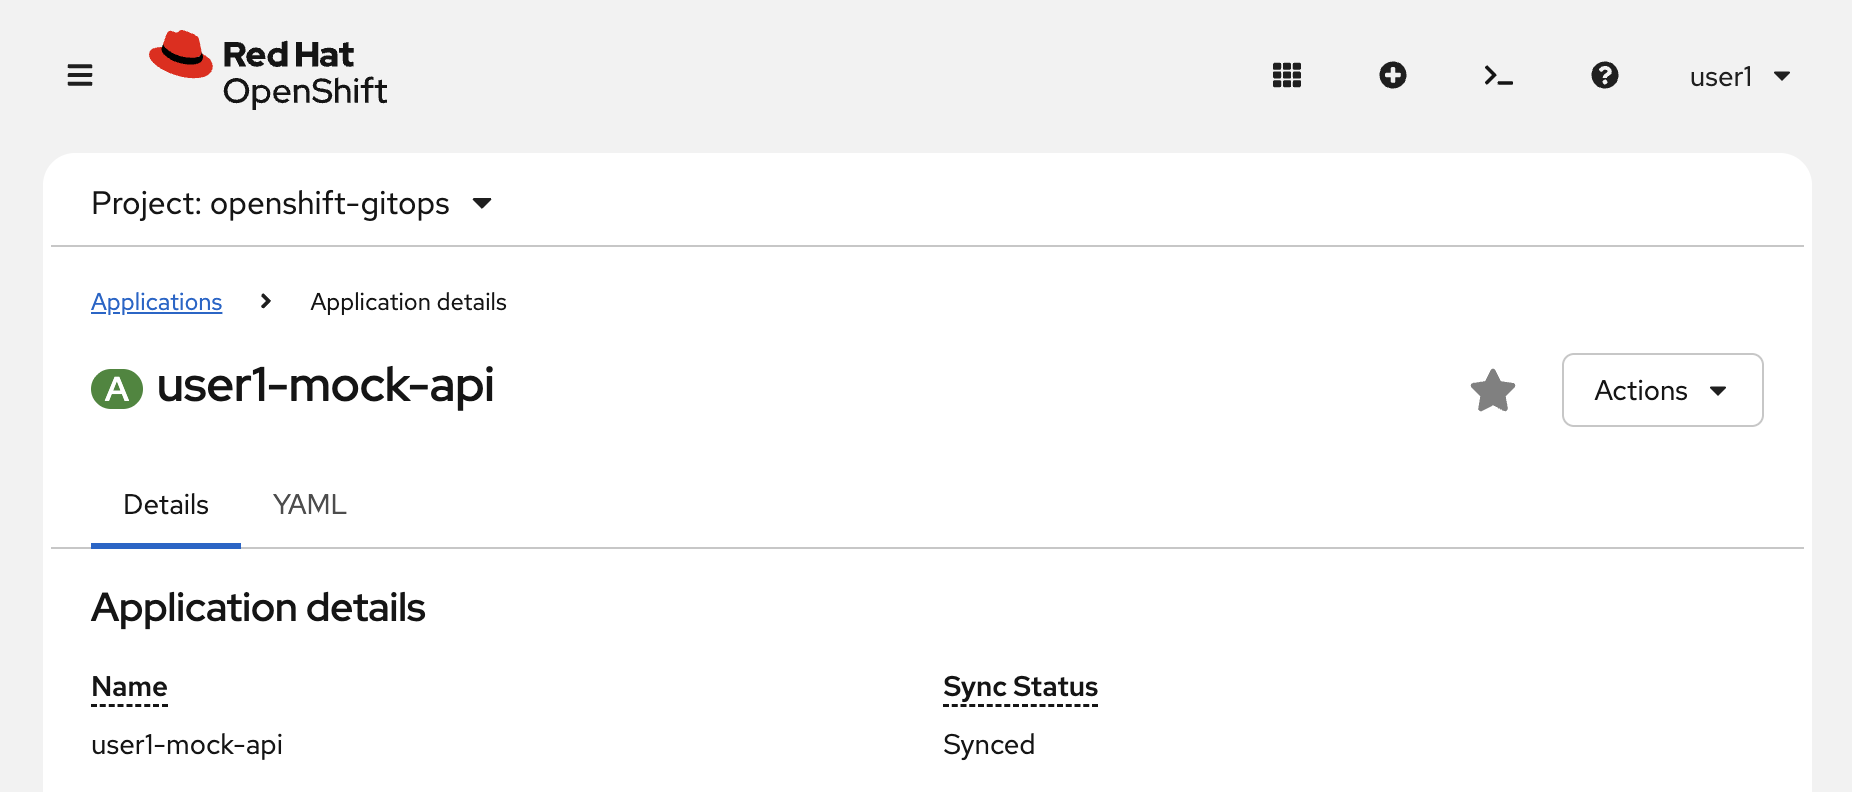
|
ArgoCD will immediately begin reconciling the application. Initial synchronization, ex. pulling the container image and starting the pod, typically takes 1–2 minutes. |
Verifying the Deployment
Once ArgoCD has applied the manifest, confirm the pod is healthy from the OpenShift Console.
-
In the left navigation menu, go to Workloads → Pods, and confirm you are in the
userXproject namespace.
-
Wait until the
mock-servicenow-api-…pod reports a Running status with1/1containers ready.NAME READY STATUS RESTARTS AGE mock-servicenow-api-5f6f8b9d6c-xxxxx 1/1 Running 0 2mIf the pod shows
ContainerCreatingorPending, the node is still pulling the container image. Refresh the page after 30 seconds.
With the mock API running, you are ready to move on to the next step.
Summary
-
Created an ArgoCD
ApplicationCR pointing at a Kustomize overlay — ArgoCD pulls the manifests from Git and reconciles continuously -
Deployed the mock ServiceNow API, which exposes the incident data your pipeline will fetch and embed
-
Verified the pod reached
Running 1/1in your namespace, confirming the data source is ready