3.1 Setup & Pipeline Import
In this section, you will connect to the workshop environment and import the PDF processing pipeline that powers the event-driven demo. This is a one-time setup before you can trigger the automated workflow.
Getting Connected
For this walkthrough, you will need access to both the Red Hat OpenShift AI Dashboard and the OpenShift Container Platform Console. Each attendee has a unique user account.
Environment Information
|
If you are viewing these instructions in the deployed lab environment, the values below will be correctly rendered for you. If viewing from a static source like GitHub, placeholder values will appear. |
Username |
|
Password |
|
Login Procedure
-
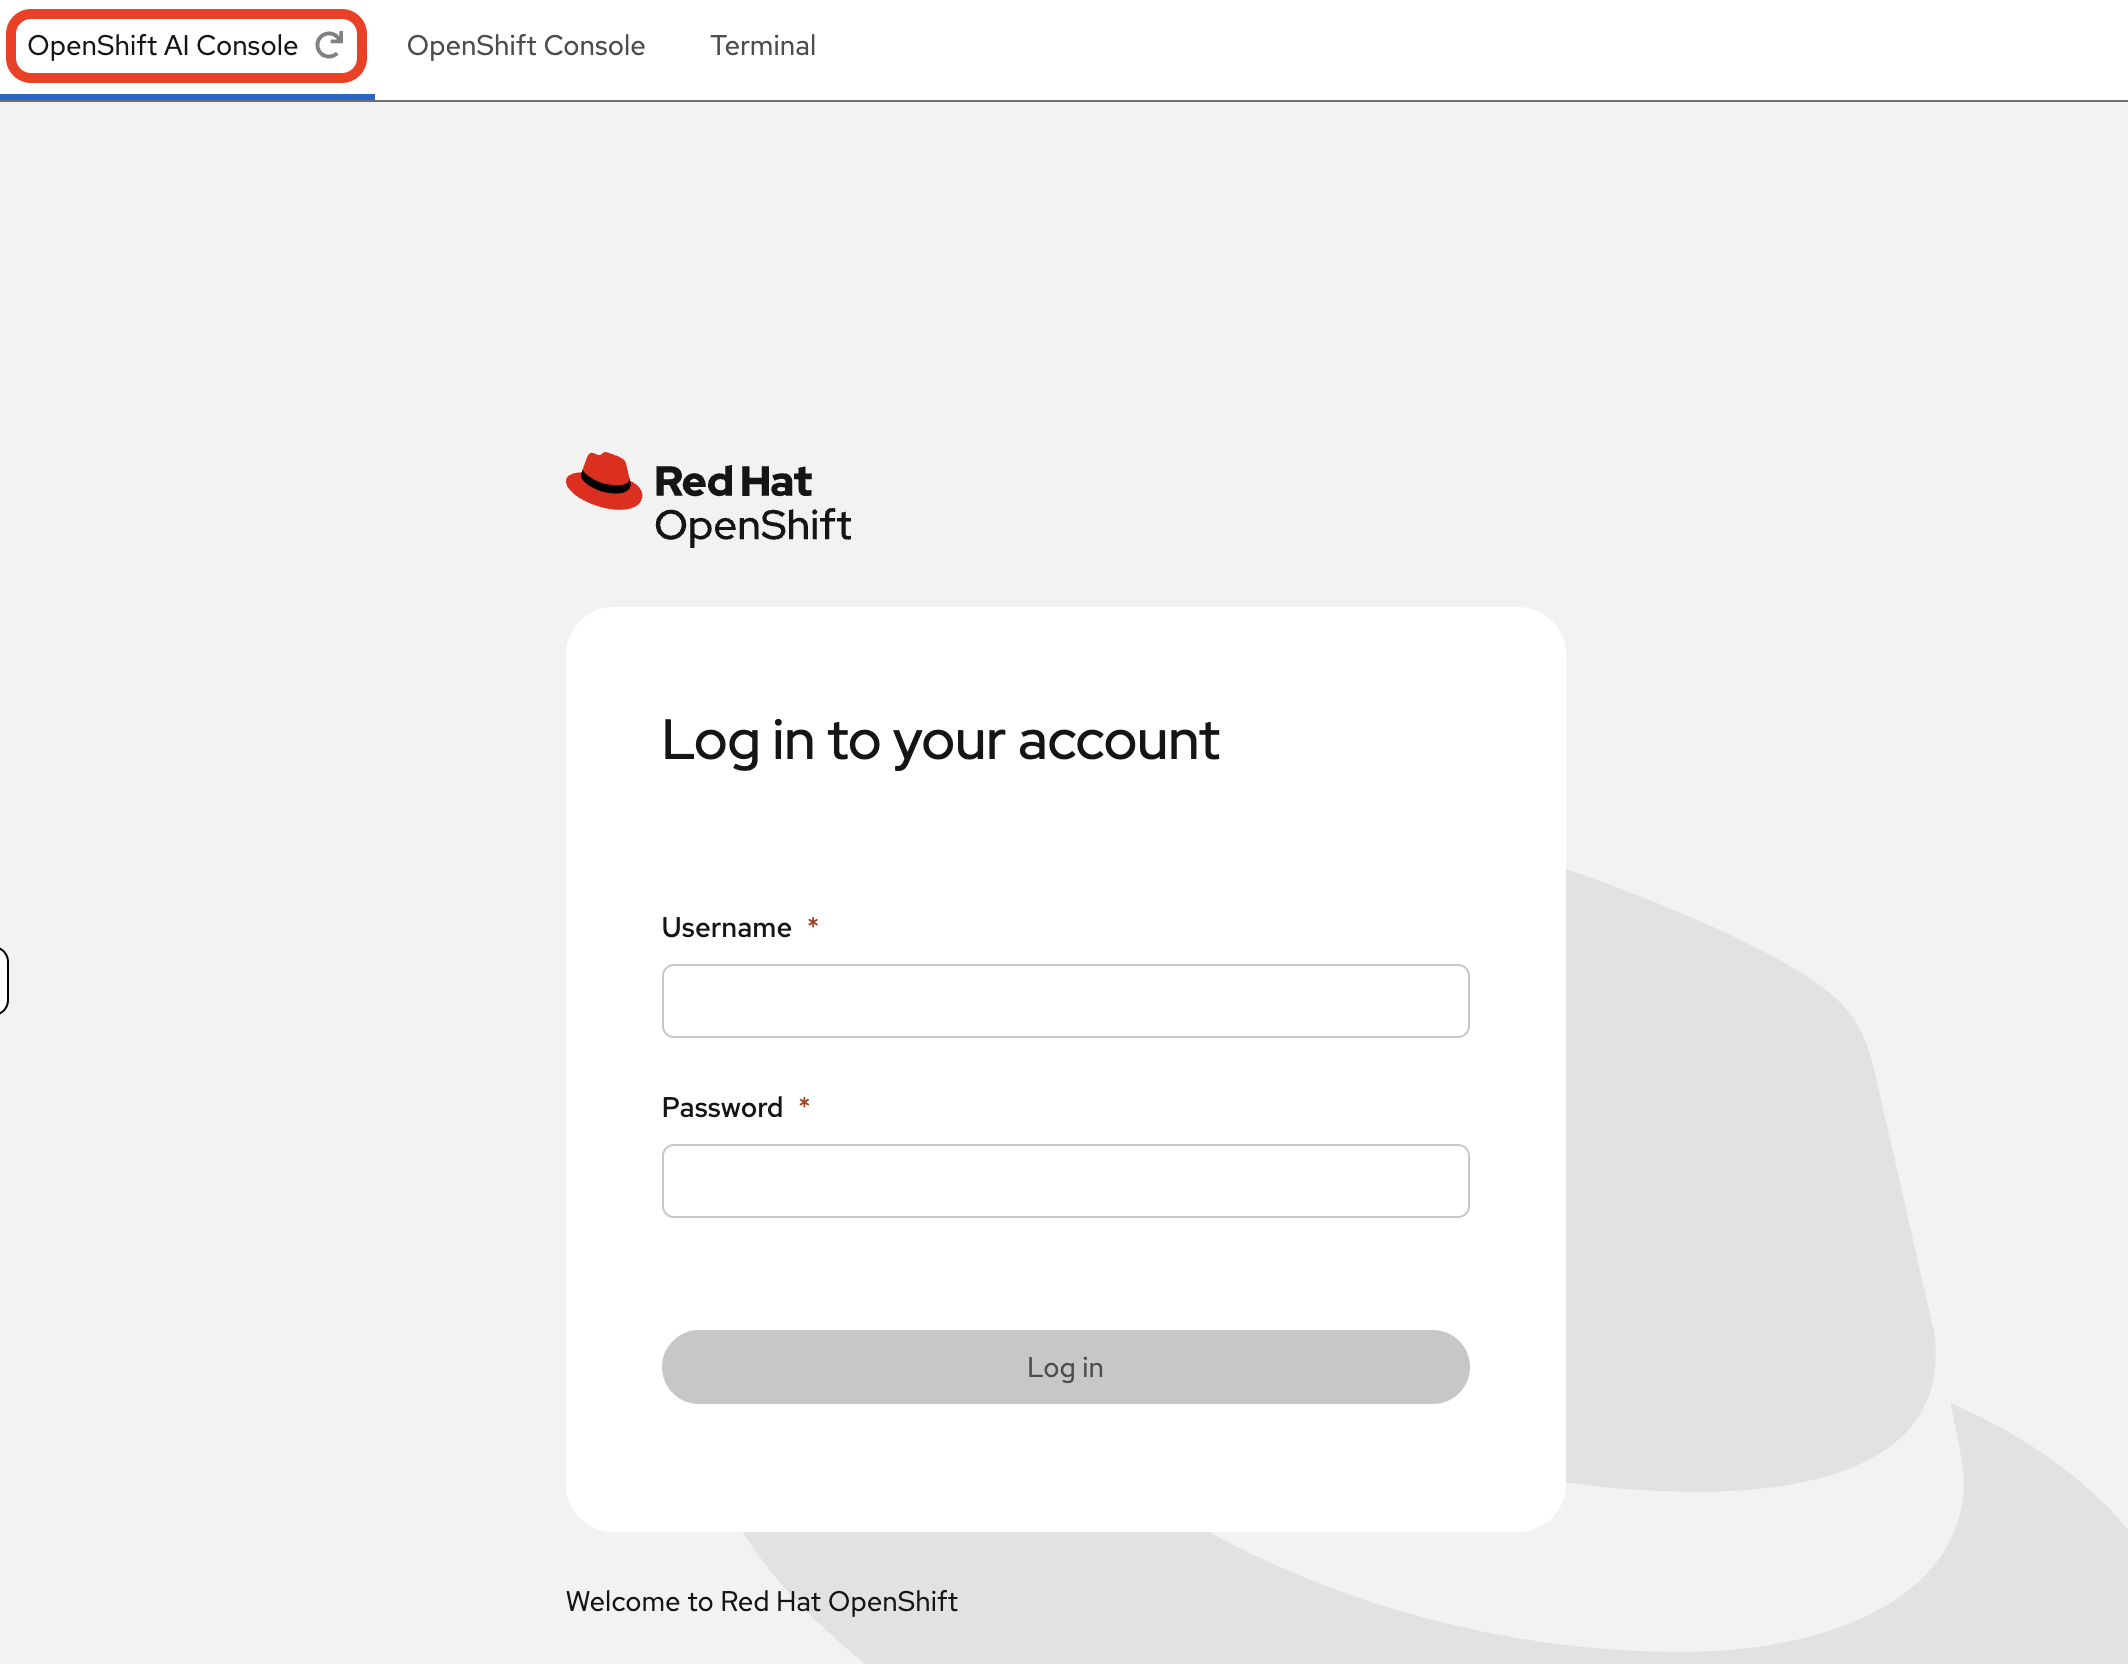
Click the Login with OpenShift button at the OpenShift AI Dashboard.
-
Enter your user credentials (
userXandopenshift) provided above.Your browser might display a security warning. It is safe to ignore this message for the lab environment.
-
After you authenticate, you will land on the Red Hat OpenShift AI dashboard.
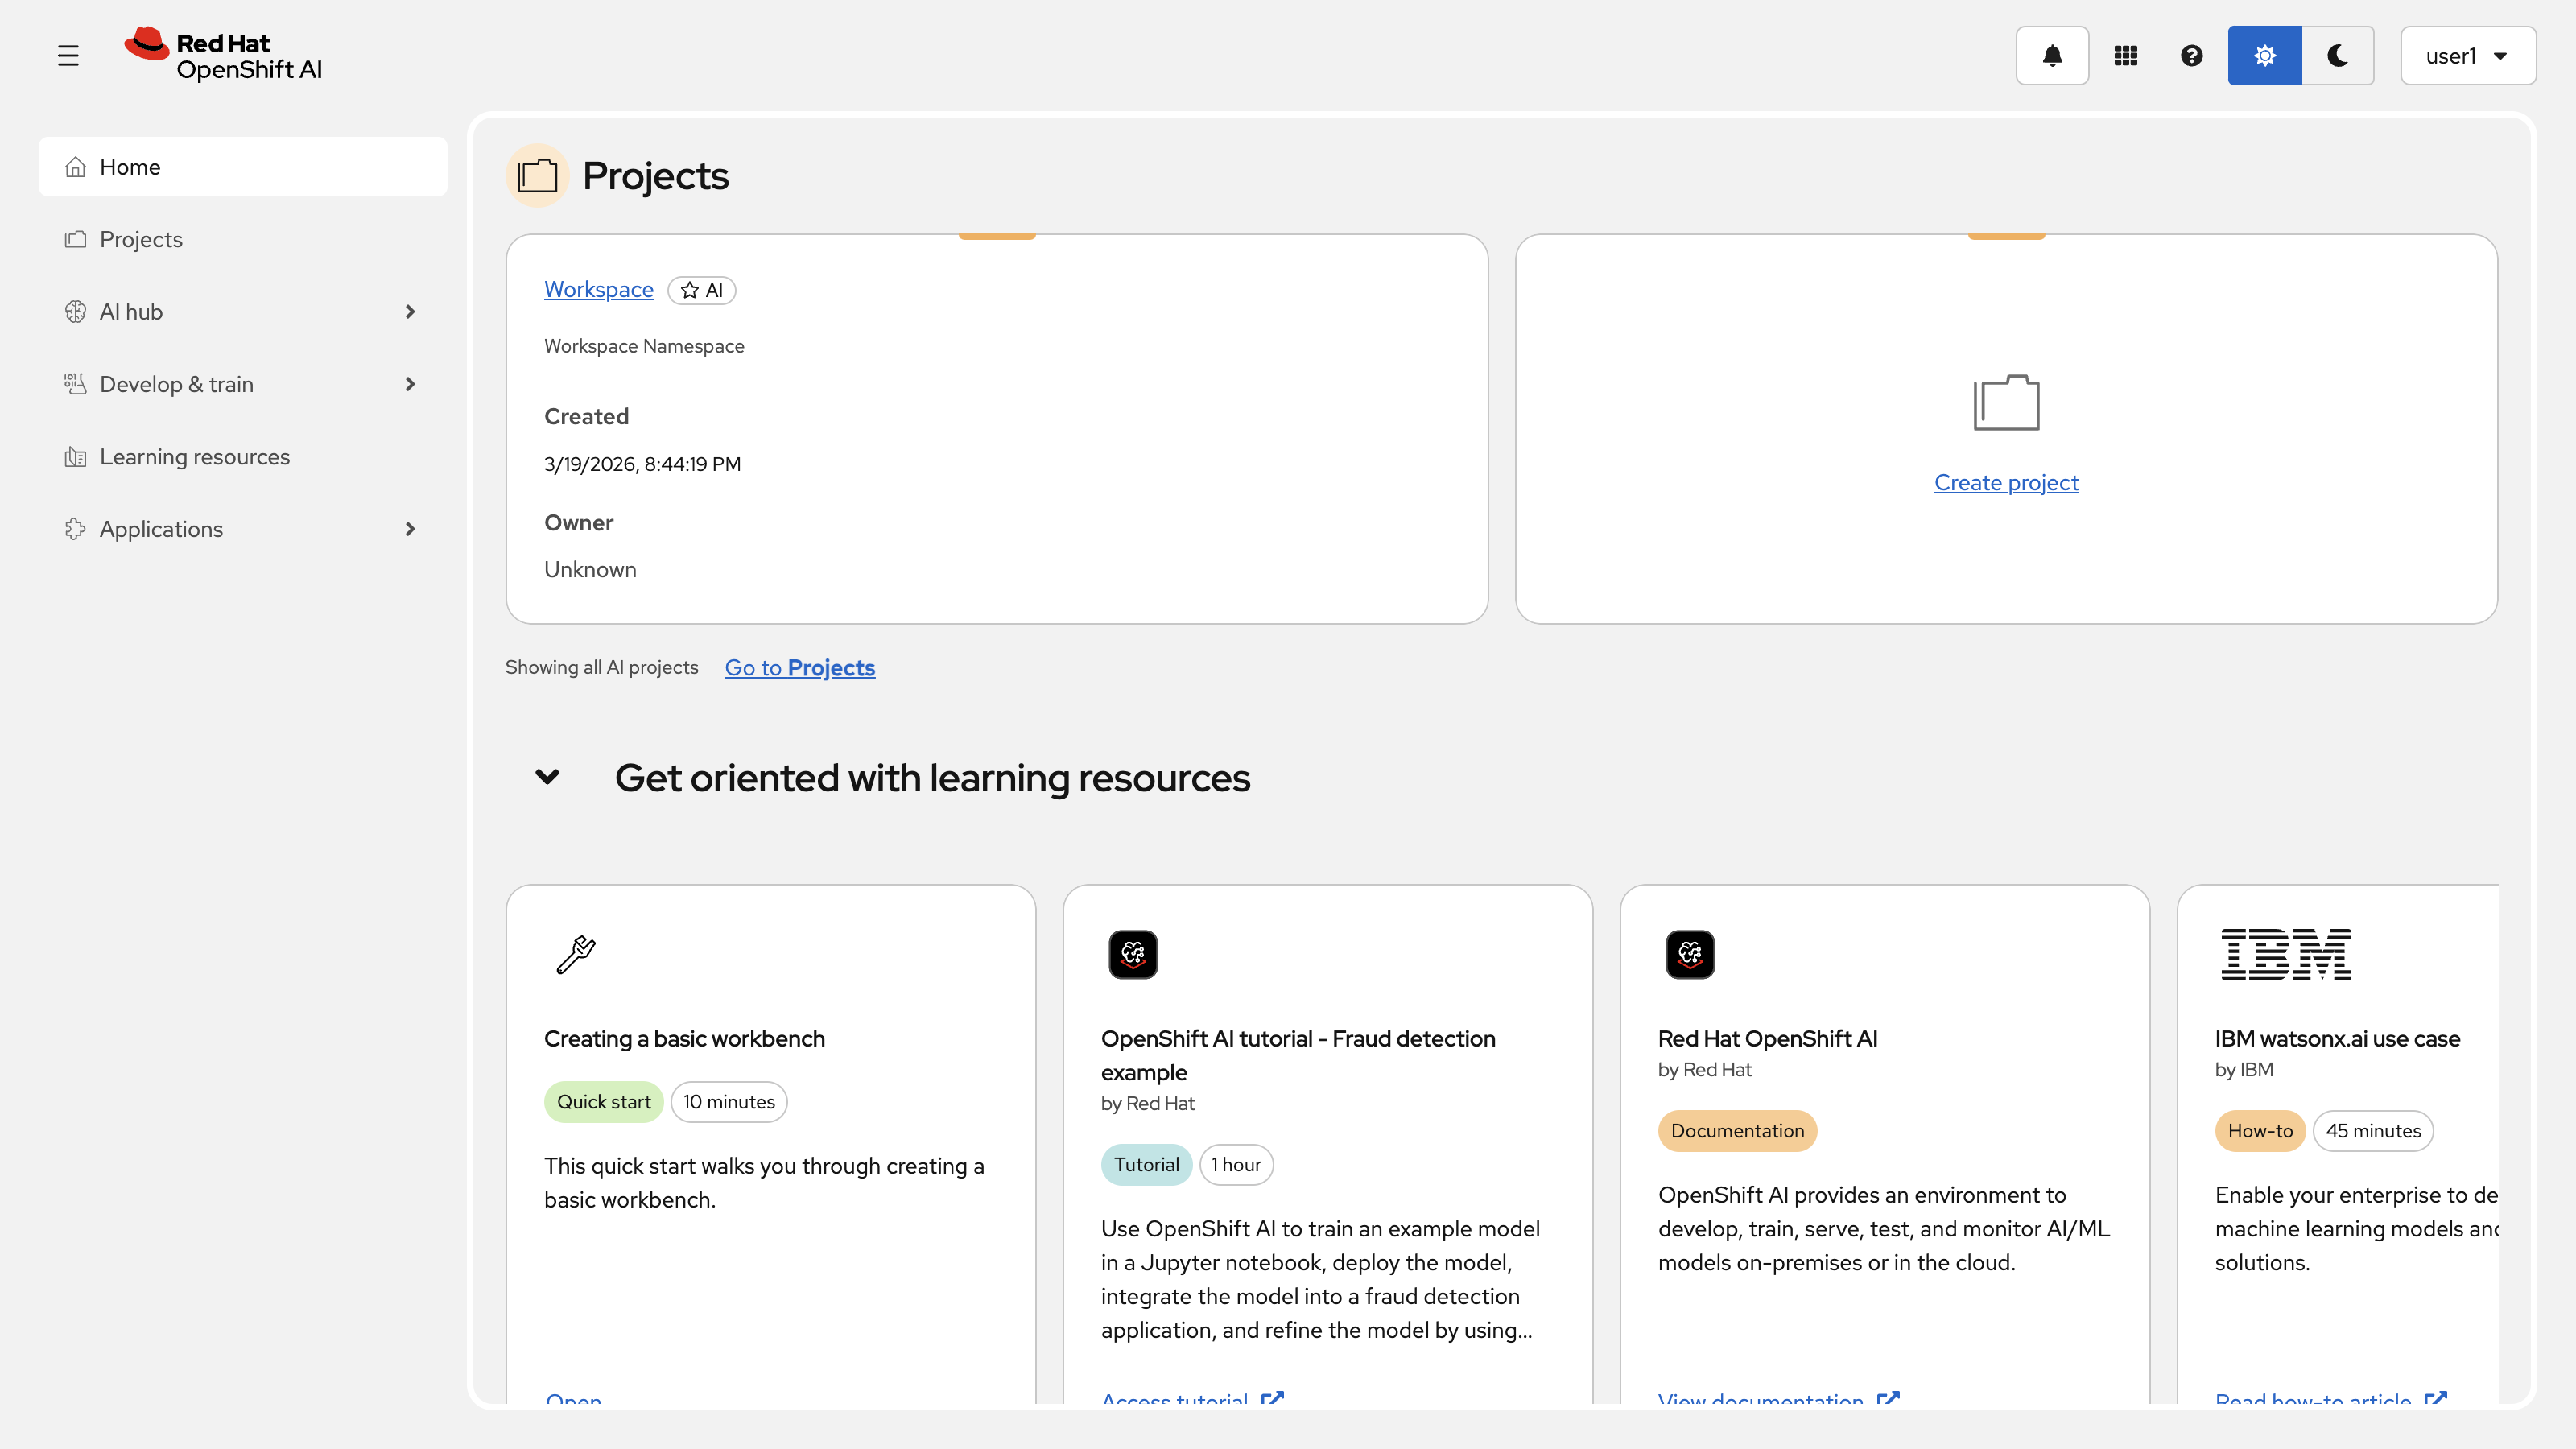
Congratulations, you are now connected!
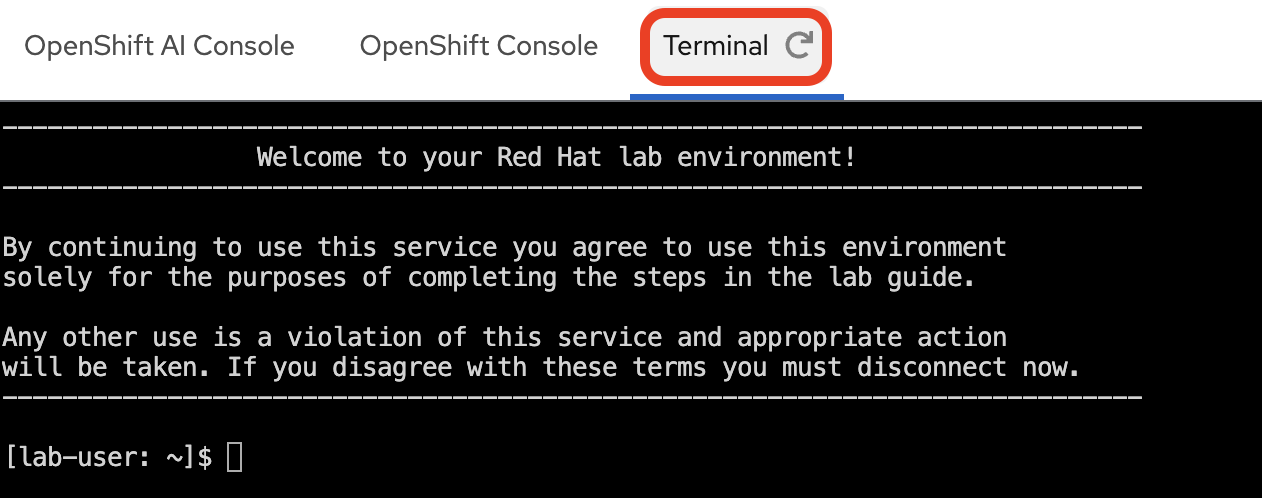
Accessing the Terminal
This workshop provides a standalone Terminal for running oc commands against the cluster. You can access it from the tabs on the right-hand side of this workshop guide.
-
Select the Terminal tab at the top of the right-hand panel.
-
Log in to the OpenShift Container Platform cluster with your provided credentials:
oc login --insecure-skip-tls-verify=false -u userX -p openshift https://api.MYCLUSTER.com:6443"When prompted, answer
yto accept the insecure connection:The server uses a certificate signed by an unknown authority. You can bypass the certificate check, but any data you send to the server could be intercepted by others. Use insecure connections? (y/n): y WARNING: Using insecure TLS client config. Setting this option is not supported! Login successful. You have one project on this server: "user1" Using project "user1". Welcome! See 'oc help' to get started. -
Make sure you are working in the userX namespace, which has been pre-created for you.
oc project userXYou should see an output similar to the following:
Now using project "userX" on server "https://api.cluster-cxfls.dynamic.redhatworkshops.io:6443".
Import the PDF Processing Pipeline
Before you can trigger a pipeline run, you need to import the PDF processing pipeline into your Data Science Project. This is a one-time setup step.
Download the Pipeline File from Your Workbench
-
In the Red Hat OpenShift AI Dashboard, navigate to your project and launch your Workbench (named "My Workbench"), or switch to it if it is already open.

-
Once JupyterLab opens, use the file browser on the left to navigate to:
hello-chris-rag-pipeline/lab-content/2.1/

-
Inside this directory, you will find the file
simple-pdf-processing-pipeline.yaml. Right-click on the file and select Download from the context menu. This will save the file to your local computer. -
You can now close the JupyterLab browser tab.
Upload the Pipeline to OpenShift AI
-
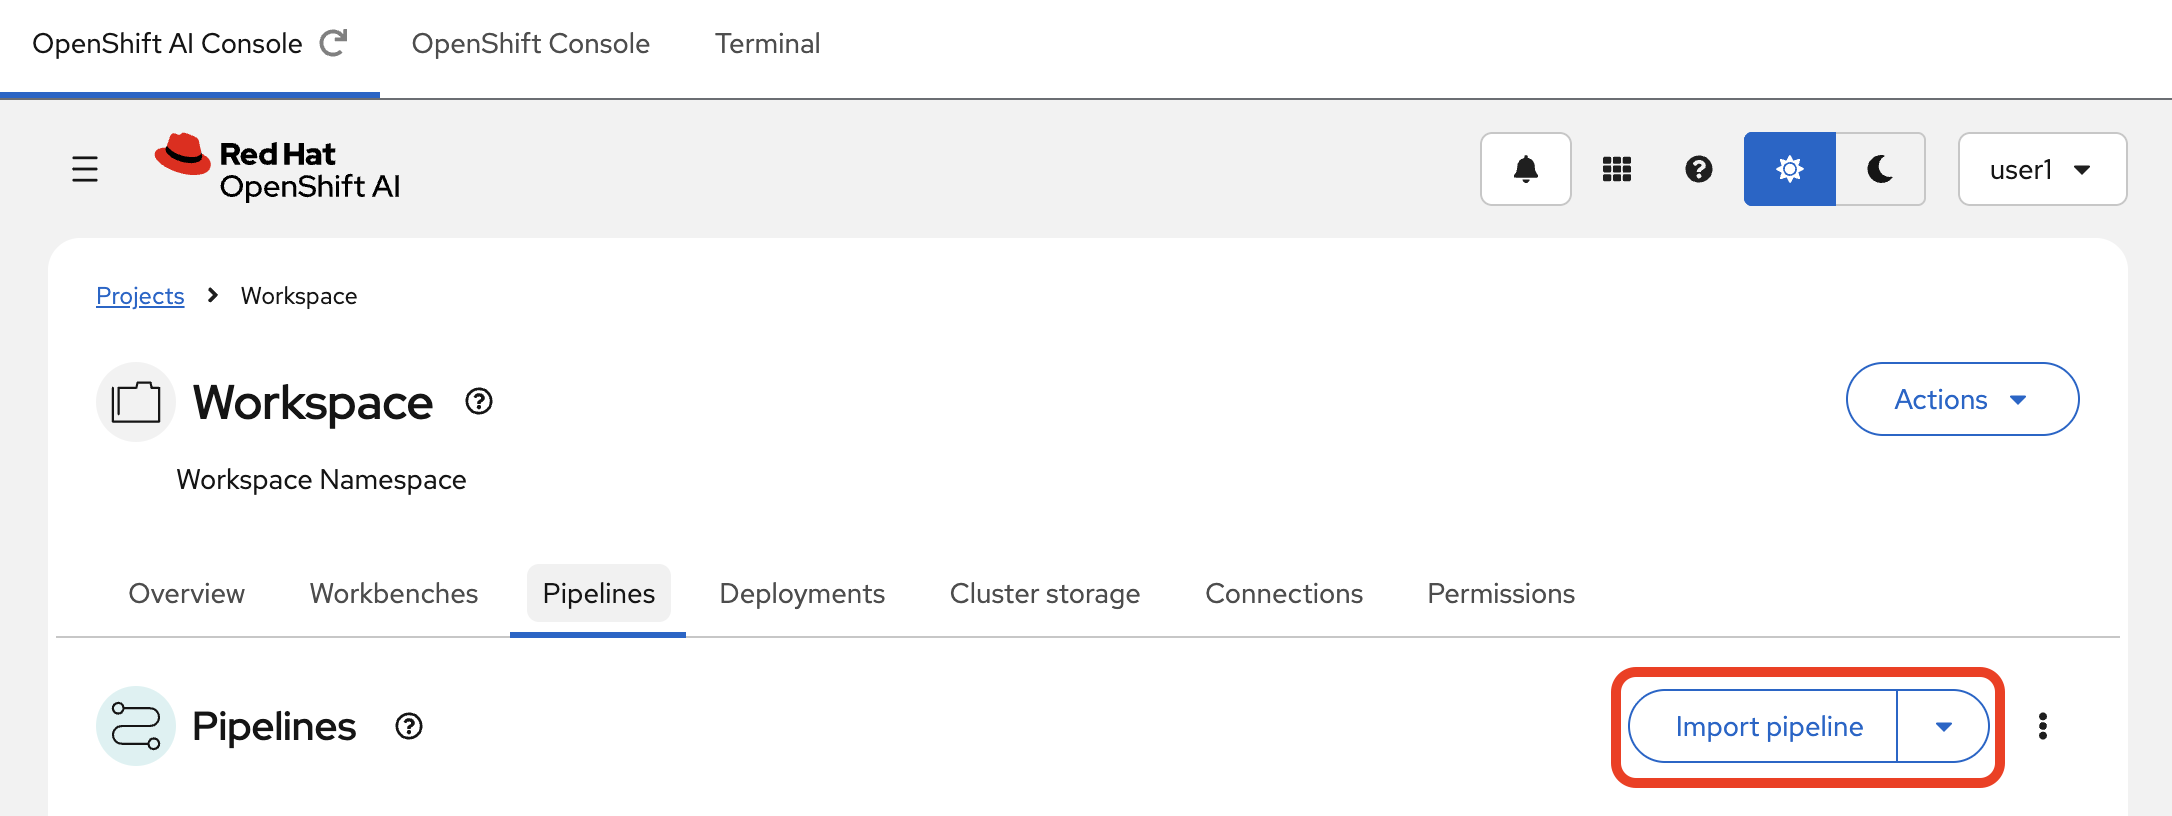
In the Red Hat OpenShift AI Dashboard, navigate to the Pipelines section within your Data Science Project.
-
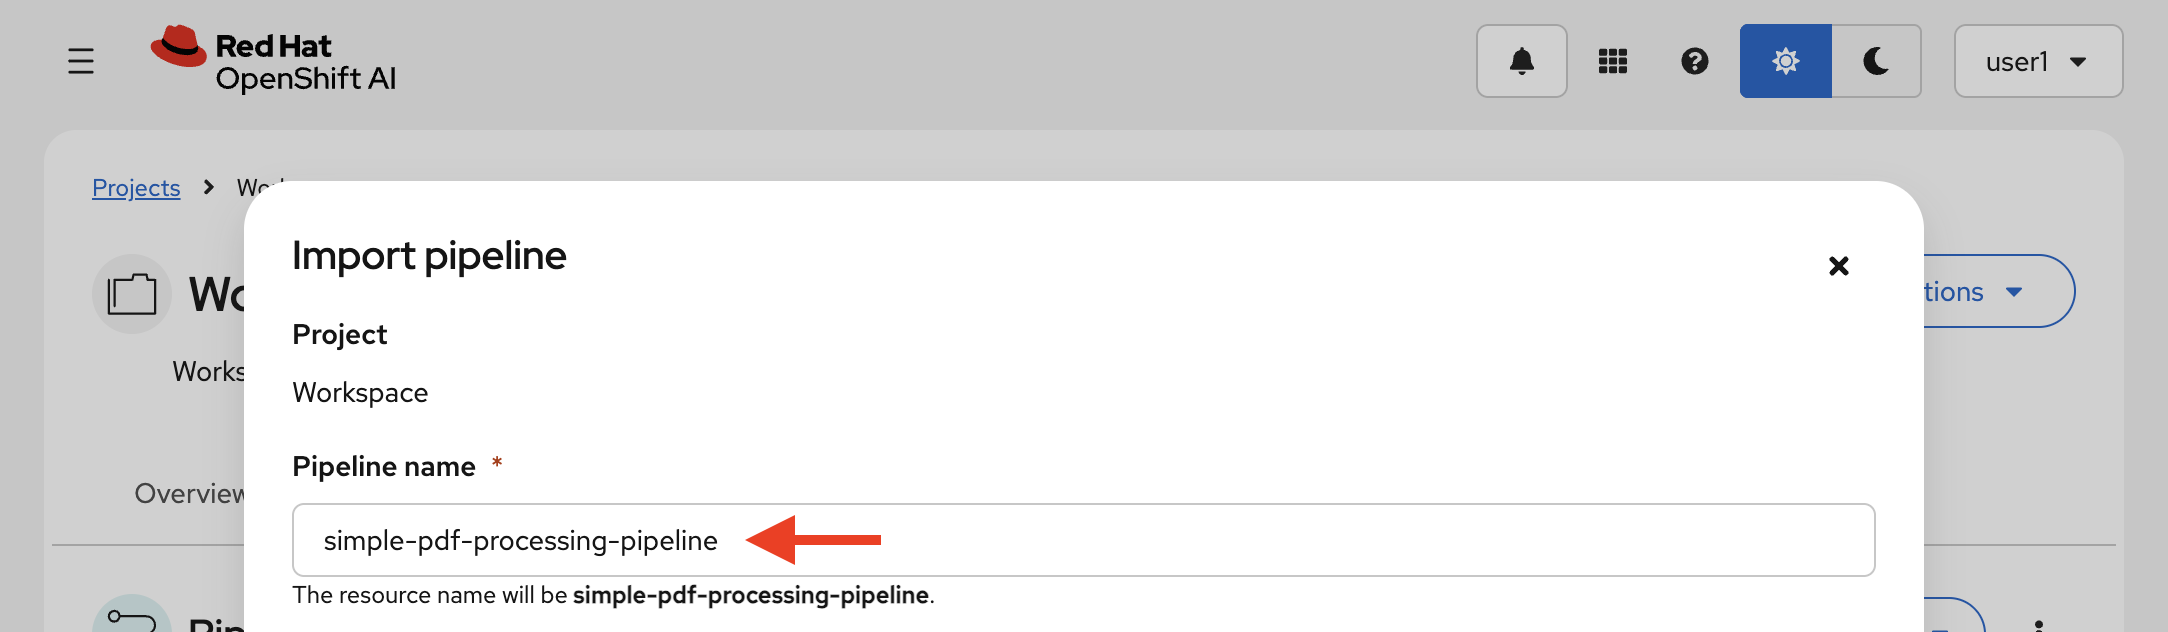
Click the Import pipeline button.
-
Give your pipeline this exact name:
simple-pdf-processing-pipelineThe name must match exactly. The event-driven trigger service looks up the pipeline by this display name.
-
Click the Upload box and select the
simple-pdf-processing-pipeline.yamlfile that you just downloaded.
-
Click Import pipeline to finish.
Once imported, you are ready to trigger the event-driven flow in the next section.
Summary
-
Connected to the Red Hat OpenShift AI Dashboard, the OpenShift Container Platform Console, and the cluster command line via the standalone Terminal
-
Imported a pre-compiled Kubeflow Pipeline definition into your Data Science Project’s pipeline server
-
Registered the pipeline by display name so the event-driven trigger can discover and launch it automatically