OpenID Connect (OIDC) Authentication with Keycloak
Module Overview
Duration: 40 minutes
Format: Hands-on OIDC identity provider configuration
Audience: Platform Engineers, Operations Teams, Security Administrators
OpenShift supports multiple identity providers - LDAP, OIDC, HTPasswd, GitHub, and more. In this module you’ll deploy the Red Hat build of Keycloak (RHBK) and configure it as an OpenID Connect (OIDC) identity provider for OpenShift - the modern approach to enterprise SSO.
You will:
-
Deploy and configure Keycloak from scratch
-
Create realms, users, groups, and OIDC clients in the admin console
-
Integrate OpenShift OAuth with Keycloak
-
See how OIDC groups sync automatically (no
oc adm groups syncrequired)
The same concepts apply to Microsoft Entra ID, Okta, Google Workspace, and any OIDC provider - Keycloak just lets you see both sides of the integration.
Deploy Keycloak
Step 1: Install the RHBK Operator
bash <(curl -sL https://raw.githubusercontent.com/rhpds/openshift-days-ops-showroom/main/support/08-oidc-authentication/install-rhbk-operator.sh)| This takes a minute or two while the operator installs and the CRDs register. Please wait for it to complete - only press Ctrl+C if it has been running for more than 5 minutes. |
Step 2: Deploy Keycloak
Deploy a Keycloak instance. We use dev-file for the embedded database - in production you’d use external PostgreSQL.
cat <<EOF | oc apply -f -
apiVersion: k8s.keycloak.org/v2alpha1
kind: Keycloak
metadata:
  name: keycloak
  namespace: rhbk
spec:
  instances: 1
  db:
    vendor: dev-file
  http:
    httpEnabled: true
  hostname:
    strict: false
  proxy:
    headers: xforwarded
EOF
Wait for the pod to start (this takes a minute or two):
echo "Waiting for Keycloak pod to be created..."
ELAPSED=0
until oc get pod keycloak-0 -n rhbk 2>/dev/null; do
  sleep 5; ELAPSED=$((ELAPSED+5))
  [ $ELAPSED -ge 180 ] && echo "ERROR: Timed out waiting for Keycloak pod" && break
done
echo "Waiting for Keycloak to be ready..."
oc wait --for=condition=Ready pod/keycloak-0 -n rhbk --timeout=120s
echo "Keycloak is running"
Create a route for external access:
oc create route edge keycloak --service=keycloak-service --port=8080 -n rhbkGet the admin credentials - you’ll need these to log into the Keycloak console:
echo "Keycloak URL: https://$(oc get route keycloak -n rhbk -o jsonpath='{.spec.host}')"
echo "Username: $(oc get secret keycloak-initial-admin -n rhbk -o jsonpath='{.data.username}' | base64 -d)"
echo "Password: $(oc get secret keycloak-initial-admin -n rhbk -o jsonpath='{.data.password}' | base64 -d)"
Copy the URL and open it in a new browser tab. Log in with the admin credentials above.
You’re now in the Red Hat build of Keycloak admin console. You’ll see the master realm welcome page:
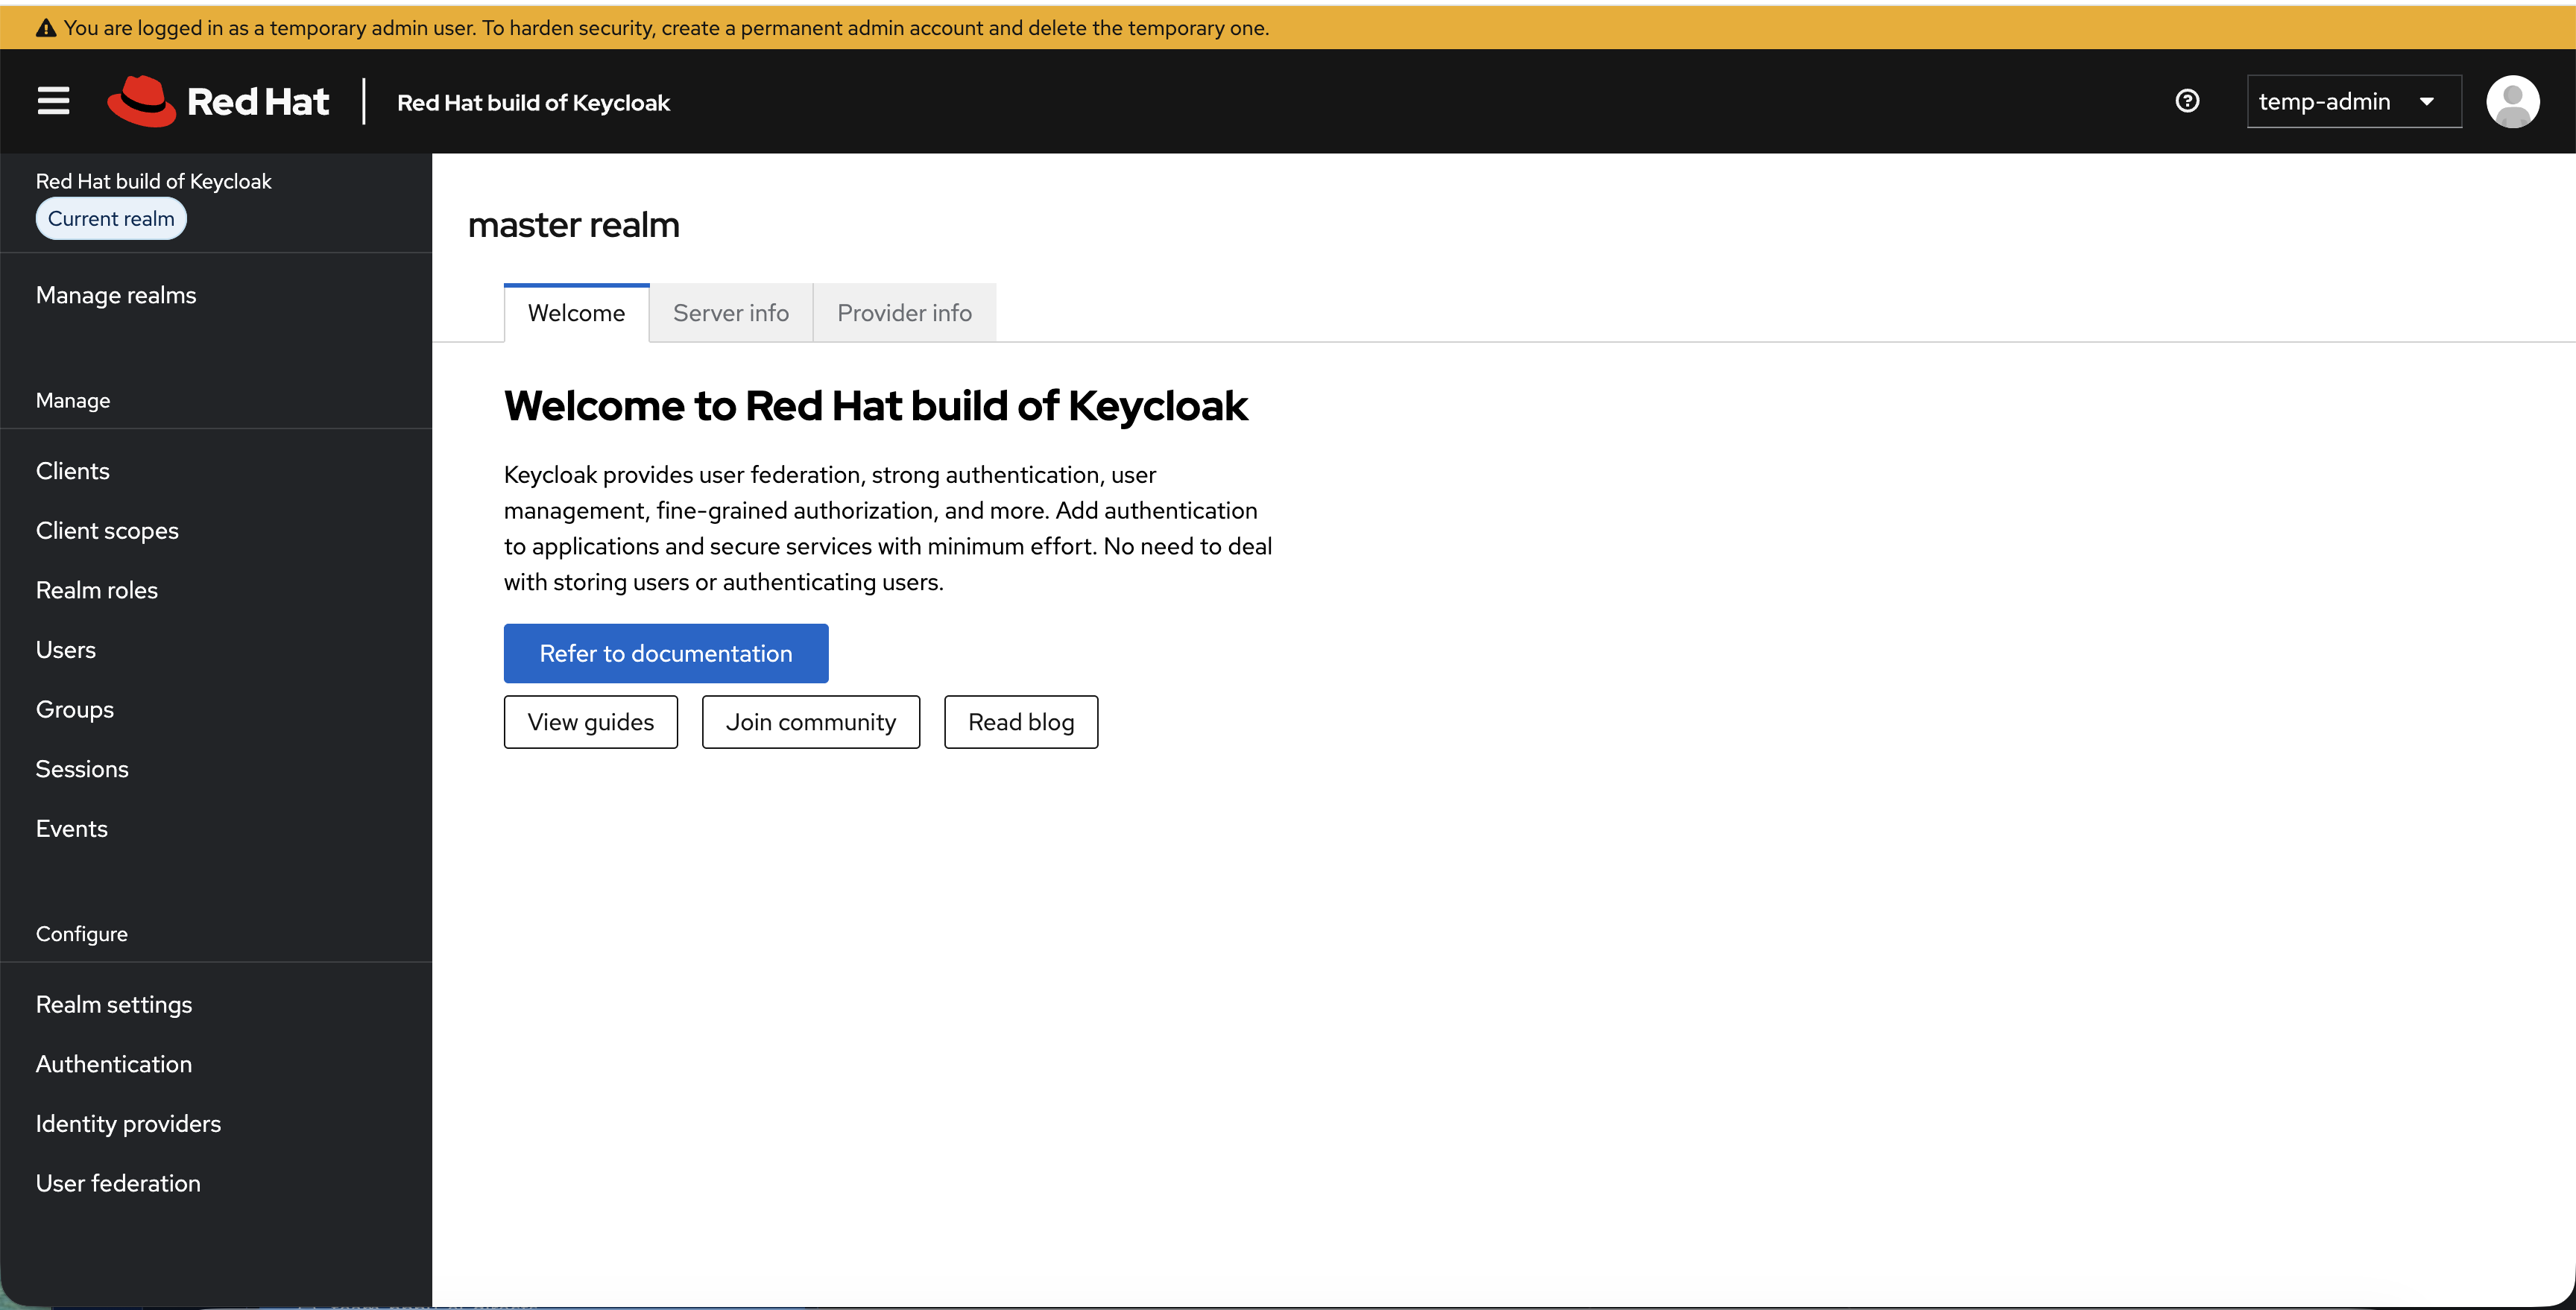
This is where you manage realms, users, clients, and authentication flows.
Configure Users & Groups
Step 3: Create an OpenShift Realm
Keycloak uses realms to isolate sets of users, credentials, and clients. The default master realm is for Keycloak administration only - you should always create a separate realm for your applications.
-
In the left sidebar, click Manage realms
-
Click Create realm
-
Set Realm name to:
OpenShift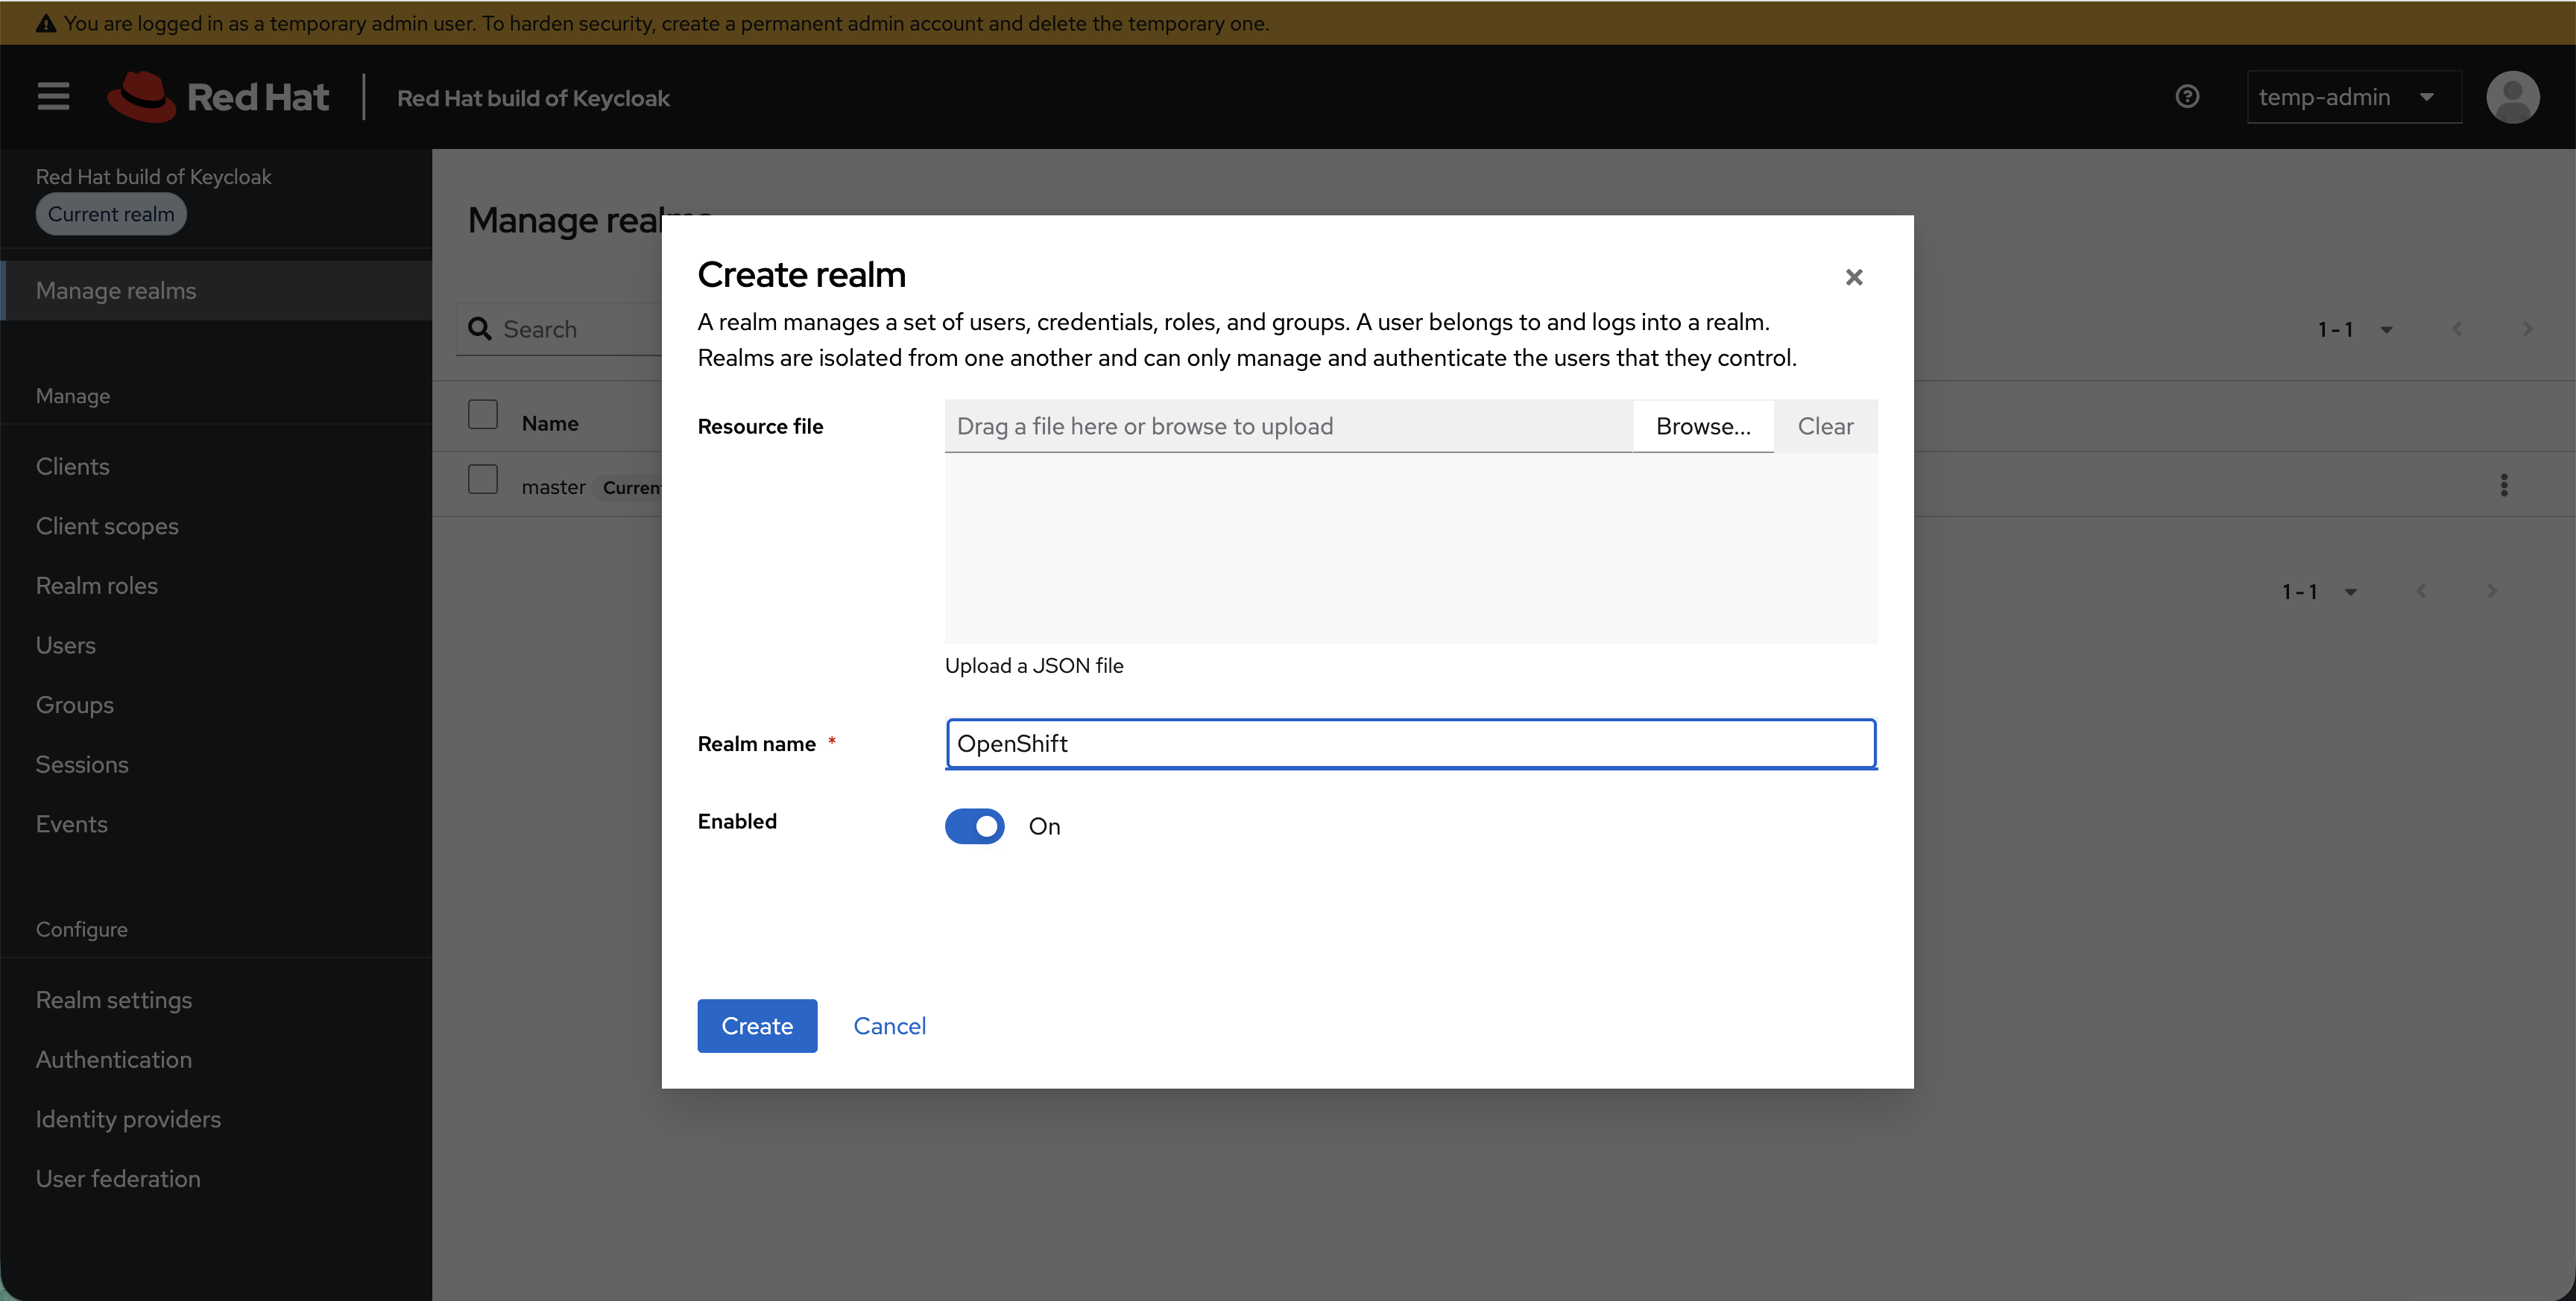
-
Click Create
You’ll see both realms listed, with OpenShift as the current realm:
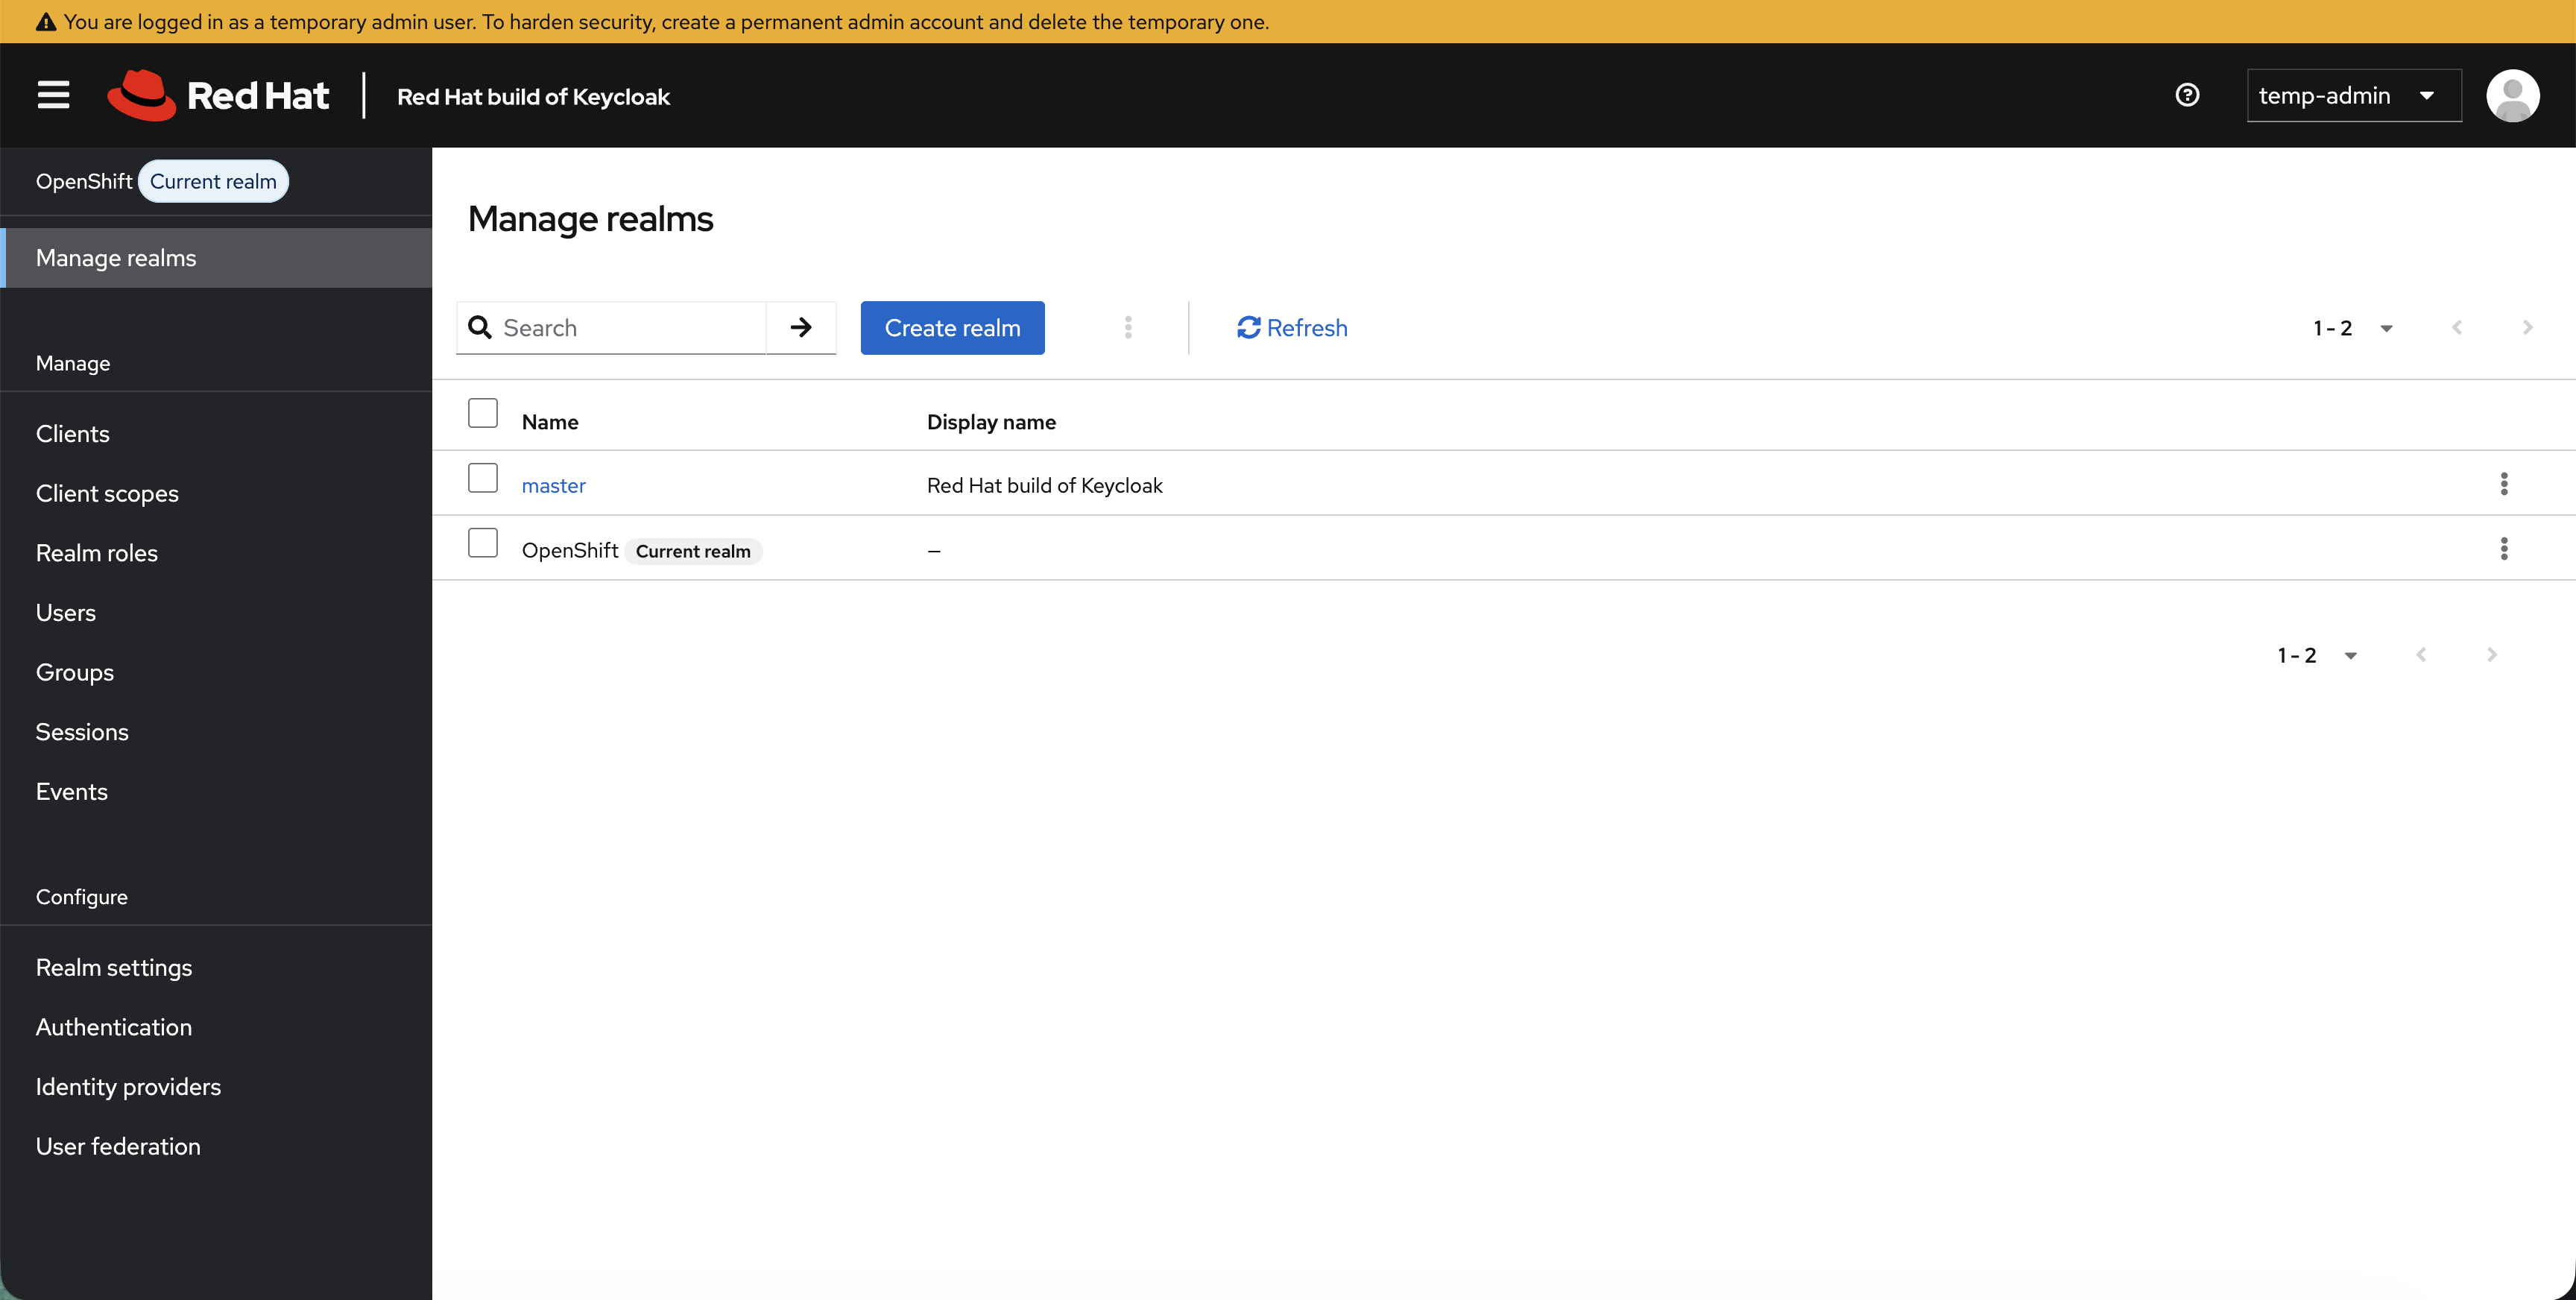
You’re now working inside the OpenShift realm. Everything you create from here - users, groups, clients - belongs to this realm.
Step 4: Create Your First User
Create a user manually so you understand the Keycloak user management interface.
| All four fields (Username, Email, First name, Last name) must be filled in. Keycloak’s user profile policy requires them - if any are missing, login will fail with an unhelpful error. |
Create admin1:
-
Click Users in the left sidebar
-
Click Add user
-
Fill in the user details:
-
Username:
admin1 -
Email:
admin1@example.com -
First name:
Admin -
Last name:
User
-
-
Click Create
-
Click the Credentials tab - you’ll see "No credentials":
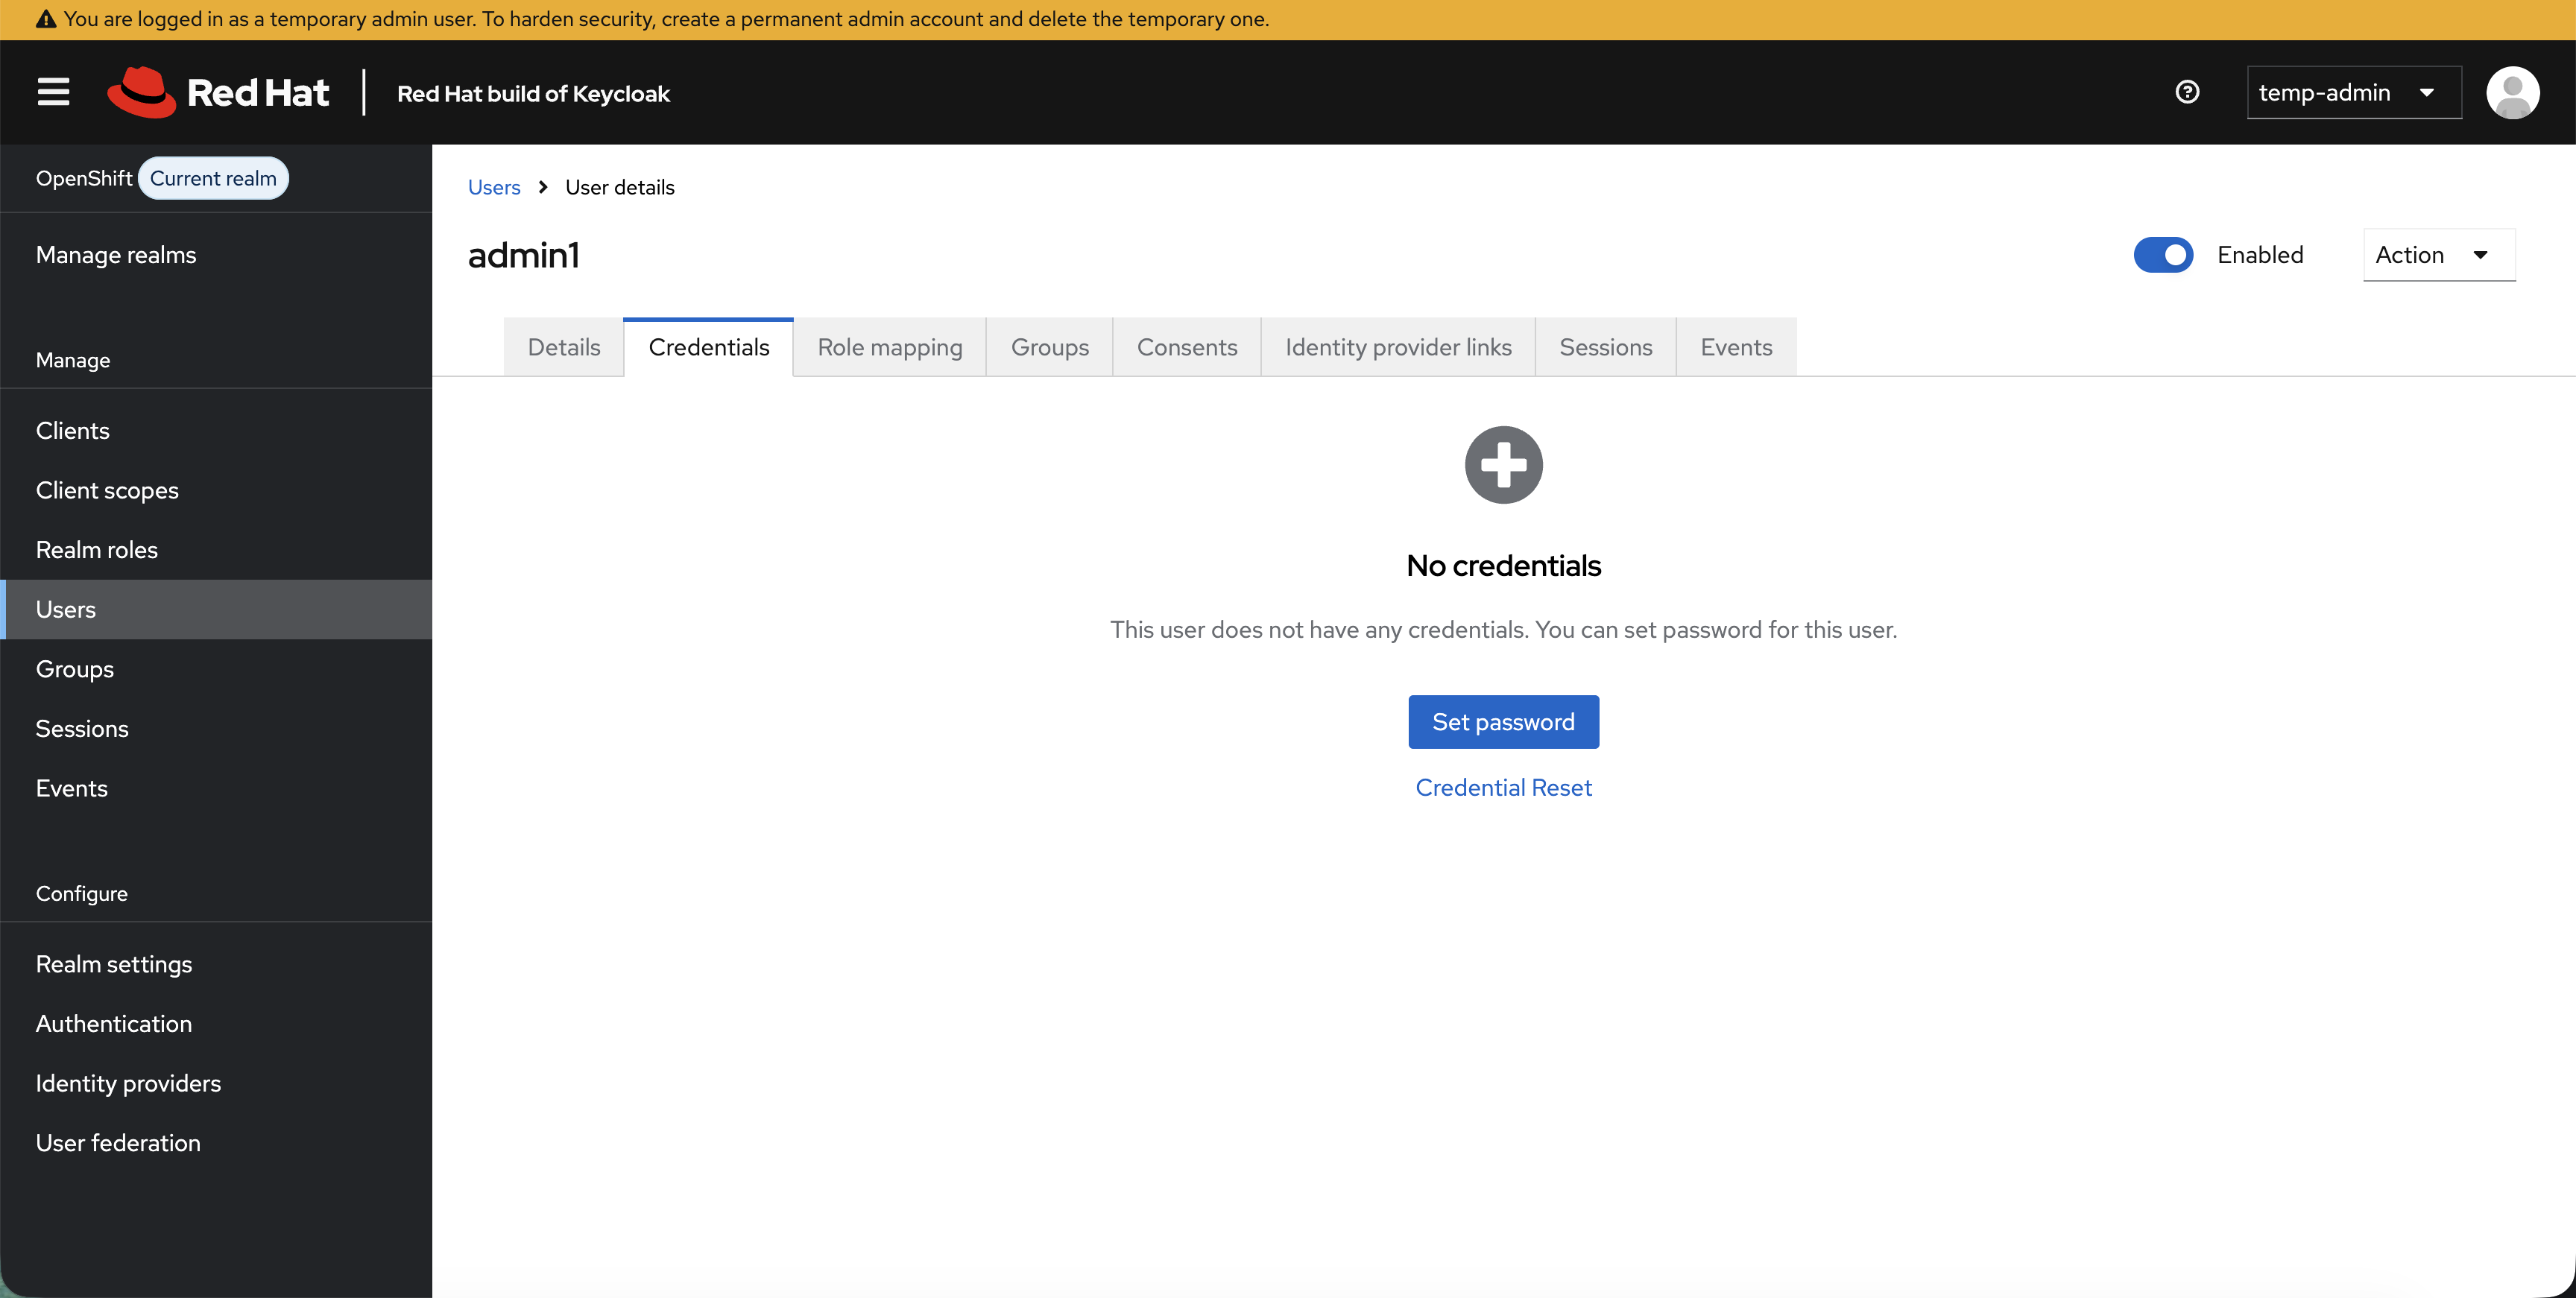
-
Click Set password
-
Enter password:
OpenShift123!in both fields -
Turn Temporary to Off (so the user isn’t forced to change password on first login)
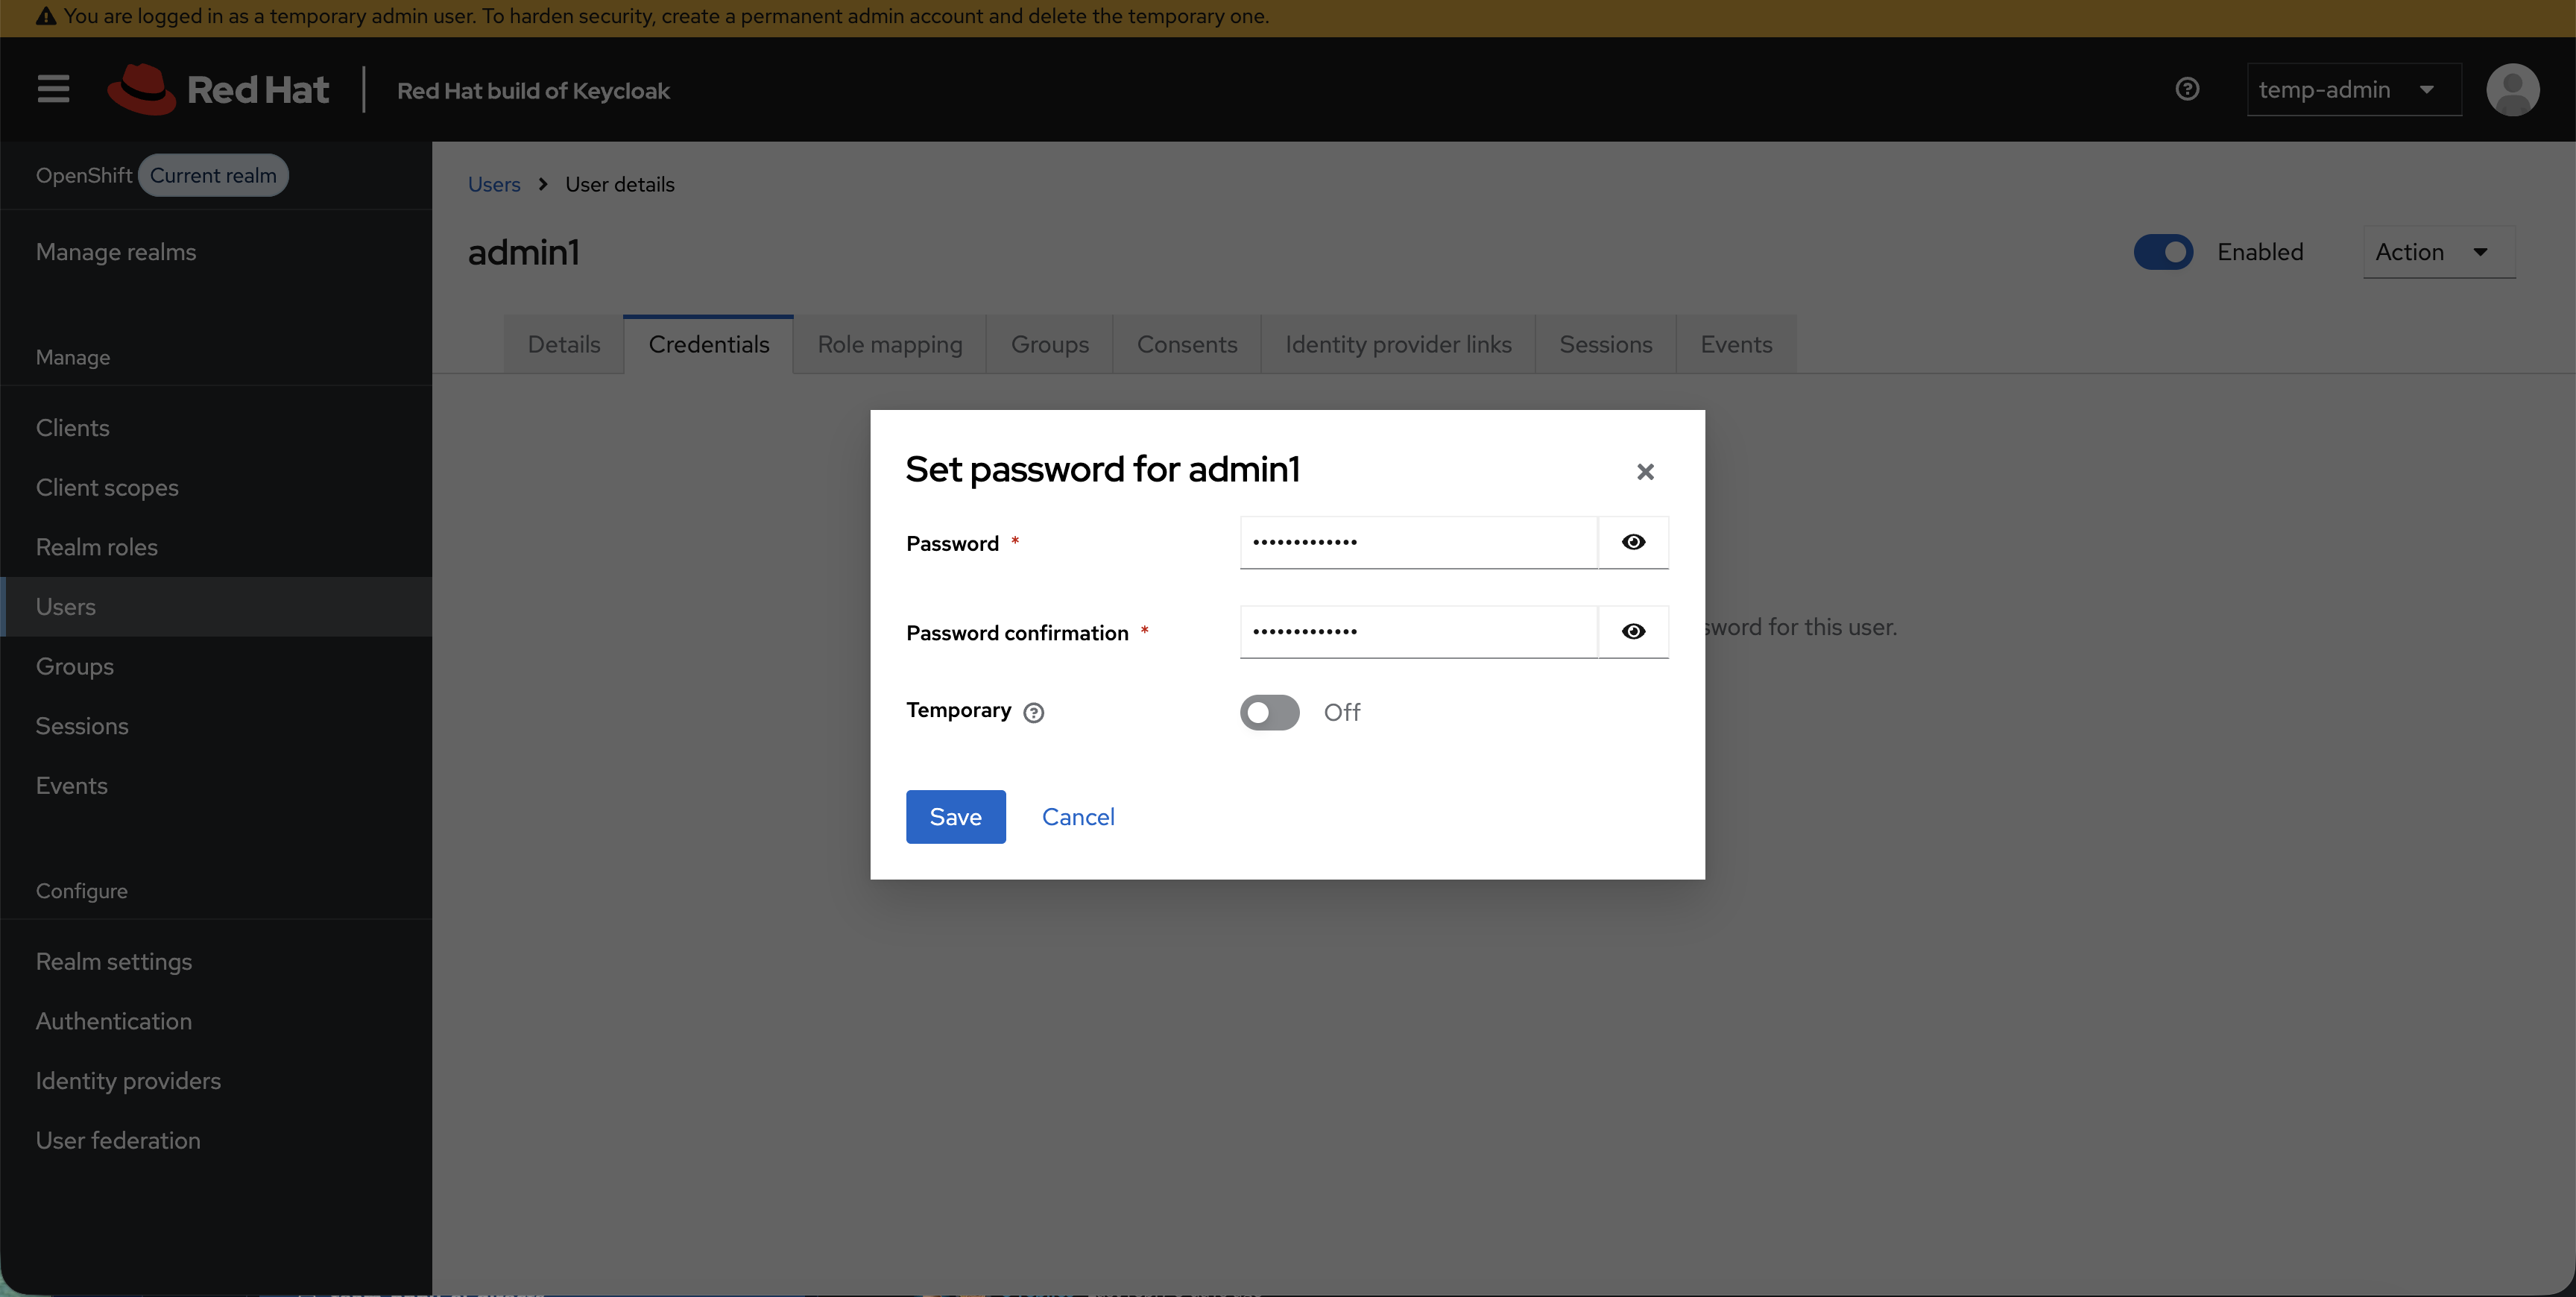
-
Click Save and confirm
Step 5: Create Your First Group
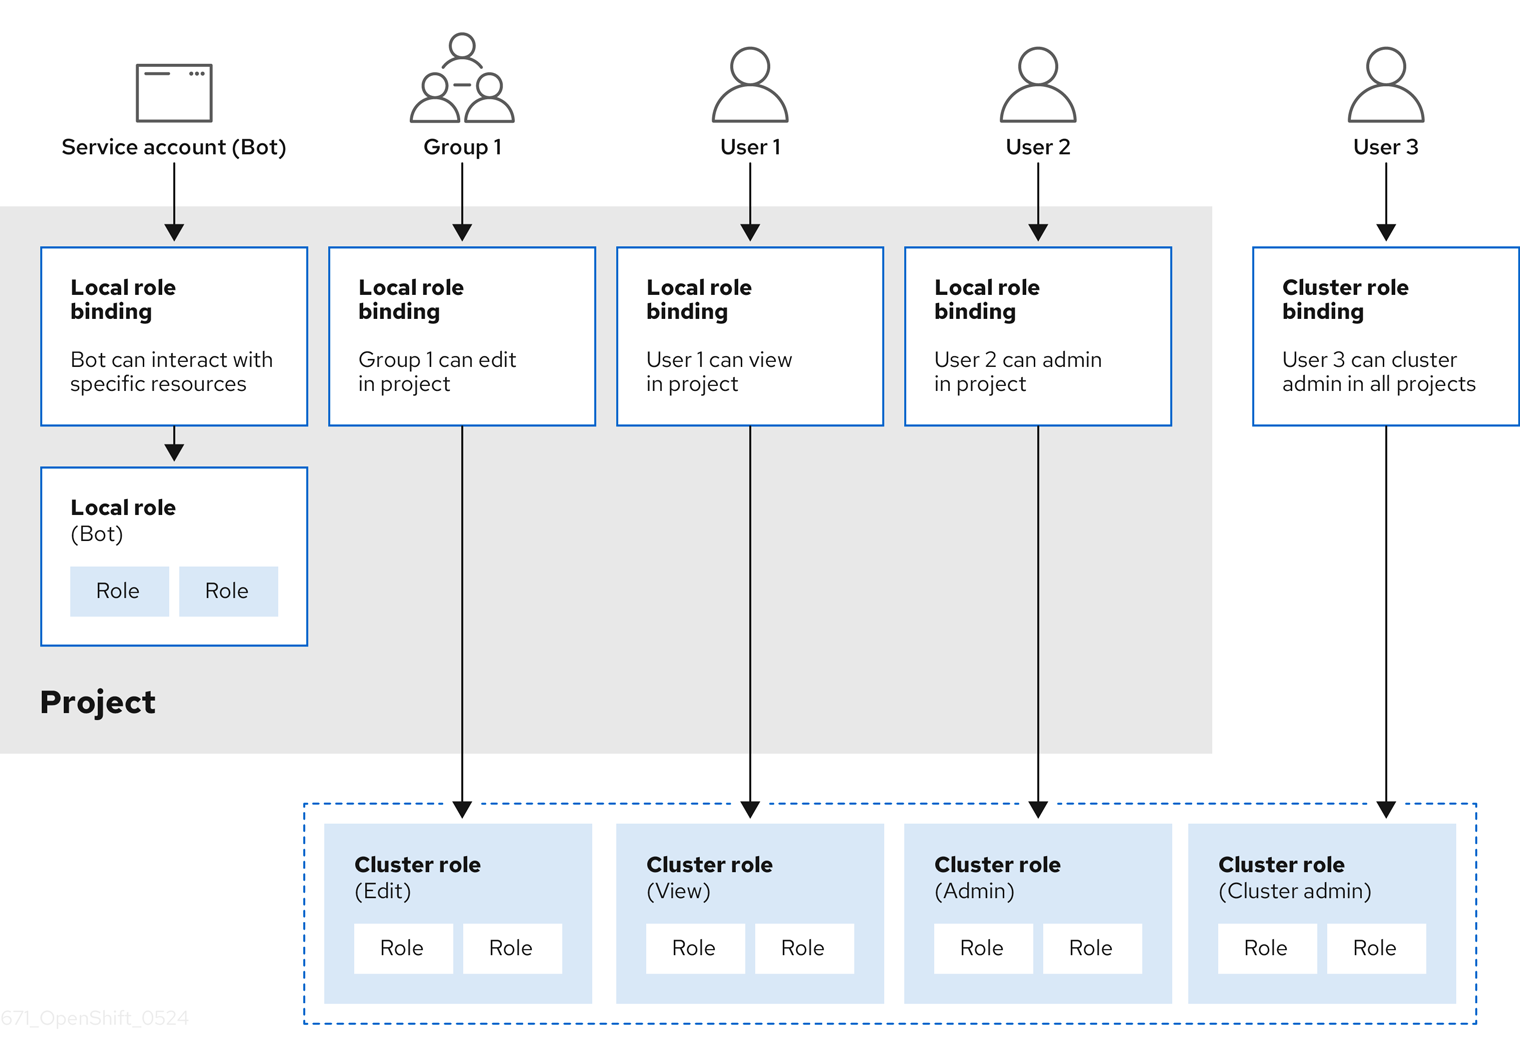
Groups in Keycloak map to OpenShift groups. When a user logs into OpenShift, their Keycloak group membership is included in the ID token - OpenShift reads it and creates the groups automatically.
-
Click Groups in the left sidebar
-
Click Create group
-
Set name to:
ocp-adminsand click Create
Assign admin1 to the group:
-
Click Users → click admin1
-
Click the Groups tab - you’ll see "No groups":
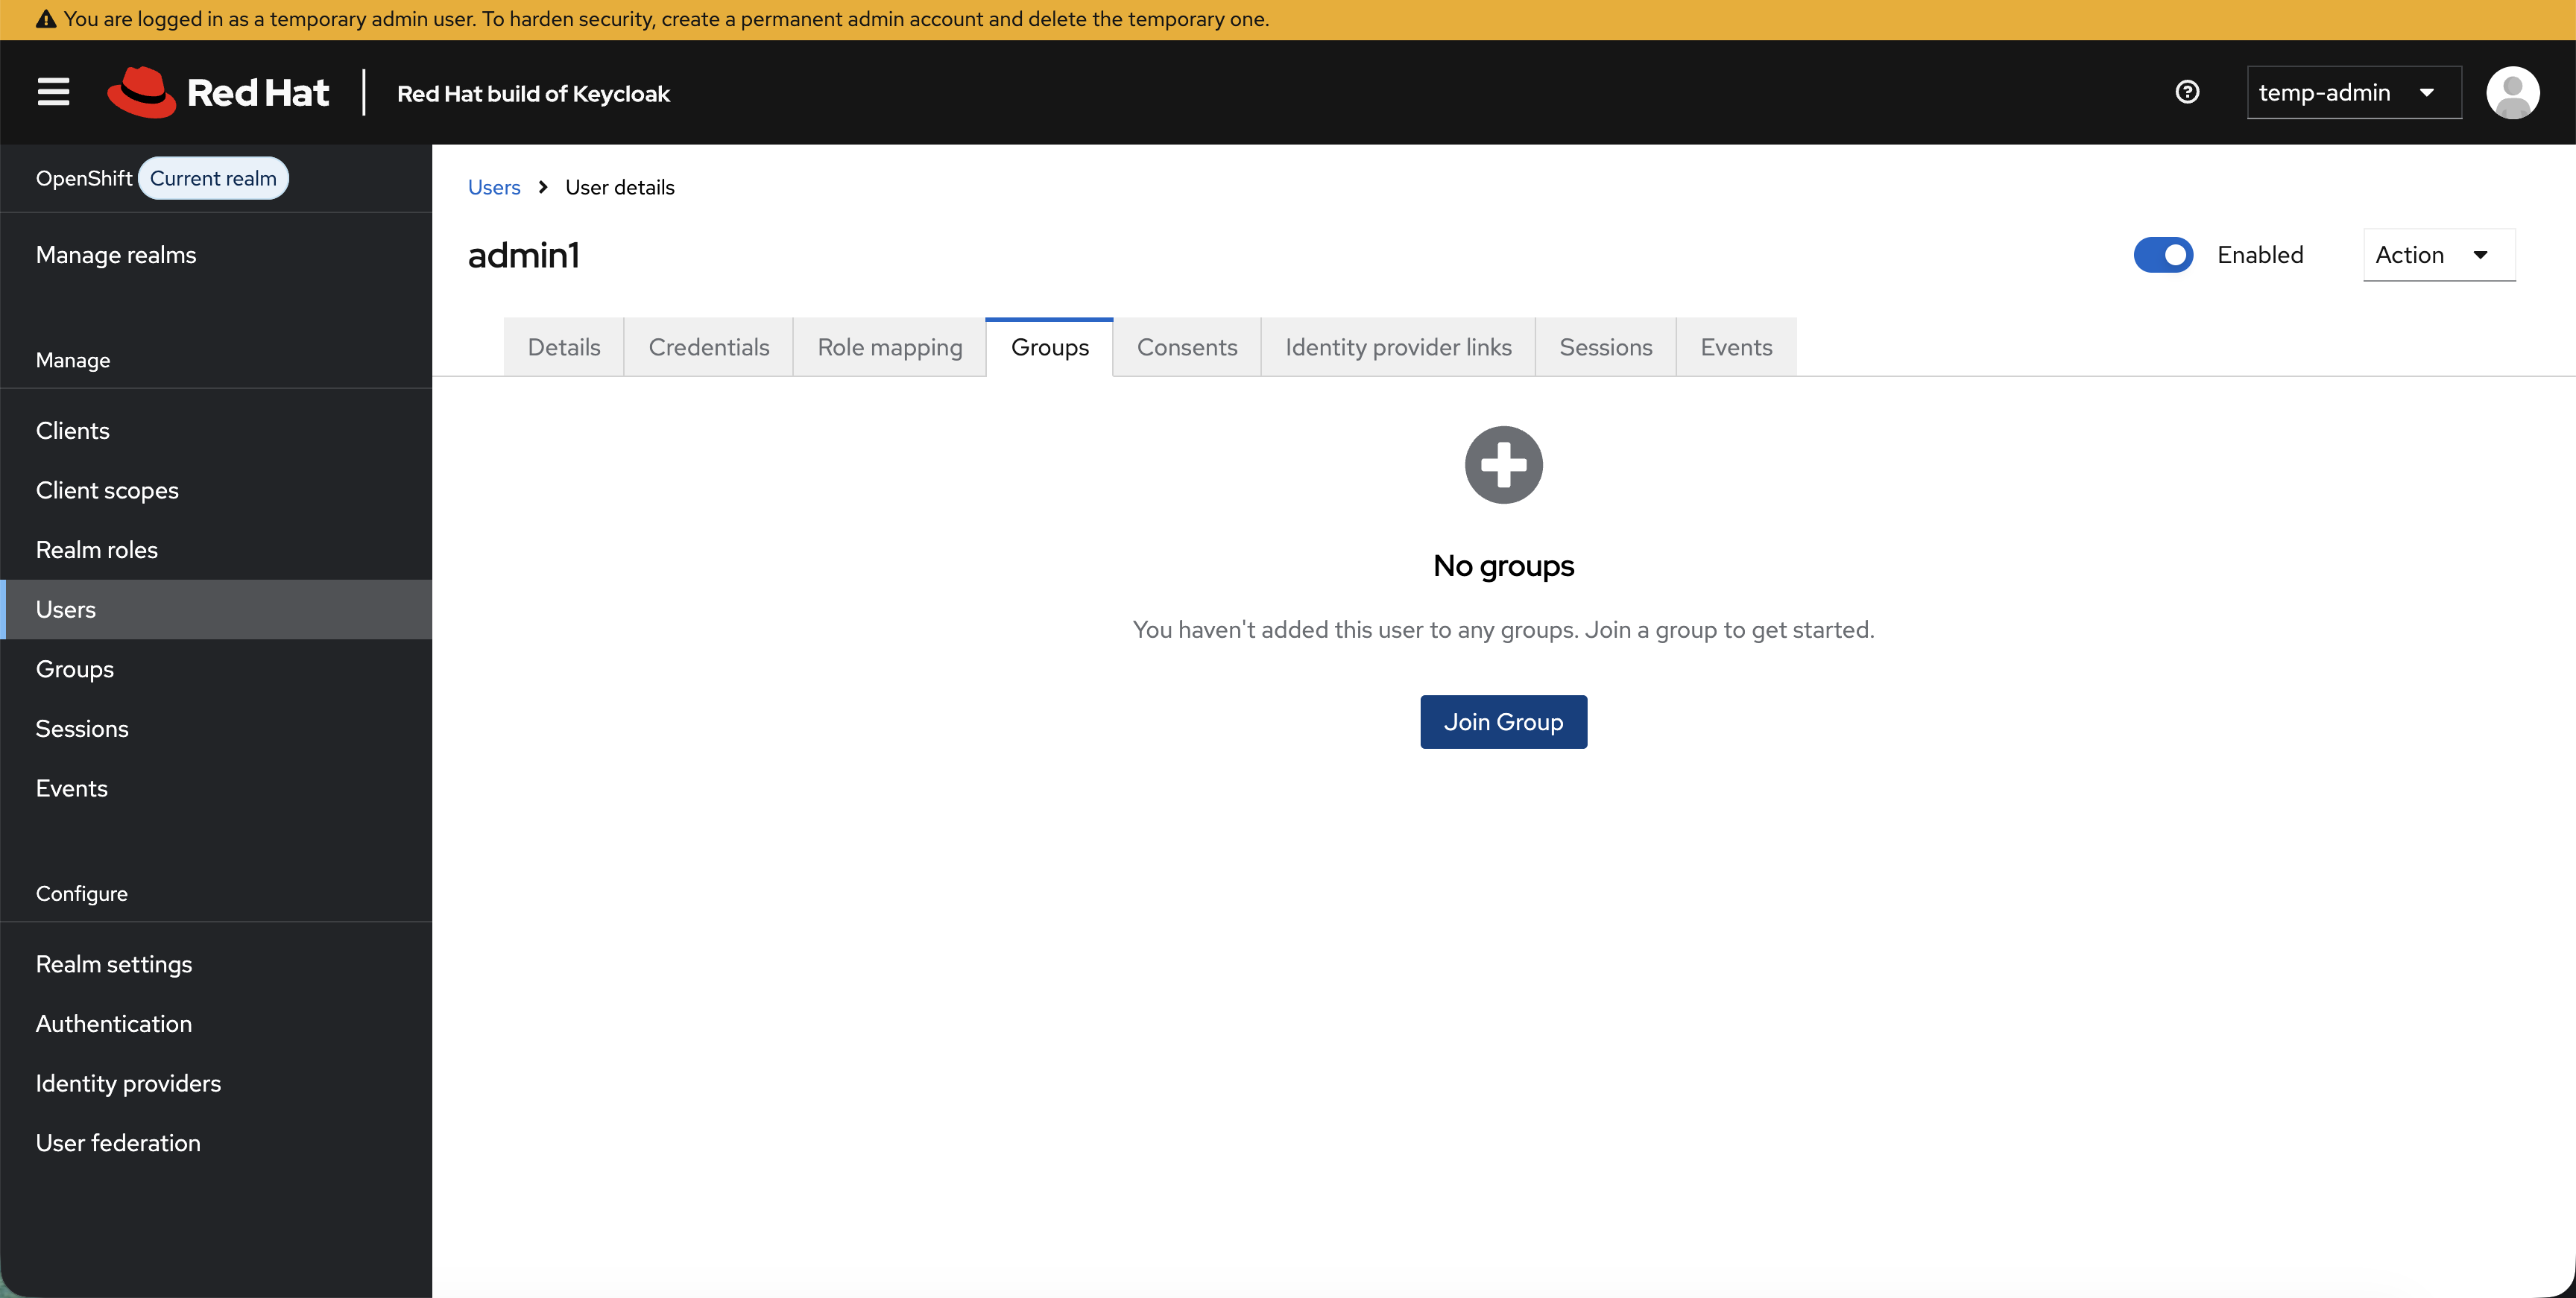
-
Click Join Group → select ocp-admins → click Join
Step 6: Script the Remaining Users and Groups
You’ve seen how users and groups work in the Keycloak UI. Rather than repeating those clicks, we’ll use the Keycloak REST API to create the remaining users, groups, and the OIDC client - the same API you’d use to automate this in production.
bash <(curl -sL https://raw.githubusercontent.com/rhpds/openshift-days-ops-showroom/main/support/08-oidc-authentication/setup-keycloak-oidc.sh)
In production, you’d use a Keycloak realm export or the Keycloak Operator’s KeycloakRealmImport CR to automate this entire setup declaratively.
|
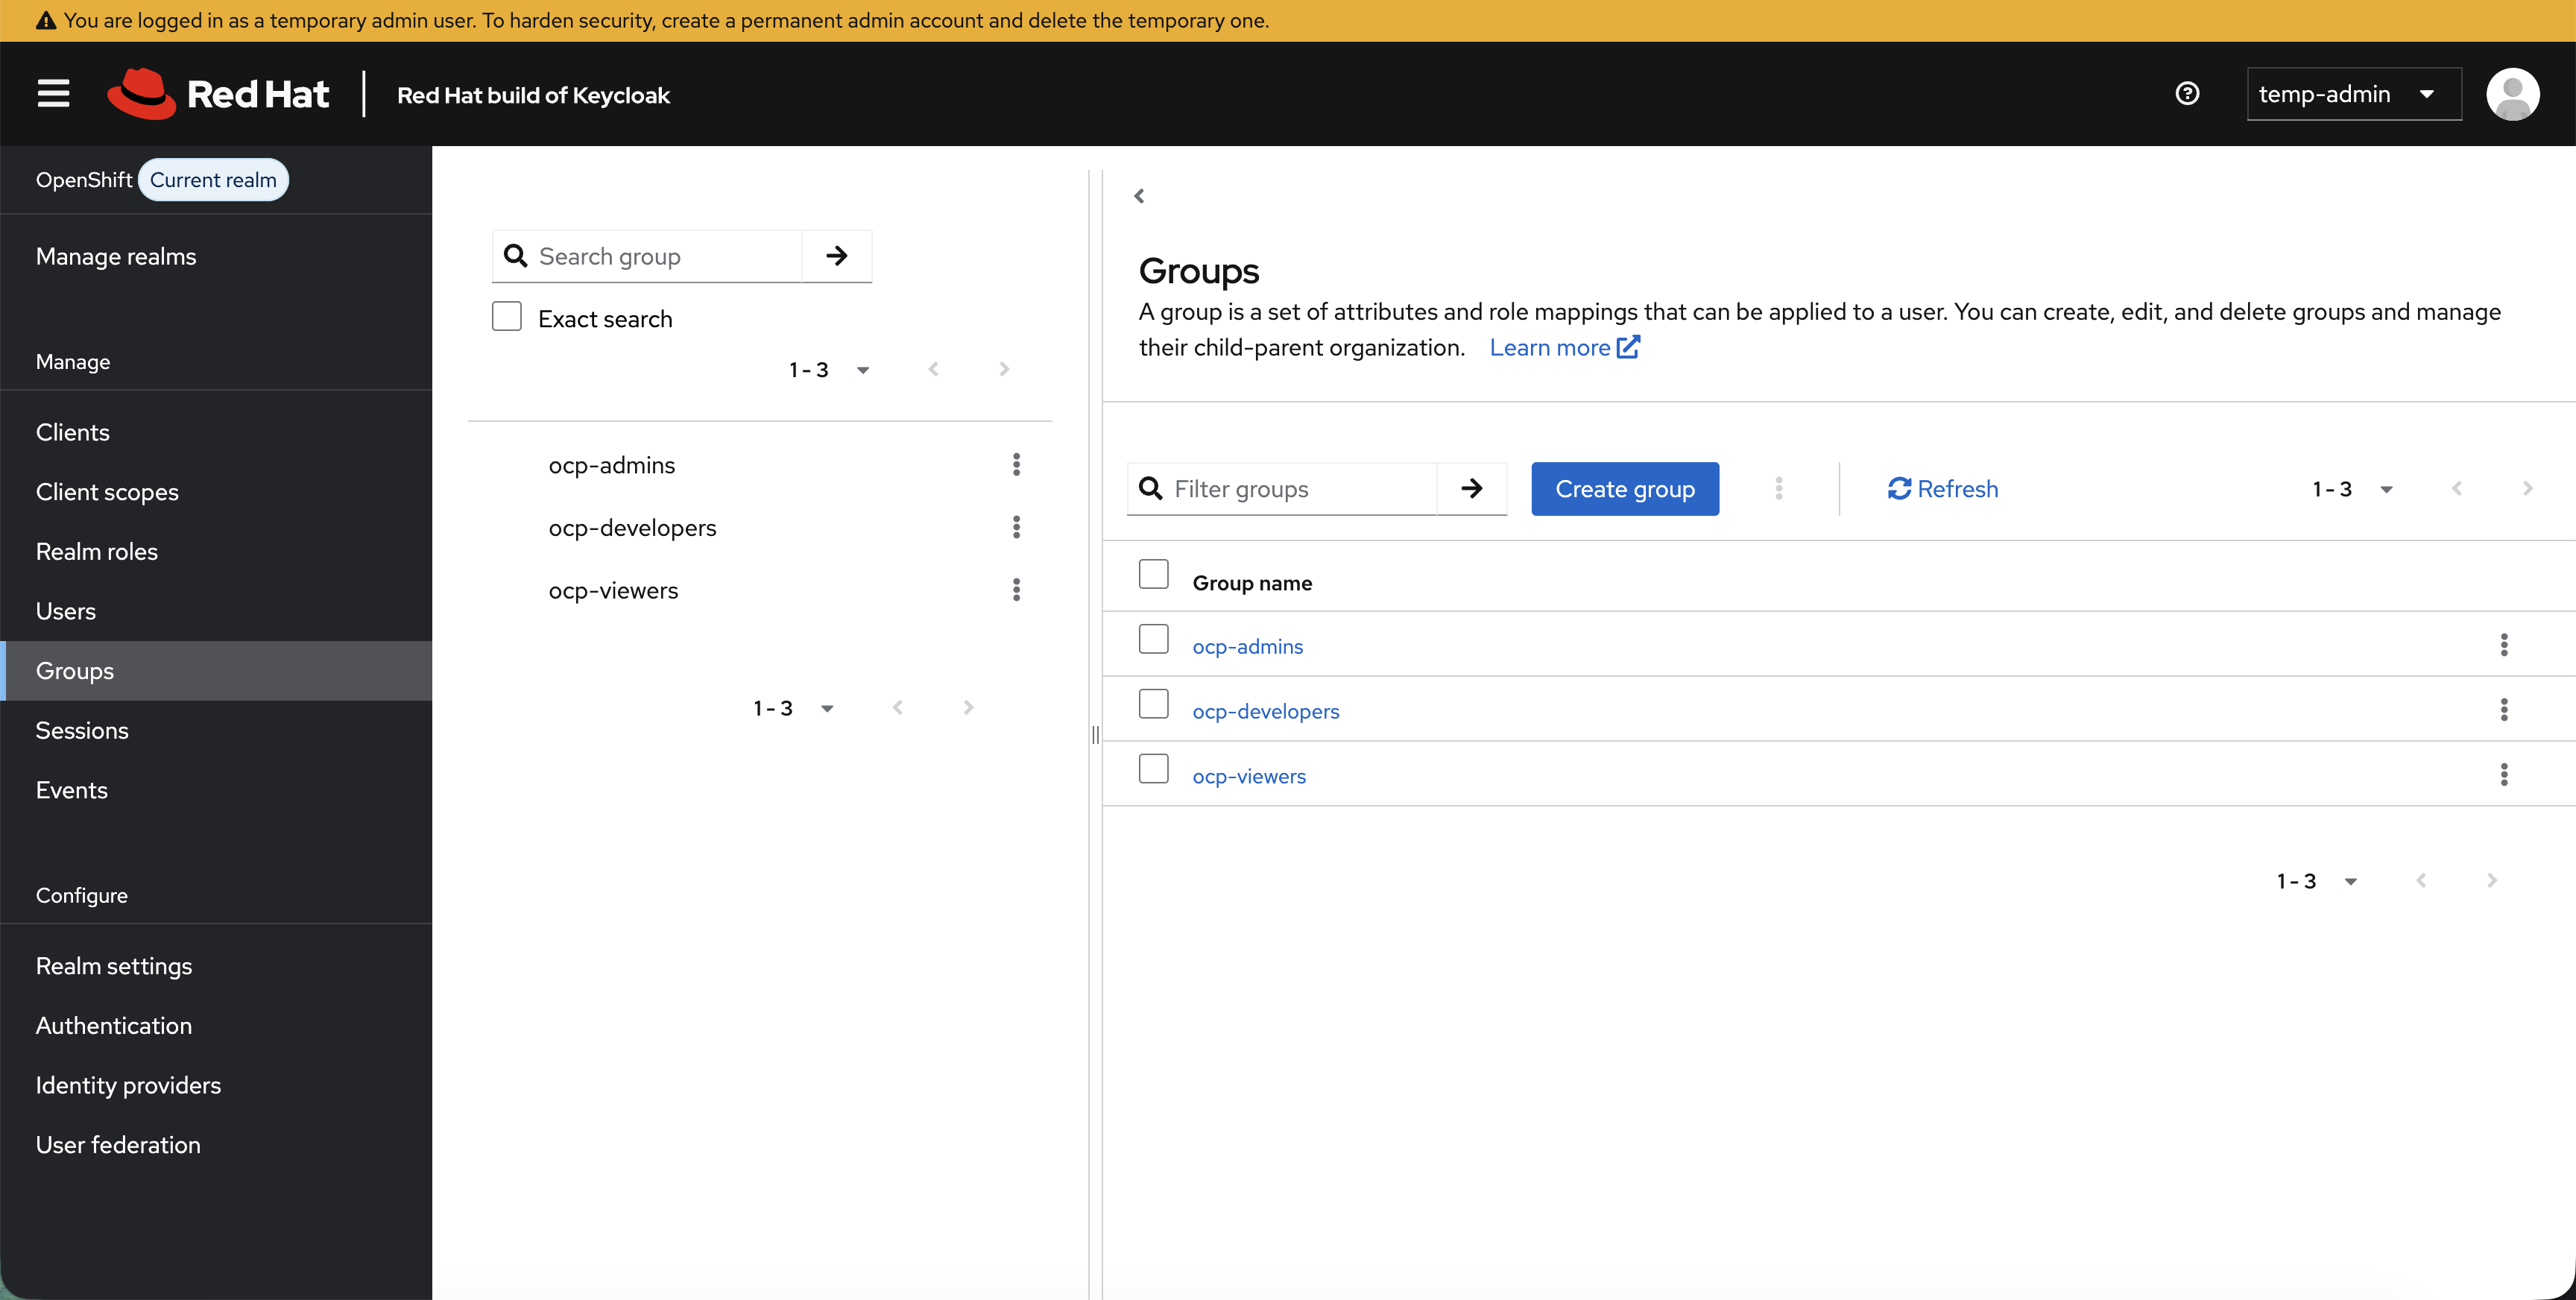
Verify the setup in the Keycloak UI - click Users and Groups to confirm all three users and three groups are present. Click Clients → openshift to see the client configuration and the groups mapper.
Connect to OpenShift
Step 7: Configure OpenShift OAuth
The Keycloak setup script already created the rhbk-client-secret in openshift-config with the correct client secret. Now configure OAuth to use it:
bash <(curl -sL https://raw.githubusercontent.com/rhpds/openshift-days-ops-showroom/main/support/08-oidc-authentication/configure-oauth-oidc.sh)The key line is claims.groups: [groups] - this tells OpenShift to read the groups claim from the ID token and create OpenShift groups from it. This is why the script added the groups mapper to the OIDC client.
Wait for the OAuth rollout:
oc rollout status deployment/oauth-openshift -n openshift-authentication --timeout=120s
echo "Waiting for all OAuth pods to be ready with new config..."
ELAPSED=0
until [ "$(oc get pods -n openshift-authentication -l app=oauth-openshift --no-headers 2>/dev/null | grep -c Running)" -ge 3 ] && \
      [ "$(oc get pods -n openshift-authentication -l app=oauth-openshift --no-headers 2>/dev/null | grep -vc Running)" -eq 0 ]; do
  sleep 5; ELAPSED=$((ELAPSED+5))
  [ $ELAPSED -ge 180 ] && echo "ERROR: Timed out - check 'oc get pods -n openshift-authentication'" && break
done
echo "OAuth is live with rhbk provider - you can log in now"| This takes a minute or two while the OAuth pods restart with the new configuration. Please wait for it to complete - only press Ctrl+C if it has been running for more than 5 minutes. |
Step 8: Test OIDC Login and Automatic Group Sync
-
In the OCP Console tab, click your username (top-right) and select Log out
-
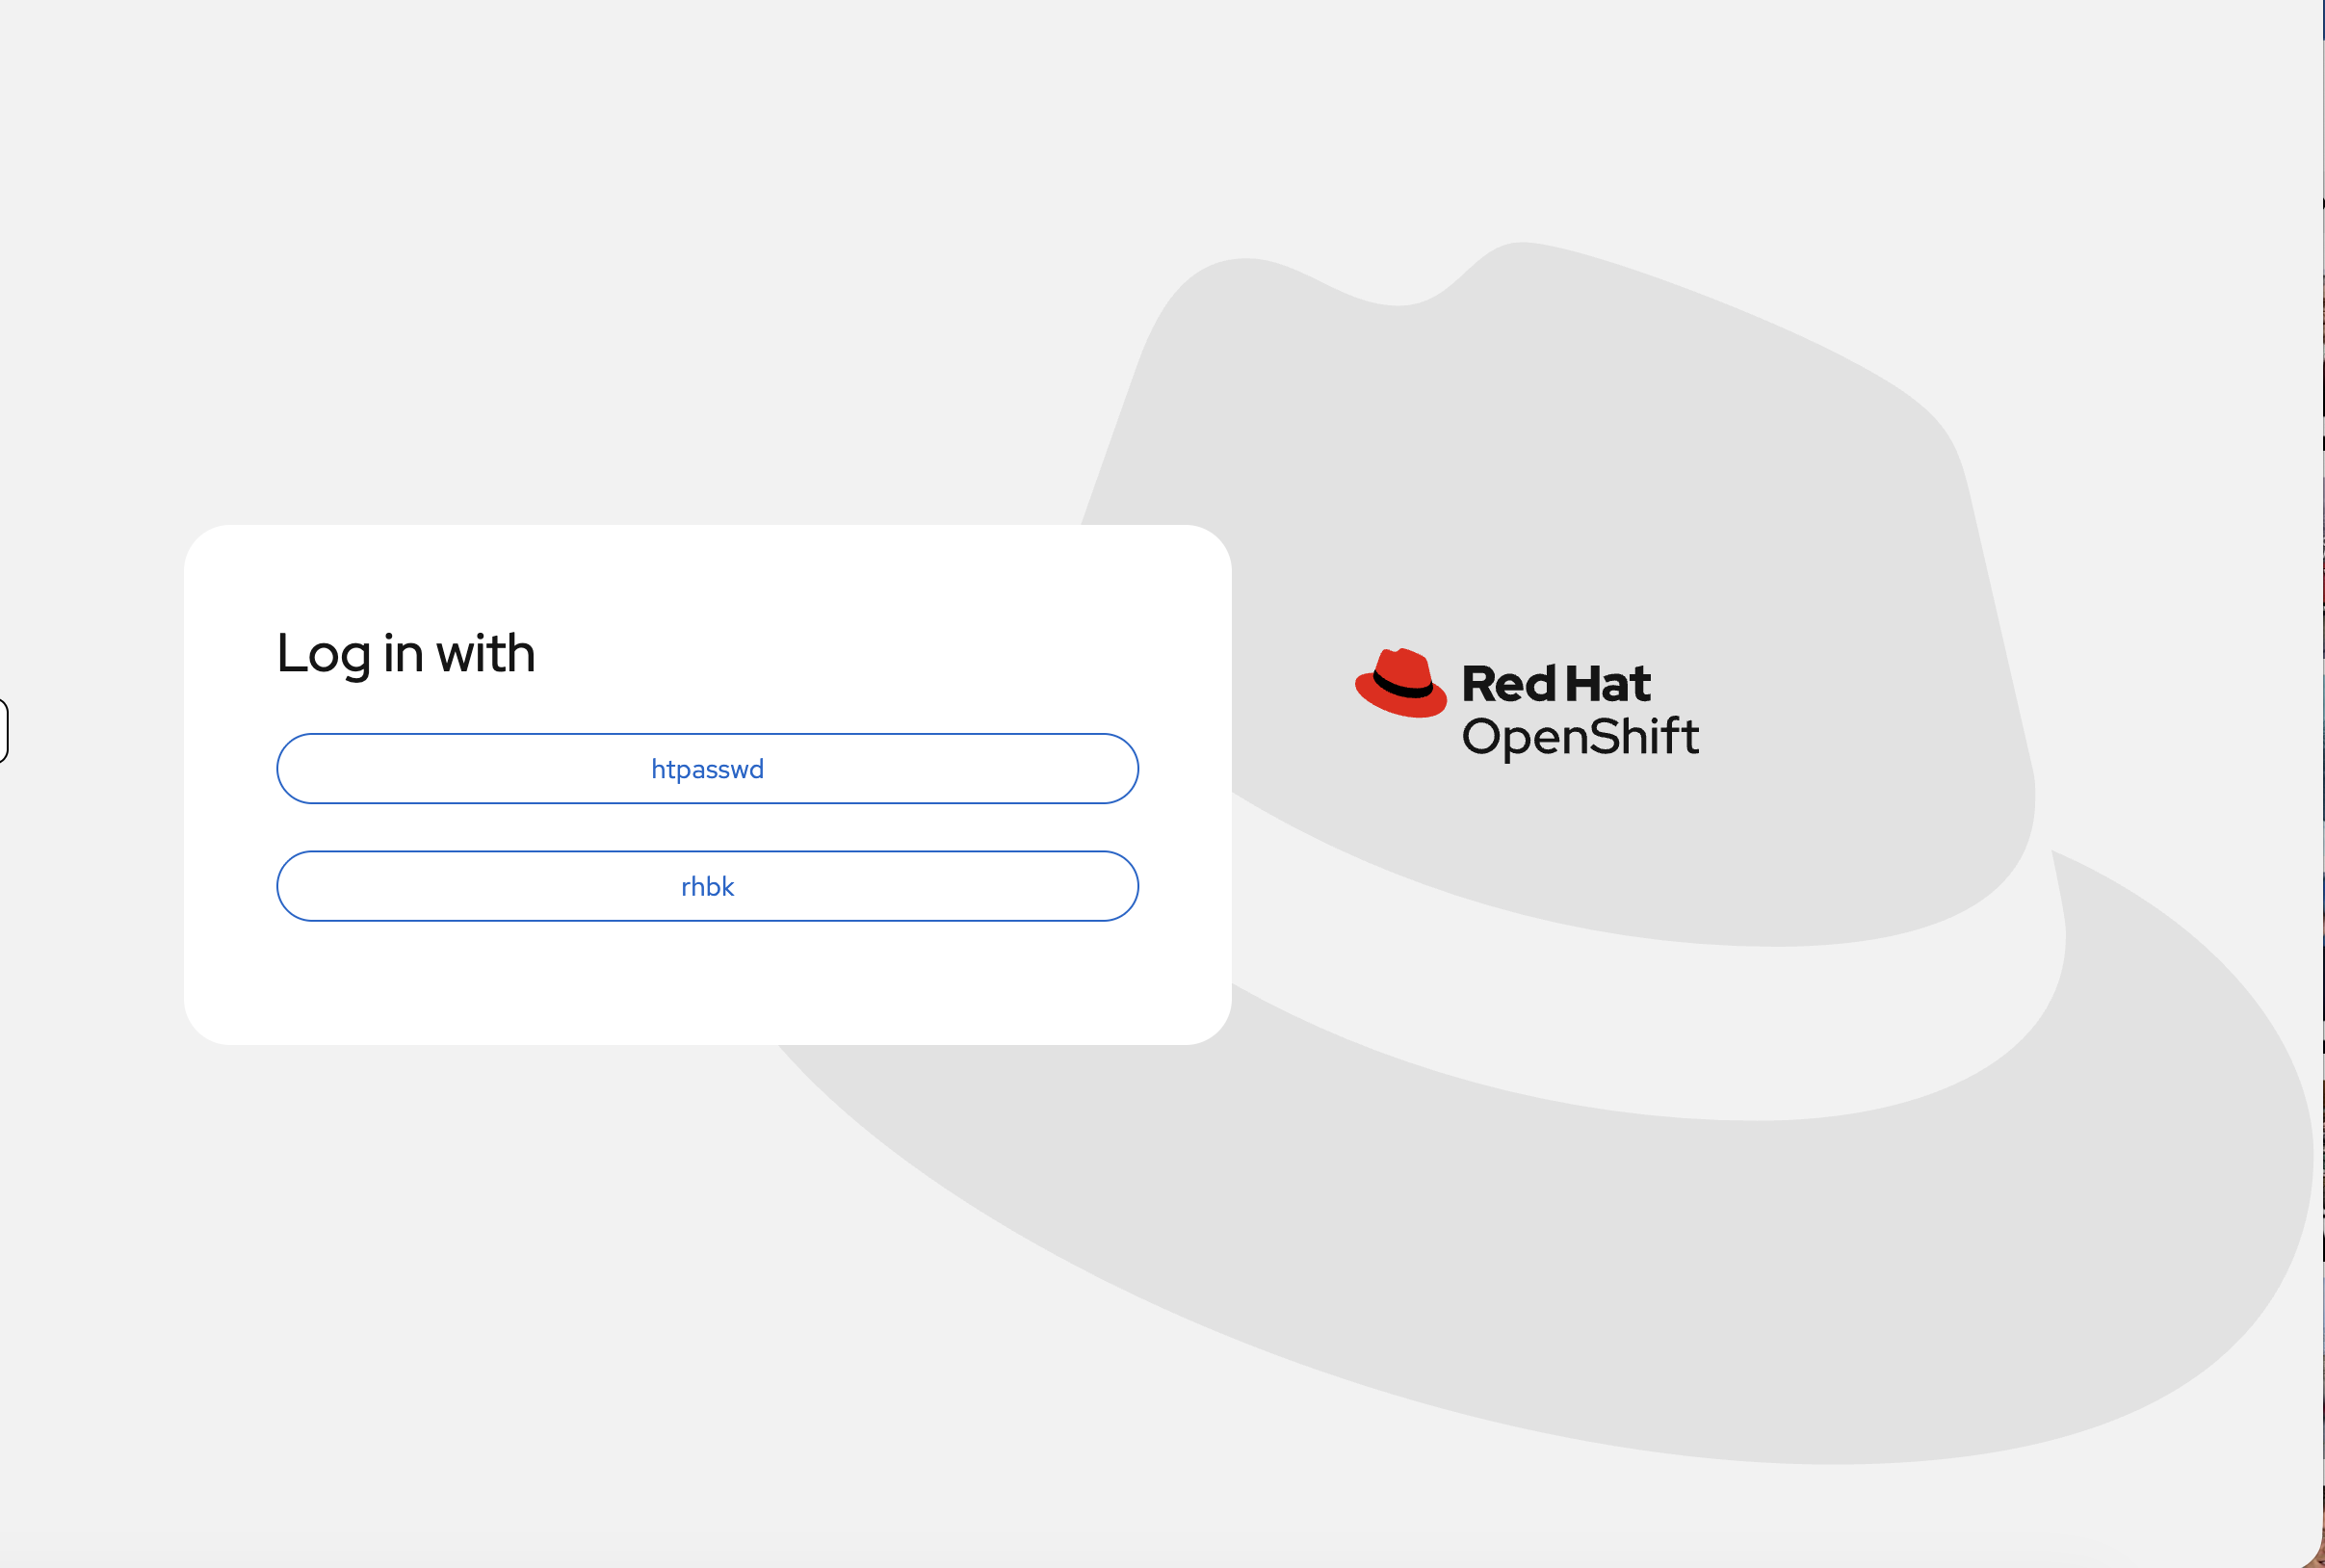
Click the reload button (circular arrow) next to the OCP Console tab name. You’ll see both identity providers:
-
Click rhbk
-
Log in as
developer1/OpenShift123!
|
You will likely see an Authentication error page: 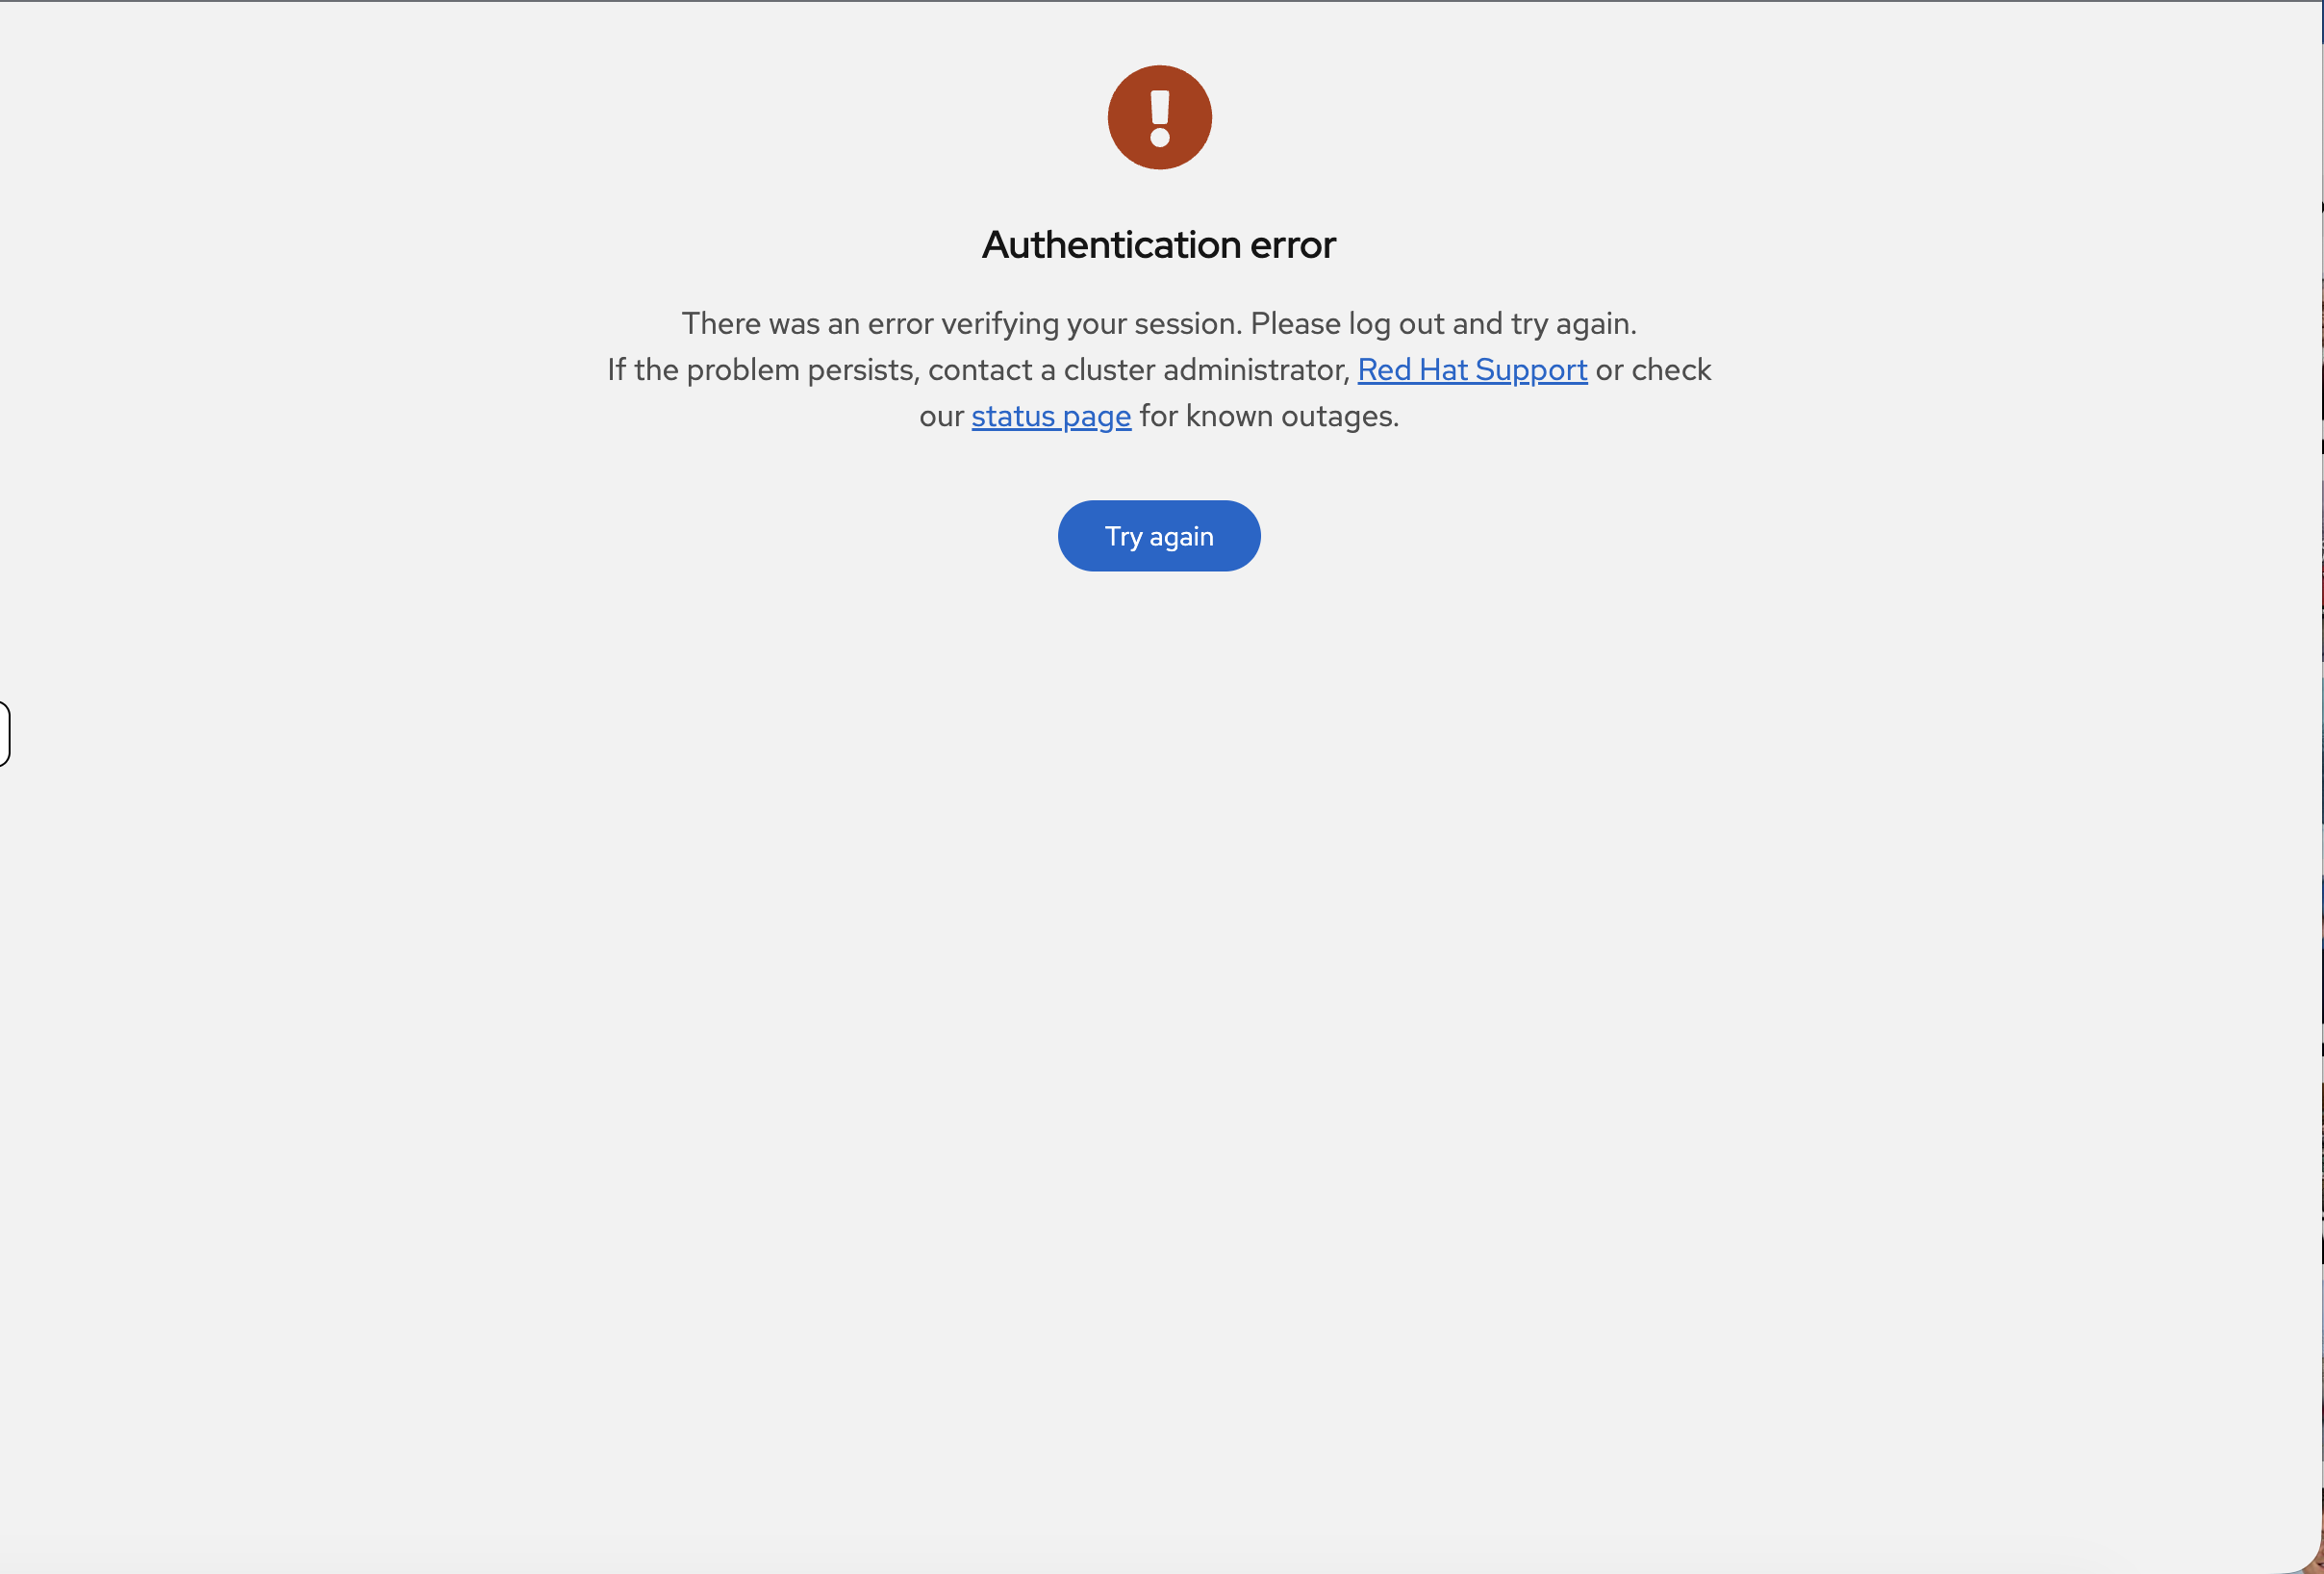
This is expected - RBAC has not been configured yet, so |
Now check what happened - the groups synced automatically. Back in the terminal:
oc login -u {openshift_cluster_admin_username} -p {openshift_cluster_admin_password} --insecure-skip-tls-verifyoc get groupsYou should see ocp-developers with developer1 as a member - created automatically from the ID token. Unlike LDAP which requires manual oc adm groups sync, OIDC groups appear automatically.
| You can also see the auto-created groups in the console at User Management > Groups. With OIDC, groups appear automatically - no manual sync step required. |
oc get user developer1 -o yamlNotice the identity provider is rhbk and the user was created on first login.
Configure RBAC
Step 9: Configure RBAC and Verify Permissions
Grant permissions to the OIDC groups:
# Cluster-admin for the admins group
oc adm policy add-cluster-role-to-group cluster-admin ocp-admins

# Cluster-reader for viewers
oc adm policy add-cluster-role-to-group cluster-reader ocp-viewers

# Create projects and grant developer access
oc adm new-project app-development --display-name="Application Development"
oc adm new-project app-production --display-name="Application Production"

oc adm policy add-role-to-group edit ocp-developers -n app-development
oc adm policy add-role-to-group view ocp-developers -n app-production
Now verify - reload the OCP Console tab. Since developer1 is already logged in via OIDC, the console should now show the projects they have access to. You should see Application Development and Application Production in the project list.
Test permissions from the terminal using developer1’s token:
-
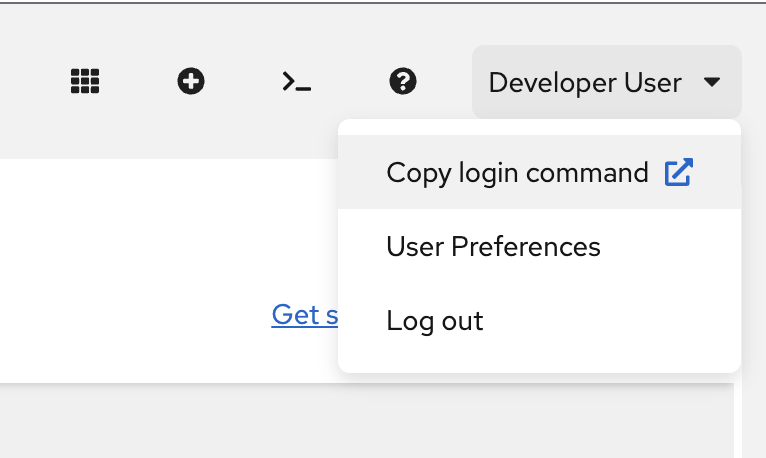
In the OCP Console (logged in as developer1), click your username (top-right) → Copy login command → click rhbk → Display Token
-
Copy the
oc login --token=…command and paste it in the terminal
Verify you are logged in as developer1:
oc whoamiYou should see developer1. If you still see the admin user, the token login may have failed - try copying and pasting it again.
oc auth can-i create deployment -n app-developmentReturns: yes (edit access from ocp-developers)
oc auth can-i create deployment -n app-productionReturns: no (view-only in production)
This is the standard RBAC pattern - users belong to groups, groups get RoleBindings. With OIDC, the groups are created automatically from the ID token instead of requiring manual sync.
Restore admin access:
oc login -u {openshift_cluster_admin_username} -p {openshift_cluster_admin_password} --insecure-skip-tls-verifyCleanup & Summary
Cleanup
bash <(curl -sL https://raw.githubusercontent.com/rhpds/openshift-days-ops-showroom/main/support/cleanup-scripts/cleanup-oidc.sh)Summary
What you did:
-
Deployed and configured the Red Hat build of Keycloak from scratch
-
Created a realm, users, groups, and an OIDC client in the admin console
-
Configured the groups protocol mapper that drives automatic group sync
-
Integrated OpenShift OAuth with Keycloak as an OIDC provider
-
Saw groups sync automatically from ID token claims - no manual sync required
OIDC vs LDAP - key difference:
-
LDAP: Groups require manual
oc adm groups sync(or a CronJob) -
OIDC: Groups sync automatically on every login from token claims
Both methods are valid - choose based on your organization’s identity infrastructure. Many enterprises use Keycloak as a broker that federates to LDAP/AD backends, giving you OIDC’s automatic sync with LDAP’s existing user directory.
Additional Resources
-
OpenID Connect Configuration: Configuring an OpenID Connect identity provider
-
Red Hat build of Keycloak: RHBK Documentation
-
RHBK Operator: RHBK Operator Guide
-
RBAC Documentation: Using RBAC