Workflows
In this exercise, you will link multiple job templates into a workflow. Workflows connect templates that may or may not share inventory, playbooks, or permissions, with conditional logic: if one job succeeds, the next runs; if it fails, an alternate job runs instead. Workflows can also include project or inventory updates, enabling different teams to collaborate efficiently.
Lab scenario
You have two departments in your organization:
-
Web operations team: developing playbooks in their Git branch
webops. -
Web developers team: working in their branch
webdev.
When a new Node.js server is needed, the following tasks must be performed:
Web operations team tasks
-
Install
httpd,firewalld, andnode.js. -
Configure
SELinuxsettings, open the firewall, and starthttpdandnode.js.
Web developers team tasks
-
Deploy the latest version of the web application and restart
node.js.
The web operations team sets up the server, and the developers deploy the application.
|
For this example, both teams use branches of the same Git repository. In a real scenario, your source control structure may vary. |
Set up projects
First, set up the Git repositories as projects.
| If logged in as wweb, log out and log in as admin. |
Within Automation Execution → Projects, click Create project to set up the web operations team’s project:
| Parameter | Value |
|---|---|
Name |
Webops Git Repo |
Organization |
Default |
Execution Environment |
Default execution environment |
Source control type |
Git |
Source control URL |
|
Source control branch/tag/commit |
|
Options |
✓ Clean |
Click Create project.
Repeat the process to set up the Webdev Git Repo, using the branch webdev.
| Parameter | Value |
|---|---|
Name |
Webdev Git Repo |
Organization |
Default |
Execution Environment |
Default execution environment |
Source control type |
Git |
Source control URL |
|
Source control branch/tag/commit |
|
Options |
✓ Clean |
Set up job templates
Within Automation Execution → Templates, click the Create template dropdown and select Create job template. Fill out the form with the following values:
| Parameter | Value |
|---|---|
Name |
Web App Deploy |
Inventory |
Workshop Inventory |
Project |
Webops Git Repo |
Playbook |
|
Execution Environment |
Default execution environment |
Credentials |
Workshop Credentials |
Options |
✓ Privilege Escalation |
Click Create job template, and then repeat the process for the Node.js Deploy template, changing the project to Webdev Git Repo and the playbook to rhel/webdev/install_node_app.yml.
Set up the workflow
Within Automation Execution → Templates, click the Create template dropdown and select Create workflow job template. Fill in the details:
| Parameter | Value |
|---|---|
Name |
Deploy Webapp Server |
Click Create workflow job template to open the Workflow Visualizer.
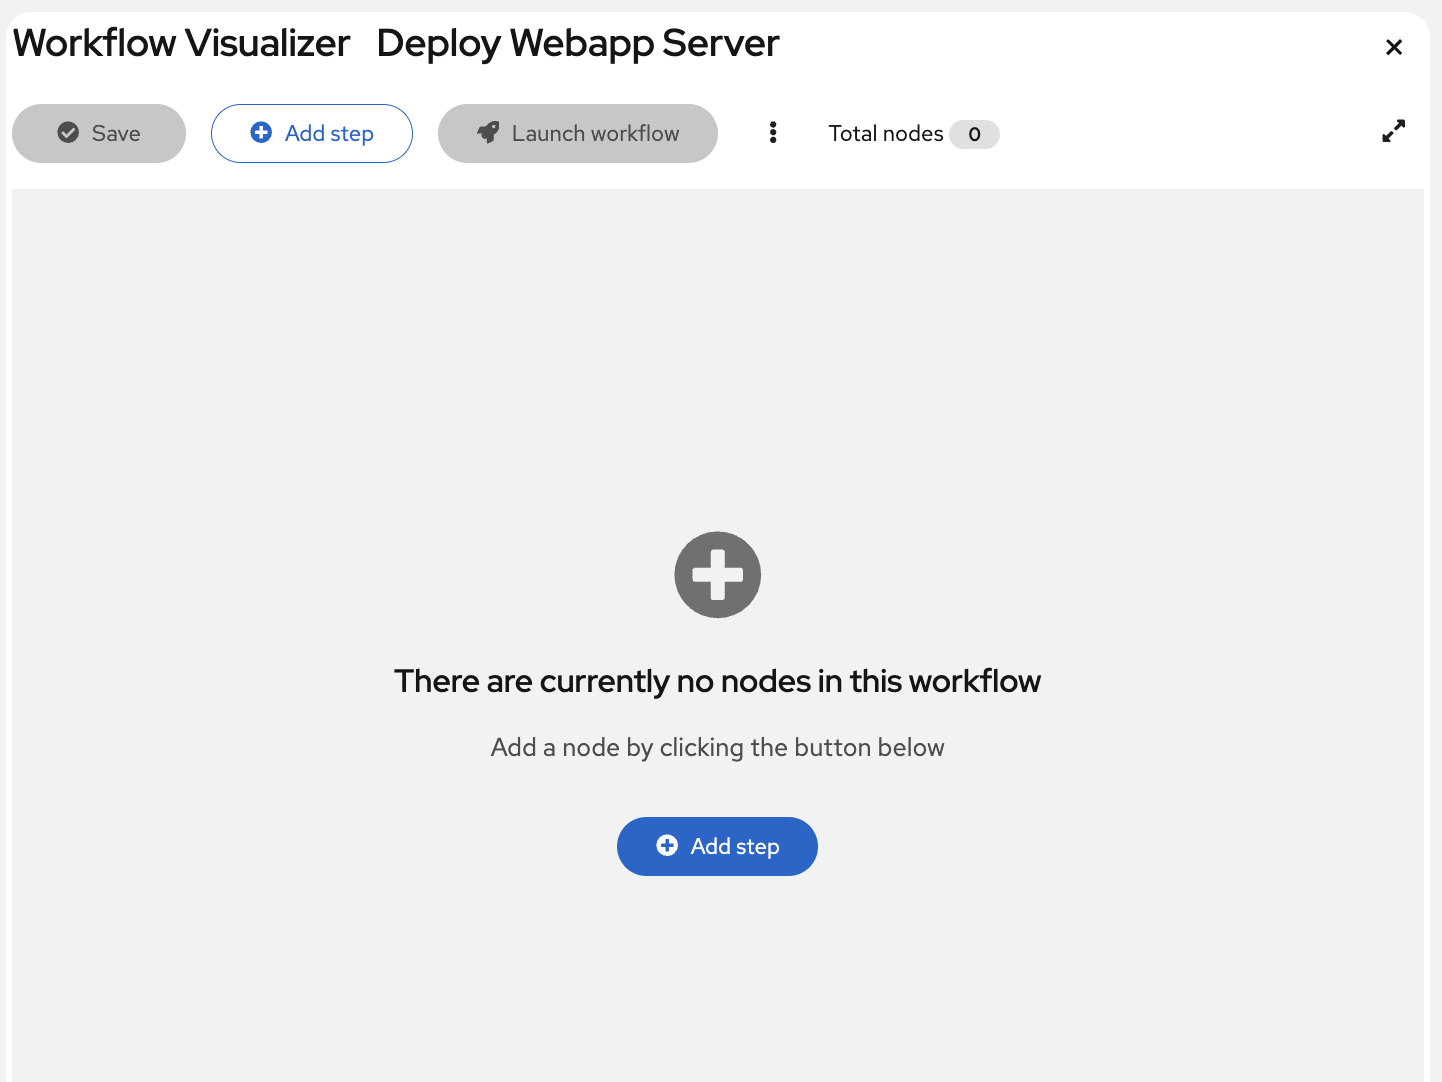
-
Click Add step and fill in the following for the first node:
Parameter Value Node type
Job Template
Job template
Web App Deploy
Convergence
Any
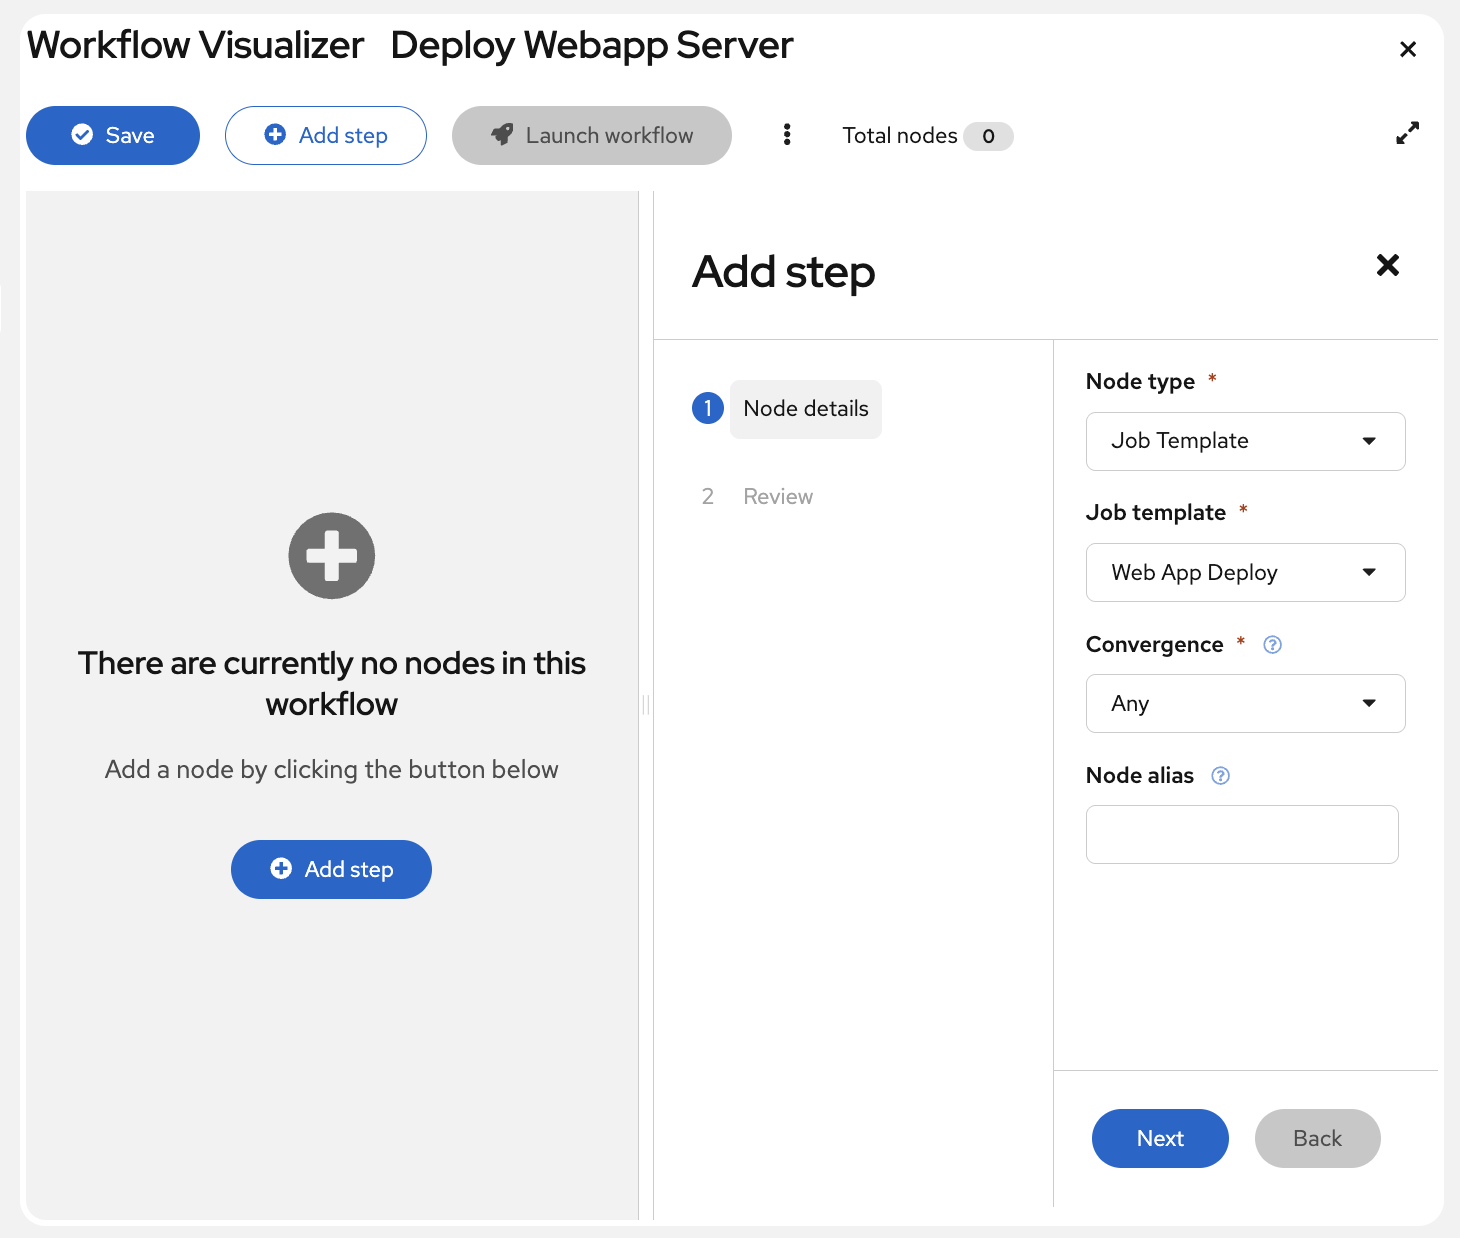
Click Next then Finish.
-
On the first node, click the kebab menu (⋮) and select Add step and link. Fill in the following for the second node:
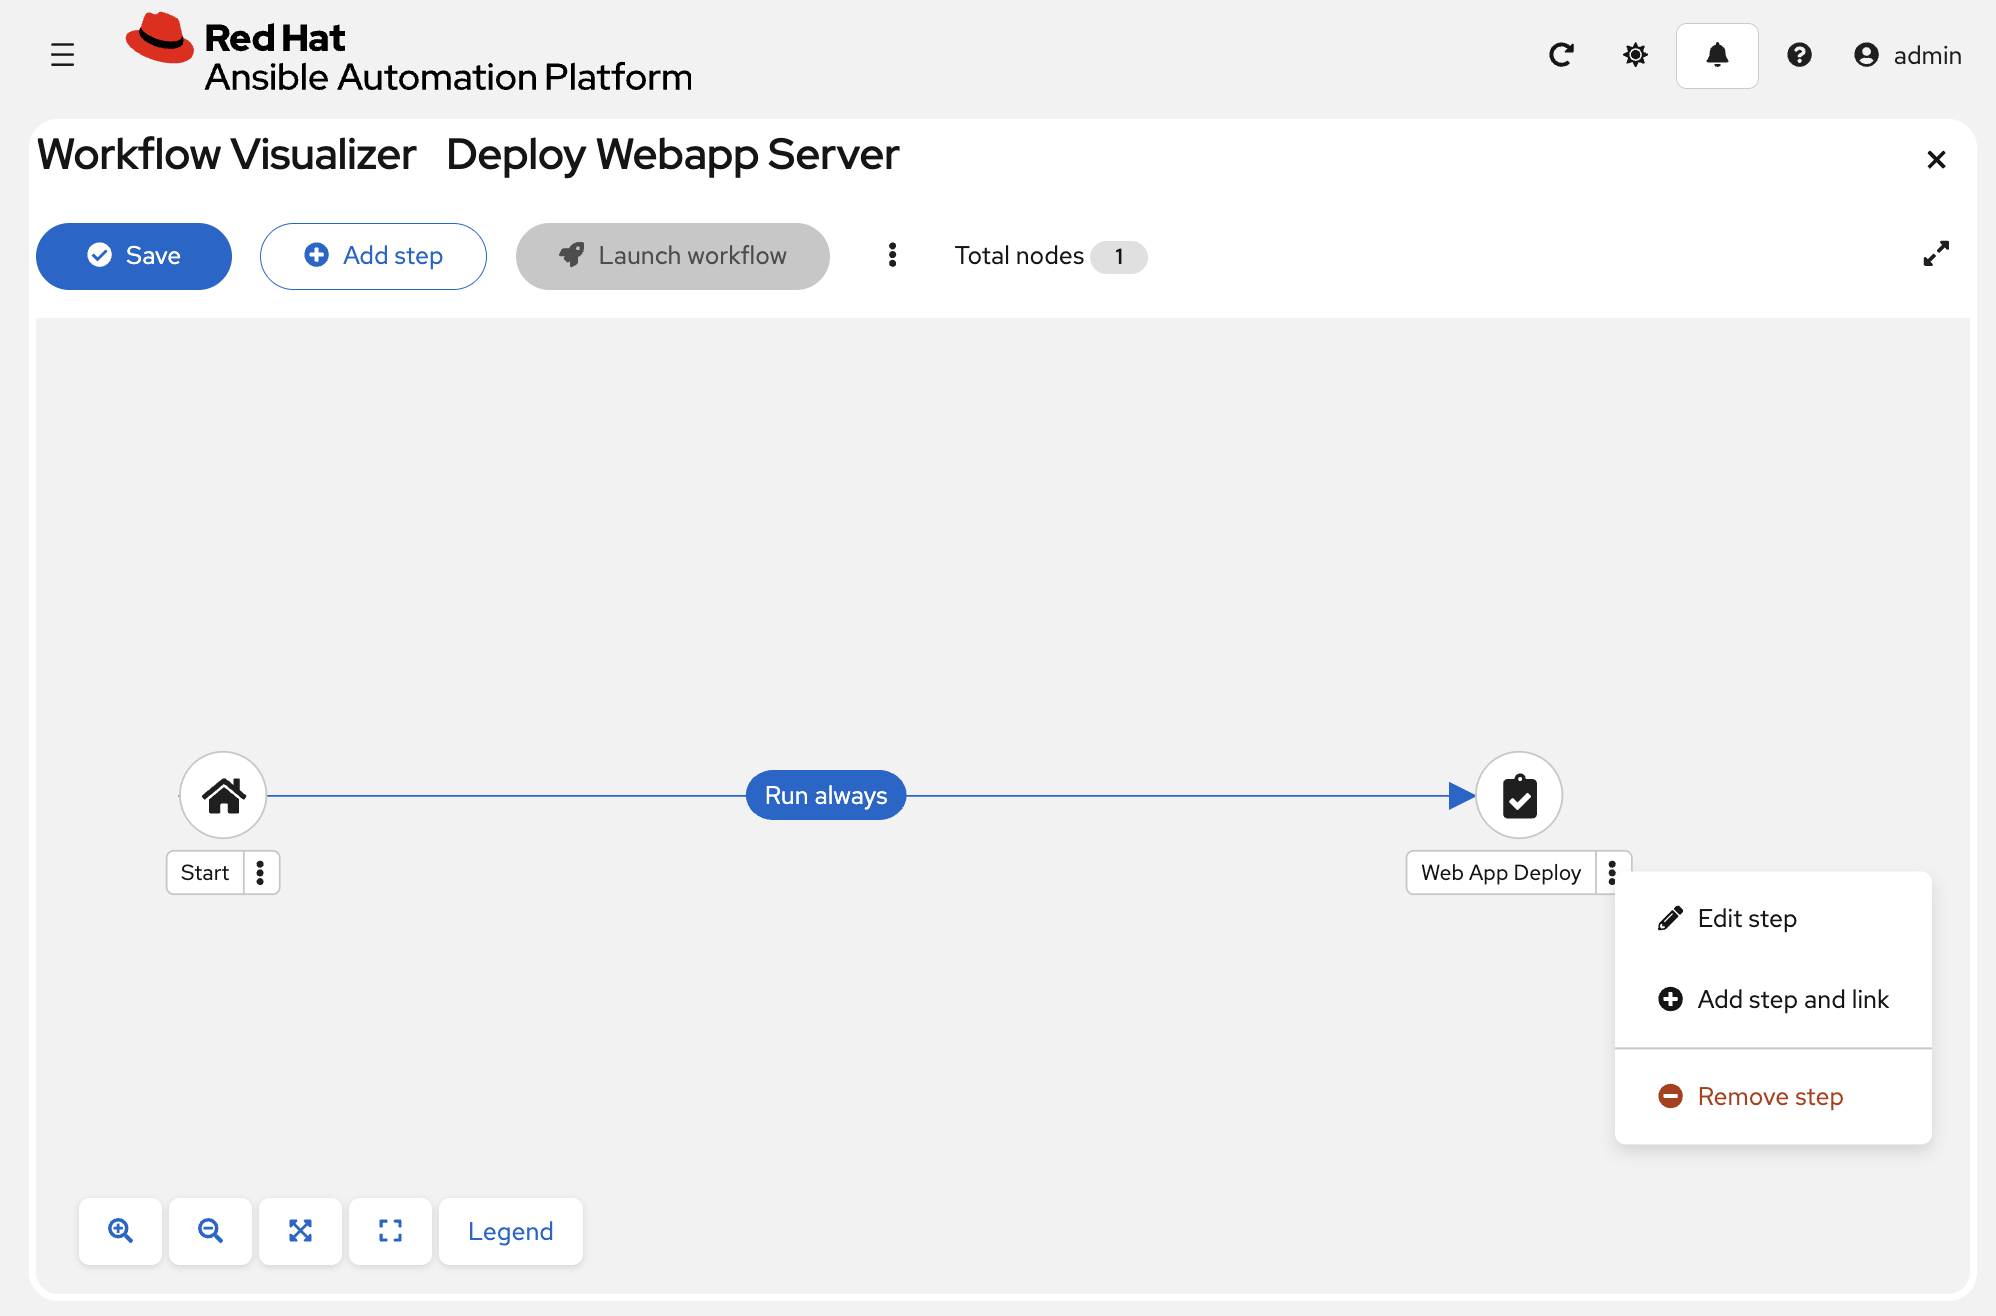
+
| Parameter | Value |
|---|---|
Node type |
Job Template |
Job template |
Node.js Deploy |
Convergence |
Any |
Run type |
On Success |
+ Click Next then Finish.
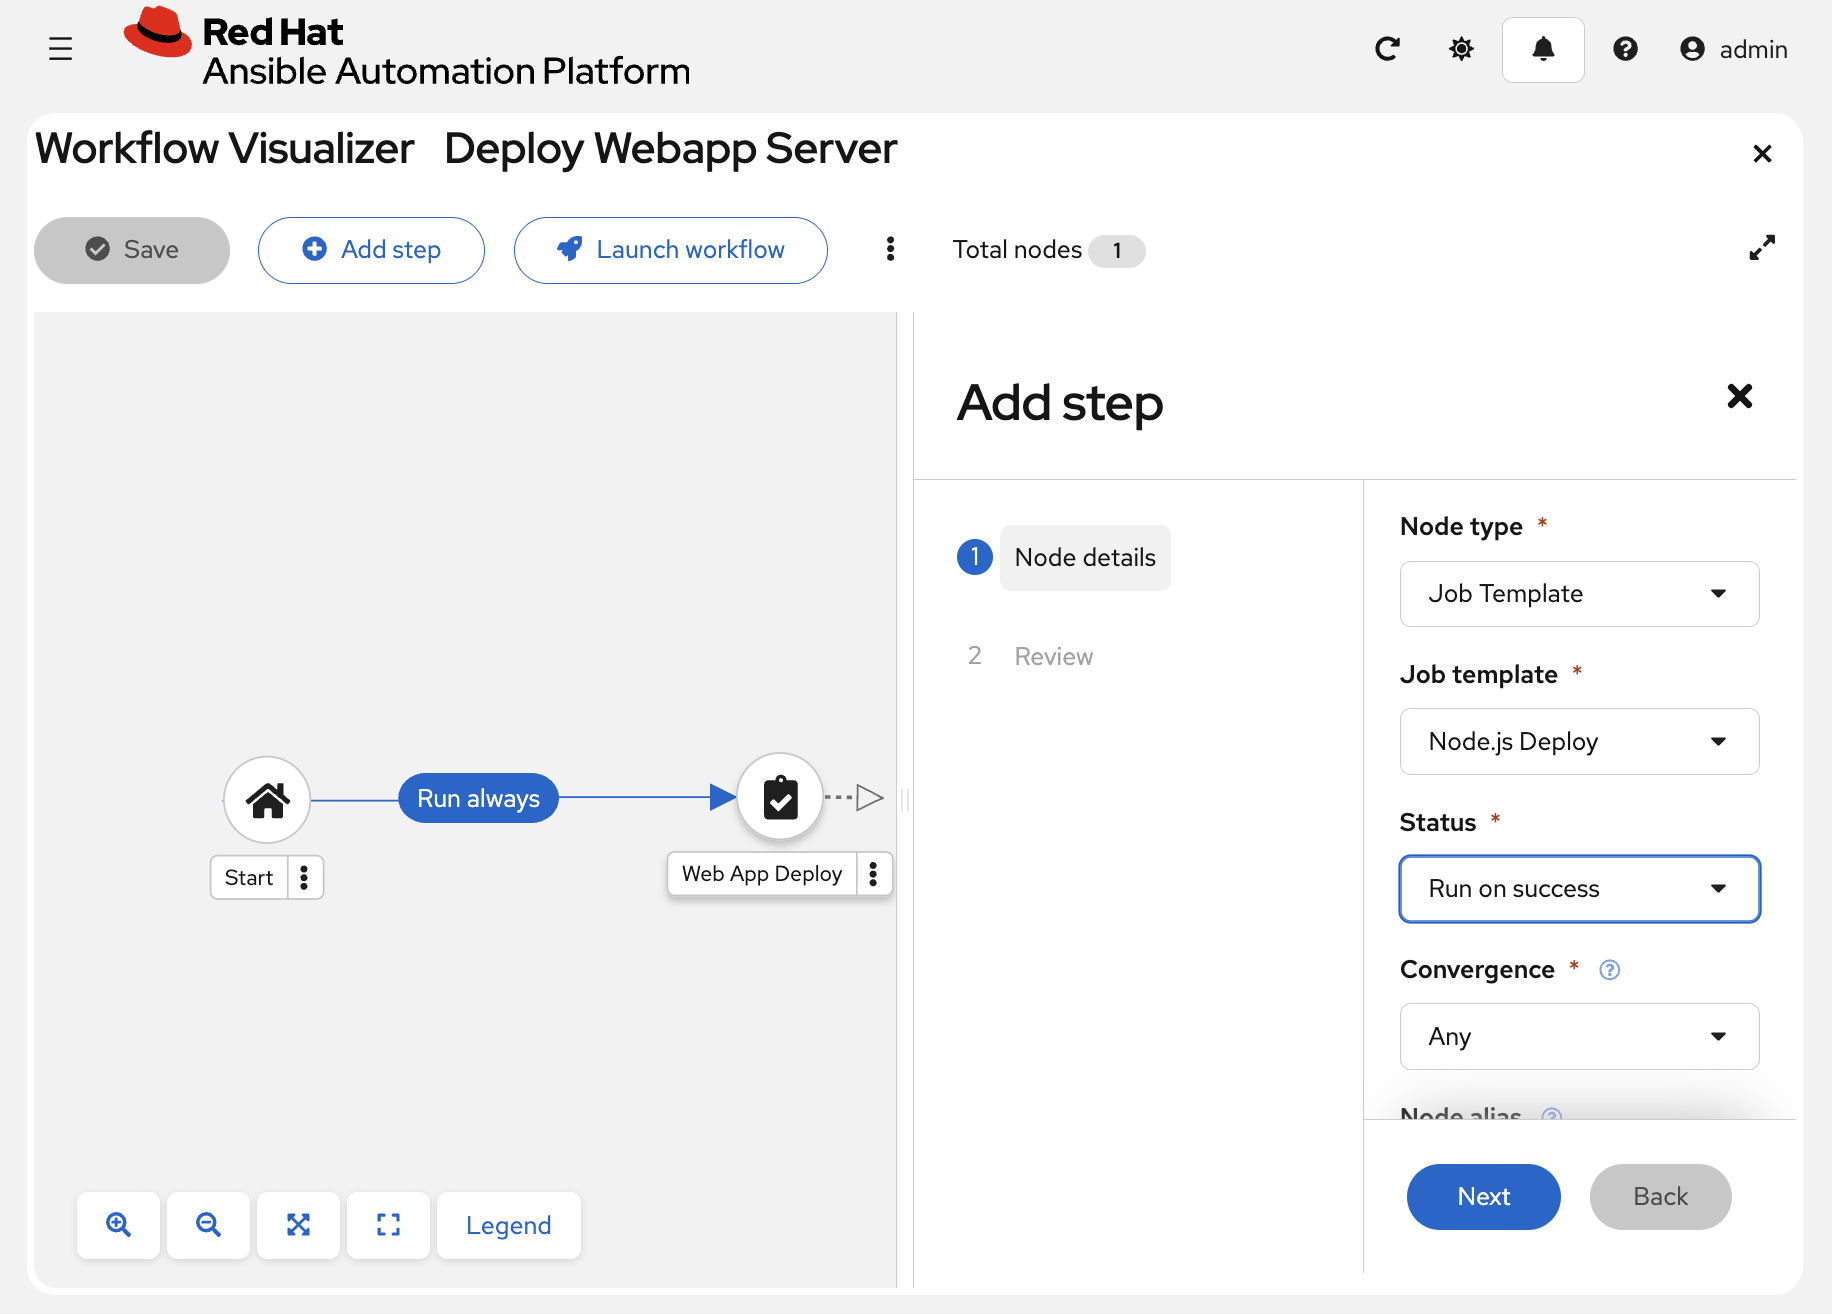
Click Save to finalize the workflow.
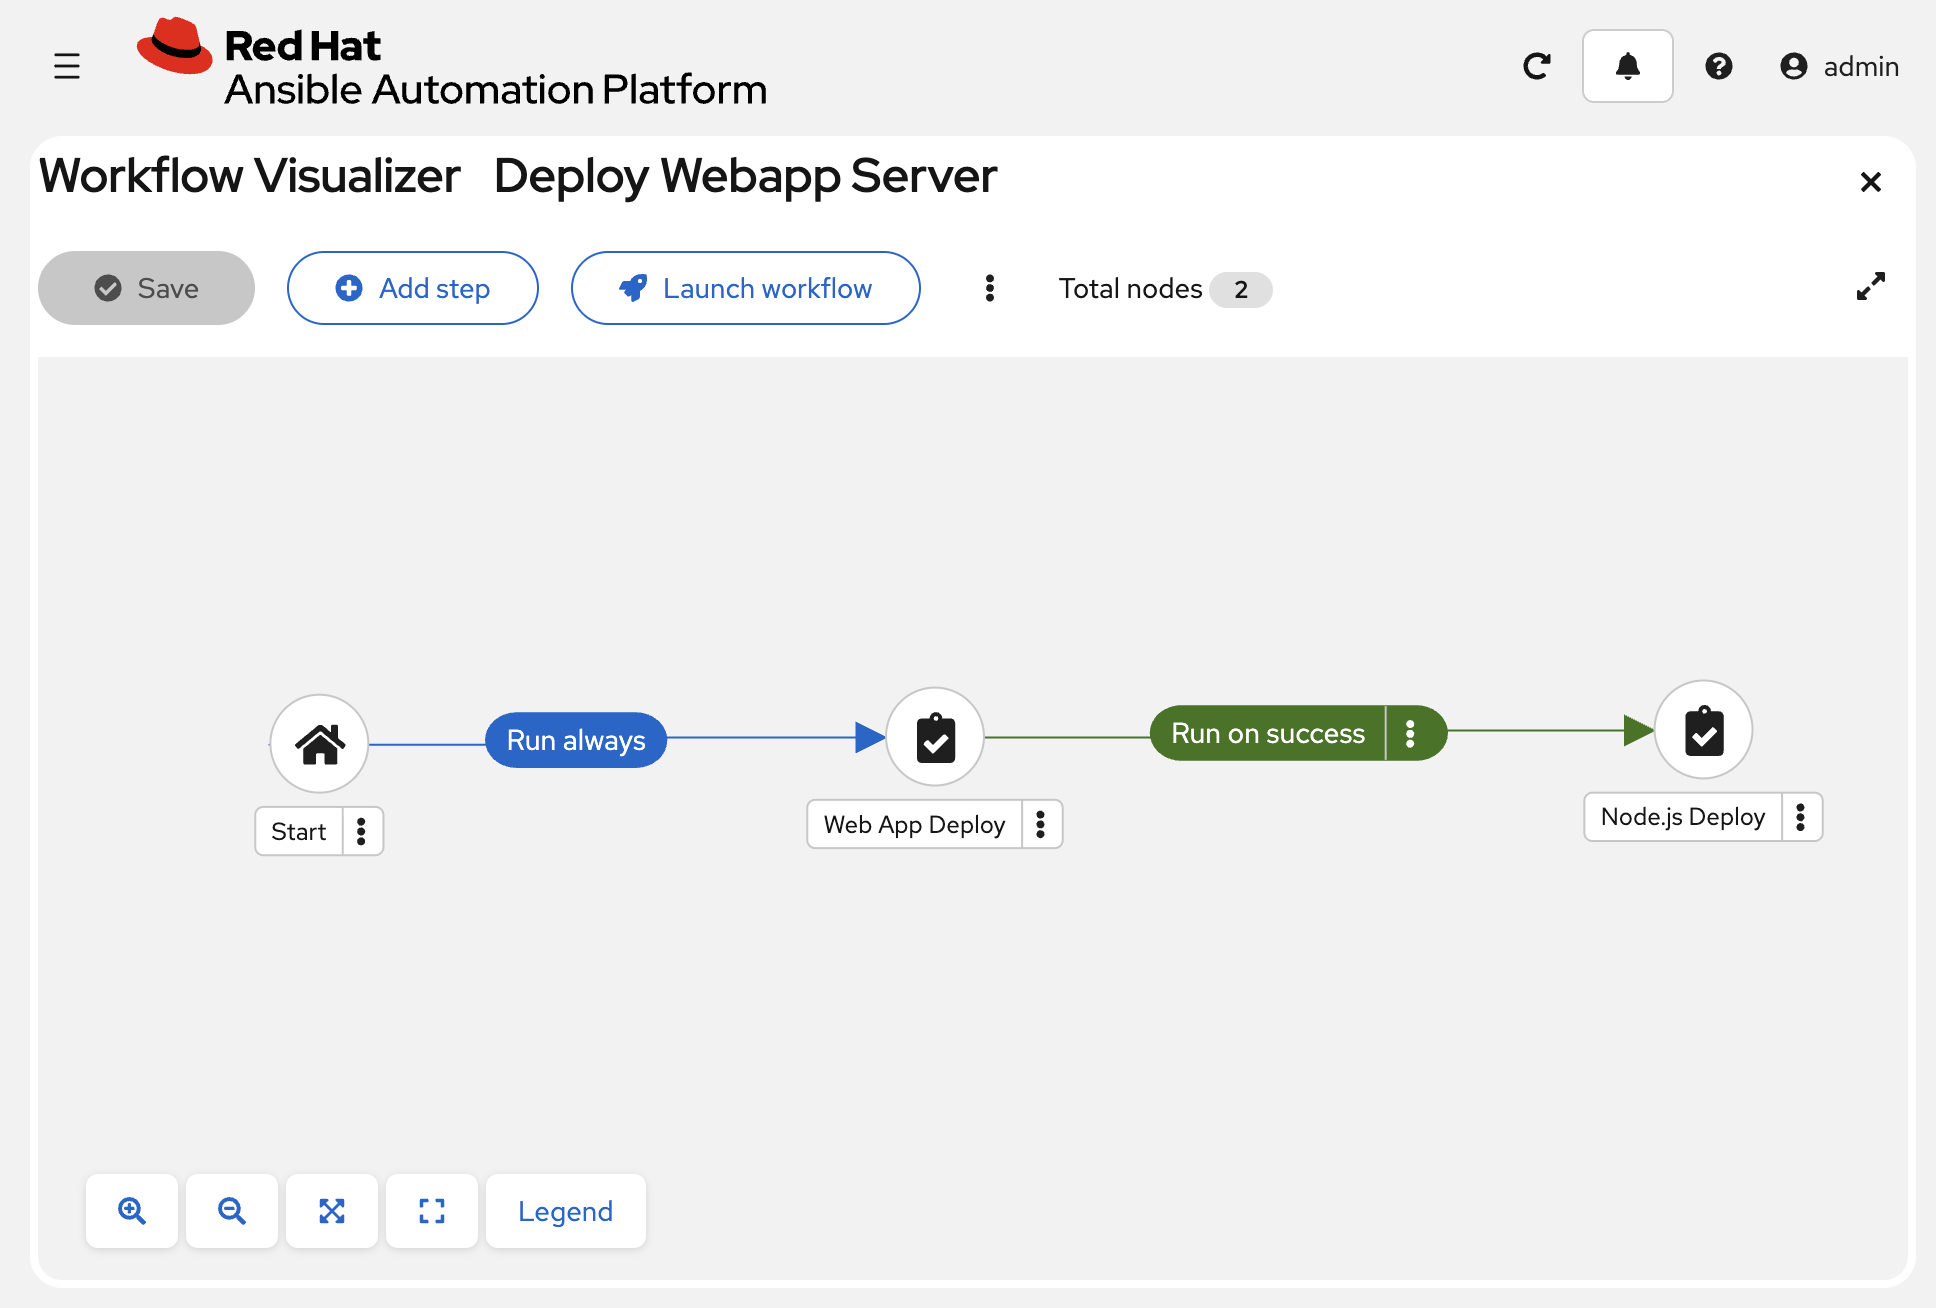
Launch workflow
From the Deploy Webapp Server template, select Launch template.
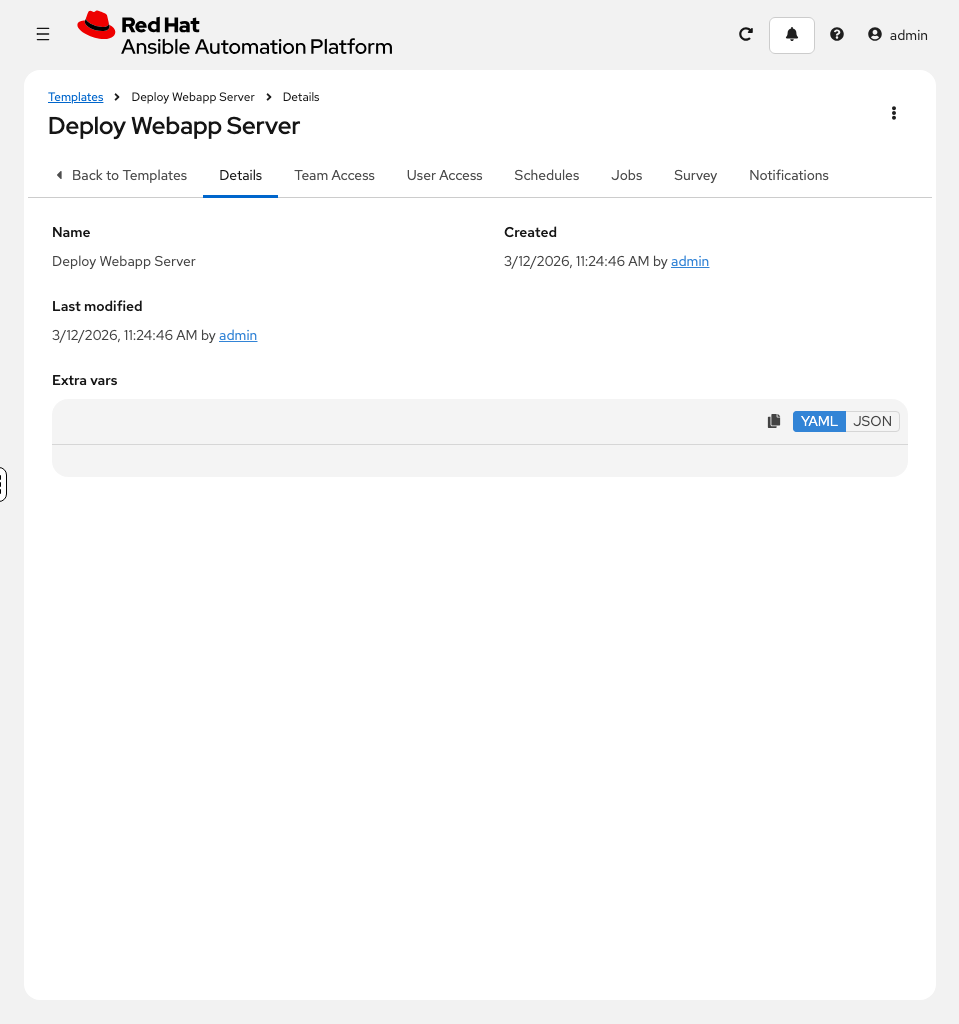
Once the workflow completes, verify the result using Run Command:
-
Go to Automation Execution → Infrastructure → Inventories → Workshop Inventory and open the Hosts tab.
-
Select
node01andnode02, then click Run Command. -
In the Details window, set Module to
commandand Arguments tocurl http://localhost/nodejs. Click Next. -
In the Execution Environment window, select Default execution environment. Click Next.
-
In the Credential window, select Workshop Credentials. Click Next.
-
Review your inputs and click Finish.
Verify that the output shows Hello World.
Summary
In this exercise you:
-
Created two Git-backed projects for separate teams (webops and webdev)
-
Built job templates for web infrastructure deployment and Node.js application deployment
-
Linked the templates into a conditional workflow using the Workflow Visualizer
-
Launched the workflow and verified the deployed application