Web IDE Access
This workshop uses Visual Studio Code (VS Code) based on Red Hat OpenShift Dev Spaces. Changes to files are auto-saved every few seconds, so you don’t need to explicitly save changes.
-
Launch a new Red Hat OpenShift Dev Spaces instance then click the Log in with OpenShift button:
-
Login using user ID and password as {user} / {password}
-
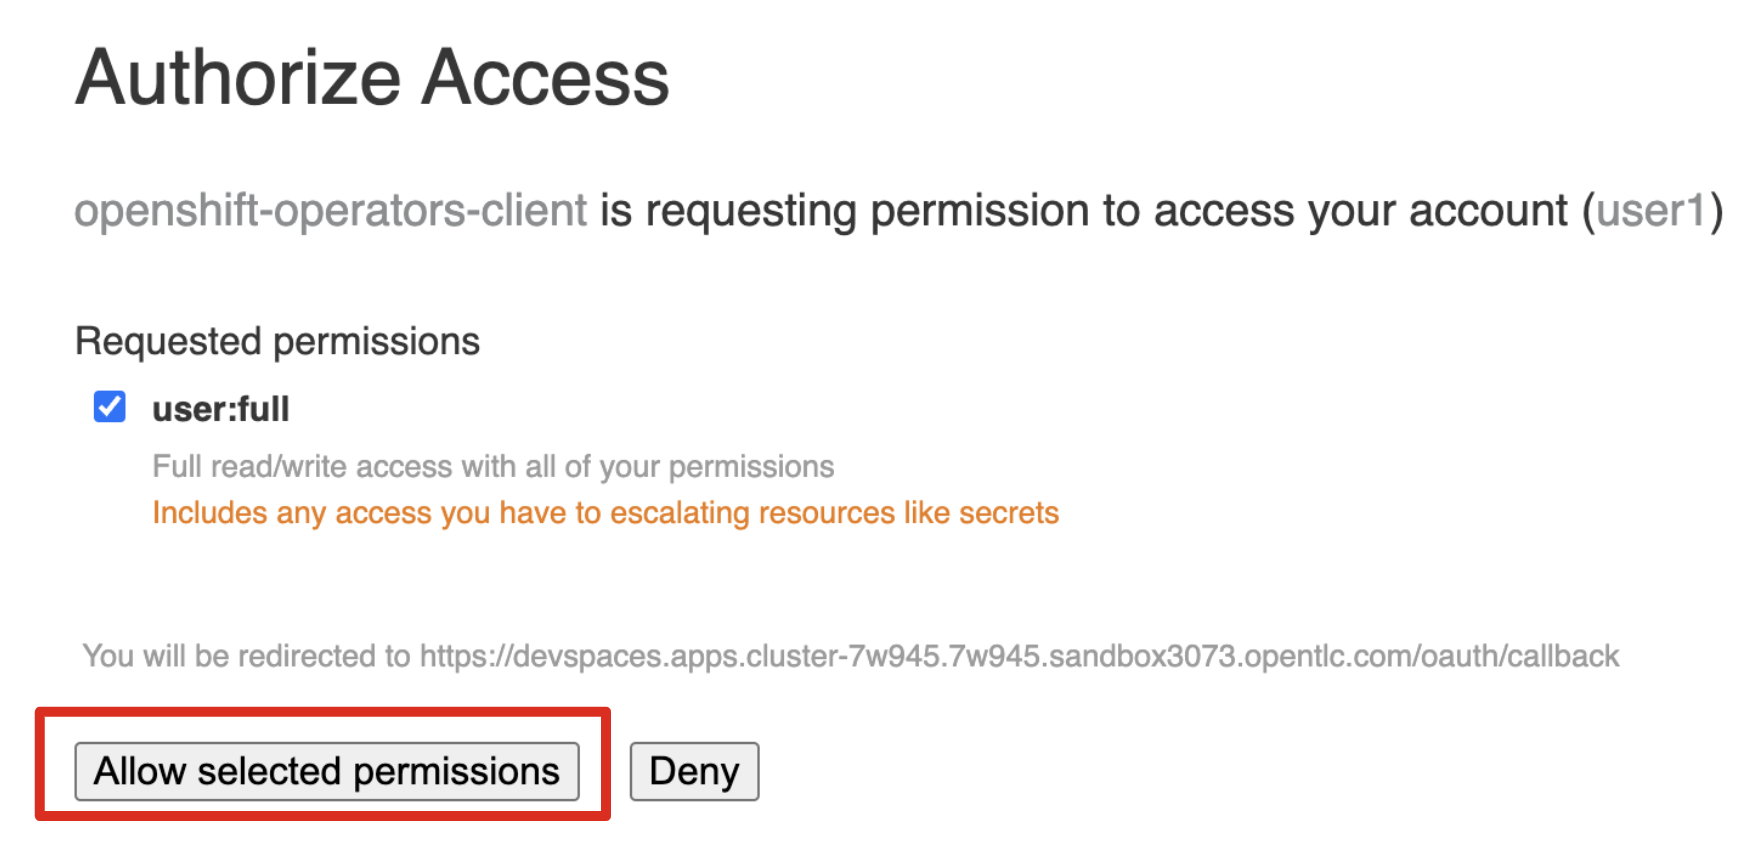
Click on the Allow selected permissions button when prompted
-
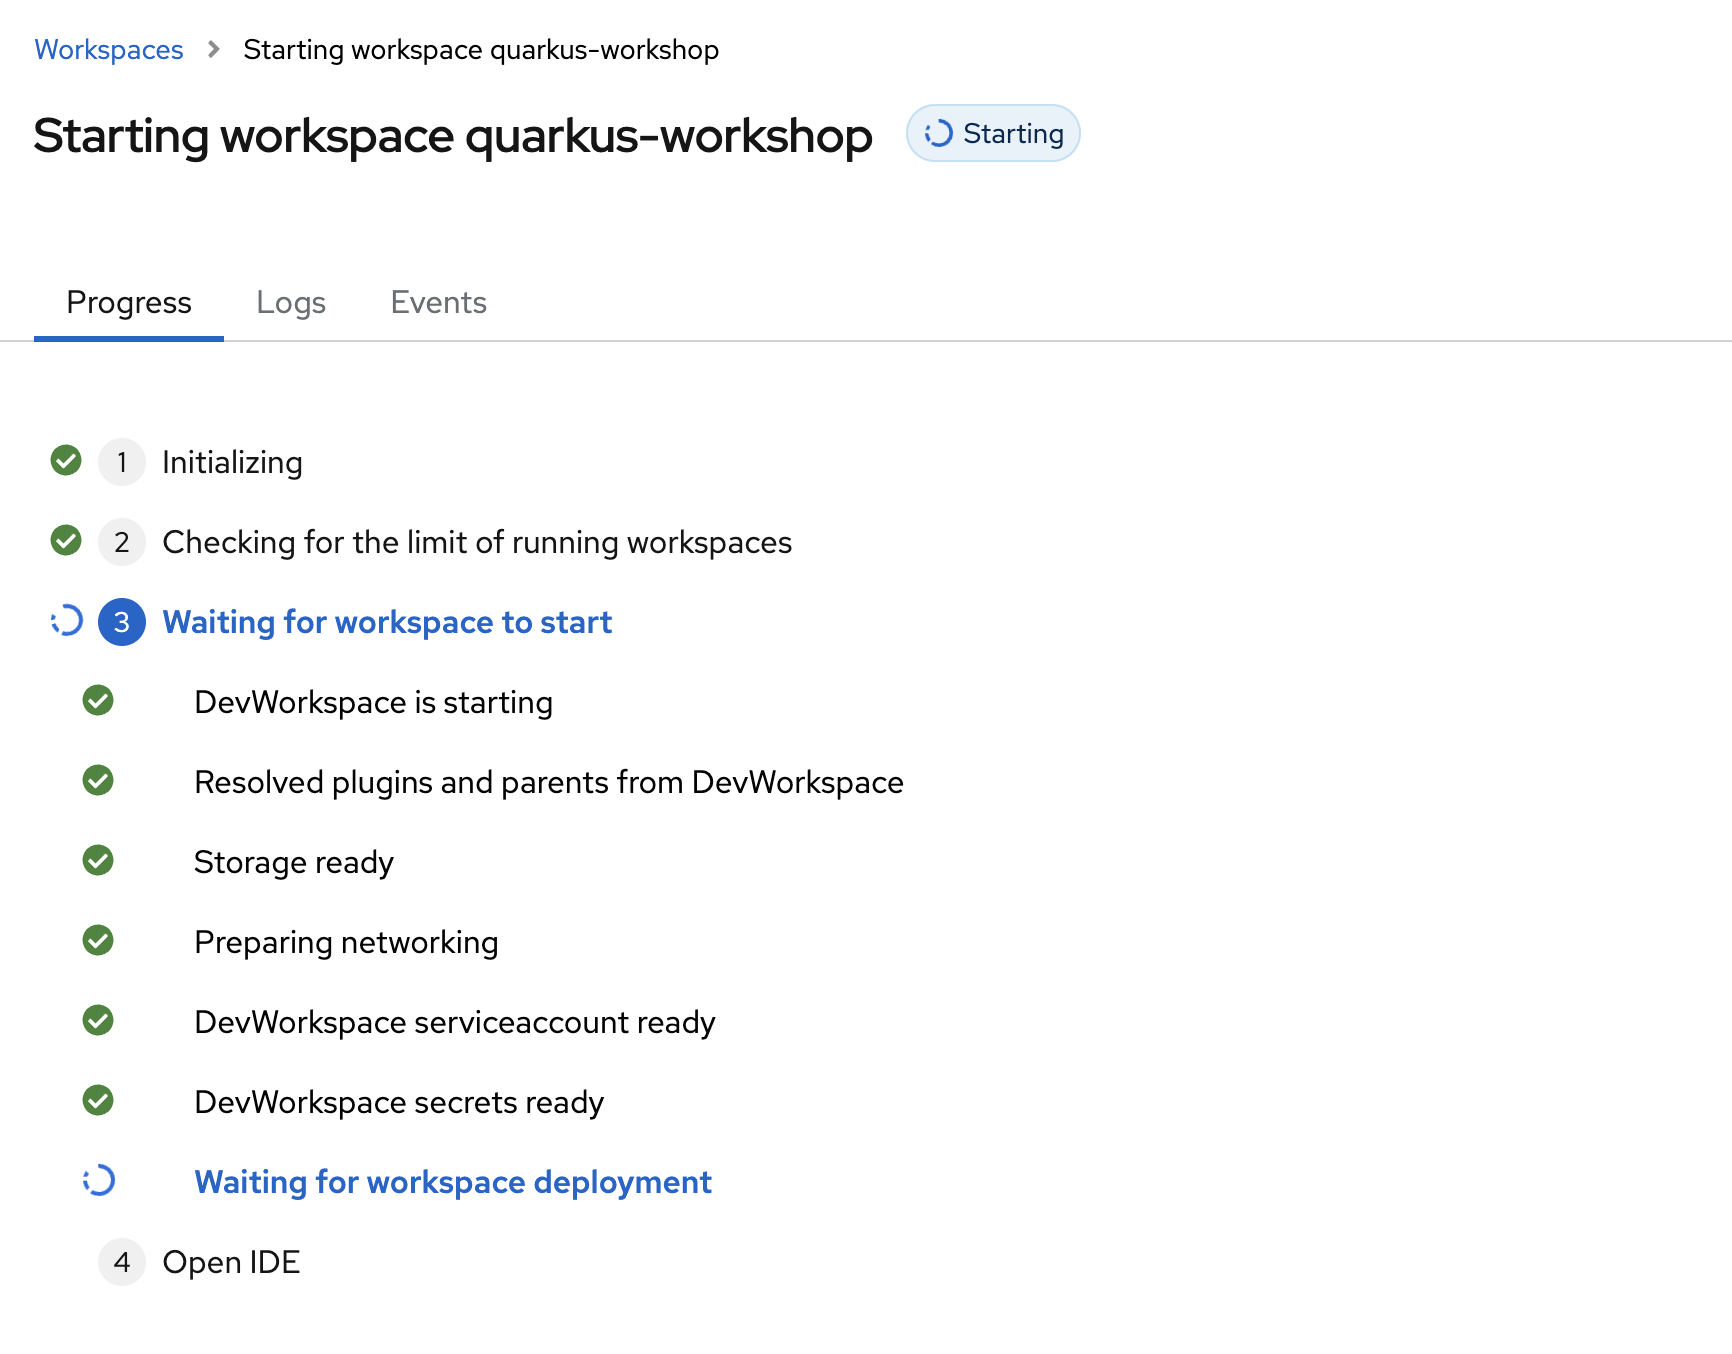
The next page will display progress as Dev Spaces is Starting workspace quarkus-workshop. It takes about 60 seconds to finish the process. If the process takes substantially longer than 60 seconds to complete, click on the "Progress" tab before reloading the page.
-
When prompted with Do you trust the authors of this repository? popup, select
Do not ask again for other repositoriesto continue using your workspace.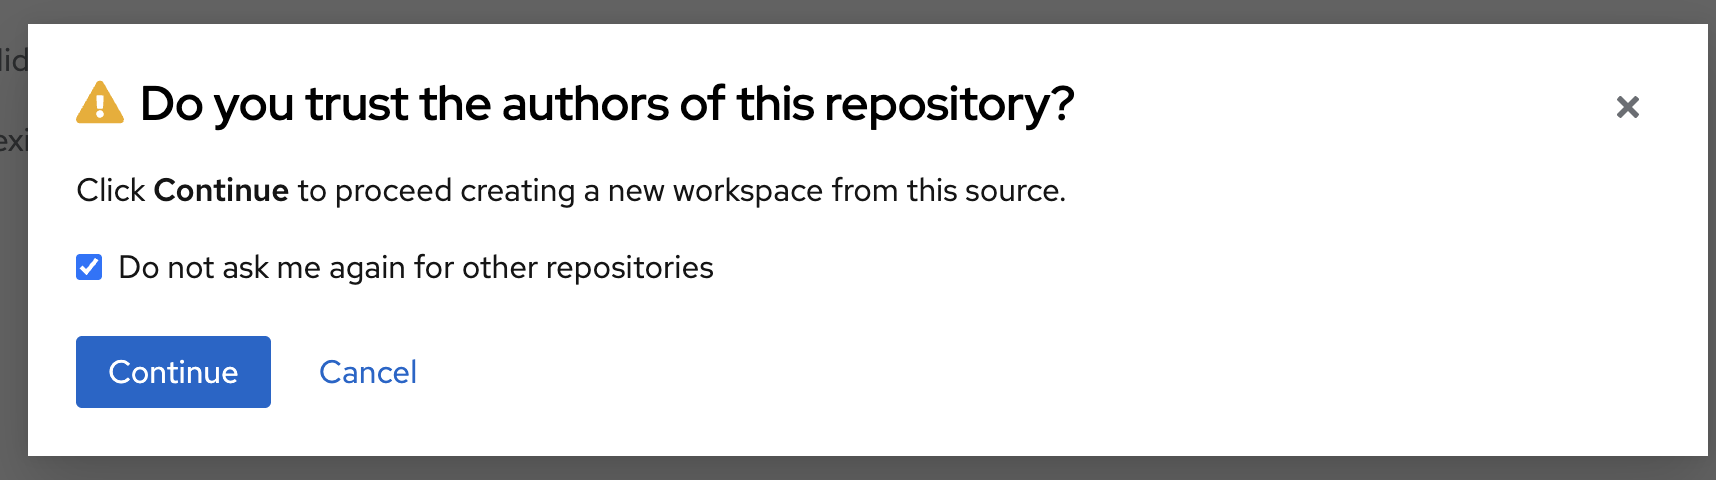
-
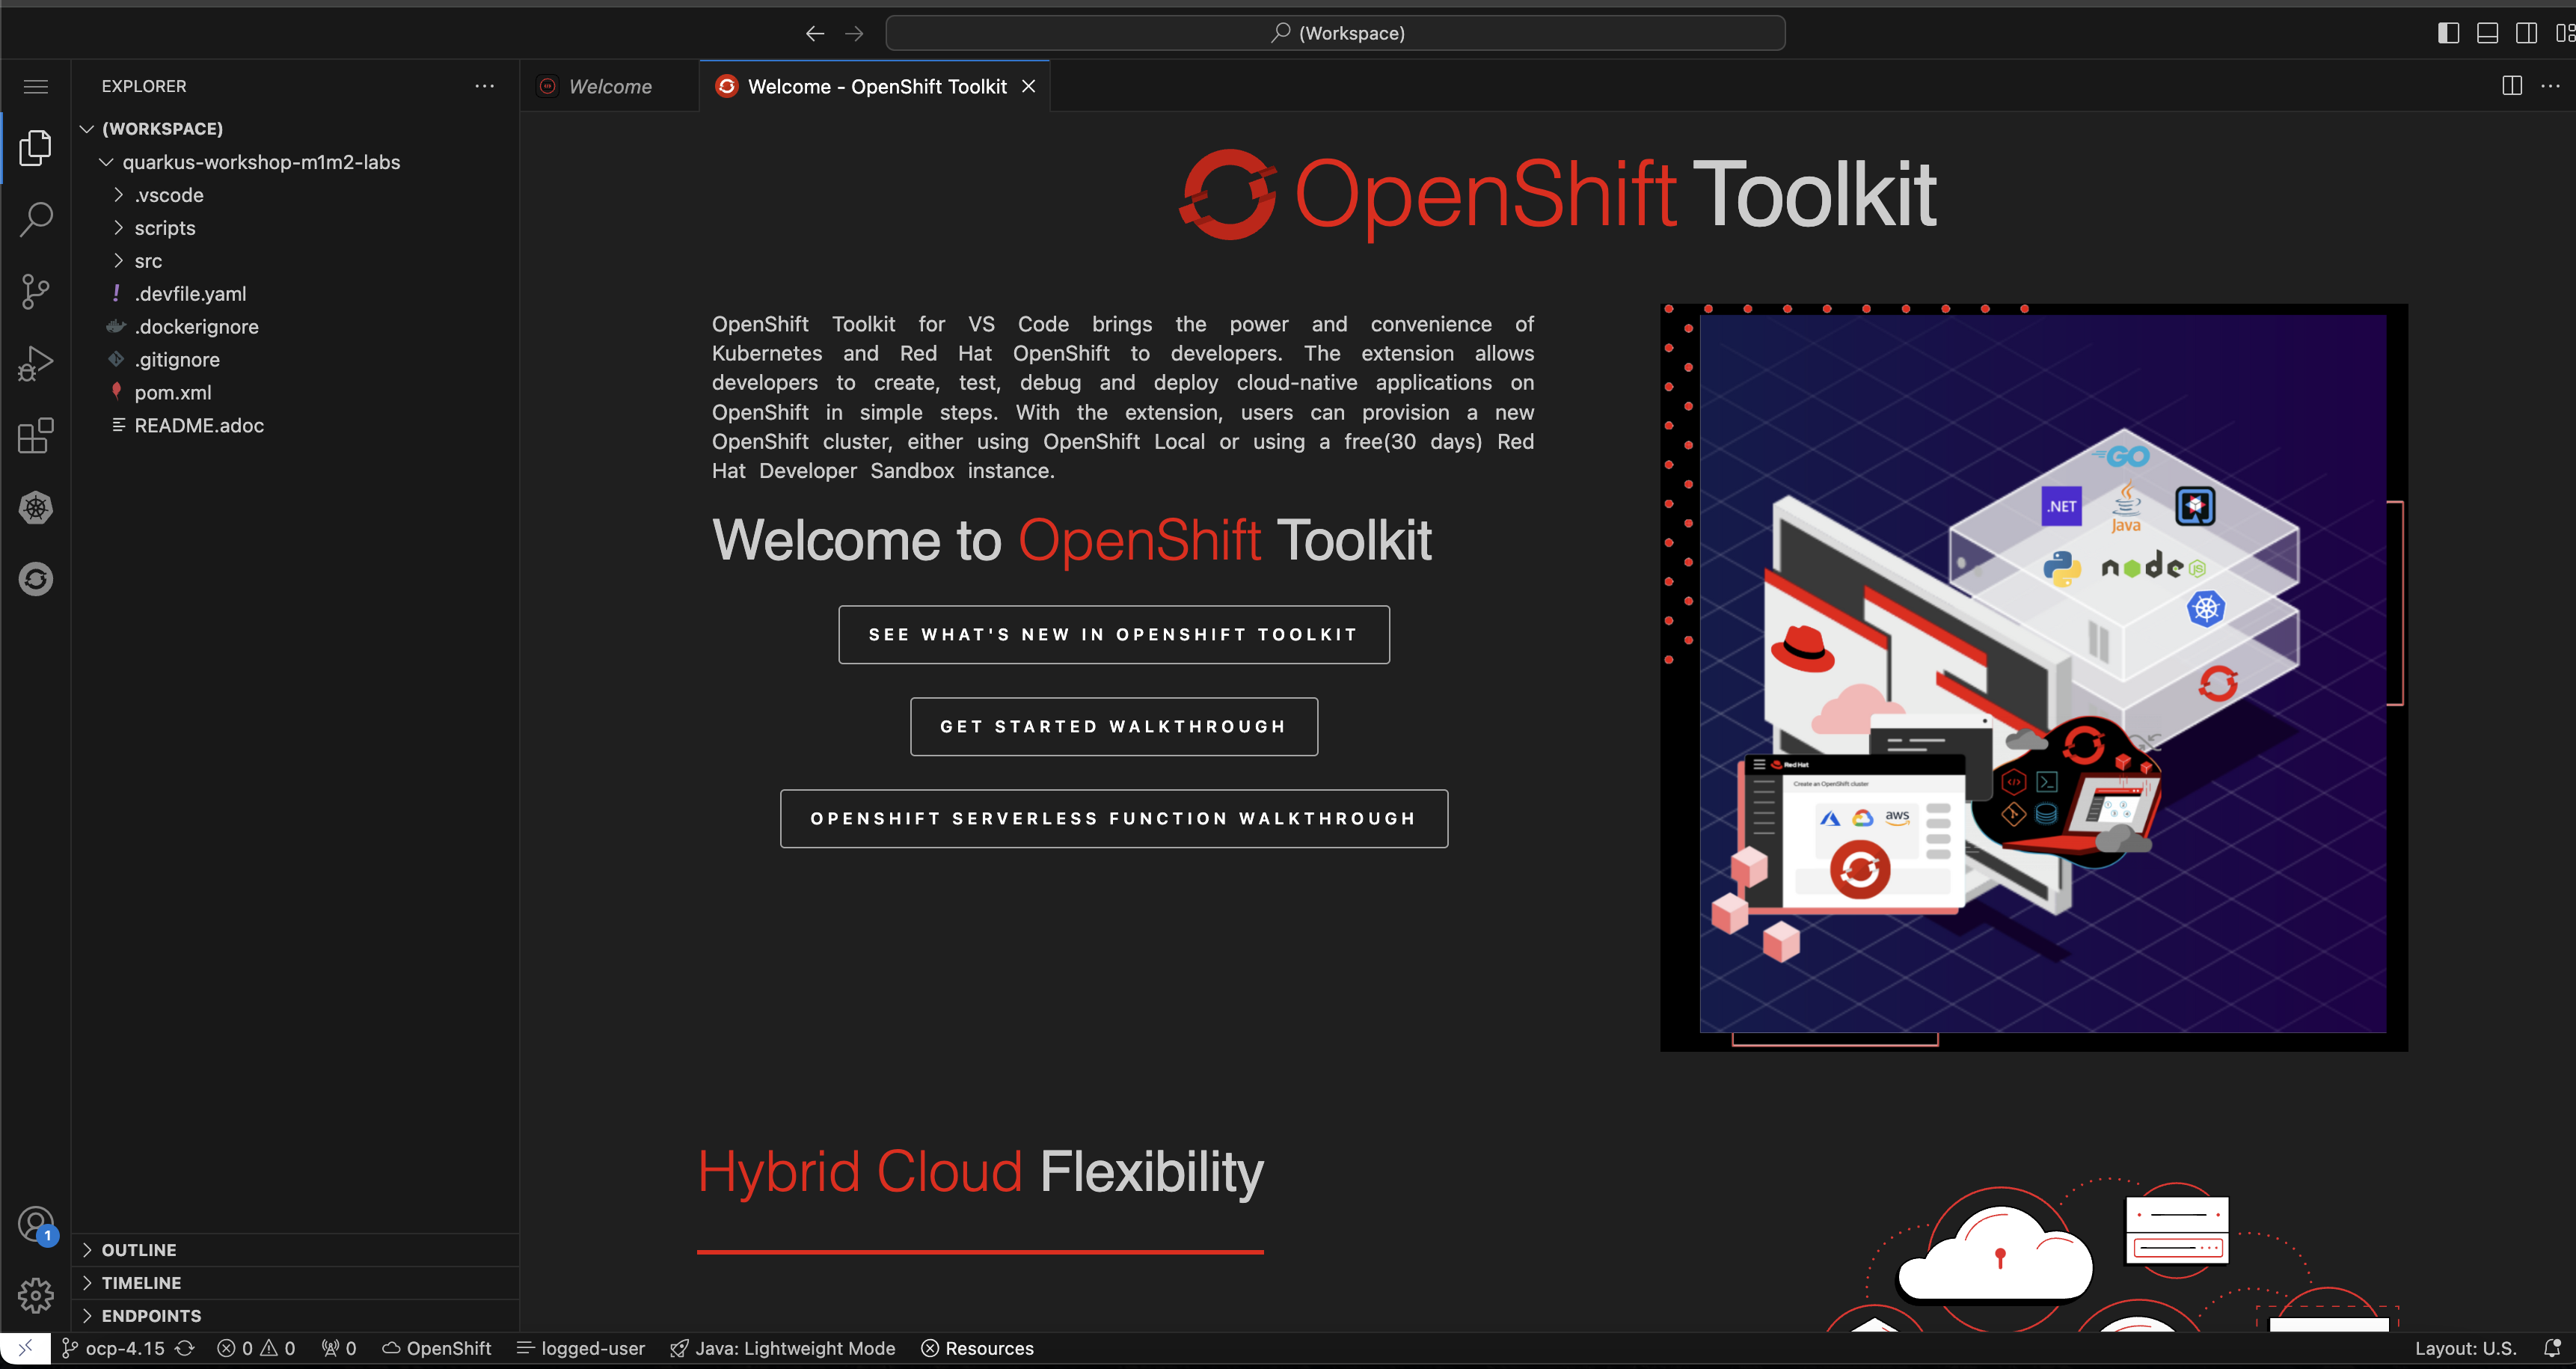
In a few seconds, you will have access to your own web-based IDE
-
Click on
Trust Publishers & Installwhen prompted.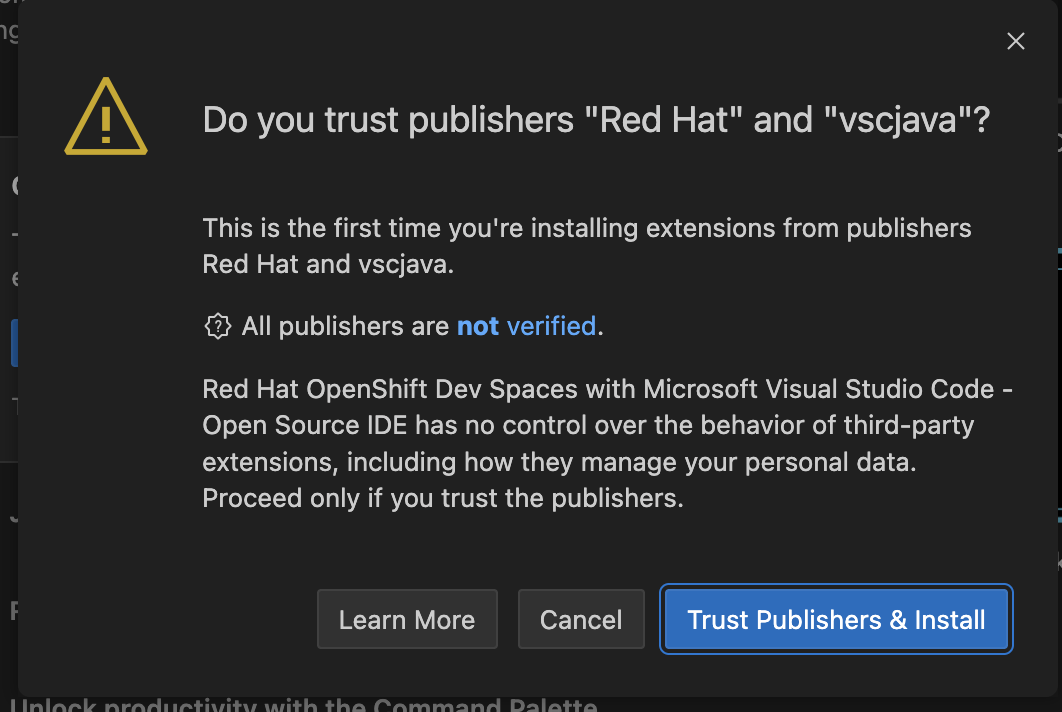
-
And also click on
Yes, I trust the authorsas indicated below.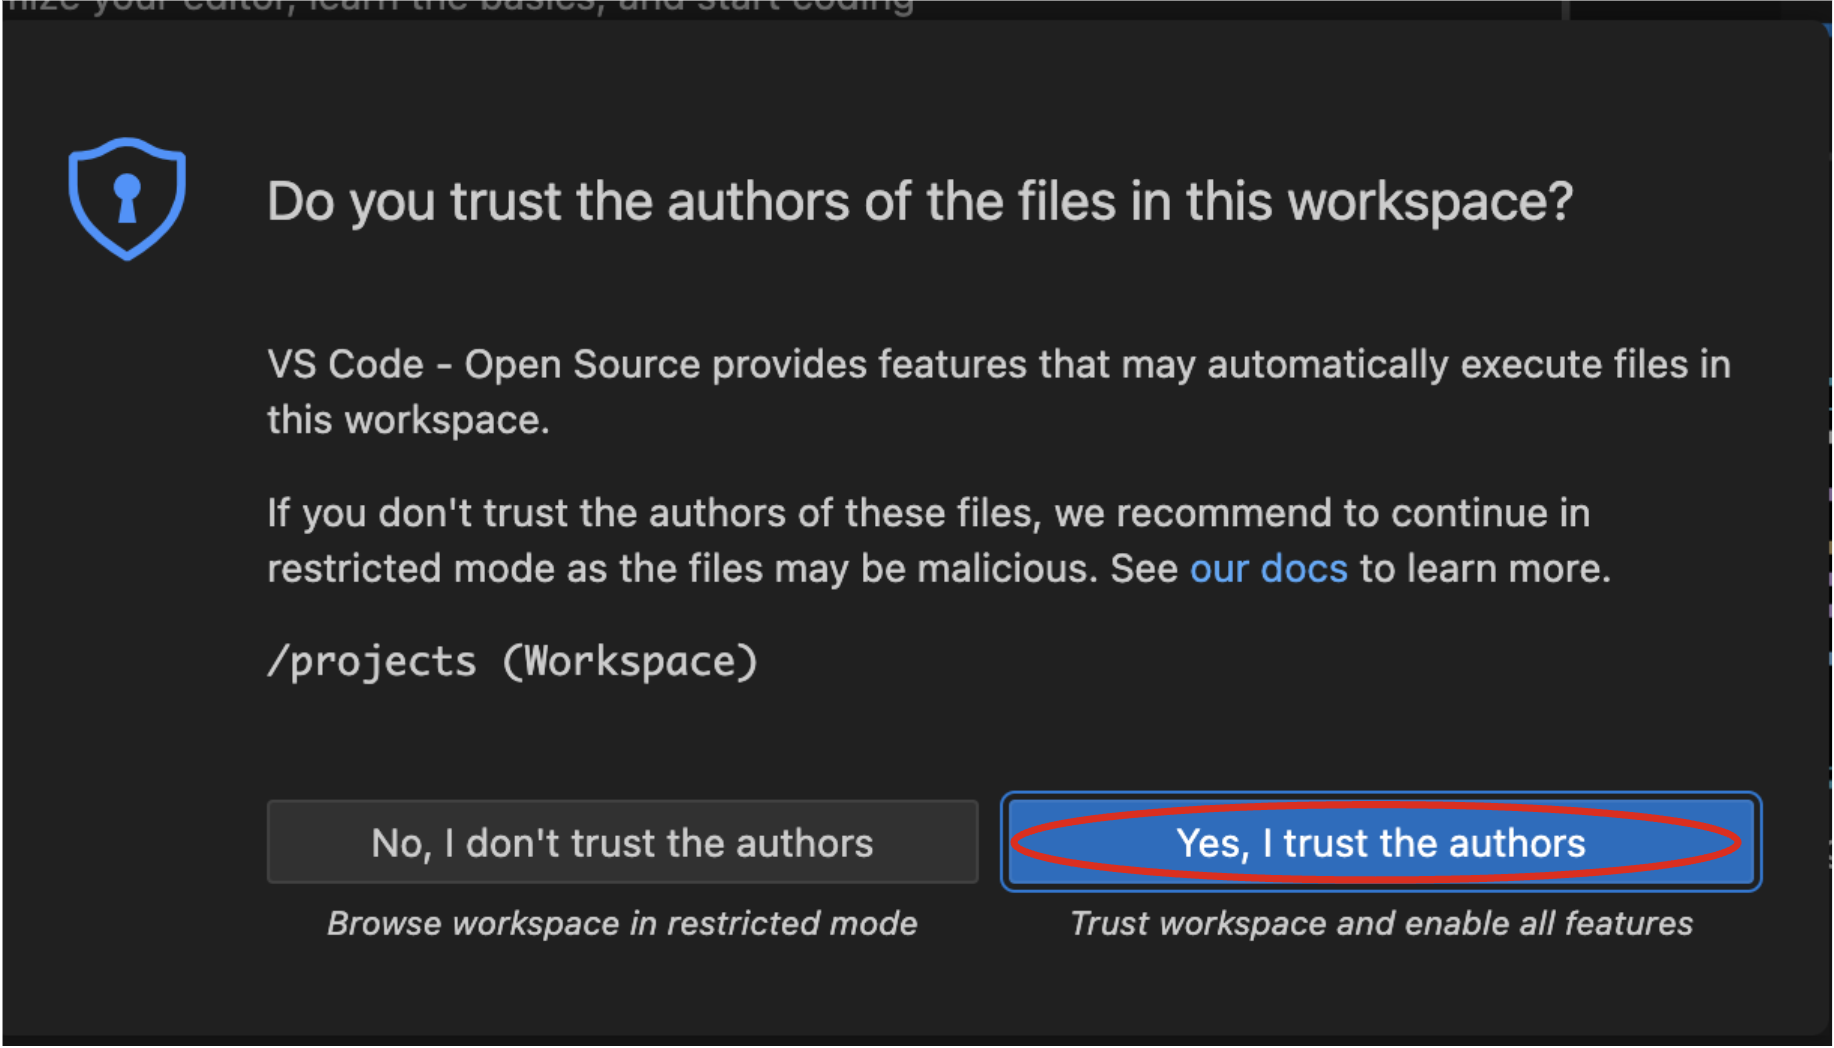
-
Explore the IDE
This workshop’s IDE is based on Eclipse Che (which is in turn based on Microsoft VS Code editor).
-
Explore the icons on the left for navigating between project explorer, search, version control (e.g. Git), debugging, and other plugins. You’ll use these during the course of this workshop. Feel free to select them and see what they do:
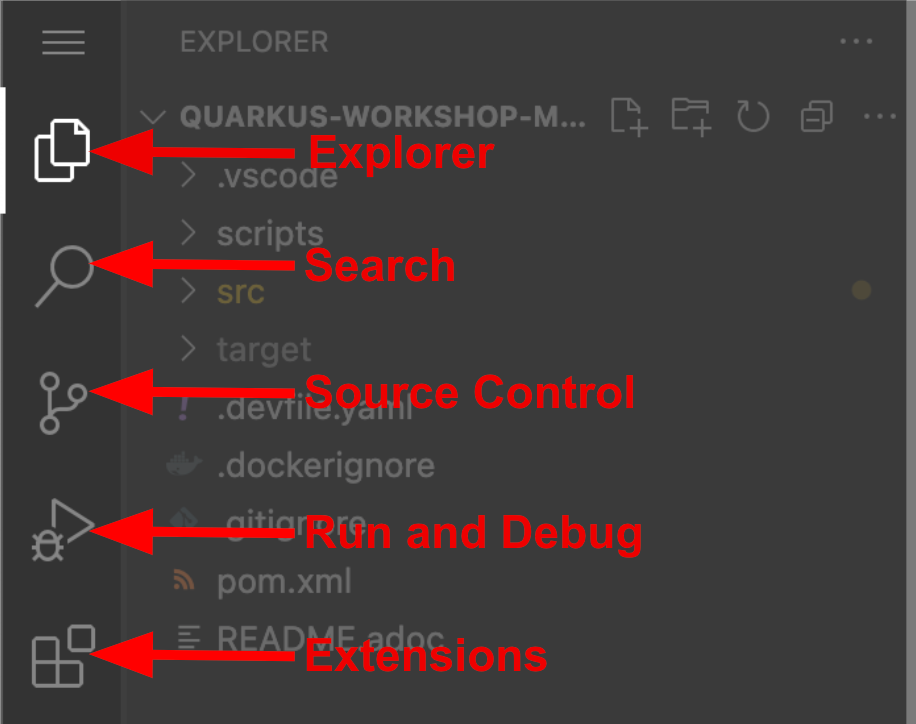
If things get weird or your browser appears unresponsive, you can simply reload the browser tab to refresh the view. -
Many features of VS Code are accessed via Command Palette. You can see a few of the tutorials on the Get Started page (e.g. Login/Provision OpenShift Cluster, Create Component from Devfile registries webview, and others).
If you ever need to run commands that you don’t see in a menu, you can press F1 to open the command window, or the more traditional Control+SHIFT+P (or Command+SHIFT+P on macOS).
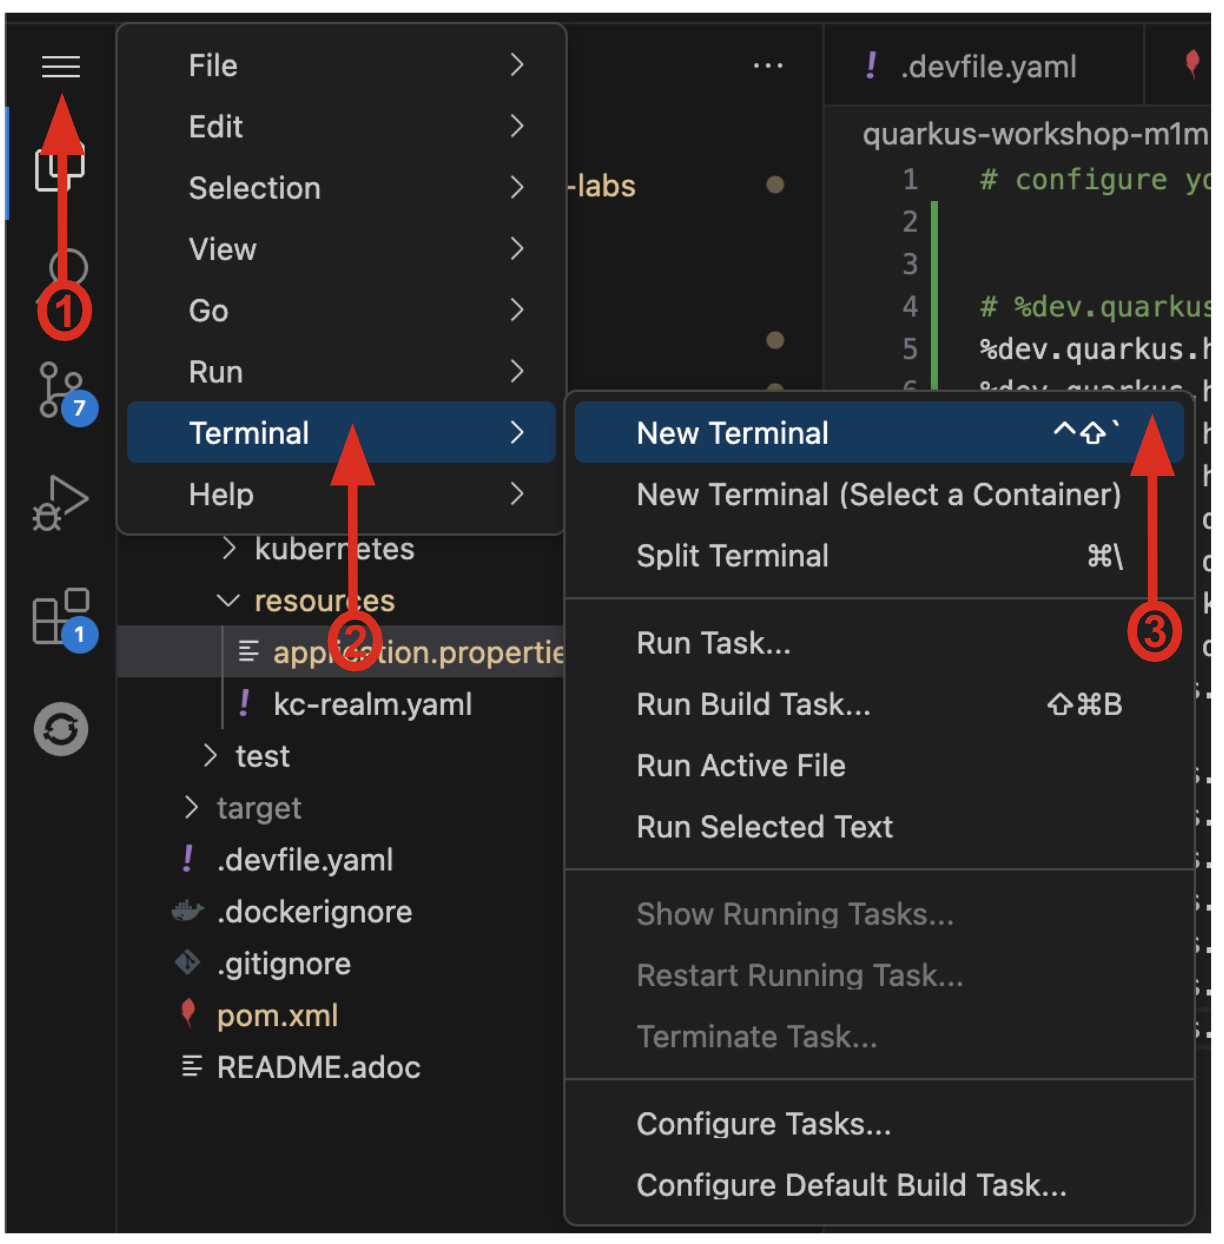
Terminal Access
Open a new terminal window using the menu:
This workshop includes example code and commands which can be copied to your system clipboard using the clipboard icon in the top right corner.
-
Validate your terminal environment by using the clipboard icon to copy the following command:
oc whoami -
Then paste the command into your terminal window and press Enter. You will see your username ({user}) as the response:
{user} -
Ensure that the correct project has been selected by using the clipboard icon to copy the following command:
oc project {user}-quarkus -
Then paste the command into your terminal window and press Enter. The response should be:
Now using project "{user}-quarkus" on server "https://openshift.default.svc:443".
If everything went as expected in the above section, then you are ready to start building your application. If not, you can try deleting your existing IDE workspace before starting this section over with a fresh IDE.
Next Steps
You can now choose either the Basic or Advanced module to start learning about Quarkus development.
| Keep this browser tab with the instructions open throughout the course of this workshop. |
-
If you are new to Quarkus, or want to learn the basics of Quarkus development, start with the Basic Quarkus Development module.
-
If you have some experience with Quarkus and want to learn more about advanced features and capabilities, start with the Advanced Quarkus Development module.