Quarkus Basics
Learning Objectives
After completing this module, you will be able to:
-
Understand the benefits of Quarkus the supersonic subatomic Java
-
Use Quarkus Dev Mode for rapid development with live reload capabilities
-
Implement RESTful endpoints using JAX-RS and dependency injection with CDI
-
Write and execute automated tests with JUnit and Quarkus testing extensions
-
Debug Quarkus applications effectively in development mode
-
Build native executable images using GraalVM for cloud deployments
-
Implement cloud-native patterns including health checks and externalized configuration
-
Deploy Quarkus applications to Red Hat OpenShift with automated build strategies
-
Setup MicroProfile health checks for liveness and readiness probes
-
Learn how to use Quarkus configuration profiles to externalize configuration and manage different environments
Explore the Project
Let’s take a look at the Explorer menu on the left-hand side of the IDE. Your Quarkus project was already imported when the workspace was created.
-
The project contains:
-
The Maven structure
-
An
org.acme.people.rest.GreetingResourceresource exposed on/hello, along with a simple test -
A landing page that is accessible on
http://localhost:8080after starting the application -
The application configuration file
-
Other source files we’ll use later
-
Your first Quarkus application
In this step, you will create a straightforward application serving a hello endpoint. To demonstrate dependency injection this endpoint uses a greeting bean.

-
Navigate to
src → main → java → org.acme.people.restin the project tree and selectGreetingResource.java.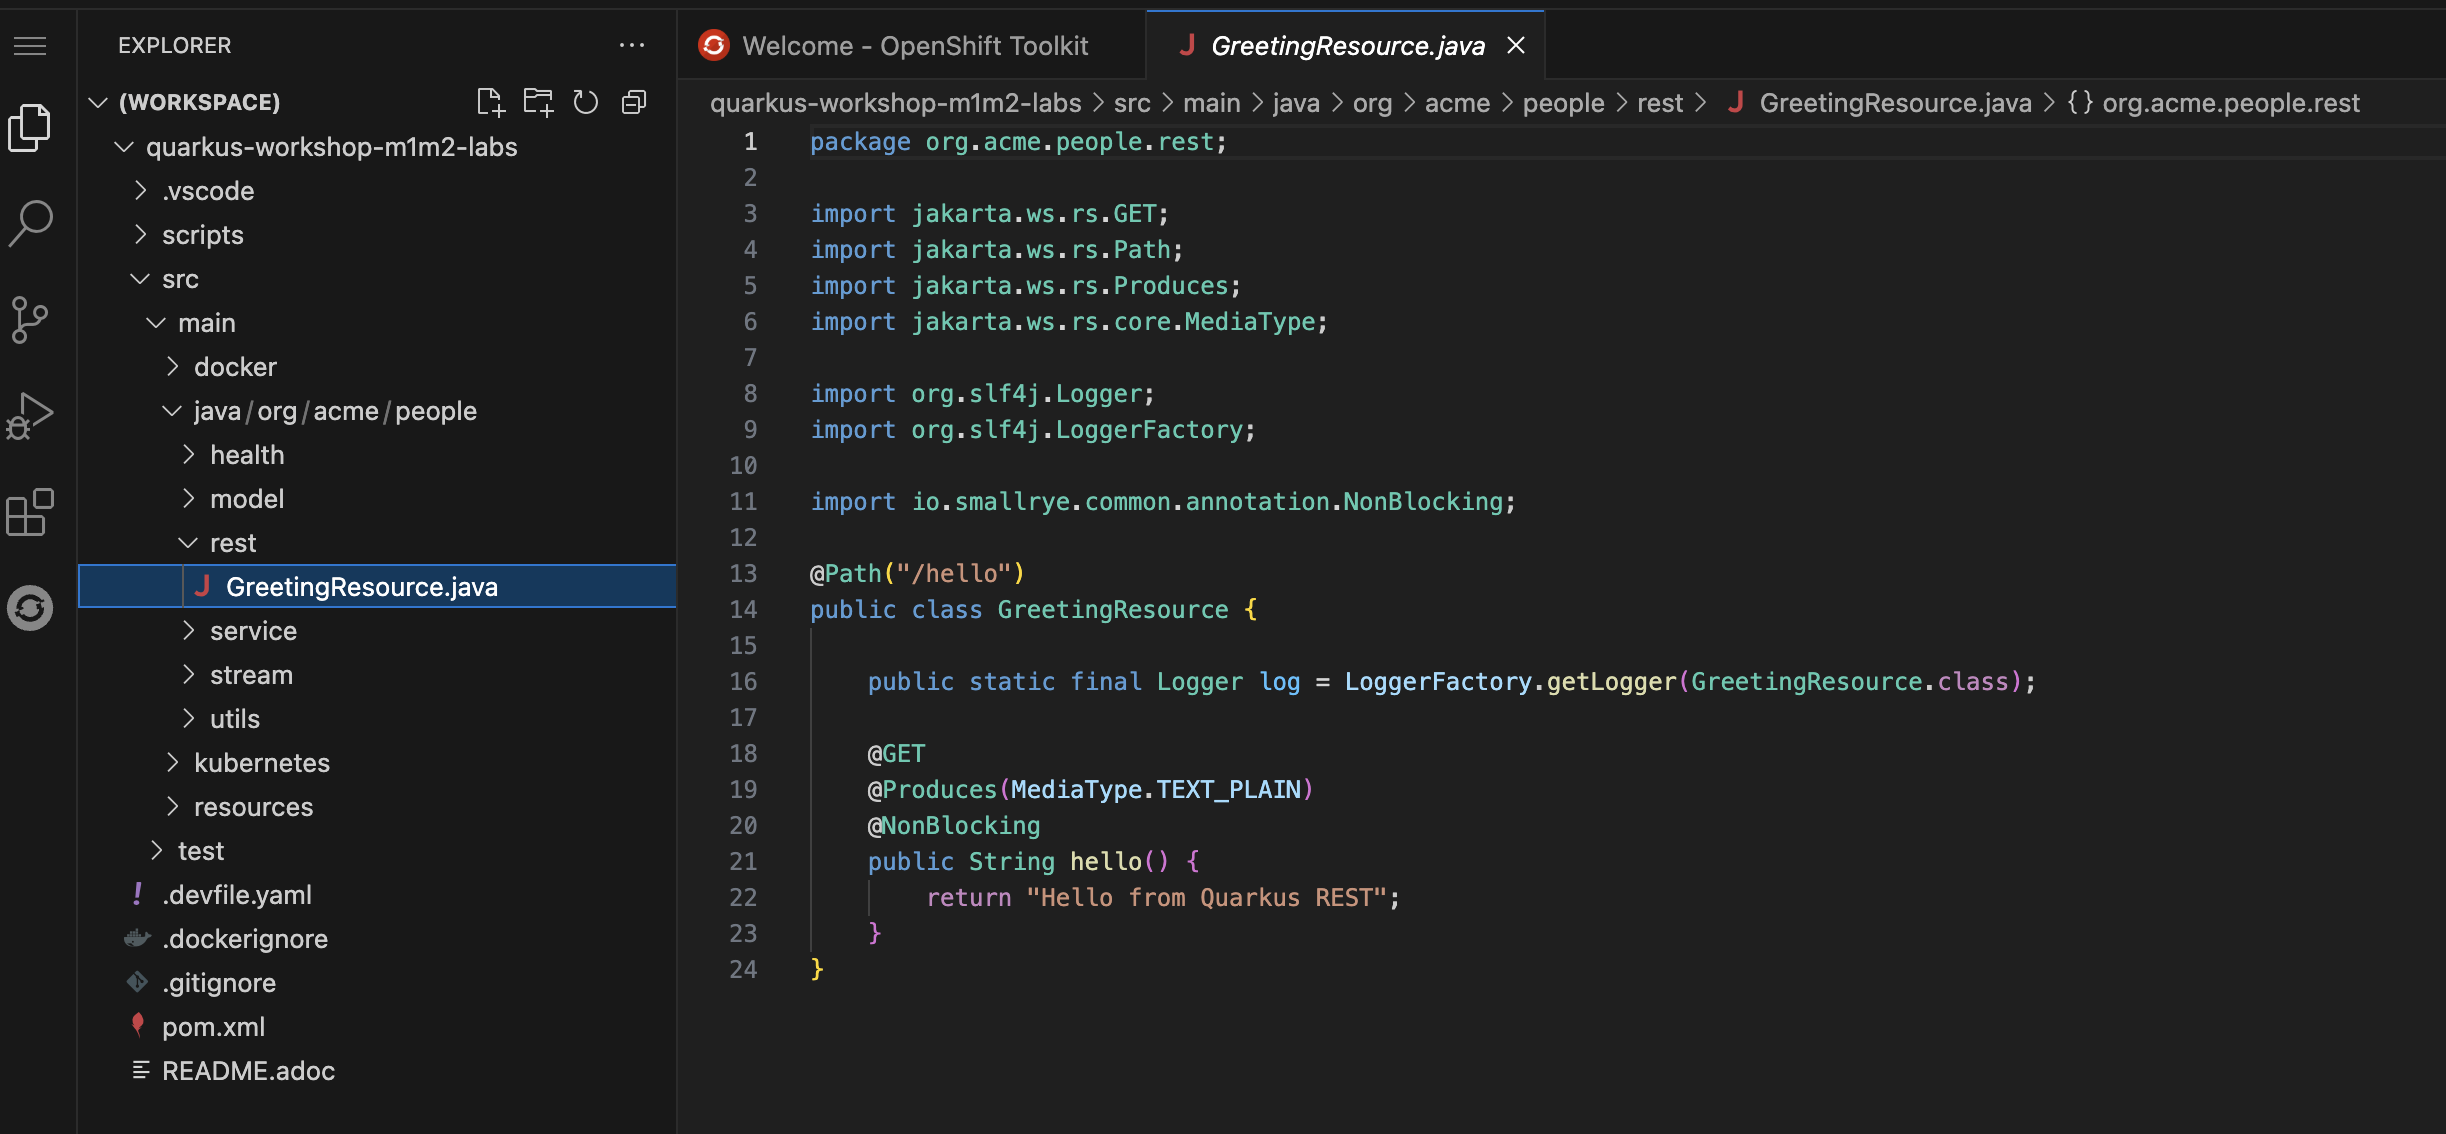
-
This class has a very simple RESTful endpoint definition that returns hello to requests on
/hello.@Path("/hello") public class GreetingResource { @GET @Produces(MediaType.TEXT_PLAIN) public String hello() { return "Hello from Quarkus REST"; } }Compared to vanilla JAX-RS, with Quarkus there is no need to create an
Applicationclass. It’s supported but not required. In addition, only one instance of the resource is created and not one per request. You can configure this using the differentScopedannotations (ApplicationScoped,RequestScoped, etc).