Quarkus Dev Mode - An Introduction
Quarkus provides a dev mode which greatly aids during development by providing a number of features in keeping with the mantra of providing developer joy. Some of the features include:
-
Live coding: Code → refresh browser → repeat. Code changes are automatically reflected in the running application.
-
Dev UI: visualize and configure extensions as well as access to application logs and testing components
-
Dev Services: Automatic provisioning of unconfigured services such as databases, identity servers, and more.
-
Continuous Testing: Get instant feedback on code changes as tests run in the background on impacted code.
Run the Application in Quarkus Dev Mode
-
Open the
application.propertiesin thesrc/main/resourcesdirectory and append the following configuration to the file. This config allows you to access the Dev UI from the cloud IDE since the Dev UI is designed for running your localhost.%dev.quarkus.dev-ui.hosts={user}-quarkus-workshop-index-webpage.{openshift_cluster_ingress_domain} -
Run the following
mvn(Maven) commands to run Quarkus dev mode in the terminal.mvn clean quarkus:dev -Dquarkus.http.host=0.0.0.0 -Dquarkus.analytics.disabled=true -
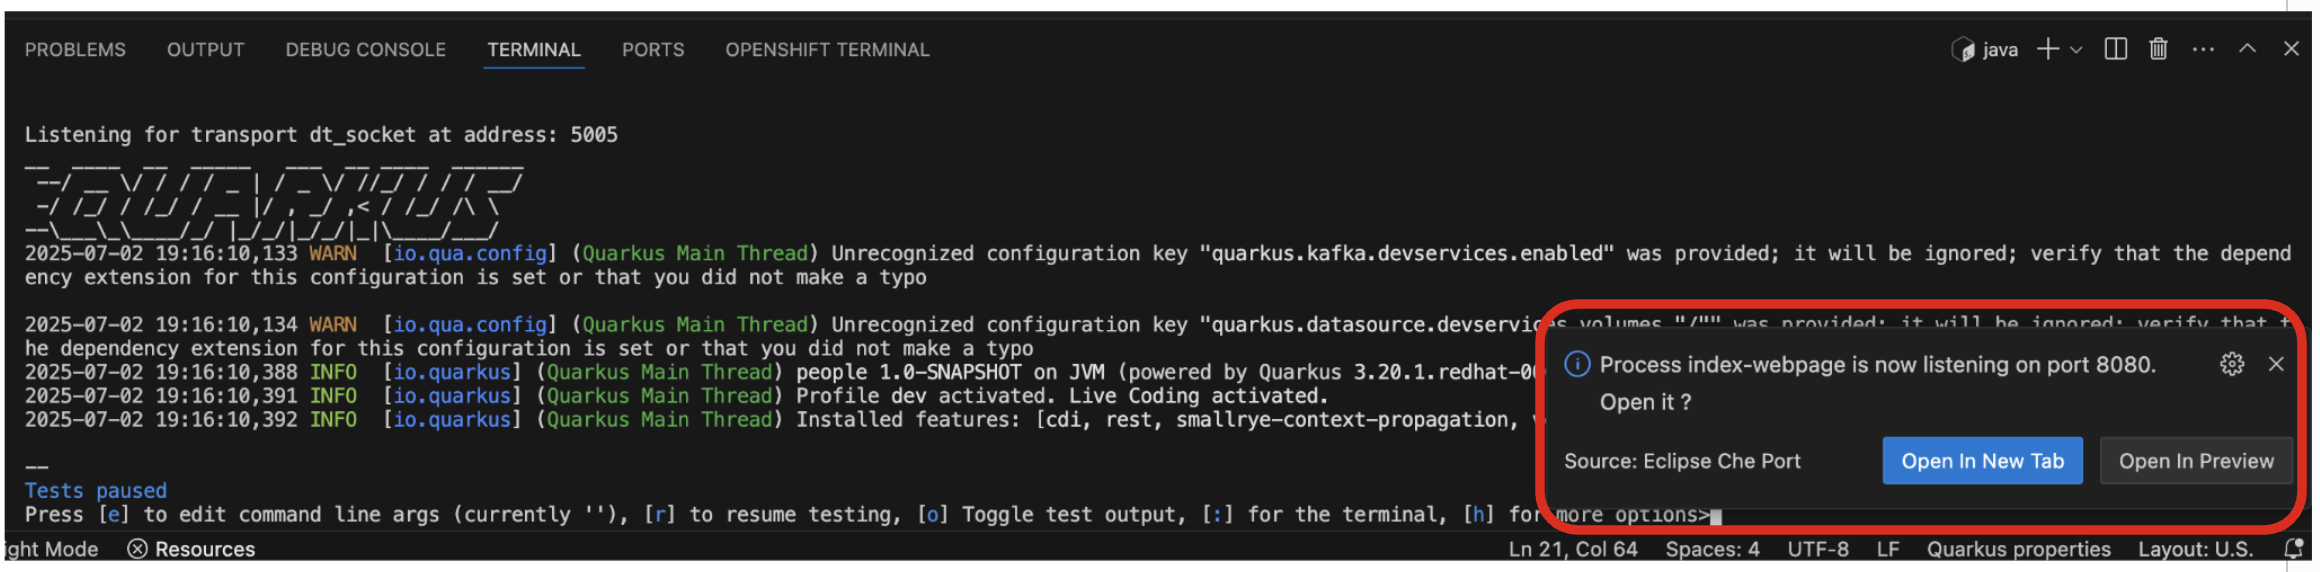
When the dev mode starts, you will see a popup to access the welcome page.
-
Leave this terminal window open throughout the lab! You will complete the entire lab without shutting down Quarkus Live Coding mode, so be careful not to close the tab (if you do, you re-run it). This is very useful for quick experimentation.
The first time you build the app, new dependencies may be downloaded via maven. This should only happen once, after that things will go even faster
You may see WARNINGs like
Unrecognized configuration keyorDuplicate entry. These are configuration values that will take effect later on and can be safely ignored for now. Occasionally you may get an error (e.g.NullPointerException) during Live Reloading. In this case, simply close the terminal and restart live coding using the task. -
Note the amazingly fast startup time! The app is now running locally (within the VS Code container in which the workspace is also running).
localhostrefers to the Kubernetes pod, not your laptop (so therefore opening localhost:8080 in your browser will not do anything). -
In the Terminal, you can also see Tests paused by default when a Quarkus application gets started. We will learn more details in the Testing Quarkus App lab.
-
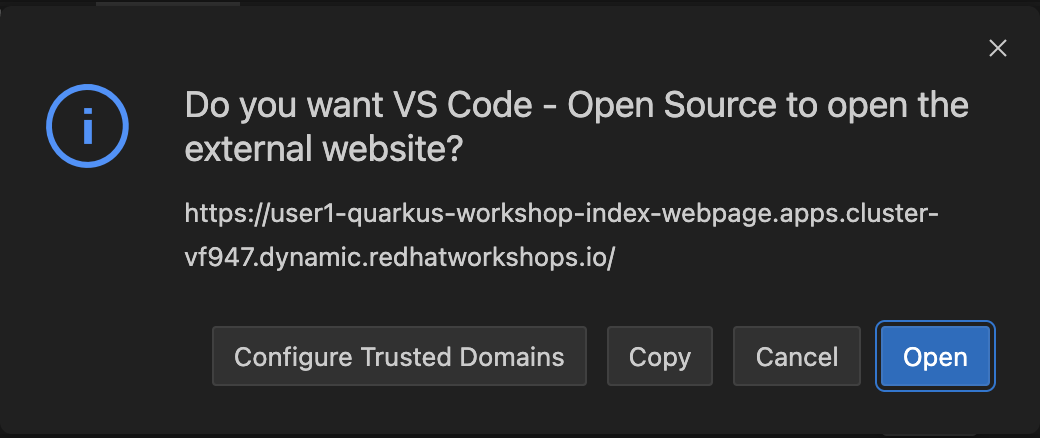
When you select Open In New Tab to access the welcome page, you should see the popup message below.
-
Select
Open. A new tab in your web browser will open automatically.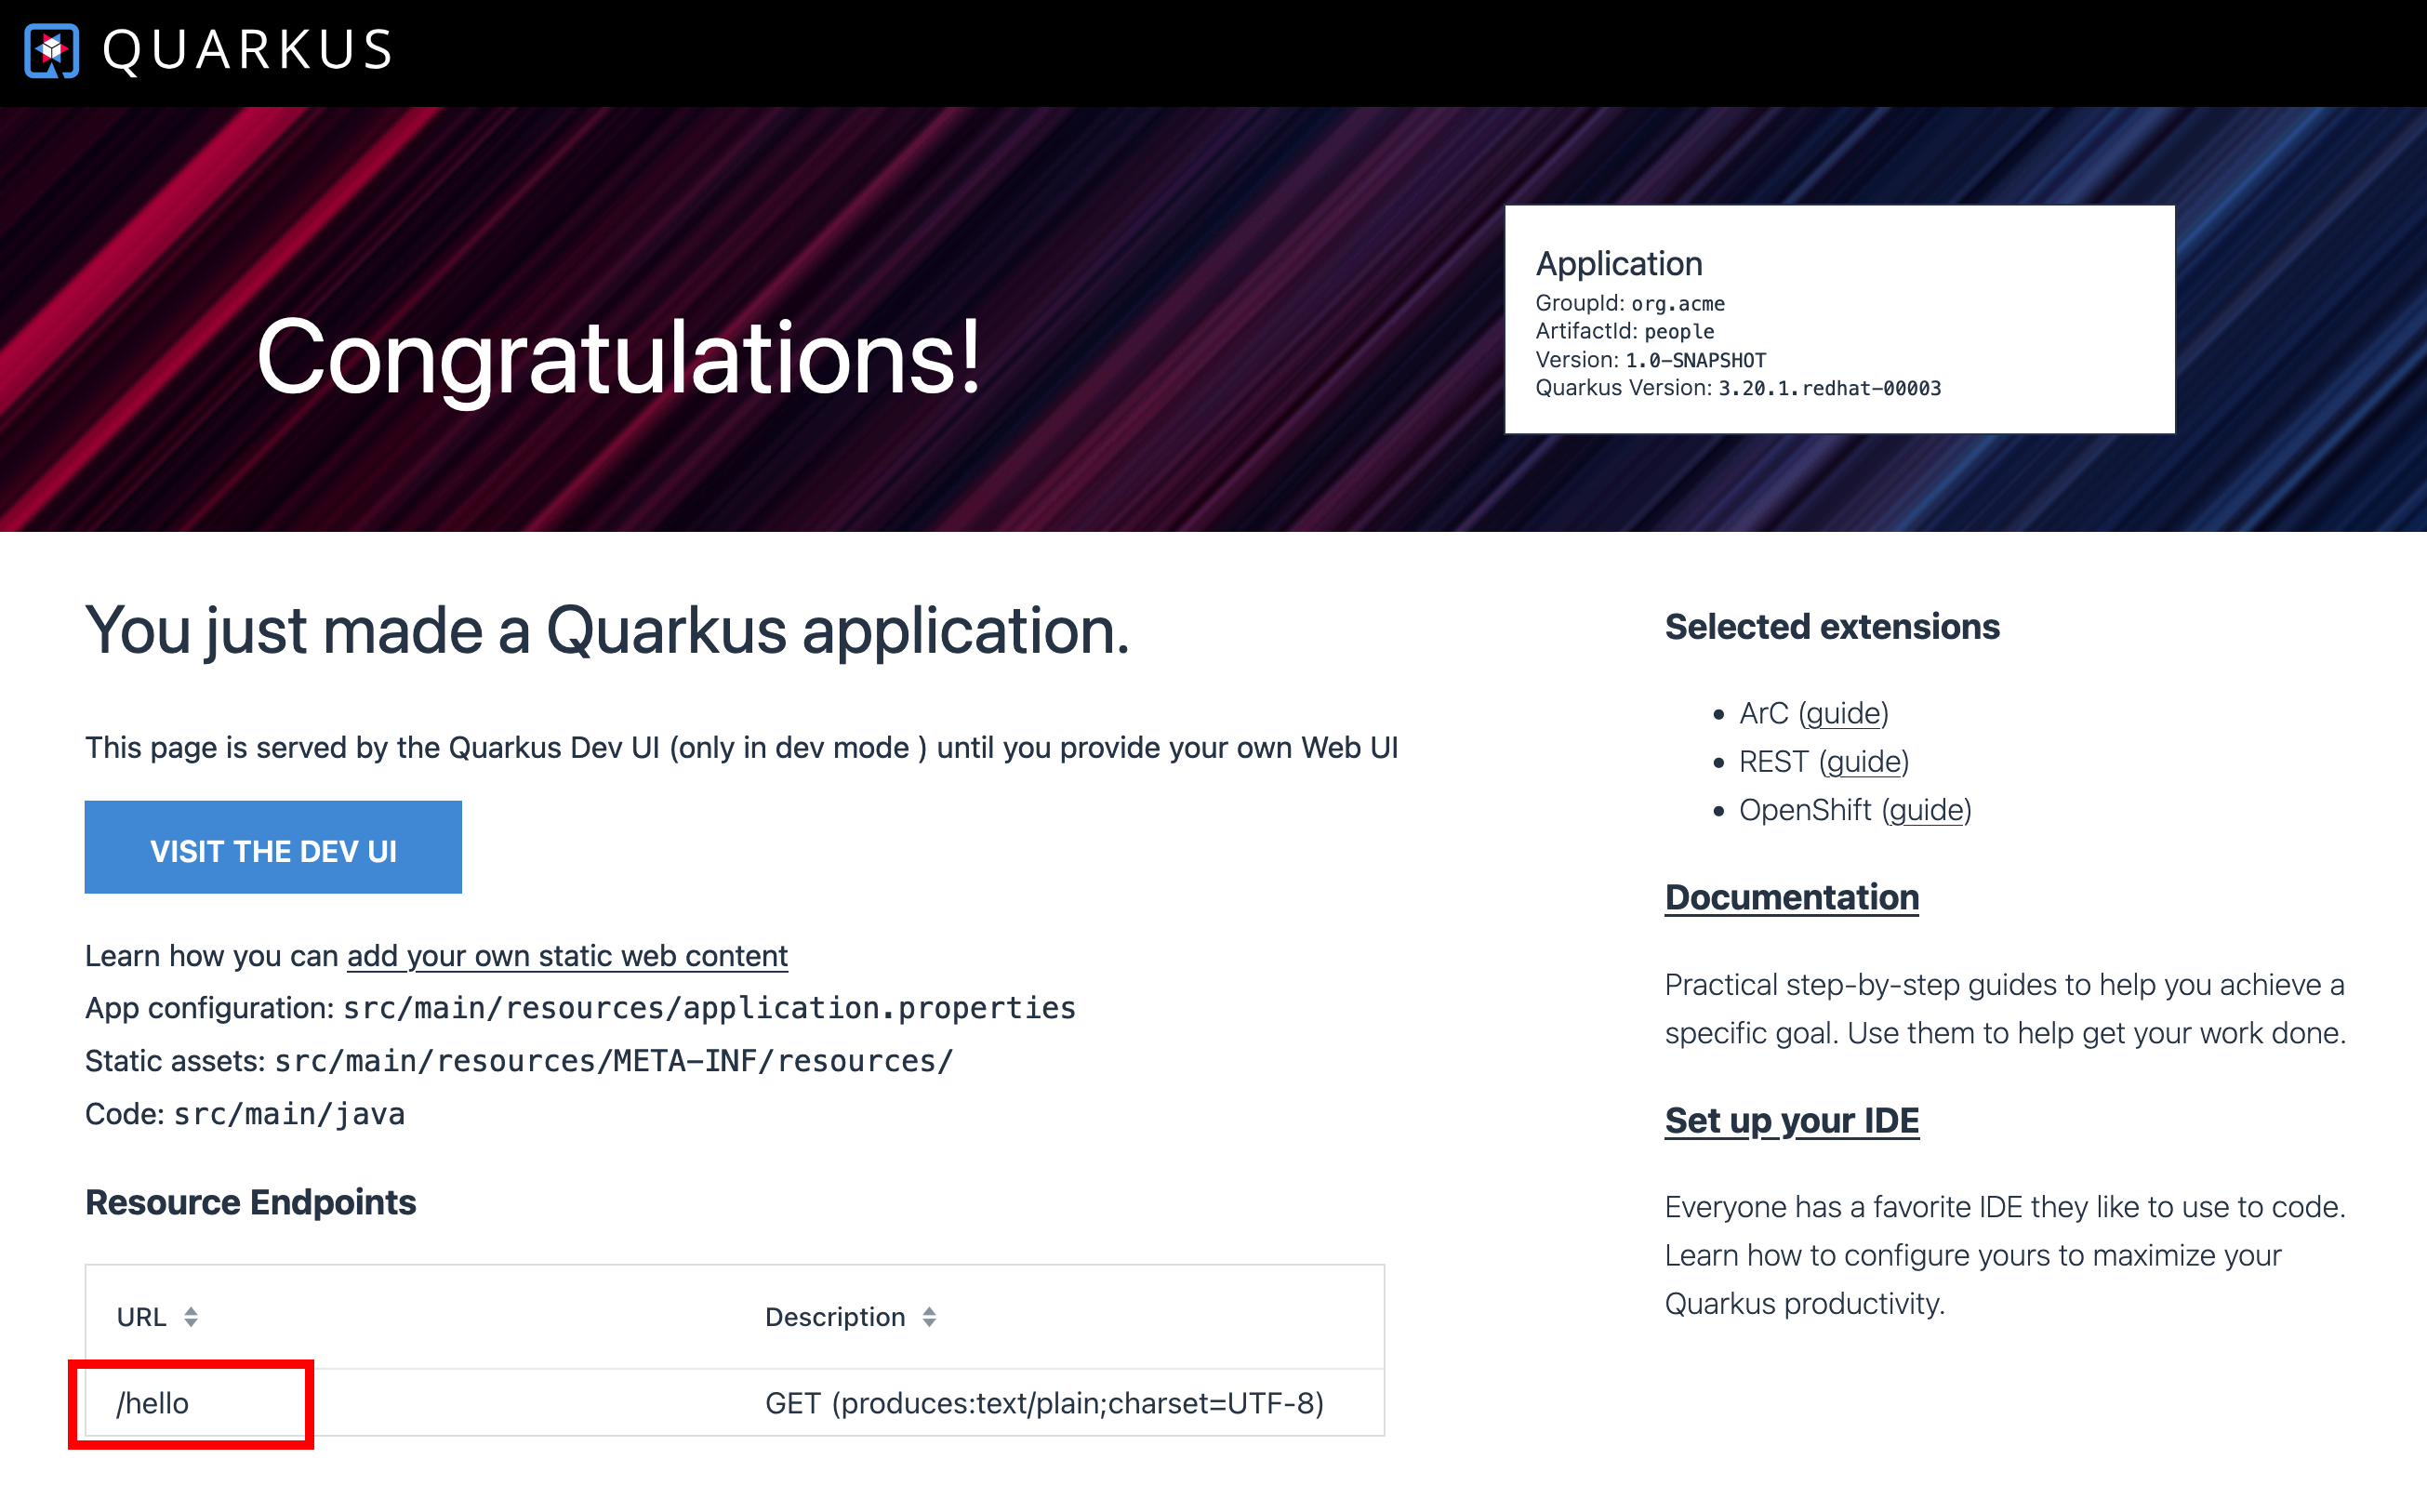
-
Select
/helloendpoint on the Quarkus welcome. You should see the following page:
-
When you fail to access the hello endpoint URL, make sure if the new opened tab has the http protocol.
-
You can also test the endpoint using the curl command. Open a new terminal by selecting
+icon: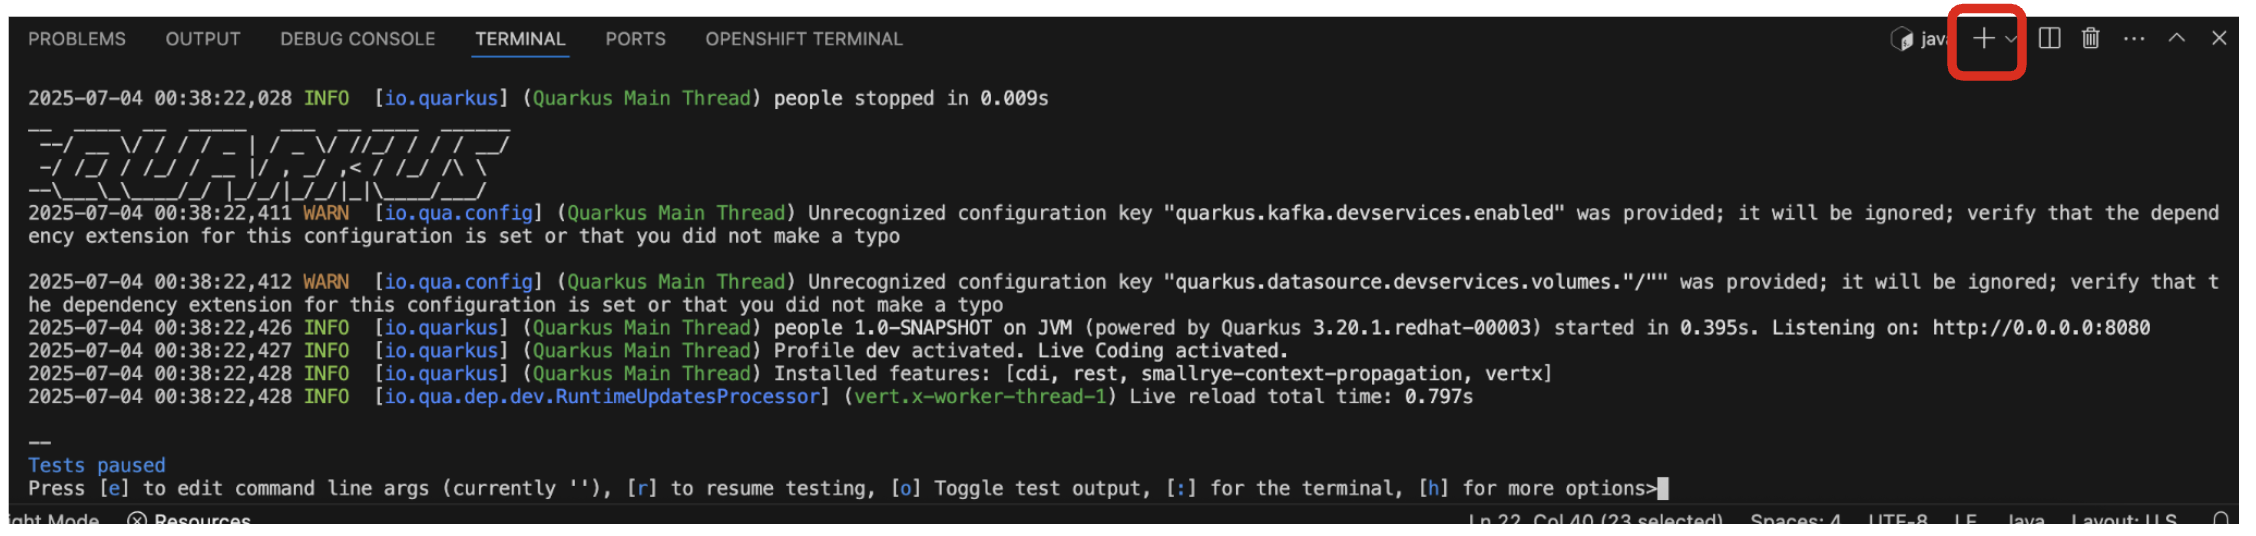
-
Invoke the
helloendpoint using the following curl command:curl http://localhost:8080/hello -
The output should look like this:
Hello from Quarkus REST