Development environment
The following instructions introduce you to your development environment, and the cluster where you’ll deploy your applications throughout this workshop.
Overview
Built on the open Eclipse Che project, Red Hat OpenShift Dev Spaces uses Kubernetes and containers to provide any member of the development or IT team with a consistent, secure, and zero-configuration development environment. The experience is as fast and familiar as an integrated development environment on your laptop.
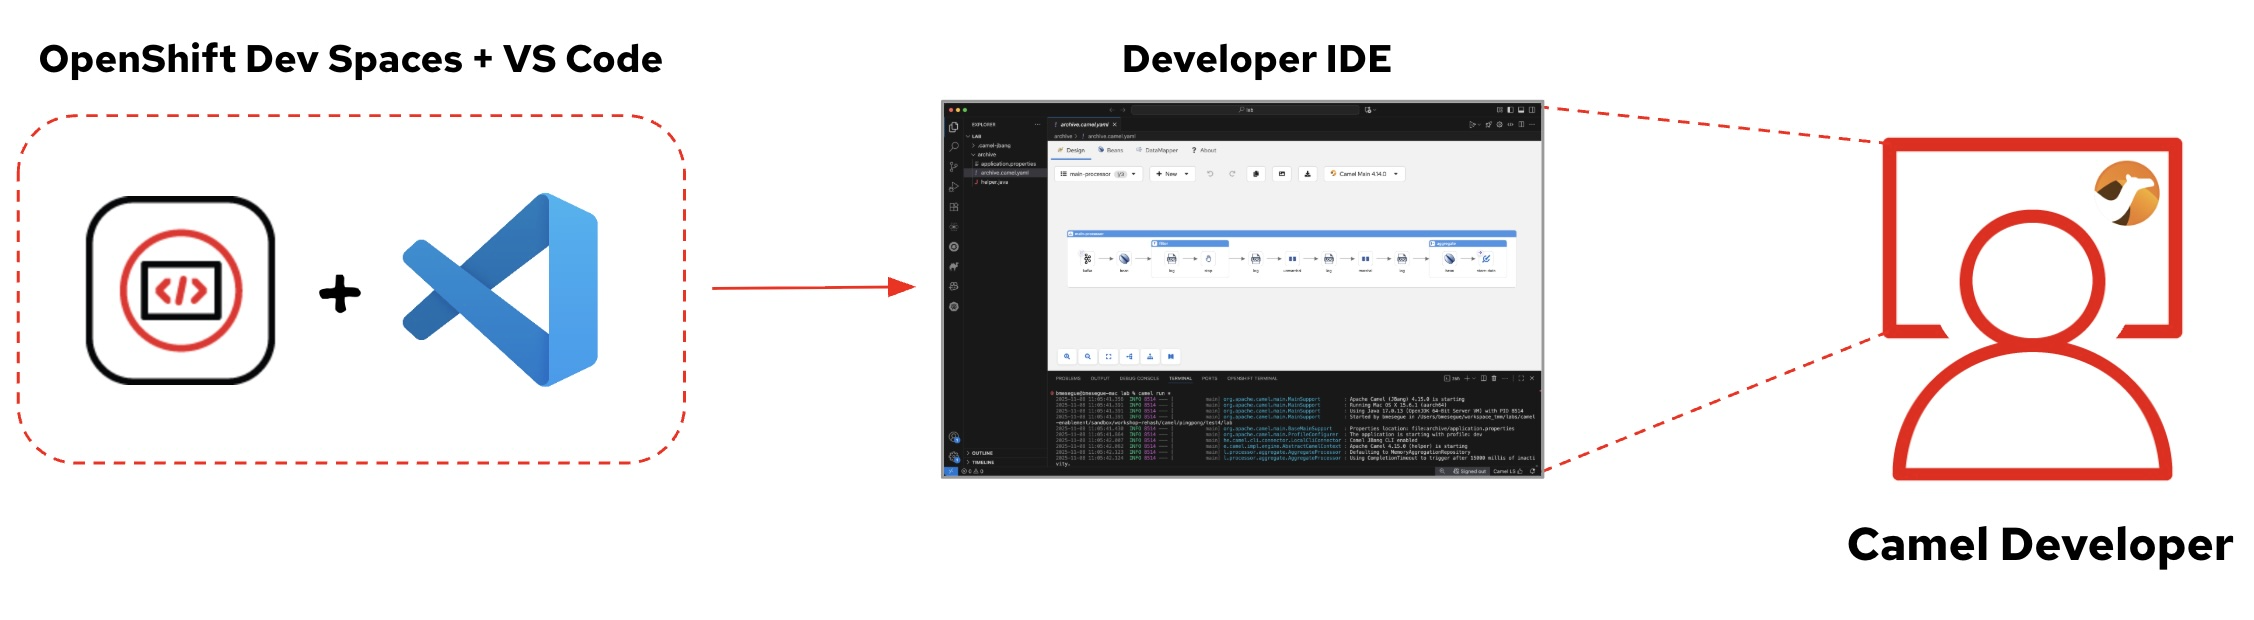
OpenShift Dev Spaces is included with your OpenShift subscription and is available in the Operator Hub. It provides development teams a faster and more reliable foundation on which to work, and it gives operations centralized control and peace of mind.
Log in OpenShift Dev Spaces
To access your development environment:
-
Click this Console link.
(Also accessible from the Resources panel on the right, under Red Hat OpenShift Dev Spaces). -
You’ll be first prompted to choose OpenShift to log in.
Click the button Log in with OpenShift: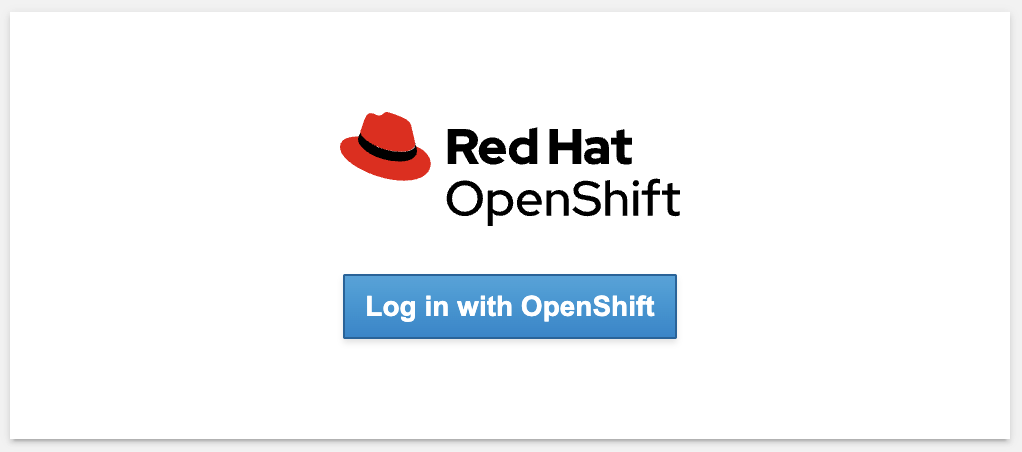
-
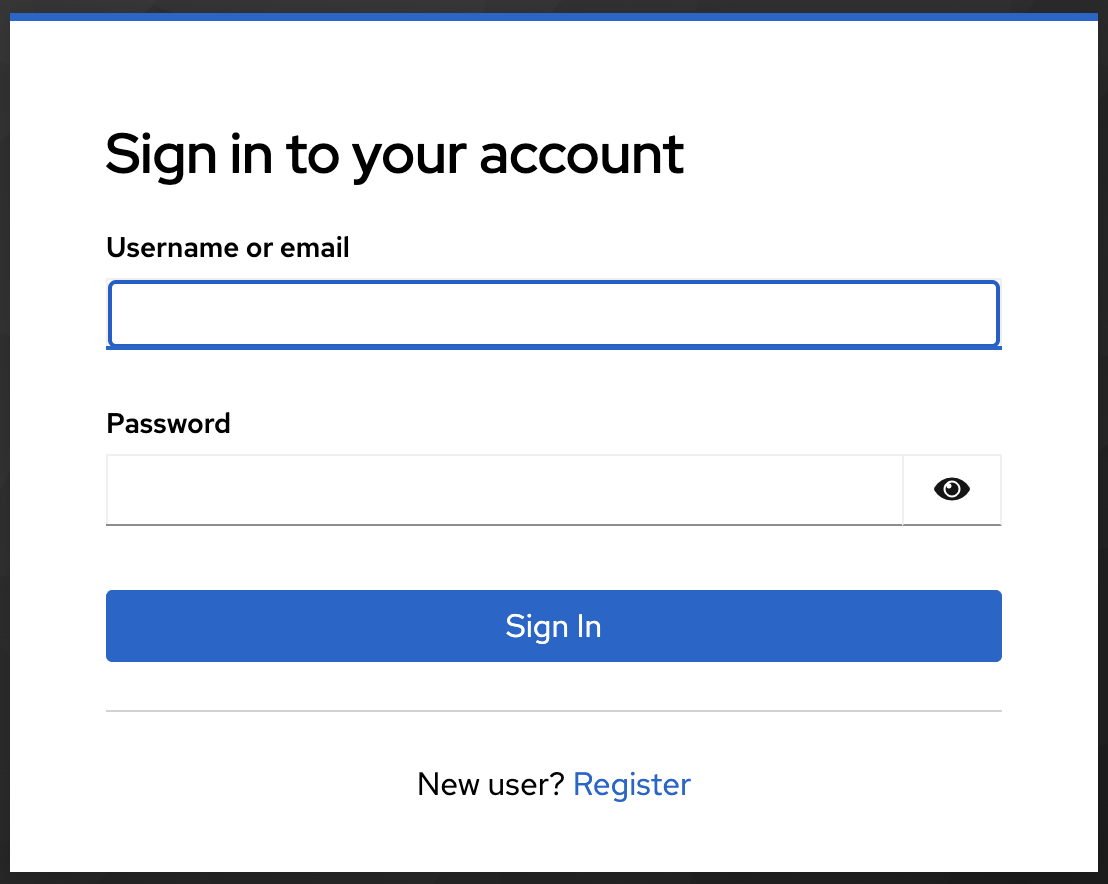
Then, log in using your lab credentials:
-
Username:
username -
Password:
user-password
-
-
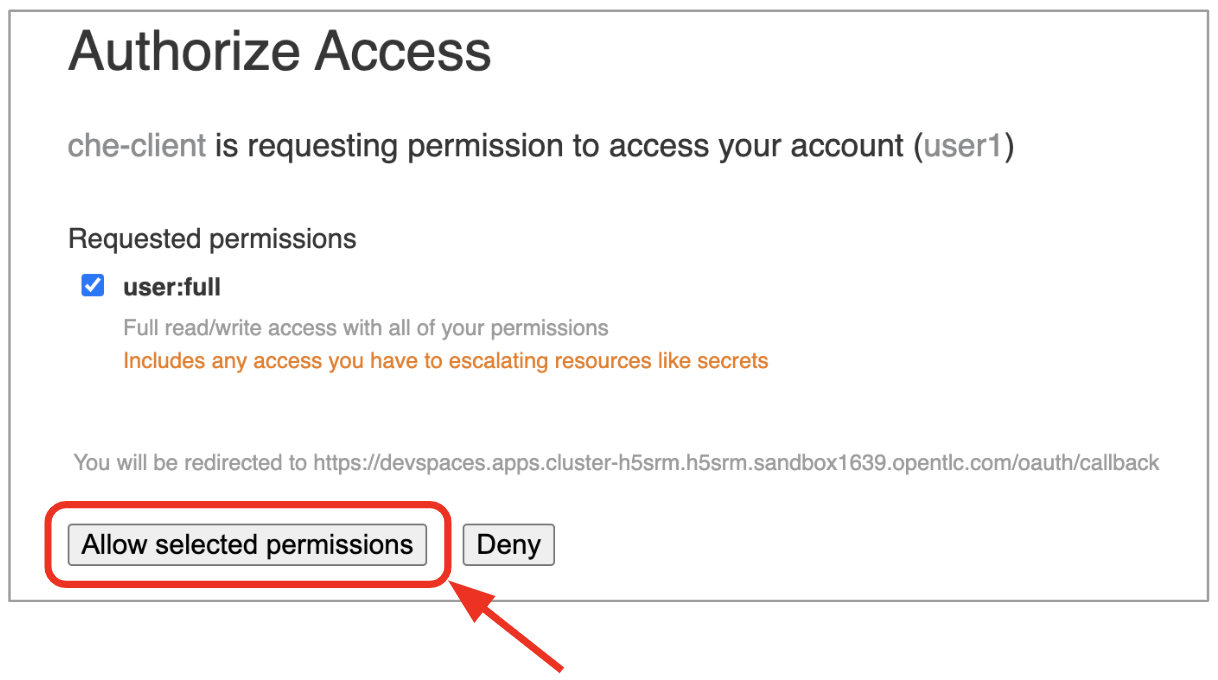
Next, authorise access, click Allow selected permissions
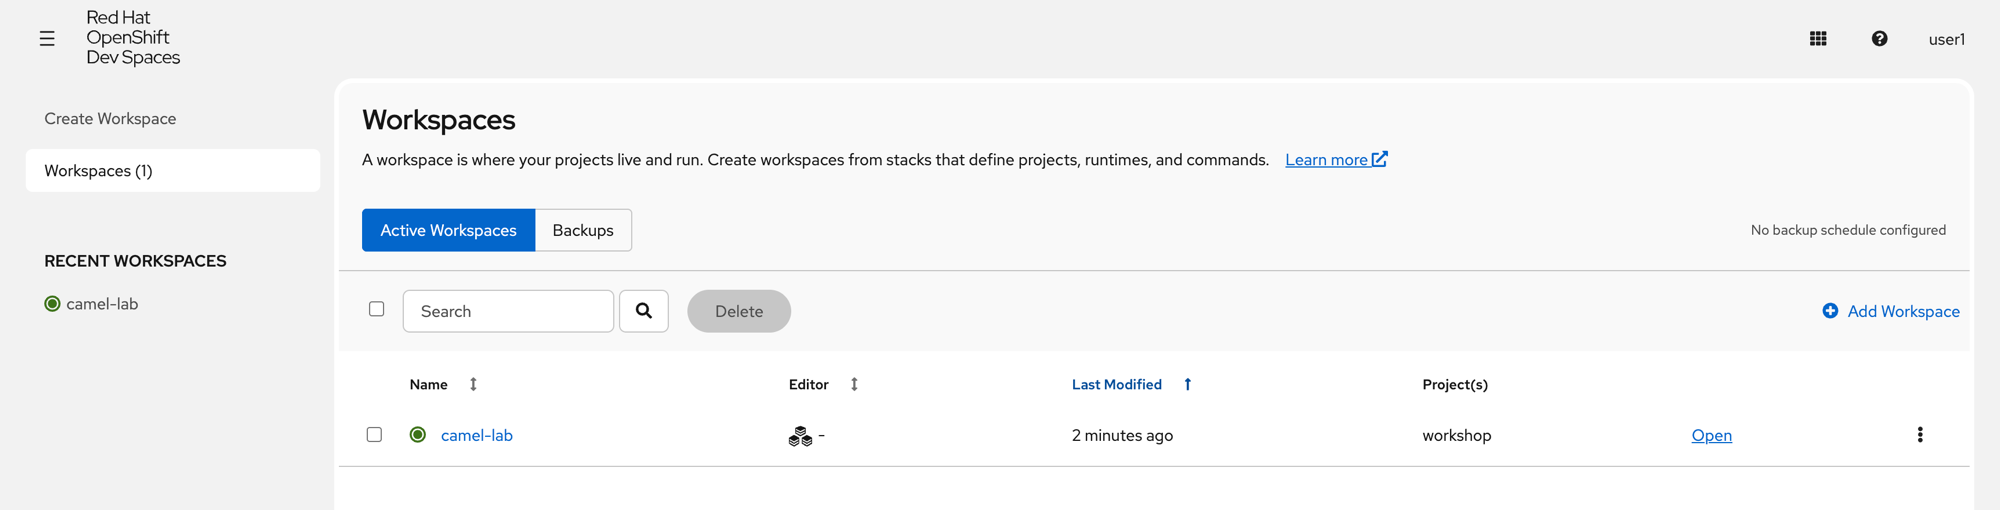
Once you are logged in, you’ll see the Dev Spaces dashboard. This lists available workspaces.
Accessing your Dev Spaces Workspace
This workshop provides a single, pre-configured workspace with plugins, source code, and even container images that have various Command-Line Interface (CLI) tools installed.
-
Click the Open link for the workspace named
camel-lab.
This will start an instance of the workspace. Please wait a few moments while it downloads the required container images and configuration setup.
-
When the IDE appears, ensure you:
-
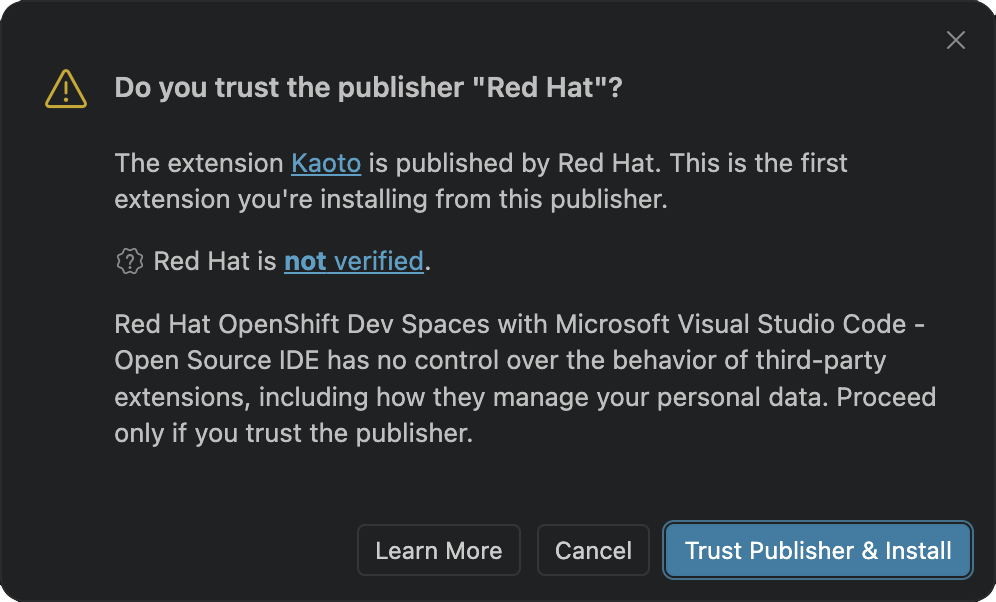
Click Trust Publisher & Install
→-
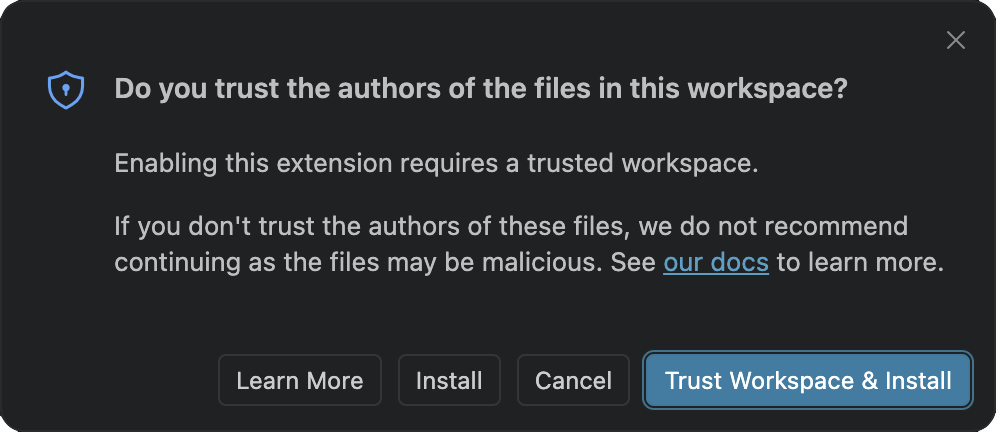
Next, click Trust Workspace & Install
Did you miss any of the notifications above?
If so, the simplest solution is to close your browser tab (close your workspace tab) and re-open it, by repeating step 1.
The notifications will then be shown again.This IDE is based on Microsoft VS Code. It will look familiar if you have already used it. -
-
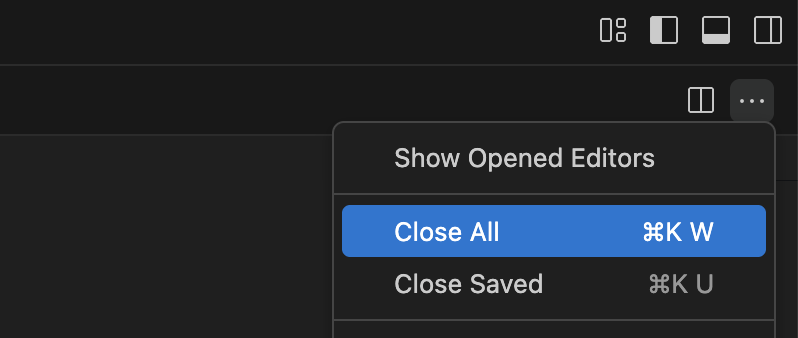
Close all the tabs in the editor.
Find the menu in the top right corner of the editor and click as follows:
-
Click the … button
-
Select Close All.
-
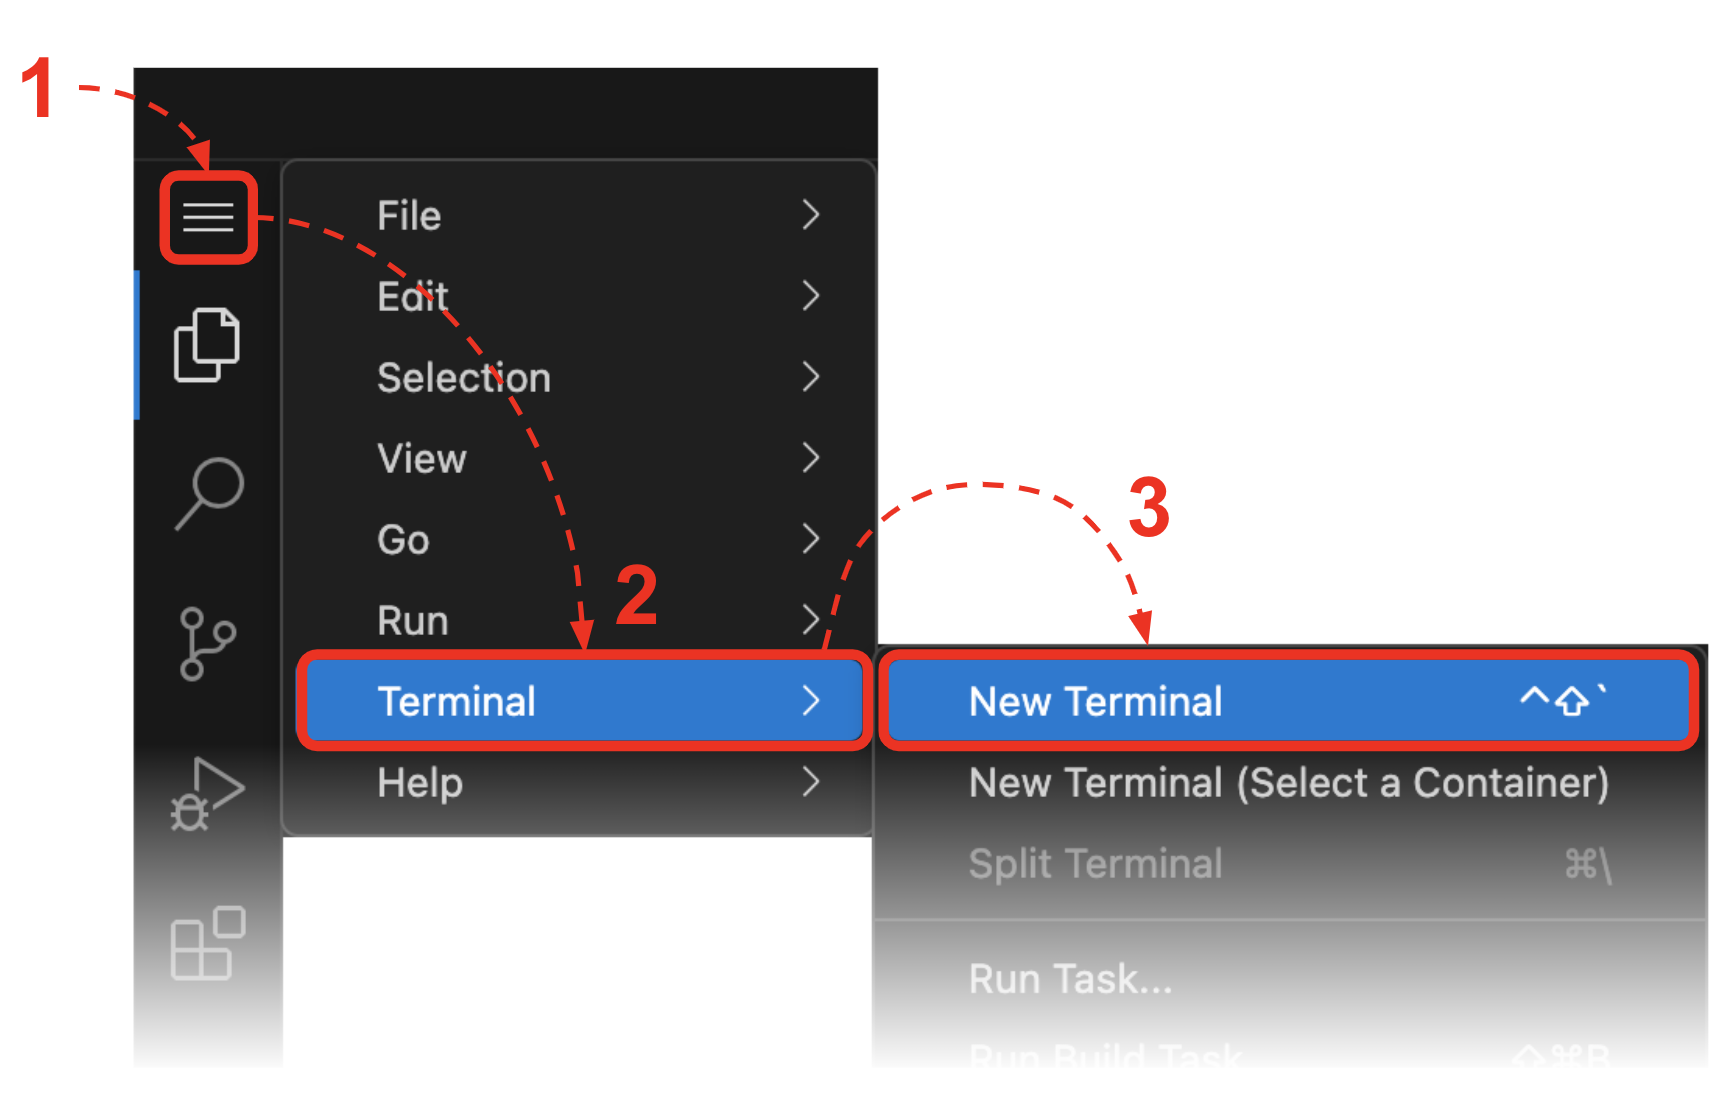
Copy/Paste Commands
You’ll use command actions all along the lab.
When the lab’s instructions present a command to execute, perform the steps described below, as illustrated:

-
Click the button Copy to clipboard
-
Paste the command in the terminal:
-
on Linux: Ctrl+Shift+v
-
on Mac: ⌘+v
-
-
Try it with:
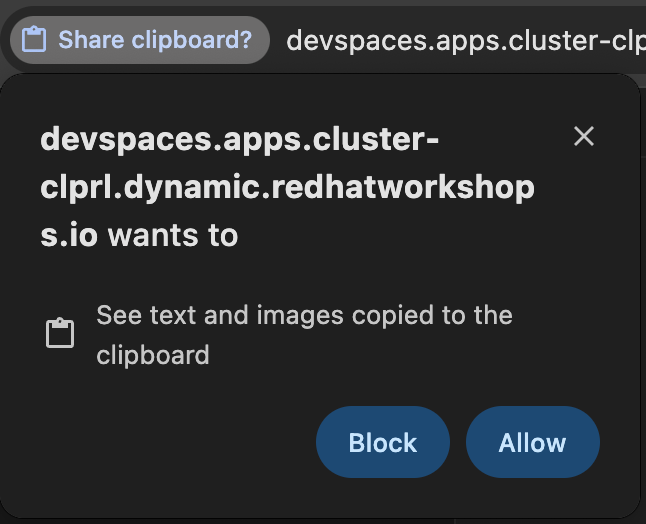
You’ll be asked to share the clipboard and next to confirm the action.
-
Click Allow
→
-
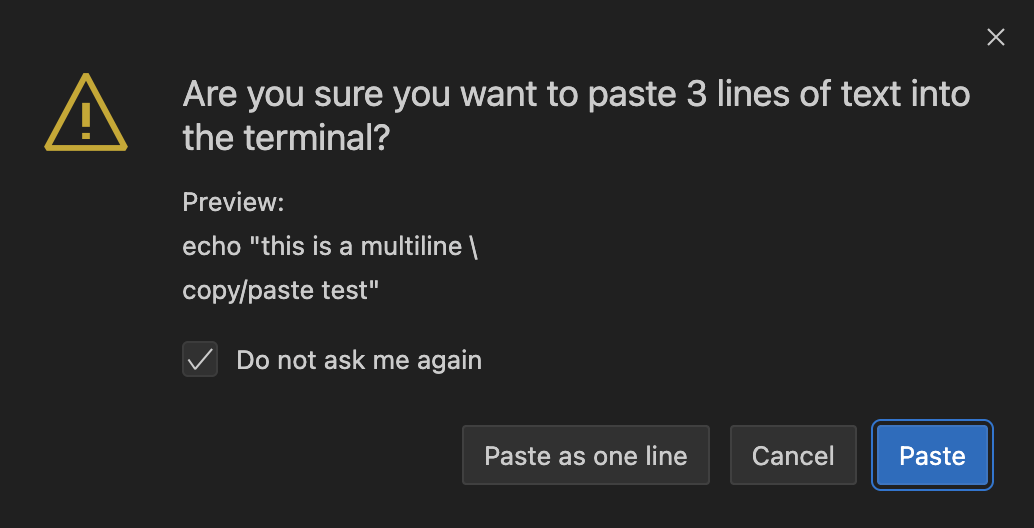
If asked, tick [✓] Do not ask me again and then click Paste
It’s been reported that these key-combos not always work. Your machine may not respond to the above descriptions. Please try other key or mouse click alternatives, for example, right-click, or middle-click. -
-
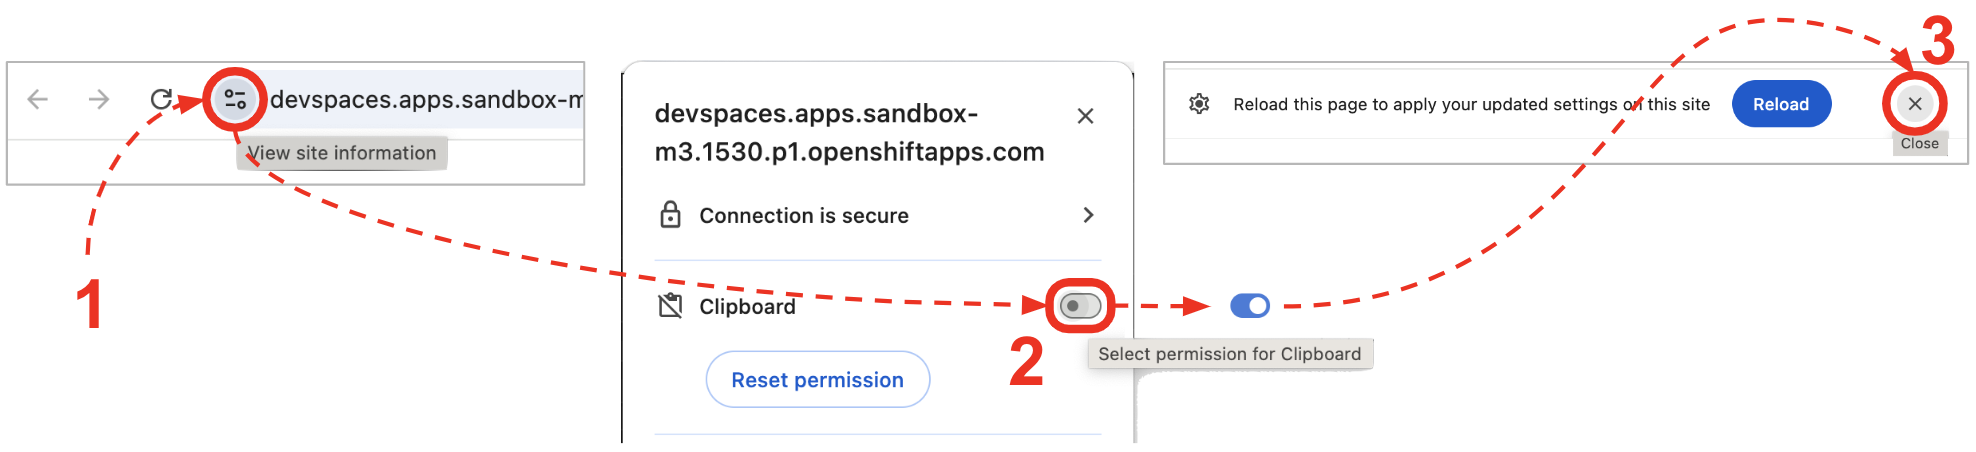
If the paste action fails and you see Dev Spaces showing the following notification:
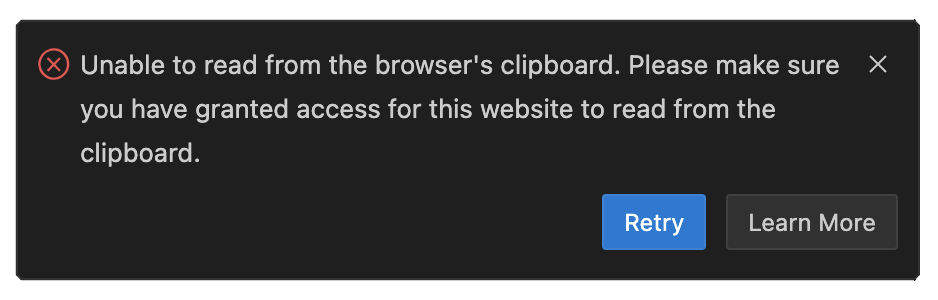
Find in your web browser’s settings where to enable clipboard permissions. The image below shows how to enable them using Chrome: