The Ingestion Flow
With database connectivity in place via Red Hat Service Interconnect, you can now implement the complete ingestion flow. The Camel integration will handle the full lifecycle of an incoming policy application — from reception to archival.
Data Flow Overview
flowchart LR

    Customer --> Portal -->|"EDI message"| Camel

    subgraph LocalEnvironment [OpenShift]
        Portal
        Camel --> |"① XML data"|ServiceInterconnect{{"Service\nInterconnect"}}
        Camel --> |"② PDF policy documents"|Storage
    end

    subgraph RemoteEnvironment [Remote Environment]
        ServiceInterconnect2{{"Service\nInterconnect"}} --> Database
    end

    ServiceInterconnect --- |"🔒 secure link"| ServiceInterconnect2{{"Service\nInterconnect"}}

    Camel@{ img: "../../_images/module-03/common/integration-icon.svg", label: "Camel Integration", pos: "b", h: 80, w: 80, constraint: "on" }
    Customer@{ img: "../../_images/module-03/common/customer-icon.svg", label: "Customer", pos: "b", h: 80, w: 80, constraint: "on" }
    Portal@{ img: "../../_images/module-03/common/shop-icon.svg", label: "Portal", pos: "b", h: 80, w: 80, constraint: "on" }
    Storage@{ img: "../../_images/module-03/common/s3-icon.svg", label: "OpenShift<br>Data Foundation", pos: "b", h: 80, w: 80, constraint: "on" }
    Database@{ img: "../../_images/module-03/common/database-icon.svg", label: "Database", pos: "b", h: 70, w: 70, constraint: "on" }

    style LocalEnvironment fill:#fce4e4,stroke:#EE0000
    style RemoteEnvironment fill:#fce4e4,stroke:#EE0000
    style ServiceInterconnect2 fill:#f8b4b4,stroke:#EE0000,color:#333
    style ServiceInterconnect fill:#f8b4b4,stroke:#EE0000,color:#333
    style Customer fill:none,stroke:none
    style Camel fill:none,stroke:none,font-weight:bold
    style Portal fill:none,stroke:none
    style Storage fill:none,stroke:none
    style Database fill:none,stroke:none
Sequence of Operations
The sequence diagram below details each step the Camel integration performs when processing a policy application:
sequenceDiagram
    actor Customer
    participant Camel
    participant ServiceInterconnect as Service Interconnect
    participant DB@{ "type": "database", "alias": "Database" }
    participant S3Bucket@{ "type": "collections", "alias": "S3 Bucket" }
    Customer->>Camel: Send Policy Application (EDI)
    Camel->>Camel: Transform EDI → XML
    Camel->>ServiceInterconnect: Push XML data
    ServiceInterconnect->>DB: Store data
    DB-->>ServiceInterconnect: Confirmation
    ServiceInterconnect-->>Camel: Data saved
    Camel->>Camel: Render PDF from XML
    Camel->>S3Bucket: Upload PDF
    S3Bucket-->>Camel: Upload complete
Prepare the working folder
|
Close tabs to clean your workspace before starting a new exercise. How to close all tabsFrom your workspace in your Red Hat OpenShift Dev Spaces environment, follow the steps below: Find the menu in the top right corner of the editor and click as follows: 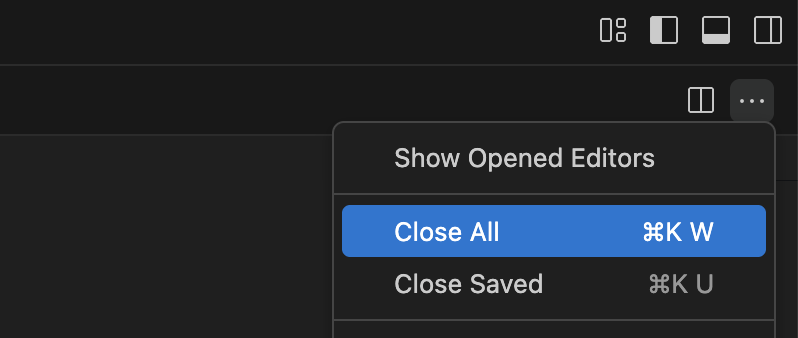
|
-
From your terminal in Dev Spaces, run the following command:
(close any open Camel file tabs first — they may not auto-refresh after running this command)Run the command above anytime to reset the exercise.
The workshop includes handy helper scripts that let you jump to any step or reset the lab to a known good state:
-
step N— reset the lab to the beginning of step N -
steps— list all available steps in the lab -
startorrestart— go to the very beginning (equivalent tostep 1) -
ff— fast-forward to the next step -
rw— rewind to the previous step
-
-
Check your lab folder
After executing the commands above, have a look in your editor’s tree view to confirm it looks healthy. It should be similar to:
📁 workshop
📁 lab
⚙ application.properties
<> index.html
! ingest.camel.yaml
≡ kaoto-datamapper-e6fb3e6b-4288.xsl
≡ template-pdf.xsl
≋ X12-850.dfdl.xsd
J x12.javaThe index.htmlfile is a simple portal app that simulates a customer submitting policy applications. Camel JBang can serve static HTML alongside your routes, so you’ll use it in the next sections to trigger submissions and test your integration end to end. -
Review your configuration
The
application.propertiesfile is already pre-configured with the credentials for both backends used by the ingestion flow:-
Database — connection settings for the PostgreSQL database (reachable via Service Interconnect)
-
S3 object storage — access key, secret, and endpoint for uploading generated PDF policy documents
flowchart LR X[ ] -->|"✅ configured"| DB[(Database)] ~~~ Y[ ] -->|"✅ configured"| S3[(S3 / ODF)] style DB fill:#e8f5e9,stroke:#66bb6a style S3 fill:#e8f5e9,stroke:#66bb6a style X fill:none,stroke:none style Y fill:none,stroke:none -
Open the ingestion flow in Kaoto
Unfold for a quick overview of Kaoto.Most of the processing flows you’ll edit during this workshop use Kaoto, the visual integration designer for Apache Camel. Kaoto is a VS Code extension that renders Camel definitions graphically so you can design and configure routes without editing YAML by hand. 
Among other tasks, Kaoto helps you to:
Here’s what the Kaoto canvas looks like — each step in the route is rendered as a visual node that you can click to configure: 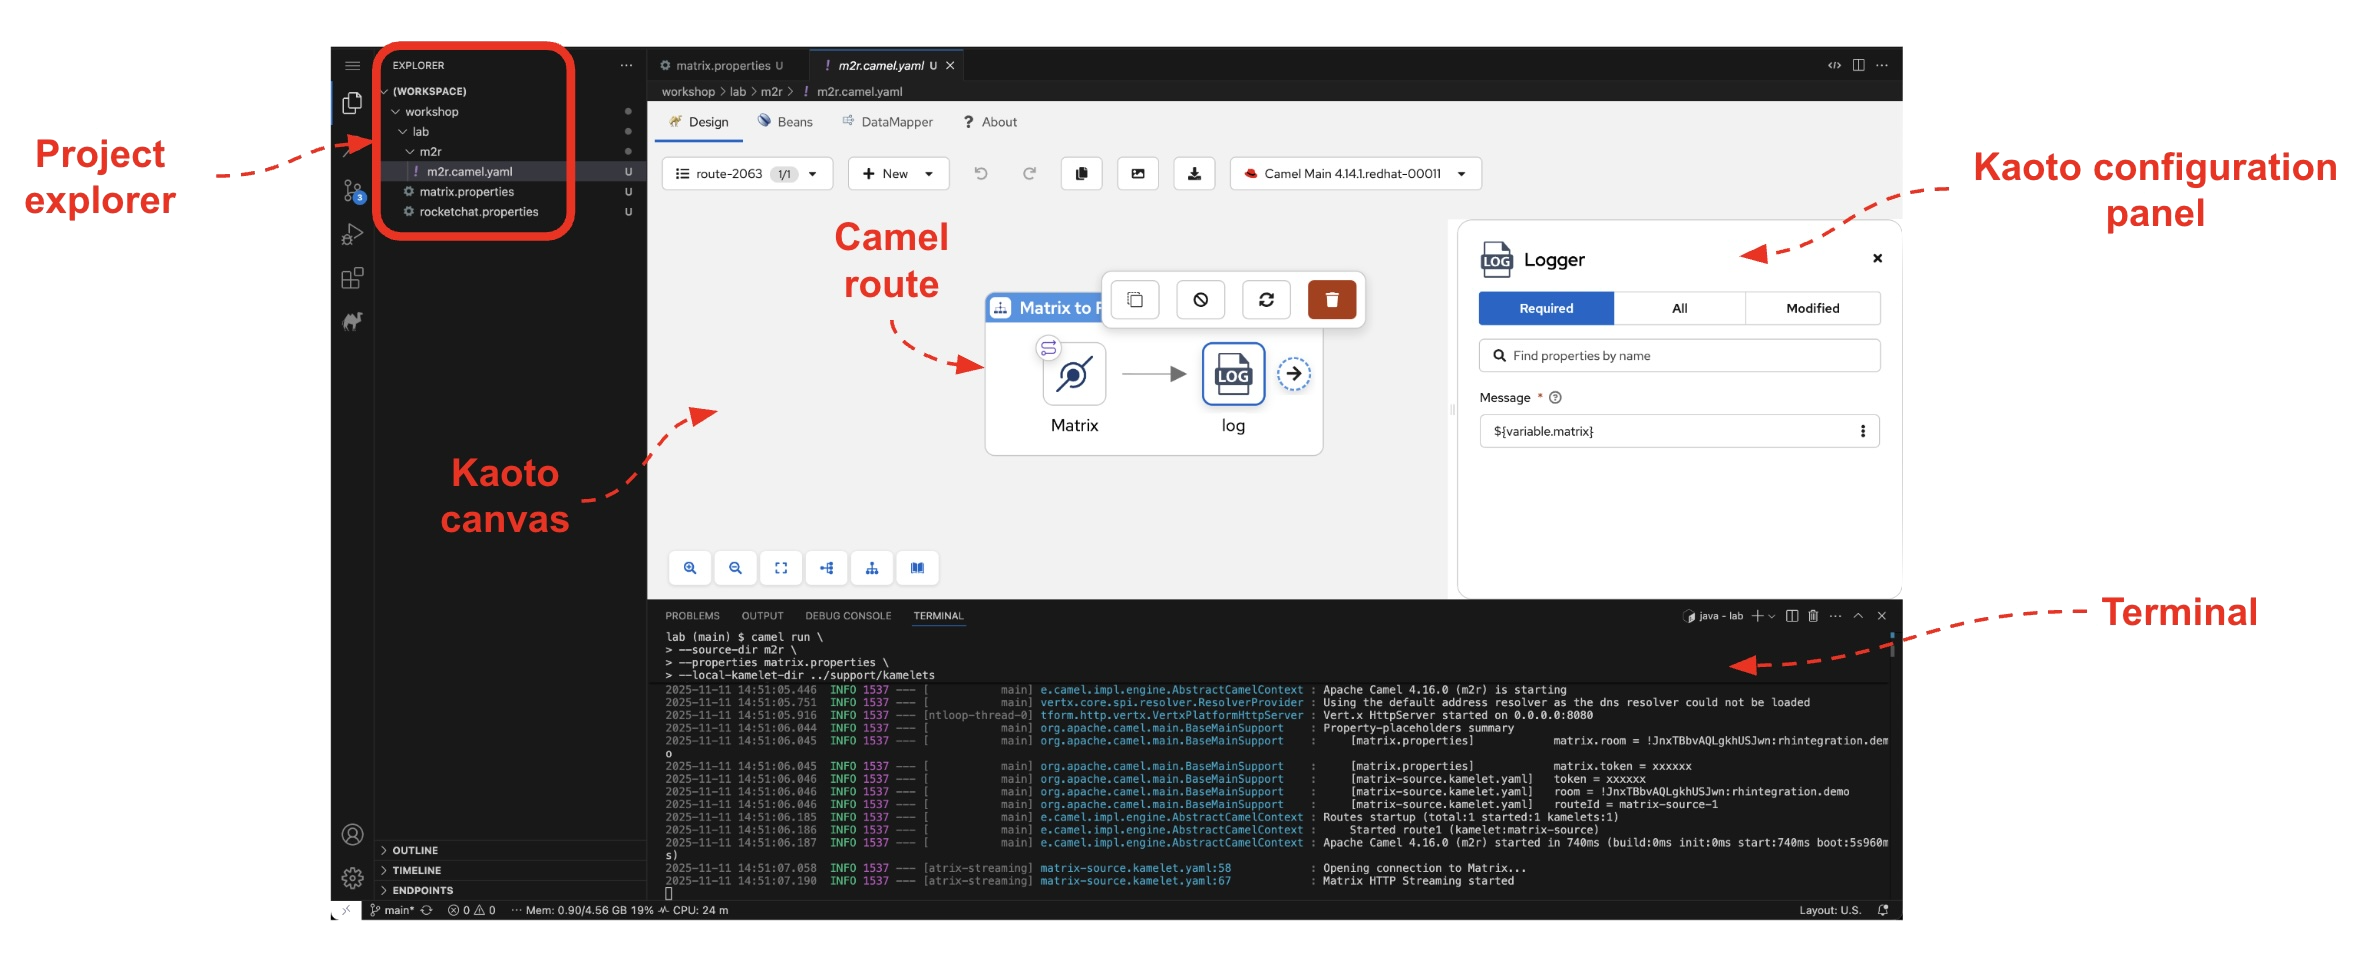
|
In your editor’s file explorer, click on the following file — Kaoto will automatically open it and render the ingestion route as a visual diagram.
📁 workshop
📁 lab
! ingest.camel.yaml
Kaoto will open the file and display all the route definitions it contains. The file includes several routes, but the one we want to focus on is the main ingestion flow. Do as follows:
-
Click the Routes dropdown in the upper-left toolbar
-
Select
service-x12from the list
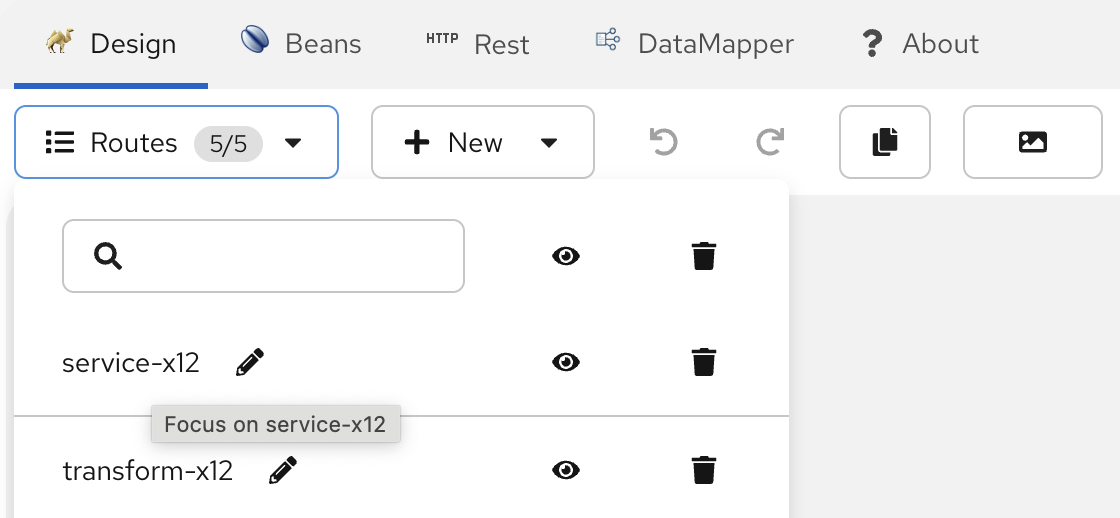
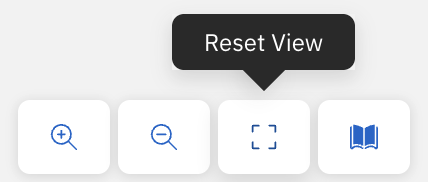
Kaoto will now display only the service-x12 route. To center it in the canvas, click the Reset View button at the bottom:
| Use the mouse wheel to zoom in and out of the canvas, and click and drag to pan around the view. |
You should now see the service-x12 route — the main ingestion flow:
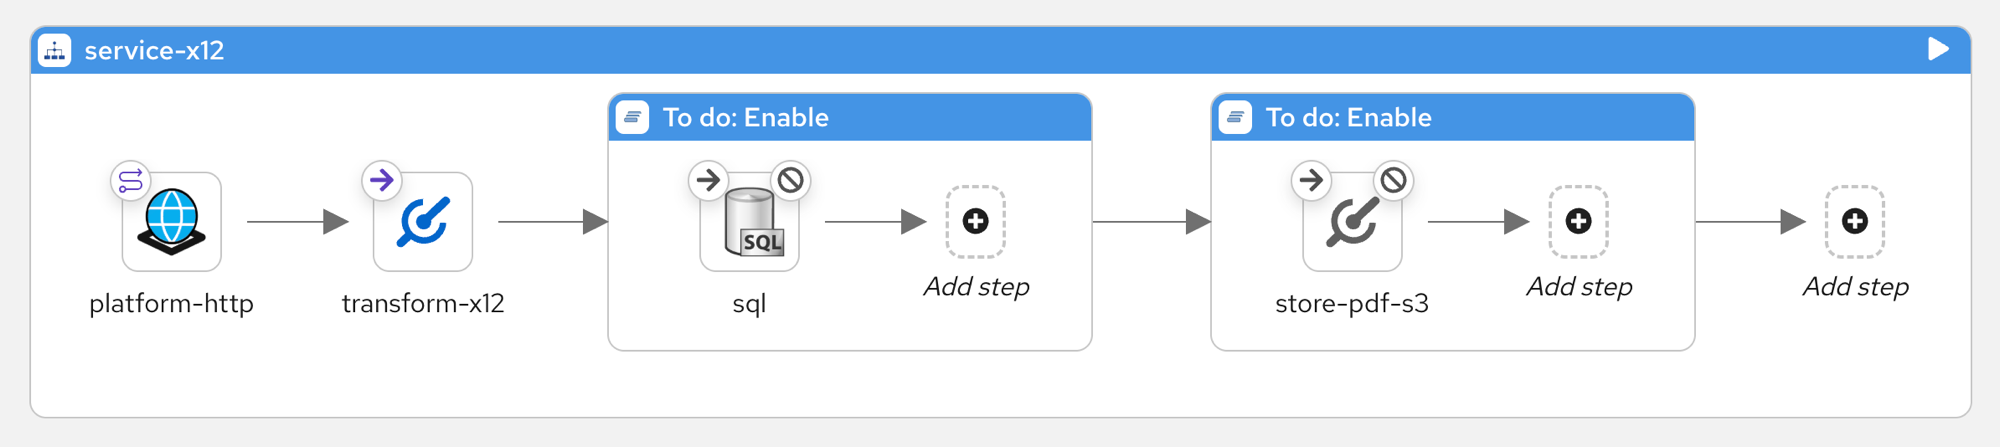
Reading left to right, each step in the pipeline handles a stage of the policy application lifecycle:
-
platform-http— the API endpoint that receives incoming policy applications -
transform-x12— transforms the EDI data into XML -
sql— stores the data in the backend database -
store-pdf-s3— renders a PDF policy document and uploads it to S3
| Notice the two blue To do: Enable blocks — these are disabled steps that you’ll activate in the next exercise. By the end, the full flow will be connected and functional. |